A cheap sticker can make a premium product look like it came from a discount bin. Dramatic? Maybe. True? Annoyingly often. If you are ordering custom printed vinyl stickers for product packaging, retail bags, bottles, shipping boxes, giveaways, or outdoor promotions, the real question is not “Can we print our logo on it?” The better question is whether it will still look sharp after handling, moisture, sunlight, shipping friction, and actual human use.
Vinyl stickers look simple. Underneath, they involve film thickness, adhesive type, ink behavior, lamination, cut style, proofing, and production tolerance. Skip those details and you get curling corners, muddy color, weak contrast, or Stickers That Peel before the customer even opens the box. Great. Money well spent.
What Custom Printed Vinyl Stickers Are Really Built For
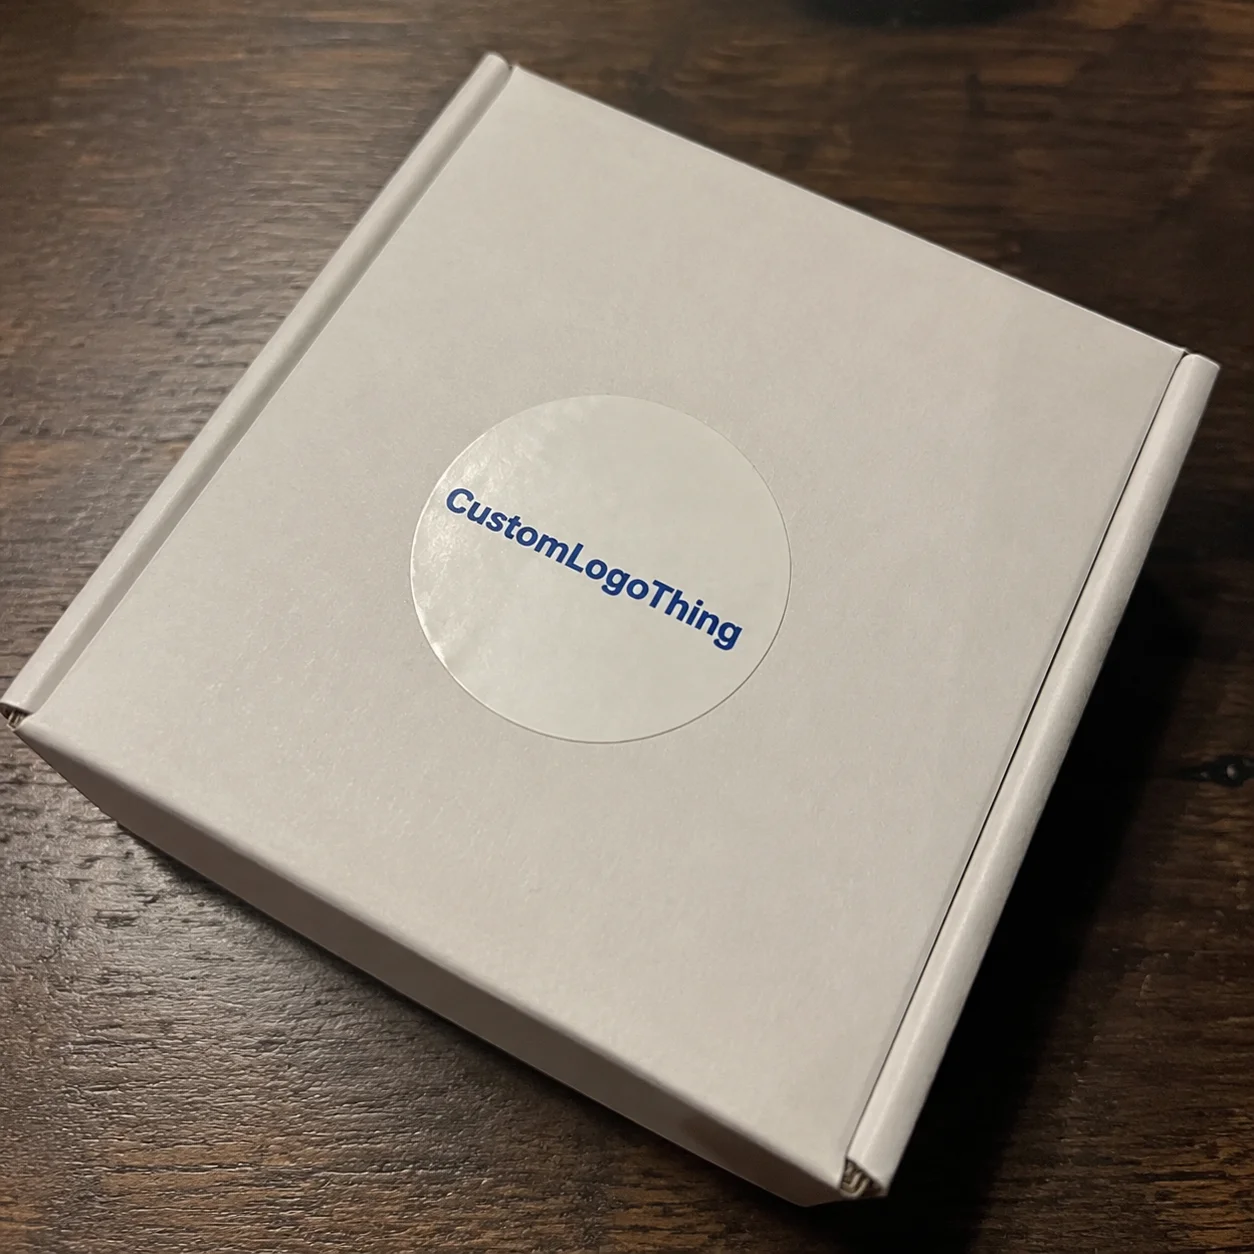
Custom printed vinyl stickers are adhesive graphics printed on vinyl film instead of standard paper label stock. They can carry a logo, campaign artwork, QR code, product detail, warning mark, batch note, or retail message, then be cut into individual stickers, sheets, or rolls. The goal is simple: put your brand somewhere visible and keep it there long enough to matter.
Buyers use vinyl stickers on coated mailer boxes, jars, candles, laptops, bottles, event handouts, retail bags, equipment cases, shipping cartons, coolers, windows, and outdoor gear. A two-inch circle may seal a candle box. A three-inch die-cut logo may go into every ecommerce order as a merch insert. A larger decal may land on a toolbox, bike rack, storefront window, or delivery case.
Vinyl beats paper when the sticker needs to handle moisture, abrasion, sunlight, flex, or rough handling. Paper still has a place. It is usually cheaper, often easier to recycle in certain packaging streams, and perfectly fine for short-term indoor packaging, dry goods, simple inserts, and low-cost promotions. But paper does not enjoy condensation, oil, rain, freezer conditions, or repeated rubbing. Vinyl handles those conditions better.
Better does not mean bulletproof. A vinyl sticker can still fail if the adhesive is wrong, the surface is textured, the bottle is wet during application, the ink has no protective laminate, or the sticker is applied in freezing conditions. Surface prep matters. Storage matters. So does the proof file everyone wants to approve in twelve seconds.
Practical rule: use vinyl when the logo needs to stay clean, readable, and stuck after shipping, handling, moisture, or outdoor exposure. Use paper when cost and short-term indoor use matter more than durability.
For branded packaging, vinyl stickers work well when a company needs flexibility without committing to fully printed boxes. Plain cartons can be paired with logo stickers, seasonal labels, batch stickers, or retail promos. For larger packaging programs, it may also make sense to compare stickers with Custom Labels & Tags or other Custom Packaging Products based on volume, application speed, and storage space.
How Vinyl Sticker Printing Works From Artwork to Finish
The production path usually follows a clean sequence: artwork setup, material selection, printing, curing or drying, lamination if needed, cutting, weeding or trimming, quality checks, and packing. The weak link is rarely the press. More often, it is missing bleed, a low-resolution logo, unclear sizing, or a buyer approving a proof without zooming in. Printers are good. They are not psychic.
Digital printing is common for short and mid-size runs because it handles full color, gradients, variable designs, and lower quantities without expensive screens. Screen printing can make sense for simple high-volume designs with solid spot colors, especially when the artwork is bold and repeatable. UV printing uses ultraviolet light to cure ink quickly, which helps with handling speed and color strength, though material compatibility still needs to be confirmed.
Cut style affects both cost and usability. Die-cut stickers follow the outer shape of the artwork, which looks polished but can add cutting time and waste. Kiss-cut stickers are cut through the vinyl layer while staying on the backing sheet, so they are easier to peel. Sheet stickers place several designs on one sheet and work well for kits, inserts, promotional packs, or bundled product lines.
- Gloss finish: bright, shiny, and strong for bold logos and retail visibility.
- Matte finish: softer and more refined; deep colors may look slightly muted.
- Clear vinyl: clean transparent background; needs planned contrast and often white ink.
- Metallic or holographic film: high attention value; subtlety clearly took the day off.
Lamination adds a protective layer over the printed vinyl. It helps resist scratches, moisture, chemical exposure, and UV fading. It also adds cost, thickness, and a different feel. For indoor packaging stickers, laminate may be optional. For bottles, coolers, outdoor decals, equipment cases, or anything handled daily, skipping laminate is often false economy.
White ink matters on clear, metallic, holographic, and dark materials. Without a white base layer, colors can look weak, transparent, or muddy. A red logo printed directly on clear vinyl over a dark bottle may turn into a sad burgundy shadow. White backing gives color something solid to sit on.
Proofing is not a cute little formality. It confirms size, cut line, bleed, safe area, color notes, spelling, orientation, and logo placement before production starts. For small text, tight die cuts, QR codes, or brand colors, the proof is where mistakes are still cheap. After production, they get expensive.
Material, Adhesive, Size, and Finish Decisions That Matter
Most sticker problems begin before printing, when the wrong material or adhesive gets matched to the job. The artwork may be beautiful. The packaging design may be tight. Then someone puts a standard removable sticker on a cold, damp bottle and wonders why the corners lift. Physics remains undefeated.
White vinyl is the default for many logo stickers because colors print cleanly and contrast is predictable. Clear vinyl works well on glass, plastic, and clean retail packaging, but the design needs enough contrast against the surface behind it. Removable vinyl is useful for temporary promos, events, windows, laptops, or surfaces where residue is a concern. Permanent vinyl is better for long-term product packaging, outdoor use, equipment marking, and shipping applications.
Weather-resistant vinyl is designed for rain, sunlight, and outdoor handling, especially when paired with UV-resistant inks and laminate. Specialty films include metallic, holographic, brushed, fluorescent, static cling, and textured options. They look fun. They also need more careful proofing because color, opacity, glare, and readability can shift compared with standard white vinyl.
Adhesive choice should match the surface and environment. Smooth glass, coated boxes, plastic bottles, laptops, and painted metal are usually easier. Textured cardboard, fabric, oily plastic, powder-coated metal, rough wood, and low-energy plastics are troublemakers. If the sticker is going on polyethylene or polypropylene, ask before assuming. Some plastics need stronger adhesive or surface testing.
Size is not just a design preference. Small stickers, around one to two inches, need simplified artwork and minimal text. Medium stickers, around two to four inches, can carry more brand detail and are common for giveaways, jars, bottles, mailers, and package branding. Large decals require more attention to application, air bubbles, surface prep, and liner removal because every small handling mistake gets bigger.
| Option | Best Use | Tradeoff |
|---|---|---|
| White vinyl with gloss laminate | Bold logo stickers, retail packaging, bottles | Vibrant color, but glare can show under bright lights |
| White vinyl with matte laminate | Premium product packaging, candles, cosmetics | Refined feel, but color may look slightly softer |
| Clear vinyl with white ink | Glass jars, windows, clear bottles | Clean look, but contrast must be planned carefully |
| Removable vinyl | Events, promos, temporary retail displays | Less residue, but not ideal for long-term hold |
| Weather-resistant vinyl | Outdoor decals, coolers, equipment | Better durability, usually higher cost |
Shape affects appearance and production efficiency. Circles, squares, rectangles, and ovals are cost-efficient because cutting is predictable. Complex die cuts look more custom, but thin points, tiny gaps, and fragile edges can increase waste and make peeling harder. If warehouse staff need to apply 5,000 stickers quickly, a delicate starburst shape may become everyone’s least favorite idea.
Be honest about durability. Indoor box stickers may not need laminate. A sticker on a refrigerated drink bottle probably should. A decal for a kayak, cooler, hard hat, or outdoor equipment needs stronger material, adhesive, and protection. ASTM methods, including adhesive peel and abrasion tests, are often used by material suppliers to evaluate performance, though not every order needs a lab report. For shipping and transit planning, groups like ISTA publish packaging test procedures that help brands think beyond the pretty surface.
Cost and Pricing Factors for Vinyl Sticker Orders
Sticker pricing is not magic. It usually comes down to material, size, quantity, print complexity, finish, cut style, proofing needs, packing format, and shipping. Larger orders lower the unit cost because setup, proofing, material loading, and machine time are spread across more pieces.
Small batches are useful for testing designs, launch kits, influencer packs, or limited drops. Unit cost is higher, but risk is lower. Mid-size runs are usually the sweet spot for growing brands because pricing improves without creating absurd inventory. High-volume runs need tighter specs because one small mistake multiplied by 25,000 pieces becomes a very expensive lesson.
Size affects cost because a three-inch sticker uses more vinyl, liner space, ink, laminate, and cutting time than a one-inch sticker. Shocking, I know. Complex die cuts, clear material, white ink, metallic film, holographic film, matte laminate, gloss laminate, sequential numbering, and individual bagging can all raise the quote.
Minimum order quantity depends on equipment and supplier setup. Some manufacturers can run low quantities digitally, sometimes starting around 50 to 100 pieces. Better pricing often begins around 250, 500, or 1,000 pieces because the order becomes more efficient. For a common two- to three-inch vinyl logo sticker, broad unit pricing might range from under $0.20 at larger volumes to $1.00 or more for small specialty runs. That is a range, not a promise. Material, finishing, freight, and packing change the math fast.
| Order Type | Typical Quantity | Buying Notes |
|---|---|---|
| Pilot run | 50–250 pieces | Good for testing size, color, surface fit, and customer reaction |
| Growing brand run | 500–2,500 pieces | Often better unit pricing without overwhelming inventory |
| Retail or warehouse run | 5,000+ pieces | Requires locked specs, clear packing format, and proof discipline |
For an accurate quote, send final size, quantity, material preference, indoor or outdoor use, finish, cut style, artwork file, shipping destination, packing needs, and deadline. “How much for logo stickers?” is not enough. A one-inch white vinyl kiss-cut sticker and a four-inch holographic die-cut sticker with white ink and individual packing are not the same product.
Compare quotes by total delivered cost, not only unit price. Shipping, setup, proof changes, rush fees, split shipments, and packaging can quietly move the real number. A supplier with a slightly higher unit price may still be cheaper if freight, revisions, and packing are cleaner.
Process and Timeline: From Quote to Delivered Stickers
A clean ordering process saves time and arguments. Define the use case first, then choose size and material, send artwork, request a quote, review the proof, approve production, inspect samples if needed, and ship. Simple sequence. Frequently ignored.
The clock usually starts after proof approval, not after the first email asking, “How fast can you do this?” Buyers hate that answer, but it is the truth. A printer cannot responsibly schedule final production around missing artwork, unclear dimensions, or a logo pulled from a website header.
Typical lead time stages include quote review, artwork proofing, production scheduling, printing, curing or drying, lamination, cutting, quality checks, packing, and transit. Proofing may take one to two business days when the files are clean. Standard production may take several business days depending on order size, finish, and cutting complexity. Shipping adds more time, especially for bulky rolls, split deliveries, or remote locations.
Timelines slow down for predictable reasons: missing vector files, unclear sizing, late proof approvals, multiple artwork revisions, specialty materials, complex die cuts, high quantities, holidays, freight delays, or a last-minute switch from gloss white vinyl to clear vinyl with white ink. Every change has a ripple effect. Annoying, yes. Also real.
Request a physical sample before major retail launches, outdoor use, exact color matching, specialty finishes, or tricky surfaces. A digital proof can confirm layout, spelling, cut lines, and general color direction, but it cannot show adhesive behavior on a cold glass bottle or how matte laminate feels under store lighting.
A digital proof is usually enough for straightforward repeat orders, simple logo stickers, common white vinyl materials, and basic indoor product packaging. If the surface and material were already tested, the repeat order should move faster.
Build in buffer time before product launches, trade shows, retail shipments, and subscription box packing days. If the stickers arrive the morning your team starts packing 3,000 boxes, you have created a stress test, not a production plan.
Common Mistakes That Make Logo Stickers Look Cheap
The big mistake is uploading a low-resolution logo and expecting crisp print. A 400-pixel PNG from social media will not magically become clean vector artwork because someone wrote “high quality please” in the email. Printers can improve files within reason. They cannot rebuild your entire brand system for free while the press waits.
Vector artwork is preferred for logos, text, icons, and cut paths because it scales cleanly. AI, EPS, PDF, and SVG files are usually better than screenshots or compressed JPEGs. Fonts should be outlined, cut paths should be clear, and Pantone or brand color references should be included. For photo-based designs, high-resolution raster files can work, but resolution still matters at actual print size.
Poor contrast is another classic problem. Black text on dark packaging, thin white lines on clear vinyl, pale yellow on metallic film, or tiny gray social handles can disappear fast. Clear vinyl especially needs planning because the background surface becomes part of the design.
Sizing errors are common. Buyers want a logo, tagline, ingredients, QR code, URL, social handle, batch code, and legal copy on a one-inch sticker. Then they ask why nobody can read it. For QR codes, leave enough quiet space and test scans at actual size. For small type, print a paper mockup before ordering custom printed vinyl Stickers in Bulk.
Overcomplicated die cuts can also make stickers look cheap. Thin points peel. Tiny gaps trap dirt. Delicate edges tear during application. If a shape takes ten seconds to peel cleanly, that may be fine for a giveaway. It is not fine for a packing line applying thousands per day.
The wrong adhesive can ruin good printing. Cold surfaces, wet bottles, oily plastic, textured cardboard, and dusty warehouse conditions all reduce adhesion. Application temperature matters too. Many pressure-sensitive adhesives perform best when applied in moderate indoor conditions and then allowed time to bond.
Proofing mistakes are the avoidable ones: spelling errors, missing bleed, unsafe margins, wrong cut line, rotated artwork, incorrect backing layout, or color notes that never made it into production. For packaging workflows, format matters as much as artwork. Individually cut stickers are great for giveaways. Rolls or sheets may be faster for warehouse application.
Before You Place a Vinyl Sticker Order
Turn the order into a checklist, not a fog machine. Start by defining the sticker’s job: product label, packaging seal, giveaway, outdoor decal, equipment marking, retail promo, brand insert, or seasonal campaign. The job drives the specs.
Next, identify the surface and environment. Is the sticker going on cardboard, glass, plastic, metal, wet bottles, freezer packaging, retail displays, shipping boxes, or outdoor gear? Will it face sunlight, condensation, abrasion, chemicals, or constant handling? A sticker for a dry candle box does not need the same build as a cooler decal.
- Lock the core specs: size, shape, quantity, material, adhesive, finish, cut style, packing format, and deadline.
- Prepare artwork properly: vector logo, outlined fonts, high-resolution images, bleed, safe margins, and color references.
- Flag special materials: clear, metallic, holographic, matte, removable, freezer-grade, or outdoor-rated vinyl.
- Plan the workflow: individual stickers for handouts, sheets for kits, rolls for faster application.
- Test when risk is high: unusual surfaces, exact color matching, outdoor exposure, or retail launch packaging.
If sustainability is part of the packaging brief, ask about liner waste, material selection, and whether paper alternatives could work for short-term indoor use. Vinyl is useful, but it is not always the cleanest environmental choice. The EPA recycling resources are a practical starting point for thinking through material recovery and waste, though real recyclability depends on local systems and the full package construction.
For product packaging and retail packaging, test the sticker in context. Put it on the actual jar, pouch, box, mailer, or bottle. Rub it. Chill it. Ship a sample if transit abrasion matters. Leave it under lights if glare matters. Pretty on screen is not the same as ready for a shelf.
Before ordering, confirm the surface, finish, artwork file, quantity, packing format, and timeline. Do that and the quote gets more accurate, the proof gets cleaner, and the finished stickers are far more likely to do their job: make your brand look sharp and stay stuck.
FAQ
Are custom vinyl stickers waterproof?
Most vinyl stickers are water-resistant, and many can be made waterproof for practical use when paired with the right ink, adhesive, and laminate. For bottles, coolers, outdoor gear, or wet packaging, ask for weather-resistant vinyl and a protective laminate instead of assuming basic vinyl is enough. Dishwasher use, long soaking, chemicals, and rough scrubbing require stricter testing because “waterproof” gets abused in sticker marketing.
What is the best size for custom printed logo stickers?
For packaging seals and product accents, one to three inches is common because the sticker is visible without taking over the package. For giveaways, laptops, water bottles, and merch inserts, two to four inches usually gives the logo enough presence. If the design includes small text, QR codes, or detailed artwork, print a physical sample at actual size before ordering a large run.
How much do custom printed vinyl stickers cost?
Cost depends on size, quantity, material, finish, cut style, adhesive, artwork complexity, and shipping. Higher quantities usually lower the unit cost, while specialty finishes, clear vinyl, white ink, lamination, and complex die cuts increase it. For an accurate quote, provide size, quantity, artwork, finish, use environment, deadline, and delivery location.
How long does vinyl sticker production take?
Standard production often takes several business days after proof approval, but timing depends on order size, finish, material availability, and cutting complexity. Rush orders may be possible, but proof approval and shipping time still matter. If the stickers are for a launch, event, or retail shipment, build in extra time for proof revisions and transit. Future you will be less cranky.
Do I need vector artwork for custom vinyl stickers?
Vector artwork is strongly recommended for logos, text, and die-cut shapes because it prints cleanly and creates accurate cut paths. High-resolution raster files can work for photo-based designs, but low-resolution screenshots, social media images, and tiny JPEGs usually print poorly. Best files include AI, EPS, PDF, or SVG formats with fonts outlined and colors clearly specified.


