Custom labels for glass bottles are not just a design choice. They are a materials decision, an application decision, and, in practice, a risk decision. A label that looks sharp on a dry bottle under shop lighting can behave very differently once it meets condensation, refrigeration, or a hurried hand-applied line. The gap between those two conditions is where most label failures start.
Glass is smooth, non-porous, and visually unforgiving. It shows edge lift, trapped air, and crooked placement faster than paperboard or flexible packaging. Curves make the problem more interesting. A label can be perfectly printed and still fail if the bottle shoulder, panel radius, or neck taper was never considered during specification.
That is why good packaging work starts with the whole container, not the artwork alone. If the bottle sits inside a wider packaging system, the label should coordinate with the box, the shipper, and the product story. A line built around Custom Labels & Tags or paired with Custom Packaging Products usually performs better when the finish, stock, and adhesive are chosen as one package rather than as separate purchases.
The practical question is simple: what does the bottle experience after it leaves the press? If the answer includes cold storage, damp handling, oil residue, manual filling, or retail chill cases, the label spec needs to reflect that reality. A decorative choice that ignores the distribution path is expensive in a very ordinary way. It becomes reprint cost, scrap, or a delayed launch.
Why Custom Labels for Glass Bottles Behave Differently
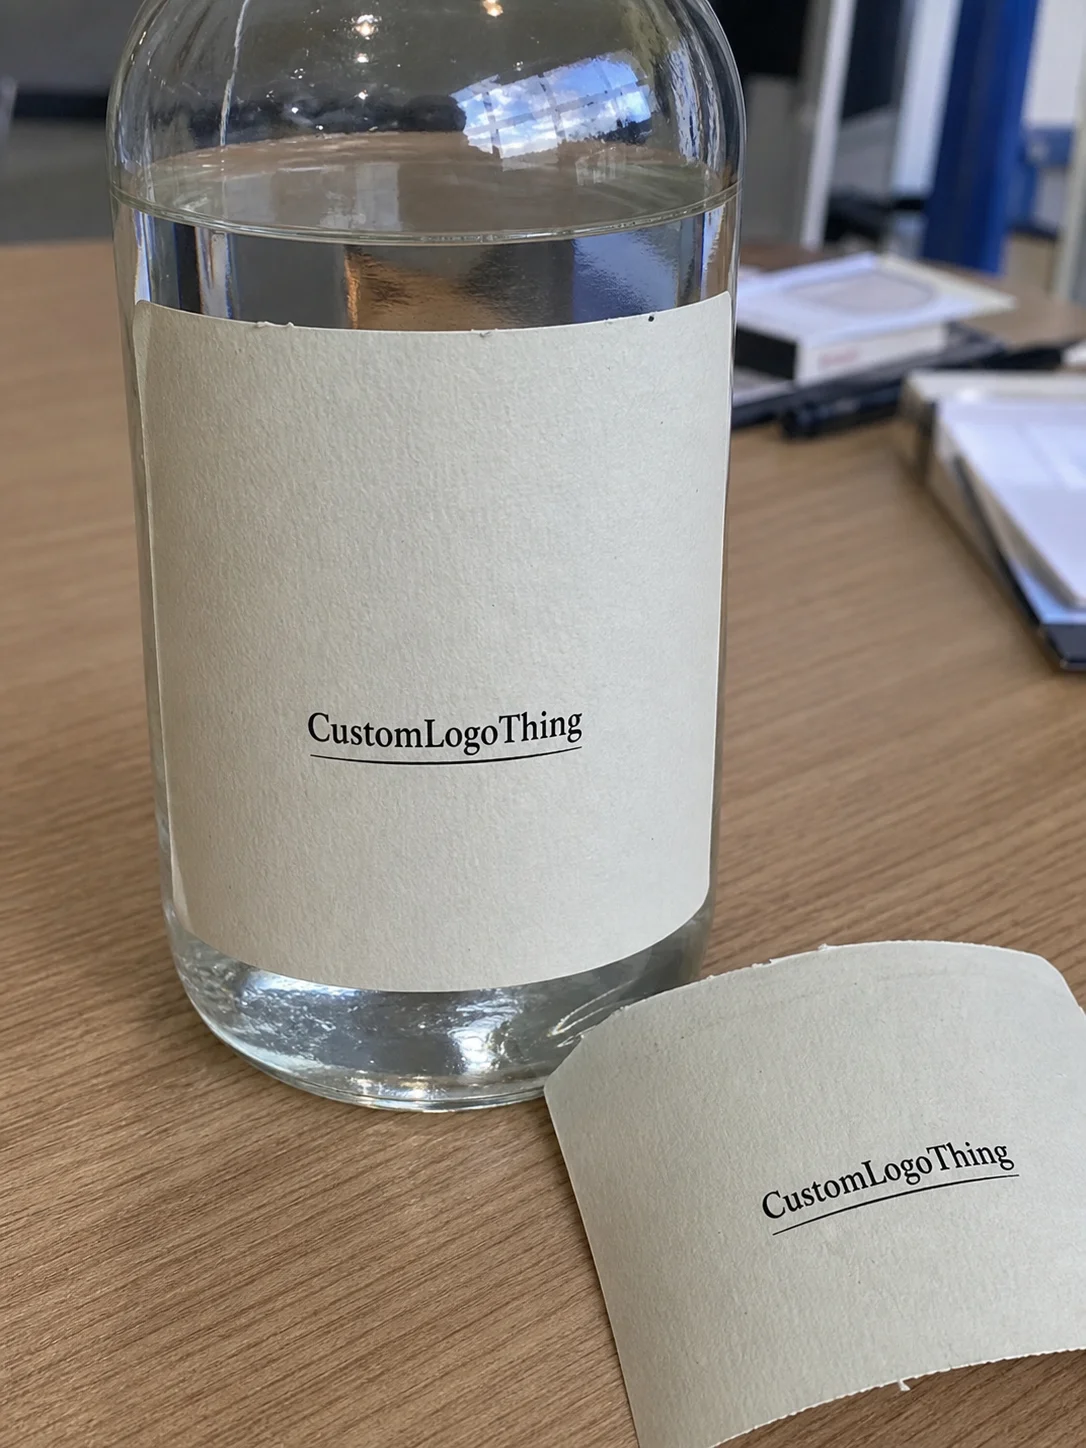
Glass behaves differently because it gives adhesives less to grip and because it exposes defects more clearly. A lifted corner on kraft paper might pass unnoticed on a carton. On a bottle, it reads as a failure. The same goes for bubbles, misalignment, and wrinkles around a shoulder curve. Even a small registration error can look magnified once the bottle is filled, chilled, and lined up in a case.
Condensation is the first practical test many labels fail. A bottle pulled from cold storage develops a thin film of moisture that changes how the adhesive wets out. That single condition affects beverage labels, sauce bottles, tinctures, cosmetic serum bottles, and any product handled soon after refrigeration. Oil and residue create a second problem. They interfere with bond strength and can make the label slide during application or lift after packing.
Surface curvature matters as much as moisture. A cylindrical bottle is easier to predict than a square or sculpted bottle with aggressive shoulders and recessed panels. Narrow label windows leave very little room for variation, so trim tolerances become more important. If your artwork depends on a thin border or centered logo, even a modest shift can make the run look inconsistent.
A bottle label should be judged on the real container, under the real storage condition, with the real application method.
That principle sounds basic, but it is often skipped. Buyers approve a flat proof, then discover the actual bottle has a tighter radius, a slicker surface, or a different fill temperature than expected. The result is not subtle. Edge lift shows up first, followed by scuffing, then by the kind of rework that consumes time far faster than the label itself ever cost.
Materials and Adhesives That Hold Up on Glass
Material and adhesive should be treated as a pair. Choosing one without the other is how good-looking labels fail in the field. For custom labels for glass bottles, the common face stocks are paper, polypropylene, polyester, and specialty films. Each has a different balance of print quality, moisture resistance, abrasion resistance, and cost.
Paper is still the entry point for many brands because it prints cleanly and keeps costs low. It works well on dry shelf products, jars, and bottles that are not expected to sweat. The drawback is predictable: paper absorbs moisture, so it is less forgiving in chilled or humid environments. Polypropylene is usually the best middle ground. It resists moisture better than paper, prints well, and stays within a sensible budget for many food, beverage, and cosmetic lines.
Polyester is the sturdier option when the label needs to tolerate colder temperatures, rougher handling, or longer distribution cycles. It costs more, but that extra cost can be justified if the product spends time in coolers or gets handled repeatedly before it reaches the consumer. Specialty films can add even more resilience, though they should be selected for a reason, not because they sound premium on paper.
Adhesive selection deserves the same level of attention. Permanent adhesive is common, but “permanent” does not mean universal. Some bottles need an adhesive that performs better on cold glass, damp surfaces, or containers with slight texture variations from manufacturing. If the bottle is filled warm and cooled later, that change in temperature can affect how quickly the bond stabilizes. A label that looks secure immediately after application may still shift before the adhesive fully sets.
Finish changes both appearance and behavior. Gloss boosts contrast and color density. Matte reduces glare and can make the package feel calmer and more deliberate. Soft-touch adds a tactile premium cue, but it is not always the right answer if scuff resistance matters. Clear labels can look elegant on glass because they let the bottle show through, yet they demand careful artwork choices and strong opacity control so type does not disappear against the liquid or the background.
Quality checks should happen on the actual substrate, not just on a swatch. Test labels should be pressed onto the same bottle, filled the same way, and stored the same way as the production run. That sounds obvious until a product looks perfect on dry samples and then begins to fail once it enters cold chain handling. A few labels and one test cycle are far cheaper than a reprint.
There is also a sourcing angle that buyers sometimes overlook. If the label uses paper and the brand wants a responsible fiber story, ask whether the stock is FSC-certified. That does not change performance by itself, but it can matter in product packaging programs where the label must support a broader sustainability claim. The FSC system is a useful reference point when fiber sourcing is part of the brief.
Size, Shape, and Finish Choices That Affect Shelf Appeal
Most buyers underestimate how little printable space a glass bottle actually offers. The neck, shoulder, base curve, and any molded detail all reduce the usable area. A label that is too tall will ride into the shoulder. A label that is too wide may wrap awkwardly or force the edges to lift. Measuring the actual flat or gently curved panel is more useful than borrowing dimensions from a similar bottle.
Wraparound labels work well when the product needs more copy space for ingredients, branding, or compliance details. Front-and-back labels are cleaner when the bottle shape is difficult or when marketing content and regulatory content should be separated. Neck labels and tamper-evident bands add function and can give a bottle a more finished look, but they also add steps to application. If the line is manual, that extra step matters.
Shape affects perception more than many teams expect. Rounded corners reduce the harshness of a rectangular panel and can help prevent edge lift. Die-cuts create a custom look, but each unusual cut adds complexity and may slow the run. Metallic accents, foil, spot varnish, and clear windows can be effective, yet too many effects on one small bottle often produce clutter rather than distinction. The strongest label is not always the most decorated one.
For brands coordinating bottle labels with custom printed boxes, the surfaces should work together rather than compete. If the box carries the louder message, the bottle label can be more restrained. If the bottle is the main retail signal, the box can stay quiet and functional. That balance is usually more effective than making every panel shout at once.
There is also a production reason to keep the design practical. Tight registration, sensible margins, and clean cut lines make labels faster to apply and less likely to waste. A design that looks elegant but jams an applicator or demands awkward hand placement becomes expensive quickly. Shelf appeal matters, but so does a smooth line speed.
The best bottle labels often feel simple because the difficult parts were solved early. That means the art is not fighting the container, the finish is not fighting the lighting, and the adhesive is not fighting the environment. When those pieces align, the label does its job without drawing attention to the mechanics underneath.
Process and Lead Time for Custom Bottle Labels
The production sequence is usually predictable: quote, dieline review, proofing, prepress, printing, finishing, cutting, and shipment. What changes the timing is the amount of uncertainty in the inputs. Unusual bottle shapes, premium finishes, and custom cut lines all require more setup and more checks. If the label also has foil, varnish, or white ink elements, the schedule stretches further.
The most common delays come from incomplete dimensions, late artwork revisions, and sample approvals that sit idle. One round of correction is normal. Three rounds usually means the spec was not complete enough at the start. For custom labels for glass bottles, it is better to think in business days and to build a cushion into the launch plan rather than assuming a simple approval path.
Simple digital label runs often move in about 7 to 10 business days after approval. More detailed jobs with specialty finishes, custom shapes, or multiple proof cycles often land closer to 12 to 15 business days, and some will run longer if the artwork needs substantive cleanup. Shipping time sits on top of that. If the bottle launch date is fixed, the label order should be scheduled backward from that date, not forward from the quote request.
Speed improves when the buyer sends a complete brief the first time. Bottle photos, exact dimensions, fill temperature, application method, target quantity, and artwork files all reduce guesswork. If the labels will be hand-applied instead of machine-applied, say so. If the bottles will be rinsed, chilled, or handled with wet hands, include that too. Those details affect adhesive choice, stock choice, and whether the proof is actually useful.
Distribution testing is worth a mention here. The ISTA testing framework is useful when labels are part of a package that must survive vibration, temperature shifts, and handling stress. A bottle label may not need full transit simulation every time, but it does need to survive the conditions it will actually face.
Cost, Pricing, and MOQ for Glass Bottle Labels
Price is shaped by material, size, color count, finish, quantity, and whether the labels are roll-fed or sheeted. For custom labels for glass bottles, the adhesive and finish often matter more than buyers expect. A plain paper label can become expensive if it needs a specialty adhesive, heavy ink coverage, or a demanding cut pattern. The opposite is also true: a premium-looking film can still be economical if the run is large enough and the spec is stable.
MOQ changes the math quickly. Small runs carry a higher unit cost because setup, proofing, and cutting are spread across fewer labels. As quantity rises, unit cost usually drops. That is why a 1,000-piece order can feel disproportionately expensive beside a 5,000-piece order even when the artwork is almost identical. The setup cost is doing the same work either way; volume just absorbs it better.
Here is a practical comparison buyers can use as a rough framework. The numbers are not quotes, but they reflect the way most short-run label pricing behaves.
| Label Option | Typical Use | Relative Cost | Notes |
|---|---|---|---|
| Paper with gloss or matte finish | Dry shelf products, jars, simple beverage lines | $ | Lowest entry cost; limited resistance to condensation |
| Polypropylene film | Chilled bottles, cosmetic bottles, higher handling | $$ | Good balance of moisture resistance, print quality, and cost |
| Polyester or specialty film | More demanding environments, premium durability | $$$ | Better abrasion and temperature resistance; higher material cost |
| Film with foil, soft-touch, or clear effects | Premium branded packaging | $$$ to $$$$ | Stronger shelf presence, but setup and finishing can raise lead time and price |
As a rough market range, simple bottle labels at moderate volume can land around $0.05 to $0.12 per unit. Film constructions with premium finishes may move into the $0.14 to $0.32 range or higher, depending on size, coverage, and quantity. Those are working estimates, not guarantees. The cost climbs when the label has a large ink area, a tight tolerance, a special adhesive, or a finish that requires extra handling.
The biggest mistake buyers make is comparing quotes that are not built on the same assumptions. One supplier may quote roll-fed labels for machine application, another may quote sheeted Labels for Hand application, and a third may be using a different adhesive or finish. The lowest quote on paper is not always the lowest finished cost. If a label fails in use, the true cost includes spoilage, rework, labor, and sometimes a missed launch window.
Common Mistakes That Cause Peeling, Smudging, or Reprints
The first mistake is choosing the construction before confirming the environment. If the bottle will be chilled, wet, or wiped down, that should shape the adhesive and face stock from the start. Too many label problems are traceable to a one-size-fits-all spec used on a product with very specific handling conditions.
Application quality matters just as much. Dust, oil, rinse water, and condensation all weaken bond strength. Glass should be clean and dry before label placement. That sounds basic, but it is often ignored on fast-moving lines. A label applied to a damp bottle may look fine at the table and then fail after packing or during cold storage.
Artwork issues create a separate class of problems. Tiny type becomes fragile on curved glass. Low-resolution logos can look soft at production size. Weak contrast can disappear under retail lighting or against a dark liquid. Clear labels are especially unforgiving because any error in opacity, alignment, or white ink placement shows immediately.
Overdesign is another common trap. A foil stamp, spot varnish, soft-touch laminate, and clear window on the same label can look impressive in a presentation and still be awkward to produce consistently. Every effect adds setup risk. Sometimes one strong finishing choice does more for the shelf than four competing ones.
There is a practical difference between a label that photographs well and a label that survives shipping, refrigeration, and restocking. That is why sample testing matters more than mockups. A flat proof tells you about color and layout. A bottle sample tells you about the conditions that usually cause reprints.
For broader product packaging programs, fixing a label issue can be much cheaper than redesigning the whole line. Swapping the adhesive, increasing a margin, or adjusting the die line often solves the problem without changing the brand architecture. The important part is identifying the failure correctly before replacing parts that were not the problem.
What to Confirm Before You Request Samples or a Quote
Before requesting samples or pricing, gather the bottle dimensions, surface finish, fill temperature, storage environment, application method, and target quantity. Those details answer most of the questions that affect both performance and cost. If you have artwork, send vector files and flag any elements that must hold exact register, such as barcodes, legal copy, or foil accents.
Requesting a sample on the actual bottle is much better than approving a flat proof alone. Curvature changes the way the label lays down. Condensation changes the bond. Even the bottle’s coating, if it has one, can change the outcome. A real sample catches problems early, when the fix is still cheap.
A concise spec sheet helps the supplier quote accurately the first time. Include size, stock preference, finish preference, quantity, and whether the labels will be hand-applied or run through a machine. If the label needs to coordinate with custom printed boxes or other packaging components, mention that too so the visual system stays aligned across the set.
Here is a simple checklist that prevents avoidable back-and-forth:
- Bottle dimensions and clear photos
- Glass surface condition and any coating or texture
- Fill temperature and storage environment
- Hand application or machine application
- Target order quantity and expected reorder cadence
- Artwork files and required copy
- Preferred finish and durability concerns
Buyers who send this information upfront usually get more accurate pricing and fewer revision rounds. They also avoid the common trap of discovering, too late, that the label was built for a different use case than the bottle actually has.
If the project includes a full packaging system, coordinating the label with Custom Labels & Tags and the rest of the packaging range often simplifies color matching and keeps the order consistent. That matters more than most teams expect once the product is moving through production and distribution.
The most reliable path is also the least dramatic: test on the real bottle, compare landed cost rather than unit price alone, and approve production only after the durability checks pass. That is how custom labels for glass bottles end up looking right, applying cleanly, and surviving the handling they will actually face.
What labels work best for chilled glass bottles?
Use moisture-resistant film stocks with adhesives rated for cold, damp conditions. Test the label on the actual bottle after refrigeration so condensation does not hide a bond problem that only appears in use.
How do I stop custom labels for glass bottles from peeling?
Match the adhesive to the bottle surface, storage temperature, and handling conditions. Also avoid applying labels to dusty, wet, or oily glass, and allow the adhesive enough time to set before packing.
What size should bottle labels be for curved glass?
Measure the usable flat panel or wrap area, not just the overall bottle height. Leave clearance near shoulders, seams, and bottom curves so the label applies cleanly and does not lift at the edges.
How much do custom labels for glass bottles usually cost?
Pricing depends on material, finish, size, print complexity, and order quantity. Per-unit cost usually drops as volume rises, but specialty finishes and small MOQs push the rate higher.
How long does the label process usually take?
Simple runs move faster than custom shapes, premium finishes, or multi-round proofing. Build in time for artwork review, sample approval, printing, finishing, and shipping before launch.


