Custom labels for whiskey bottles have one job before anything else: make the bottle feel worth picking up fast. After that, they still have to survive condensation, bar handling, abrasion in transit, and the occasional rough grab from a bottle well. That is why custom labels for whiskey bottles are not just stickers. They are a system of print, stock, adhesive, finish, and bottle fit.
Most buyers get tripped up in the same way. They focus on artwork first, then discover the label wrinkles on curved glass, peels in a cooler, or looks cheap under bar lighting. The better approach is to treat the label as part of the bottle itself, the same way you would think about Custom Labels & Tags, not as decoration added at the end.
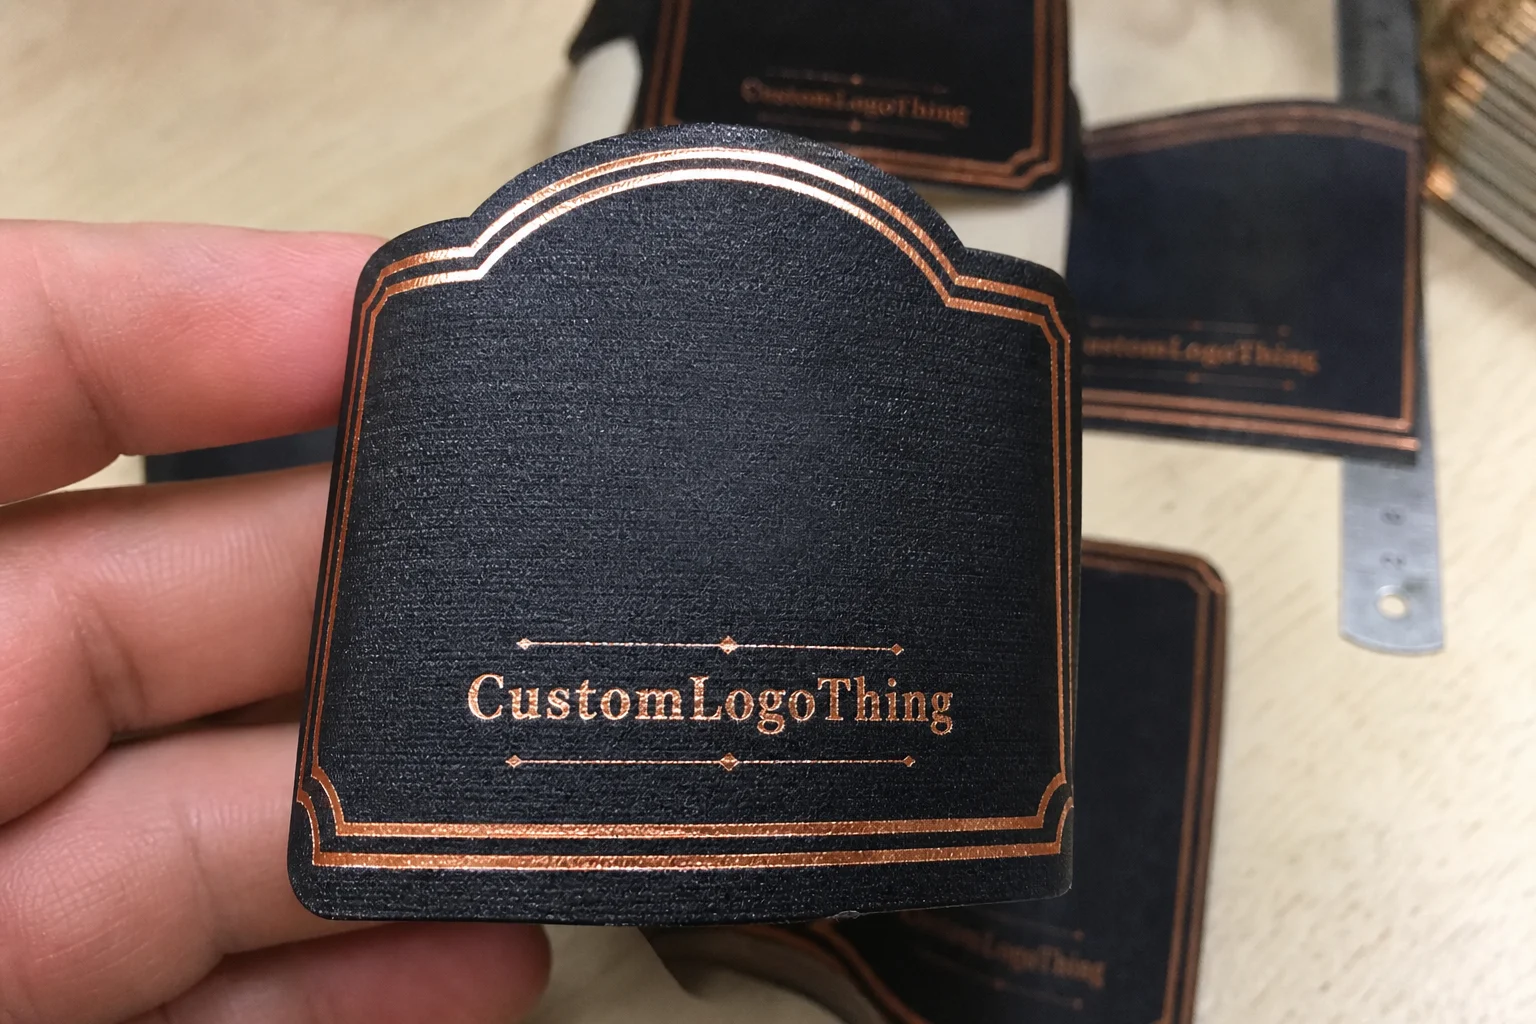
Custom labels for whiskey bottles: what buyers notice first
The shelf test is unforgiving. A whiskey label has a few seconds to communicate quality, style, and price point, then it has to survive the practical conditions the bottle will actually live in: cold storage, sticky surfaces, dust, and repeated handling. If the front label starts lifting or the neck wrap shifts off-center, the bottle stops feeling premium immediately.
From a packaging buyer’s point of view, the label has to do three things at once. It carries brand identity, it handles required text, and it needs to suit the bottle’s shape. If any one of those is off, the whole package feels unbalanced. A strong logo can still look awkward on a heavy, curved bottle if the label panel is wrong.
Condensation is usually the quiet failure point. People blame the liquid or the fill line, but moisture on the glass and abrasion from handling are what ruin the label first. A sample that looks fine in a dry room can fail once it touches ice buckets, humid storage, or a chilled retail case. That is why finish and adhesive matter as much as print quality.
A label that survives the bottle’s real life is better than a prettier label that peels in the cooler.
How label construction works on glass bottles
A custom whiskey label is built from several parts, and each one changes how the finished label behaves on glass. The face stock is the visible material. The adhesive controls how it bonds. The liner supports production and application. Ink and coating affect color, texture, and durability. Skip one of those decisions and the label can look right while performing wrong.
Face stock and print method
Paper stock is still common for a classic look, especially for brands leaning into heritage or craft positioning. Film stocks like BOPP are usually better when the bottle may see moisture, oils, or repeated scuffing. In practice, the choice often comes down to whether the bottle lives on a warm shelf or spends time in cold storage and wet service.
Print method matters too. Digital print is flexible for shorter runs and variable artwork. Flexographic or offset methods make more sense on larger quantities where consistency and unit cost matter more. For custom labels for whiskey bottles, the best option is the one that matches the quantity, finish, and detail level instead of the one that sounds fancier in a sales email.
Bottle shape and application method
Long shoulders, curved fronts, embossed glass, and narrow necks all reduce label tolerance. A label that looks rectangular on screen may need a custom dieline to sit correctly on the bottle. If the bottle has a strong curve, the adhesive and face stock need enough flexibility to avoid wrinkling at the edges.
Application method changes the spec as well. Hand-applied labels allow a little more freedom, but they still need a sensible size and gap. Semi-automatic lines want consistent backing, roll direction, and spacing. Full automation is less forgiving and usually needs tighter control over the liner, roll diameter, and unwind direction. If you want the labels to run cleanly, the label spec has to suit the bottling line, not just the art file.
A proof on paper cannot show how a label behaves once it hits curved glass at production speed. One small wrinkle near the shoulder can turn a polished bottle into a shelf liability. Test runs matter because the real bottle is the real problem.
For a broader packaging program, many brands coordinate the label with Custom Packaging Products so the bottle, carton, insert, and shipping pack all support the same visual language.
Materials, adhesives, and finishes that matter
Material choice is where custom labels for whiskey bottles either earn their premium feel or quietly lose it. Paper, film, adhesive, coating, and finish all affect not just appearance but also durability and application behavior.
Paper versus film: Paper gives a more traditional, tactile look and works well for a shelf-only premium bottle. Film, especially BOPP, usually handles moisture and scuffing better. If the bottle will sit in a bar well, travel in cold packs, or get wiped down often, film is usually the safer call.
Adhesive: Permanent adhesive is the default for most retail bottles because it holds well on glass and resists edge lift during chilling and handling. Removable adhesive can help for short-term promotions or refillable applications, but it is not the standard choice for whiskey. If the bottle is likely to be refrigerated or exposed to condensation, specialty cold-resistant adhesives are worth discussing early.
Finish: Matte, gloss, soft-touch, and metallic accents each send a different signal. Matte often reads restrained and premium. Gloss can pop under retail lighting. Soft-touch gives a more tactile feel, but it can show rub wear if the rest of the system is weak. Foil and metallic details are useful when you want a label to catch light without becoming visual noise.
Print detail: Small legal text, fine line work, and dense color fields need the right combination of stock and print method. Tiny type can blur or fill in if the substrate is too textured or the ink laydown is too heavy. If your logo depends on thin serifs or delicate ornament, test it at actual size.
For sustainability claims, check the actual substrate and sourcing rather than guessing. If your paper stock needs FSC certification, verify the chain-of-custody paperwork. If the project involves broader environmental targets, the EPA and FSC both publish useful baseline guidance on responsible materials and packaging systems: EPA sustainable materials guidance and FSC certification resources.
One practical point: not every premium-looking effect survives production equally well. Heavy emboss, deep metallic coverage, and multiple coating passes can increase waste, slow press speed, and raise the odds of registration drift. That does not make them bad choices. It just means the design should earn the complexity.
Cost, pricing, MOQ, and unit cost for a smart first order
Pricing for custom labels for whiskey bottles depends on more variables than most buyers expect. Size, shape, material, finish, quantity, number of colors, and whether you need Custom Die Cutting all affect the unit cost. The easiest way to overspend is to ask for “the same label” from different vendors without locking the same specs.
For simple pressure-sensitive labels, the unit price can be quite reasonable at volume. Once you add specialty stock, foil, heavy coating, or unusual shapes, the price rises fast. Lower quantities also carry more setup cost per piece because press setup, tool prep, and finishing time get spread across fewer labels.
| Label type | Typical use | Relative cost | Notes |
|---|---|---|---|
| Paper pressure-sensitive | Dry shelf bottles, classic look | Lower | Good for restrained branding, less forgiving in moisture |
| BOPP film | Bars, chilled storage, frequent handling | Moderate | Better resistance to water and rub wear |
| Paper with foil or specialty coating | Gift packs, premium launches | Higher | Stronger shelf impact, higher setup and finishing cost |
| Custom shape with special adhesive | Unique bottle profiles | Highest | Useful when bottle geometry is driving the design |
A useful first-order range for many projects is often in the low cents per label at higher volume for simple specs, then higher as finishes get more elaborate. That is not a quote. It is a sanity check. If one supplier is far below the others, compare the exact size, stock, adhesive, finish, and quantity before assuming you found a bargain.
Good questions to ask:
- What is the minimum order quantity for this spec?
- Does the price include custom cutting, coating, and proofing?
- Is the quoted adhesive suitable for chilled or humid storage?
- Will the finish hold up to rub testing and bottle handling?
- What changes if the artwork uses heavy ink coverage or metallic elements?
Production steps and turnaround for bottle labels
Production should follow a predictable sequence: brief, dieline, artwork setup, proof, approval, production, finishing, shipment. If a vendor cannot explain that flow clearly, that usually means they are improvising more than they should.
The proof stage is where problems usually show up early enough to fix cheaply. A rushed approval can miss bleed, barcode sizing, regulatory copy, or a label panel that overreaches the bottle’s curve. Those are not cosmetic issues. They are the sort of problems that hold up a launch or force an expensive reprint.
What affects turnaround
Lead time depends most on complexity, queue length, and proof revisions. Simple custom labels for whiskey bottles can move quickly once artwork is approved and stock is in hand. Add foil, special coatings, unusual die cuts, or variable data, and the schedule gets longer.
Most buyers should plan buffer time for approval rounds, shipping, and any final corrections after the first proof. If the labels are tied to a launch date, do not schedule the bottling run with no slack. That is how people end up making excuses to distributors.
For quality control, packaging buyers often reference general test expectations from organizations like ISTA when they are checking how packaged goods handle transit and abuse. Labels are not a full transit system, but the mindset applies: test the weak points before the customer does.
Practical timeline ranges:
- Simple labels with standard stock and finish: often around 12 to 15 business days after proof approval.
- Labels with special finishes or custom shapes: often 2 to 3 weeks or more, depending on queue and approval speed.
- First-time projects with multiple revisions: add extra time, because the proof cycle usually takes longer than expected.
Minimum order quantity is another constraint worth planning around. A label with special tooling or rare stock can force a larger first run than expected, even if the artwork itself is simple. Ask about inventory storage, bottle counts, and whether the order needs to cover a full launch or just a pilot batch.
Common mistakes that make a premium bottle look cheap
Most bad labels are not bad because of one giant mistake. They are bad because of several small ones stacked together. Too much copy. Wrong finish. Poor bottle fit. Weak contrast. No durability testing. Any one of those can be survivable. All of them together make the bottle look rushed.
Oversized copy: A whiskey label is not a poster. Crowding too much text onto the front panel kills the premium feel. Buyers want enough information to trust the brand, not a legal brief disguised as packaging.
Finish mismatch: A rustic brand on ultra-gloss stock can feel fake. A modern label on rough paper can feel accidental. The material has to support the story, otherwise the package sends mixed signals before the customer even opens the box.
Poor bottle fit: A label that ignores shoulder radius, front panel width, or neck height will always look off. Even if the artwork is great, the bottle can make it look wrong. Measuring the real bottle is not optional.
Skipping durability checks: If you do not test moisture, rub, and cold exposure, you are guessing. Test the actual label on the actual bottle under realistic conditions before signing off on a full run.
Ignoring the application method: A beautiful label can still fail if the roll direction, liner spec, or gap width does not suit the line. Hand application hides some problems. Automatic lines expose them quickly.
When a label fails, people tend to blame the printer first. Sometimes that is fair. Often it is a spec issue, a bottle issue, or a design issue that nobody pinned down early enough. Clear approval steps save time and protect the brand.
Expert tips and next steps for a cleaner order
Start with the bottle, not the artwork. Measure the label panel, shoulder curve, neck wrap, and any embossing before you lock the design. That one habit saves more rework than any premium finish ever will.
Keep the brief tight. One approved logo file. One copy deck. One bottle specification. If different people are sending different versions, production will guess, and guessing is how expensive mistakes happen.
Use a simple ordering checklist:
- Confirm bottle dimensions and label panel size.
- Choose the material based on storage and handling.
- Select adhesive for dry, chilled, or humid use.
- Decide on matte, gloss, soft-touch, or foil accents.
- Lock quantity, timeline, and approval owner.
- Request a proof and review it at actual size.
- Test the sample on the real bottle before production.
If the label is part of a larger launch, make sure the bottle, carton, and outer shipper all match the same branding logic. The label should not feel like it came from one project while the box came from another.
For buyers comparing options across a broader line, Custom Packaging Products can help keep the finish, material language, and presentation consistent across the shelf set.
FAQ
What material works best for custom labels for whiskey bottles?
Film stocks like BOPP usually hold up better to moisture and handling than standard paper. Paper can still work well for a dry, shelf-only premium look if the bottle will not see ice buckets or condensation. The best choice depends on the bottle environment and the finish you want.
How much do custom whiskey bottle labels usually cost?
Unit cost depends on quantity, material, finish, shape, and print complexity. Simple labels get cheaper at higher quantities because setup costs are spread out. Special finishes like foil, soft-touch, or Custom Die Cuts raise the price, so compare quotes on identical specs.
What is a realistic turnaround for custom labels for whiskey bottles?
Most timing depends on proof approval, stock availability, and the production queue. Simple jobs move faster than labels with foil, special coatings, or custom shapes. Build in extra buffer if the labels are tied to a launch date or bottling schedule.
Do whiskey bottle labels need special adhesive?
Yes, adhesive choice matters because glass, moisture, and cold storage all affect hold strength. Permanent adhesive is common for retail bottles, while removable or specialty adhesives fit certain short-term or chilled uses. Test the label on the actual bottle before approving a full run.
How do I avoid mistakes when ordering custom labels for whiskey bottles?
Lock the bottle dimensions before design starts. Request a proof that shows the final size, bleed, and copy placement. Check the label under realistic conditions like cold storage, handling, and condensation before you approve production.

