Custom luggage stickers: what they are and why they stand out
Bag claim is never a calm place. Black roller bags blur into one another, gray hard cases all look vaguely engineered the same way, and the moment your suitcase appears it seems to do so out of spite. That is the practical reason Custom Luggage Stickers keep getting used: they make a bag easier to spot quickly, which is exactly what matters at a carousel packed with near-identical luggage.
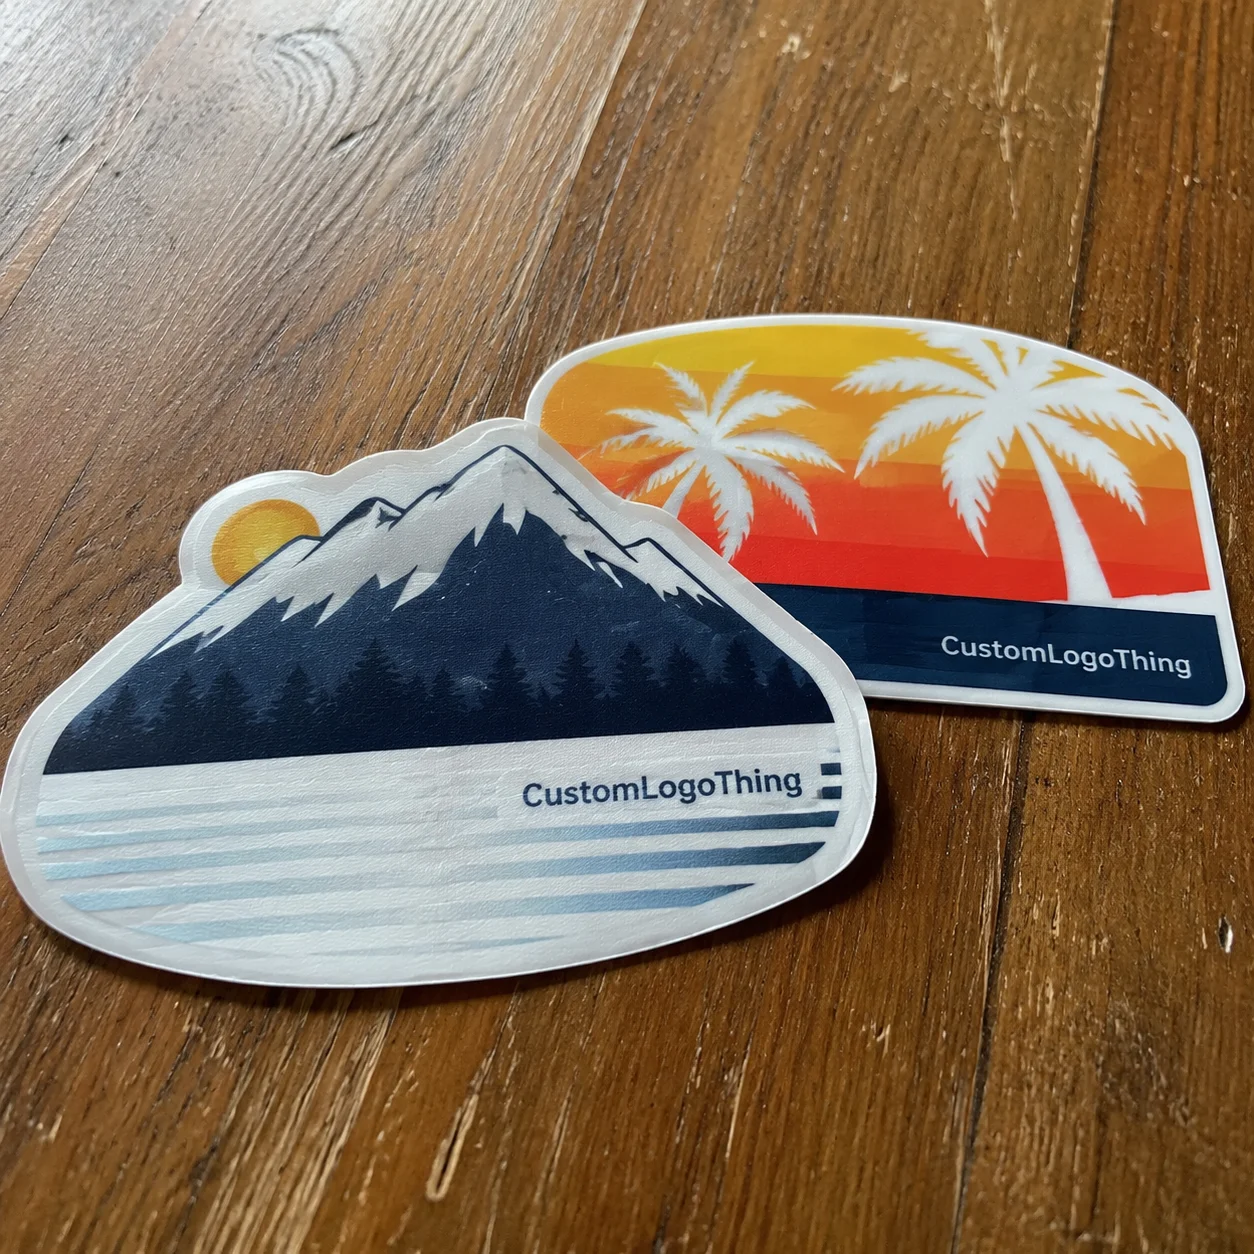
At the simplest level, custom luggage stickers are durable adhesive labels made for bags, carry-ons, hard-shell cases, travel trunks, and gear boxes. They are not the thin promotional stickers people toss onto laptops or water bottles for a week and forget. A travel sticker has to survive abrasion, humidity, temperature swings, repeated handling, and the occasional bump against metal rails or rough flooring.
For buyers, the value is mostly practical. A well-placed sticker can reduce mix-ups, support brand recognition, and help teams or travel programs keep luggage visually consistent. Businesses use them alongside other package branding and branded packaging elements, especially when the same visual system already appears on boxes, inserts, or shipping labels. The sticker becomes one more touchpoint in the same brand language.
They also have a surprisingly broad range of smaller uses. Families add them to kids’ bags, event teams use them for VIP kits, and travel brands sometimes include them as inserts or extras with purchases. The appeal is simple: a plain surface becomes immediately identifiable without needing a name tag that can fall off or get hidden under a handle.
Visibility comes first; decoration comes second. A sticker can look good, but if it starts peeling after one trip, it was the wrong spec for the job.
How custom luggage stickers are made and applied
Most custom luggage stickers start with one of three material paths: vinyl, laminated paper, or waterproof film. Vinyl is usually the most dependable option for frequent travel because it handles flex, moisture, and surface movement better than paper-based stocks. Laminated paper can work for lighter-duty or promotional use, especially when the sticker is meant for short-term visibility rather than repeated baggage handling. Waterproof films sit in the middle for buyers who want more toughness than paper but do not need a heavy industrial build.
Print method matters too. Digital printing is common for shorter runs and full-color artwork, especially when multiple designs or variable details are involved. Offset and screen printing still make sense in some bulk jobs, particularly where dense color, repeatability, or specific ink behavior is important. After printing, the sticker is usually die-cut or kiss-cut, then finished with a protective layer if the order calls for it. That top layer does real work. It is what helps the sticker resist scuffing from conveyor belts, hands, case edges, and everything else luggage goes through on the way to the carousel.
Adhesive choice is where many first-time buyers get tripped up. A sticker can look excellent on a proof sheet and still fail on the actual bag if the adhesive is too weak for a textured shell or too aggressive for a soft-coated panel. Smooth polycarbonate cases are the easiest surfaces. Pebbled plastic, rubberized coatings, and curved edges need more testing. If the luggage surface is unusual, request a sample and test adhesion before placing a large order.
Application is straightforward, but sloppy placement causes avoidable failures. Clean the surface with a dry cloth, or a mild alcohol wipe if the luggage material allows it. Let the surface dry fully. Position the sticker once, then press from the center outward to push out air. On curved luggage, smaller stickers usually hold better than large shapes with thin extensions or sharp corners. That is not a glamorous detail, but it is how adhesion behaves in the real world.
The simple formula is hard to improve on: better material, better cut, better adhesive. Design still matters, but baggage systems do not care how elegant the layout looked in the file.
Cost, pricing, and MOQ factors to compare
Sticker pricing is mostly a math problem with a handful of variables that are easy to underestimate. Size, shape, material, finish, print coverage, adhesive type, and quantity all affect the quote. A small one-color round sticker is a very different product from a custom-cut, full-color luggage sticker with laminate and a specialty adhesive. Buyers often ask for “just a sticker,” then get surprised when the details change the price. The details are the product.
For typical custom luggage stickers, small-volume orders may land around $0.30-$1.20 per unit, depending on size and finish. Mid-volume runs often fall into the $0.12-$0.45 range per unit. Large orders can go lower, especially when the design is simple and the sheet layout is efficient. These are practical ranges, not guarantees. Once the shape gets more complex or the surface requires a stronger adhesive, the price moves up quickly.
MOQ changes the economics fast. A supplier might quote 100 pieces at a decent-looking unit price, but the real value usually appears at 500, 1,000, or 5,000 pieces because setup costs get spread across more units. That logic applies across retail packaging and product packaging too. Small runs are flexible. Larger runs are cheaper per piece. There is no loophole for that.
| Option | Typical MOQ | Approx. Unit Price | Best For |
|---|---|---|---|
| Basic laminated paper | 100-250 | $0.30-$0.70 | Short-term promos, gift kits |
| Waterproof vinyl | 250-1,000 | $0.15-$0.45 | Frequent travel, brand merch |
| Premium vinyl with laminate | 500-5,000 | $0.12-$0.38 | Retail packaging tie-ins, resale, events |
| Custom shape with specialty adhesive | 1,000+ | $0.20-$0.60 | High-use cases, premium branding |
The practical buying rule is straightforward: do not pay for premium features you will never use, but do not cut the one feature that keeps the sticker intact. If the stickers are going onto checked luggage, waterproof stock and a protective laminate are usually worth the extra spend. If they are going into a lower-risk giveaway pack with Custom Packaging Products, a simpler specification may be enough.
Also ask what is included in the quote. Trimming, proofing, and shipping can shift the real total more than buyers expect. A low unit price can disappear once freight and carton costs show up. Saving two cents per sticker does not help much if the shipping line wipes out the margin.
Production steps and turnaround: from artwork to delivery
The production path is usually predictable. First comes artwork prep, where the file gets checked for resolution, bleed, safe zones, and cut line accuracy. Then a proof is issued. After approval, the job moves into print setup, printing, finishing, trimming, quality checks, and shipment. Simple in outline. Less simple when the logo is too small, the die line is missing, or the color brief changes after proof approval.
For normal production, turnaround is often 7-15 business days after proof approval. Rush jobs can be faster, sometimes 3-7 business days, but that depends on file readiness, press capacity, and whether the sticker is a standard shape or a custom cut. The fastest production schedule still slows down when the source file is a low-resolution image pulled from a phone screenshot.
Delays usually happen in three places. First, artwork revisions. Second, custom shapes that require new tooling or extra layout work. Third, approval lag. Once the file is locked, production can move quickly, but every round of changes pushes the schedule. If the stickers need to arrive with a larger brand launch or alongside Custom Labels & Tags, build enough lead time for the full system to land together.
The best way to keep the order moving is to send a complete spec set up front: final dimensions, intended surface, finish preference, and quantity. That reduces back-and-forth and helps the printer quote correctly the first time.
Short version: clean files move fast, messy files do not. The printer cannot fix unclear instructions without slowing things down.
Material and finish choices that affect travel durability
The finish is not just a visual choice. It affects scuff resistance, readability, and how the sticker survives after a few trips through rough baggage handling. Gloss finishes usually make colors look richer and more saturated. Matte finishes reduce glare and can create a quieter, more premium look. Lamination adds a protective layer, which matters when the sticker is going to be rubbed, scraped, stacked, and handled by people who are not being careful.
For checked luggage, waterproof and scratch-resistant options are the safer bet. If the sticker is going onto a hard-shell case that travels often, laminated vinyl tends to be the most balanced choice between cost and durability. If the luggage is soft-sided or textured, you may need to accept a slightly different finish in exchange for better adhesion. That tradeoff is normal. Good buying is usually about matching the spec to the actual surface, not chasing the fanciest look on paper.
Some buyers want a more upscale appearance because the stickers are part of a luxury package branding program or a higher-end gift bundle. That can make sense, especially for corporate travel kits or retail packaging tie-ins. In those cases, soft-touch lamination, thicker film stock, or a heavy gloss laminate can improve perceived value. The caveat is simple: soft-touch looks refined, but it can show wear differently than standard gloss. If the sticker is going to be handled roughly, a harder protective finish usually lasts longer.
If sustainability matters, ask about material certifications and substrates that fit the rest of the packaging system. References like FSC can help when paper-based components are part of the build, and packaging guidance from packaging.org is useful for buyers thinking beyond a single label and into a broader system. For travel wear and abrasion expectations, many teams also look at ASTM methods or ISTA handling practices. Not every sticker needs lab validation, but the testing mindset is useful: sample before scaling.
The shortest way to choose the finish is to ask how rough the environment will be. Airports are not gentle. The spec should reflect that.
Common ordering mistakes that make stickers fail
The first mistake is poor artwork. Low-resolution files, tiny type, and hairline borders are all risky. A sticker can look crisp in a PDF and still print muddy if the source art is weak. For luggage, the message has to be readable from a few feet away. If people need to squint, the identification benefit drops sharply.
The second mistake is shape complexity. Thin arms, sharp corners, and tiny interior cutouts may look clever, but they are also the parts most likely to lift or tear during handling. A simpler silhouette often performs better and still looks polished. In practice, a strong icon shape usually beats a fussy outline.
The third mistake is choosing the wrong adhesive for the bag surface. Smooth plastic and coated luggage shells are easy. Textured fabric, rubberized coatings, and curved panels are not. If surface testing gets skipped, peel risk goes up. And peel risk is one of those quiet problems that turns into refunds, replacements, and unnecessary rework.
The fourth mistake is buying for appearance only. That is the classic trap. A design can be attractive and still fail after a few trips through baggage handling, heat, friction, and stacked luggage pressure. Good custom luggage stickers need both design discipline and physical durability. That is true whether the stickers are used for personal travel, retail packaging, or a corporate mailer that includes branded packaging inside.
One more detail gets overlooked often: the pack-out. If stickers are going into a bundle with custom printed boxes or a larger travel kit, the backing paper, carton size, and insert presentation matter. A sticker that arrives bent or scratched is already starting behind.
Actionable next steps for choosing the right sticker spec
Start with the use case. Are these for personal travel, employee gifts, event giveaways, retail resale, or a travel brand bundle? That answer changes almost everything. A personal-use sticker can use a lighter spec and a lower MOQ. A retail product needs stronger durability, more consistent color, and better presentation. Once the use case is clear, the rest gets easier.
Then work through a short spec checklist:
- Size: choose a format visible from a few feet away without overwhelming the bag.
- Shape: keep the outline simple unless the design truly needs a custom contour.
- Material: vinyl for durability, laminated paper for lighter-duty use, waterproof film for frequent travel.
- Finish: gloss for punch, matte for low glare, laminate for added protection.
- Adhesive: match it to the bag surface, not to the most optimistic assumption.
- Quantity: pick the smallest run that still gives sensible unit pricing.
- Budget: decide where durability matters most, then spend there.
Ask for a proof every time. A proof catches layout problems, color issues, and cut line mistakes before they turn into a full run of unusable product. If possible, request a sample or small test batch before scaling up. That is especially smart for new products or any sticker meant to sit alongside broader Custom Packaging Products in a branded launch.
There is also a broader branding point here. A luggage sticker acts as a compact brand touchpoint, much like labels, inserts, and other product packaging details. It is small, but it still communicates quality. Cheap-looking travel merch weakens the brand. A well-made sticker does the opposite.
The simplest recommendation is to match the spec to the environment, not to the mood board. If the stickers will travel often, prioritize lamination, waterproof stock, and adhesive strength. If the order is mostly promotional, keep the design clear and the order size efficient. That way your custom luggage stickers do the job they were meant to do: stay readable, look sharp, and survive the trip.
What makes custom luggage stickers different from regular stickers?
They are made with tougher materials and adhesives designed for travel wear, curved surfaces, and frequent handling. Regular stickers can look fine on a desk item and still fail quickly on checked baggage.
Are custom luggage stickers waterproof?
They can be, if you choose vinyl or laminated materials with the right finish. Water resistance is common, but true durability still depends on adhesive strength, coating, and how rough the luggage treatment gets.
How much do custom luggage stickers usually cost?
Price depends on size, quantity, material, finish, and whether the shape is standard or custom cut. Bulk orders usually lower the unit cost, while small runs and premium finishes cost more.
How long does production take for custom luggage stickers?
Most orders depend on proof approval, print complexity, and whether the artwork uses a stock shape or a Custom Die Cut. Rush timelines may be available, but clean artwork is usually the biggest time saver.
What size works best for custom luggage stickers?
Medium sizes are usually easiest to spot without overwhelming the bag surface. The best choice depends on the luggage style, artwork detail, and whether the sticker needs to be readable from a distance.


