Custom motorbike stickers are tested harder than ordinary decals. On a bike they face UV, rain, road grit, wash chemicals, vibration, heat, and sometimes fuel splash near the tank. A design that looks good in a proof can still fail quickly if the film is too rigid, the adhesive too weak, or the print left unprotected.
That is why buyers need to focus less on mockups and more on specification. These decals are used for race numbers, sponsor panels, tank accents, helmets, luggage, and full fairing kits. Brands may also want the same artwork carried across package branding, retail packaging, and Custom Labels & Tags, but the bike-facing version still needs materials suited to outdoor use.
What custom motorbike stickers actually are
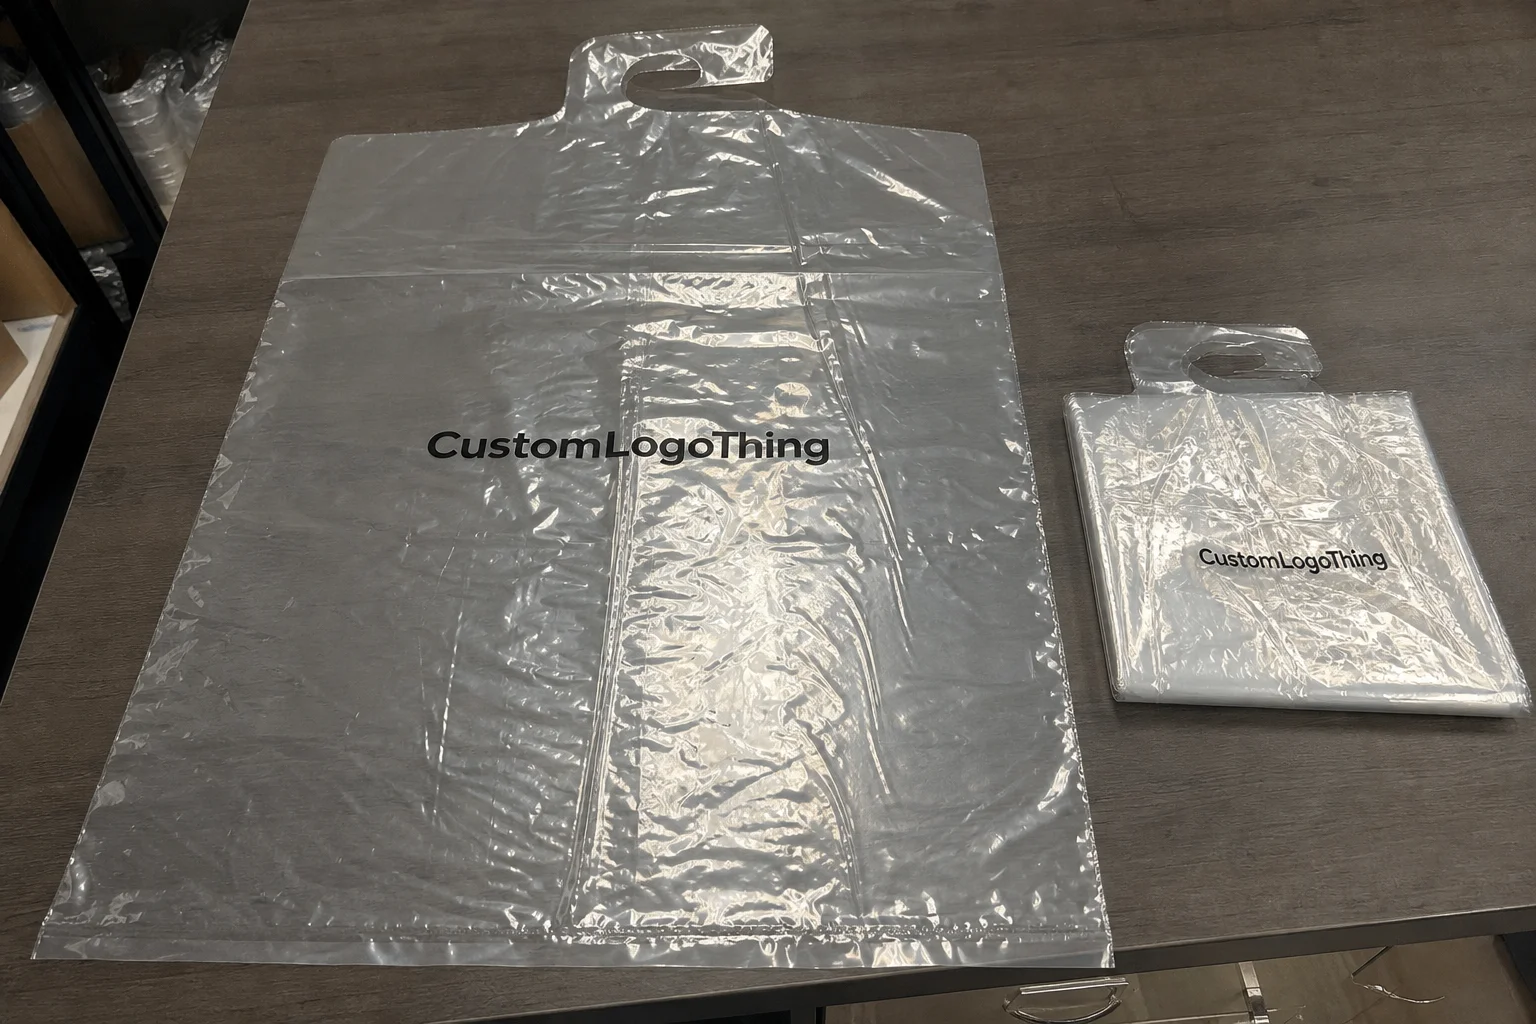
These are outdoor decals made for painted metal, molded plastics, helmets, panniers, top boxes, and windscreens. Most are vinyl based, but “vinyl” is too broad to be useful on its own. A simple promotional sticker and a fairing graphic may both use vinyl, yet they can differ heavily in flexibility, adhesive strength, and outdoor life.
The main formats are printed decals, die-cut stickers, contour-cut logos, reflective strips, and multi-piece graphic kits shaped for specific panels. Printed decals are better for gradients, layered branding, and detailed artwork. Cut vinyl is often the better choice for race numbers, lettering, and bold solid-color logos because there is no printed ink layer to protect.
Placement changes the spec. A top-box decal is relatively easy. A tank graphic sees hand contact and possible fuel exposure. A helmet sticker must handle abrasion and curves. Fairing graphics have to cross seams and compound shapes without lifting. The same artwork may need different materials depending on where it will be applied.
Common placement areas include:
- Fairings and side panels
- Helmets
- Swingarms
- Fuel tanks
- Windscreens
- Panniers and top boxes
Cheap stock usually fails first at the edges. Films shrink, corners lift, dirt gets underneath, and the graphic starts to look worn long before the print itself fades. For businesses matching bike decals with Custom Packaging Products or other branded materials, color consistency matters too, but durability still comes first.
How the production process and timeline work
The normal workflow is artwork review, proofing, material confirmation, printing or cutting, lamination if needed, contour cutting, finishing, packing, and shipping. Delays usually come from poor files, missing measurements, unclear panel references, or artwork with no cut path.
There are two common production routes. Digital printing is used for full-color art, gradients, and mixed graphics. Cut vinyl suits simple logos, text, and race numbers in solid colors. For minimalist designs, cut vinyl can be longer wearing because there is no printed surface to protect.
Proofing is the stage that prevents most expensive mistakes. The proof should confirm size, orientation, spelling, bleed, cut line, and layout. For multi-piece kits, it should also identify which piece goes on which panel. Once approved, later changes usually mean extra setup and waste.
Typical lead times are around 8 to 15 business days after proof approval for standard orders. Complex kits, specialty films, physical sampling, or slow artwork revisions can extend that. Shipping time is separate and should be confirmed in the quote.
Before comparing suppliers, ask what film is being quoted, whether laminate is included, what adhesive is used, and what the actual production and shipping windows are. A low quote without those details is not a meaningful comparison.
If a supplier cannot specify the film type, laminate, adhesive grade, and realistic dispatch timing, the quote is missing the details that decide whether the decal will perform.
Key material, finish, and sizing factors for custom motorbike stickers
Material choice decides most of the lifespan. Common options include PVC vinyl, cast vinyl, reflective film, and printable vinyl with overlaminate. They are not interchangeable.
PVC vinyl is the lower-cost baseline for general decals and flatter surfaces. Cast vinyl costs more but performs better on fairings, tanks, and other curved panels because it conforms more easily and resists shrinkage better over time. If the design has to sit cleanly across compound curves, cast film is usually the safer choice.
Reflective film is useful for visibility on helmets, panniers, and safety accents. It raises cost and usually offers fewer finish options, so it should be chosen for function, not just style.
Finish changes both look and maintenance. Gloss tends to make colors appear stronger and suits motorsport-style graphics. Matte reduces glare and can work better on understated builds. Clear media can help graphics sit over paint without a white background, but color density should be checked carefully before approval.
For printed graphics, laminate is often essential rather than optional. It protects the ink from UV, road grime, and wash chemicals, and helps printed surfaces resist light abrasion. On motorcycles, unlaminated prints are often a false economy.
Size needs the same attention as material. A logo can look balanced on screen but fail on the bike if it crosses vents, bolt recesses, seams, or deep curves. Tiny lettering may be readable in proof form yet too fine to hold a clean edge in use. Oversized graphics also create more exposed edge and more chance of lifting.
| Material | Best use | Typical strength | Tradeoff |
|---|---|---|---|
| PVC vinyl | General decals, short-to-medium term | Lower cost | Less conformable on tight curves |
| Cast vinyl | Fairings, tanks, long-term graphics | Better flexibility and durability | Higher cost |
| Reflective film | Visibility accents, safety markings | High visibility | More expensive, limited finish options |
| Laminated print | Full-color art, outdoor use | Scratch and UV protection | Extra layer increases price |
A useful supplier should describe expected life by surface type, not just give a generic outdoor rating. A pannier lid, a hot tank side, and a curved fairing do not expose the decal to the same stress. For shipping and pack protection, references such as ISTA are also relevant because kits still need to arrive flat and clean.
Custom motorbike stickers pricing, MOQ, and unit cost
Pricing is driven mainly by size, quantity, material, print method, laminate, and cut complexity. Shape matters more than many buyers expect. A simple round decal is quick to finish. A contour-cut design with many sharp internal points takes more time to cut, weed, inspect, and apply.
Small runs have the highest unit cost because setup is spread across fewer pieces. That makes MOQ less useful than understanding where volume starts to improve the price enough to justify the run.
Typical benchmark ranges:
| Order type | Typical quantity | Approx. unit cost | Notes |
|---|---|---|---|
| Simple logo decal | 50-200 pcs | $0.35-$1.20 | Depends on size, color count, and cut style |
| Printed sticker with laminate | 100-500 pcs | $0.60-$2.50 | Better suited to outdoor use |
| Reflective or specialty film | 100-300 pcs | $1.20-$3.50 | Higher material cost, improved visibility |
| Multi-piece graphic kit | 10-50 sets | $18-$75 per set | Varies by panel count, size, and coverage |
Those numbers only help if the specs match. One quote may be lower because it uses economy film instead of cast vinyl, removes laminate, changes adhesive, or excludes shipping. Always compare line by line.
Extra charges can appear for artwork cleanup, color matching, contour-cut setup, sampling, and split packing. Digital proofs are often included; physical samples usually add both cost and time. If color accuracy matters, that extra step can still be worthwhile.
Very low MOQs are possible, but they are rarely the best value. Ordering 25 pieces instead of 100 may reduce exposure, but the unit cost can jump sharply. Businesses used to buying branded packaging or custom printed boxes will recognize the same pattern: volume affects price, but specification decides whether the spend is justified.
Step-by-step ordering and installation process
Start with exact measurements. If the graphic is going on a fairing, tank side, pannier lid, or helmet section, note the usable area plus seams, vents, bolt positions, and curves that could affect fit.
Use the right artwork format. Vector files are best for logos, text, and race numbers because they scale cleanly. Raster artwork can work for photo-based designs, but resolution must be high enough at final size. Fine details should be checked against real production limits, not just screen appearance.
Choose material and finish before the quote is finalized. A short-term event decal, a fuel-tank graphic, and a long-term sponsor panel are not the same product in practice, even if the design is identical.
Then review the proof carefully. Check dimensions, spelling, orientation, cut lines, and panel labels. For bike-specific kits, compare the proof with the actual bike or a reliable template before approving it.
Installation starts with surface preparation. Clean with a residue-free product, remove wax or silicone, and dry the surface fully. Apply in a stable temperature if possible. On larger graphics, align first, tack one section lightly, and work from the center outward with a squeegee.
Curves are where many installations fail. Overstretching the film can cause shrink-back later, while poor tension control often leads to lifted corners or visible edge stress after a few days.
After application, allow the adhesive to cure. A typical window is 24 to 72 hours, depending on temperature, humidity, and the film system. Washing the bike immediately or exposing the decal to heavy rain or fuel too soon can shorten its service life.
What makes custom motorbike stickers last longer?
Longer life usually comes down to three things: using the right material for the panel, preparing the surface properly, and giving the adhesive time to bond. Most decal failures trace back to one of those points.
Premium cast vinyl or laminated printed film generally outperforms budget stock on tanks, fairings, and helmets because it conforms better and shrinks less. Design also matters. Rounded corners, practical line thickness, and simpler outlines usually age better than highly intricate shapes full of sharp points.
Normal maintenance helps. Wash carefully, keep aggressive pressure washing away from edges, and wipe off fuel spills near tank graphics quickly. The edge is always the most vulnerable part of the decal.
Common mistakes that ruin motorcycle decals
The most common mistake is using the wrong material. Office-label stock, bargain craft vinyl, or low-tack adhesive may work on indoor surfaces, but they usually fail quickly on motorcycles.
Skipping surface prep is another major cause of lifting. Wax, polish, dust, and silicone residue interfere with adhesion even if the panel looks clean. The problem often appears only after the edges start to peel.
Color approval is another risk point. Screen color, print color, matte film, gloss film, and reflective film do not behave the same way. If a brand color is critical, ask about tolerance or request a physical sample before production.
Overcomplicated design can also reduce durability. Thin lines, tiny cutouts, and deep corners are harder to weed, harder to install, and easier to lift in use. Simplifying the contour often improves both appearance and lifespan.
Placement matters too. Graphics should not cover lights, number plates, required markings, or the rider’s field of view. Windscreen decals in particular need restraint. Fresh paint is another avoidable issue; if the paint is not fully cured, trapped solvents can affect both adhesion and finish.
For broader sourcing and material policy context, references such as the EPA and FSC can help brands align decal decisions with wider environmental standards.
Next steps for ordering custom motorbike stickers
Before requesting a quote, gather the information that affects the result: artwork files, exact measurements, quantity, intended surface, preferred finish, and whether the decals need to handle fuel contact, full outdoor exposure, or only short-term event use.
Then verify the essentials: material grade, laminate, adhesive type, and lead time including shipping. If the project is a full kit or has difficult curves, make sure the supplier is pricing it as a shaped bike graphic rather than as a flat promotional sticker.
One final check before approval is enough to prevent most mistakes: confirm the design, confirm the size, and confirm the material. Almost every avoidable problem starts with one of those three choices.
FAQs
How long do custom motorbike stickers last outdoors?
Premium laminated vinyl often lasts several years outdoors with normal care. Actual lifespan depends on sun exposure, storage, wash frequency, fuel contact, and whether the decal sits on a flat panel or a stressed curve. Unlaminated or low-grade films usually fail much sooner.
What material is best for custom motorbike stickers?
Cast vinyl is usually the better choice for curved panels and long-term use because it conforms well and resists shrinkage. PVC vinyl is a practical lower-cost option for simpler decals and less demanding surfaces. Printed graphics generally benefit from laminate if weather, abrasion, and UV matter.
Can I use custom motorbike stickers on a fuel tank?
Yes, provided the film, adhesive, and overlaminate are suitable for automotive use and the paint is fully cured. Tank areas are tougher on decals than many other panels because of fuel exposure, heat, and regular hand contact.
What affects the price of custom motorbike stickers most?
Quantity, size, material, laminate, finish, and cut complexity are the main cost drivers. Small runs cost more per piece because setup is spread across fewer units. Reflective films and multi-piece kits usually increase the price further.
How do I prepare artwork for custom motorbike stickers?
Use vector files for logos and text where possible. Keep line thickness and text size practical for the final decal size, and provide a clear cut line if contour cutting is required. Review the proof carefully against the actual panel or bike template before production begins.
If the goal is graphics that still look good after weather, washing, and real riding, the buying logic is simple: Choose the Right film, use laminate where needed, keep the artwork practical, and size the design for the panel rather than the mockup.


