If you are comparing Custom Mylar Stickers for a product launch, retail run, or branded seal that has to survive handling, the material matters more than many buyers expect. Mylar is usually chosen because it gives you a clean, polished look and a tougher printed surface than basic paper labels, which is useful when the sticker needs to do more than sit pretty on a mockup.
That difference shows up quickly in real packaging work. A sticker can look premium on screen and still fail on a curved bottle, a chilled carton, or a corrugated shipper exposed to moisture and abrasion. Choosing the right spec is less about decoration and more about fit, finish, and how the label behaves after it leaves the printer.
What Custom Mylar Stickers Are and Why They Stand Out
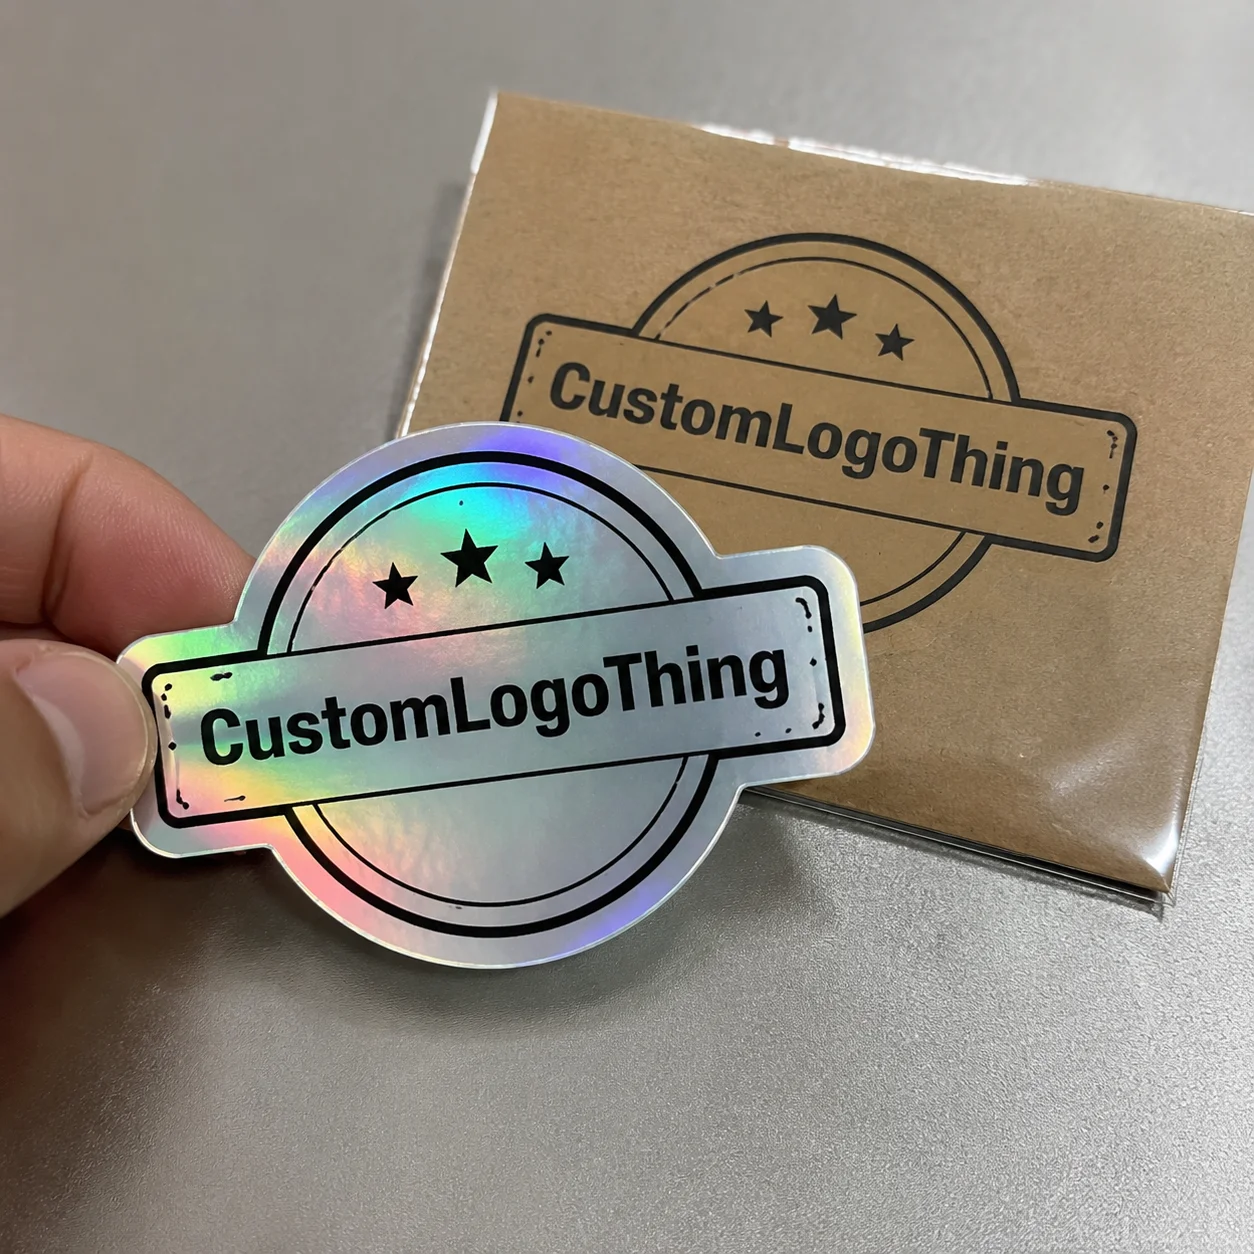
Mylar is a polyester film known for a clean surface, strong tear resistance, and better print stability than paper when the job needs a more durable feel. Depending on the build, the film may be clear, white, silver, or holographic, then finished with gloss or matte lamination for added protection and a more controlled appearance.
The practical appeal is straightforward: the sticker identifies the product, supports shelf presence, and contributes to the brand’s first impression. That is why mylar shows up in retail packaging, product seals, promo items, and giveaways where the surface finish carries real weight.
Appearance and performance are connected, but they are not the same thing. A metallic or holographic film can create strong visual impact, yet scratch resistance, chemical resistance, and UV stability still depend on the exact film build, the adhesive, and whether the print gets a protective top layer.
For a packaging buyer, the value is in that balance. If you need a sticker that looks polished on a jar, a folding carton, or a mailer insert, mylar often gives a better result than paper without moving into more rigid or expensive constructions. It is especially useful for branded packaging where the sticker feels like part of the product, not just an afterthought.
A well-made mylar sticker has to do three things at once: hold the design, survive the surface it lands on, and match the finish buyers expect when they open the package.
For teams working across product packaging and promotional materials, that mix of utility and presentation is usually the reason mylar lands on the short list. It can also sit alongside Custom Packaging Products and Custom Labels & Tags when a brand wants one consistent visual system across multiple items.
How the Mylar Sticker Production Process Works
Production starts with artwork, and that is where many avoidable problems begin or end. A clean vector file, proper bleed, and a clear cut line give the printer a much better chance of delivering crisp edges and accurate registration. If the design is built poorly, a good material choice will not save it.
Once the artwork is ready, the printer matches it to the right film. White mylar gives strong opacity and reliable color output, clear film works when the background should show through, silver creates a metallic base, and holographic film adds reflective movement that stands out on retail displays.
After material selection comes print method and finishing. Digital printing is common for smaller or variable runs, while longer production runs may use other methods depending on the artwork and budget. The sticker is then cut, either as a die cut for a specific shape or a kiss cut when the backing sheet needs to stay intact for easier application.
Adhesive choice is just as important. A standard permanent adhesive may be fine for flat cartons, but glass, textured paperboard, plastics, and curved containers all behave differently. A label that must hold on a chilled beverage bottle may need a different adhesive than a sticker used on a dry promotional box or an indoor display piece.
Finishing changes both performance and appearance. Gloss lamination tends to deepen color and add surface protection. Matte lamination softens reflections and can make type easier to read under store lighting. Specialty effects may include spot varnish, metallic overlays, or layered constructions for a more premium feel, though each one adds cost and production complexity.
Quality control is not a single check at the end; it runs through the job. Printers watch color consistency, edge cleanliness, laminate alignment, and whether the cut follows the intended contour without nicking the artwork. Proof approval is the buyer’s chance to catch sizing, wording, barcode placement, and bleed issues before production waste starts.
Experienced buyers ask for digital mockups or press proofs for a simple reason: what looks centered on a screen can shift once the cut line, safe area, and laminate are applied in the real world. A small prepress correction costs less than reprinting thousands of stickers with a logo sitting too close to the edge.
Key Factors That Shape Look, Durability, and Fit
The main spec choices make more sense if you think in layers. Film thickness affects the feel and stiffness of the sticker. Adhesive strength affects how it bonds to the surface. Lamination or topcoat affects scratch resistance, moisture resistance, and overall finish. Each choice changes how the sticker behaves both in production and in use.
For appearance, stock choice matters a great deal. White mylar usually gives the cleanest color reproduction. Clear film is useful when the container or package beneath the label should remain visible. Silver stock can bring a metallic tone that supports premium branding, while holographic stock gives strong shelf pop and a more energetic look.
Shape and cut style matter too. A simple rectangle or circle is fast to apply and usually lower in setup complexity. A custom contour cut can make the design feel more tailored, but it may add cutting time and require tighter artwork control. If the sticker must be applied by hand in volume, a less fussy shape can save real labor.
Environment is where many spec sheets are tested. Refrigeration, condensation, high humidity, repeated handling, and friction during shipping all put pressure on the adhesive and surface finish. Indoor use is one thing. Outdoor exposure, even light exposure, is another. If the sticker will face sun, water, or abrasion, ask directly about the laminate and expected lifespan rather than assuming all mylar performs the same.
Artwork complexity affects print clarity. Thin type, tight reverse-out lettering, tiny QR codes, and heavy ink coverage all raise the bar. A design with sharp linework and solid color blocks often looks cleaner than a crowded file with too much detail squeezed into too small a space. Packaging design and printability have to work together.
For teams balancing Custom Printed Boxes, bottle labels, and stickers across the same product line, consistency matters. The sticker should not look like it came from a different system. Matching finish, color tone, and material sheen helps the whole set feel intentional.
| Stock / Finish | Best For | Typical Strength | Tradeoff |
|---|---|---|---|
| White mylar + gloss laminate | High-color retail branding | Strong opacity and bright print | More reflective, less subtle |
| Clear mylar + matte laminate | Minimal packaging, windowed surfaces | Clean, low-profile look | Needs careful artwork contrast |
| Silver mylar | Premium labels, metallic effects | Eye-catching base finish | Color can shift on metalized film |
| Holographic mylar | Promotional stickers, limited editions | High shelf impact | Not ideal for every brand tone |
For reference on packaging quality, sustainability, and shipping considerations, industry groups like ISTA and PMMI packaging resources can help buyers think beyond decoration and into performance. That mindset is useful when a sticker is part of a broader packaging system rather than a standalone item.
Cost, Pricing, and MOQ: What Actually Changes the Quote
Pricing for custom mylar stickers usually comes down to quantity, material, print complexity, finish, cut style, and packaging format. A simple one-color contour cut run will price very differently from a holographic, full-color, laminated sticker with a complex shape and individually packed sheets.
Lower quantities almost always cost more per piece because setup work gets spread over fewer units. A small run may have a higher unit cost, but it can still make sense if you are testing a new product, validating artwork, or supporting a short promotion. Larger runs reduce unit cost, but only if the design and use case are stable enough to justify the volume.
As a rough planning range, smaller production lots can land around $0.20 to $0.60 per sticker depending on size and finish, while larger runs often move lower on a unit basis. Specialty films, white ink, heavy coverage, and custom shapes can push pricing upward. Those ranges are not fixed quotes, but they are useful when comparing suppliers that present pricing in different ways.
MOQ, or minimum order quantity, is not just a sales term. It is often the point where a printer’s setup costs become manageable. A buyer who only needs a short campaign run may prefer a lower MOQ even at a higher unit rate, while a production buyer may accept a larger minimum if the total cost per label drops enough to help margins.
The most practical way to compare quotes is to ask what is included. You want to know whether the quote covers design review, proofing, die cutting, lamination, finishing, packaging format, and shipping. Two quotes with the same unit price can still be very different once those pieces are added together.
For teams managing branded packaging across multiple SKUs, the sticker budget should be viewed alongside carton, label, and insert costs. That is usually where the real spend conversation sits. A sticker that lifts shelf presence on a lower-cost product can be a smart tradeoff, while an overbuilt spec can quietly eat margin without improving the buyer’s experience.
Process, Timeline, and Lead Time From Proof to Delivery
The typical workflow is straightforward: quote, artwork review, proof approval, production, finishing, packing, and shipment. The actual calendar depends on how fast the artwork is finalized and whether the order needs standard printing or a more specialized spec.
Once the proof goes out, delays usually happen for familiar reasons. Low-resolution artwork, missing bleed, text too close to the cut line, and late revision requests are the most common culprits. If the file is not prepared well, prepress has to stop and ask for corrections, which adds time before the run can even start.
For standard orders, turnaround is often measured in business days after proof approval, and many projects land around 10 to 15 business days before shipping. Specialty finishes, custom materials, or color-critical work can take longer, especially if the order requires more review or tighter matching.
Digital printing can help with shorter lead times, particularly when the run is smaller or the artwork changes from SKU to SKU. Longer-run methods may take more setup but can pay off on larger quantities. Either way, the practical deadline is usually set by proof signoff more than by the press itself.
Planning ahead matters when the stickers support a launch date, trade show, seasonal campaign, or inventory replenishment cycle. If the packaging, fulfillment, or retail ship date is fixed, build in time for artwork revisions, approval, and the possibility of a reprint if the first proof reveals a problem.
For buyers thinking about durability validation, standards groups like EPA and testing bodies such as ISTA provide useful context around environmental handling and shipping stress, even if the sticker itself is not certified in the same way as a full package. That perspective keeps expectations realistic.
Common Mistakes Buyers Make With Material and Artwork
The first mistake is choosing a finish for looks alone. A holographic or metallic sticker can be excellent for shelf impact, but if the label needs to sit on a refrigerated bottle, get handled often, or survive shipping scuffs, the wrong finish may create more problems than it solves.
The second mistake is using artwork that is too delicate for the print method. Ultra-thin text, tiny symbols, and hairline borders can disappear or shift at the edges after cutting. Once that happens, the sticker looks less precise, and the brand loses the clean visual effect it was trying to create.
Another common issue is ignoring bleed and safe margins. If the artwork extends too close to the edge, even a small cutting variation can clip letters, icons, or key design elements. On a custom-shaped sticker, that problem is even easier to trigger because the outline itself carries more visual importance.
Adhesive mismatch is another one that shows up often. A sticker that works well on a flat carton may not behave the same on a textured pouch, a curved bottle, or a high-touch retail insert. If the product surface is chilled, coated, or slightly rough, that detail should be discussed before the order is placed.
Finally, buyers sometimes give equal weight to cost, durability, and appearance without deciding which one is the priority. Those goals can conflict. A highly durable spec may cost more. A lower-cost option may look fine but fail in use. A premium finish may impress on arrival and still be wrong for the handling environment. The best order starts with the real goal, then builds the spec around it.
Expert Tips and Next Steps for a Better Order
If you want a better outcome, start with three facts: the target size, the intended surface, and the expected quantity. Those three details shape almost every other decision, from adhesive selection to cut style to the most realistic price range.
Ask for proofing details before production starts. You want to know how color will be handled, where the cut line sits, and whether the finish will change the artwork’s appearance. That is especially useful when the sticker needs to match other branded packaging materials already in circulation.
Keep the spec as simple as the use case allows. If a gloss laminate and strong permanent adhesive will do the job, there is no reason to add cost with a more exotic film. On the other hand, if the sticker is part of a premium launch or high-touch application, it is usually worth paying for the right surface treatment instead of trying to save a few cents and risking a poor first impression.
When the artwork or surface is new, a short-run test is often the smartest move. It gives you a chance to see how the material behaves on the real package, how the colors read under store lighting, and whether the adhesive bonds the way you expected. That small test can prevent a large and expensive mistake.
For a quote that is actually useful, share the use case, finish preference, approximate quantity, and timeline. Then compare the spec, not just the sticker price. That is the simplest way to buy custom mylar stickers with confidence, especially when they are part of a larger branding system that includes retail packaging, labels, or custom printed boxes.
What are custom mylar stickers best used for?
They work well for premium product labels, seals, branded giveaways, and packaging that needs a durable, polished look. They are especially useful when the design needs moisture resistance and stronger visual impact than a basic paper sticker.
Are custom mylar stickers waterproof or weather-resistant?
They can handle moisture and everyday handling better than paper labels, especially when paired with the right laminate and adhesive. Performance depends on the exact spec, so outdoor exposure, refrigeration, and abrasion should be confirmed before ordering.
How much do custom mylar stickers usually cost?
Pricing depends on quantity, finish, size, cut complexity, and whether the order uses specialty materials or artwork prep. Unit cost usually drops as quantity increases, while small runs carry more setup cost per piece.
What file type should I send for custom mylar stickers?
A vector file is usually best because it preserves clean edges and sharp text at any size. If vector artwork is not available, high-resolution files with proper bleed and safe margins help reduce print issues.
How long is the turnaround for custom mylar stickers?
Turnaround depends on proof approval speed, print method, finishing, and shipping distance. Orders with specialty effects or late artwork changes usually take longer than straightforward production runs.

