Custom Name Labels for Clothing: Buy Smarter, Place Fast
Custom name labels solve a practical problem: they keep clothing from getting mixed up in schools, daycare centers, sports programs, care facilities, and shared households. The value is not decorative. It is fewer losses, less sorting, and less time spent replacing garments that should have been easy to identify.
The buying decision comes down to wear conditions, not artwork. A useful label stays readable, stays attached, and survives the laundry routine the garment actually sees. Fabric, placement, attachment method, and wash frequency matter more than a polished mockup. If you already manage Custom Labels & Tags or broader Custom Packaging Products, the same rule applies here: define the use case first, then choose the format that fits it.
What custom name labels do for clothing
At the simplest level, a clothing name label identifies ownership. In practice, it cuts down on loss, confusion, and repeated sorting. Uniform shirts, daycare clothing, sports kits, resident garments, and borrowed items all benefit because the label answers a question instantly. Marker ink may survive one wash. A properly made label should survive many.
Speed matters too. A stack of identical navy polos is easier to sort when the name is visible at a glance and the print does not disappear into folds or seams. That is useful for parents, but it also matters for staff who process large volumes of garments every week.
The real questions are simple: who handles the item, how often is it washed, and who needs to read the label under pressure? A label for a toddler’s daycare onesie has different requirements from one inside a team jacket or a nursing-home knit top. The garment decides the spec, not the other way around.
If the clothing program sits inside a larger branded packaging system, keep the naming logic consistent across the set. Use the same spelling convention, the same short form for departments or initials, and the same visual hierarchy if the label sits beside care inserts, garment bags, or retail packaging materials. Consistency saves time later, especially on reorders.
How the label is made and attached
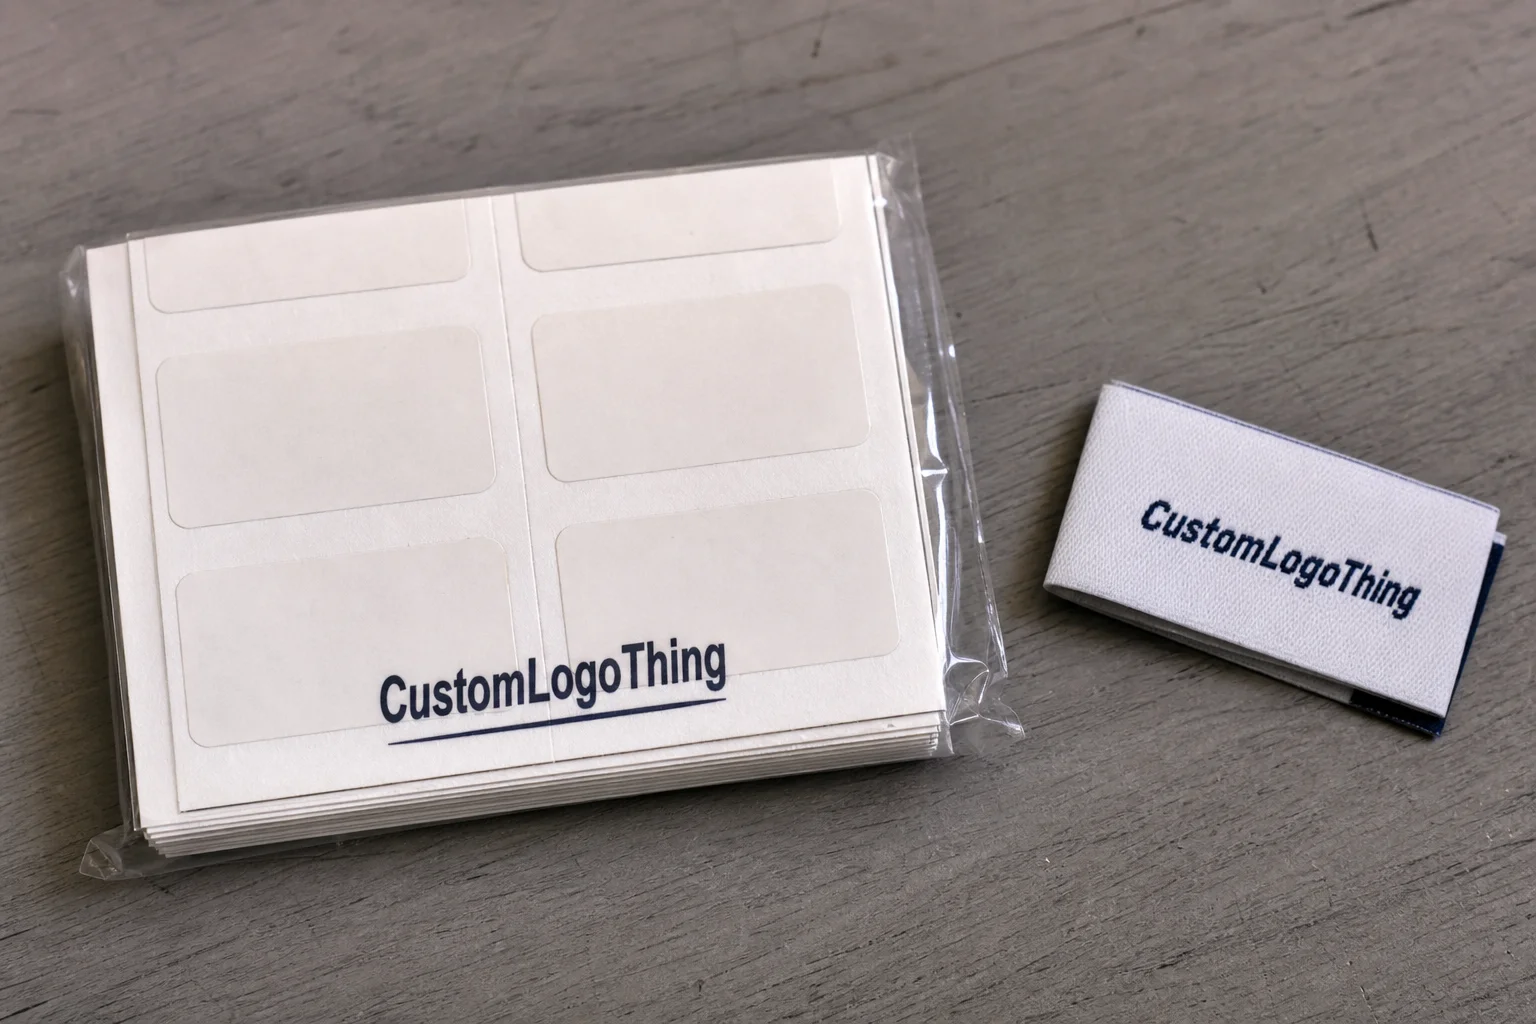
There are four common routes: woven, printed, heat-transfer, and sew-in or temporary formats. Each solves a different problem. Woven labels are made from threads and usually look more finished, with strong durability and a clean edge. Printed labels use ink on satin, polyester, or similar substrates, which helps when the text is small or needs high contrast. Heat-transfer labels bond directly to the fabric and avoid bulky edges. Sew-in labels are plain and reliable. Temporary stick-on versions work for short stays, events, or try-on periods where permanent attachment is unnecessary.
The production path is straightforward. You submit artwork or text, the supplier sends a proof, you confirm the spelling and size, then the job moves into production and packing. The route is simple; the finish is what changes. Satin backing can improve comfort inside a collar. A matte print reduces glare. A thicker woven edge can improve longevity but may feel less soft on close-contact areas.
Attachment method matters more than many buyers expect. Iron-on and heat-transfer labels are efficient to apply, which makes sense for schoolwear and seasonal kits. Sew-in labels are better for garments that see hard laundering or high heat. Temporary formats are useful when ownership changes often, but they do not replace a permanent system.
- Woven: best for a polished look and longer wear life.
- Printed: good for small text and stronger contrast.
- Heat-transfer: flat, comfortable, and efficient on soft garments.
- Sew-in: reliable for repeated laundering and harsher use.
Testing should reflect the actual use environment, not only the art file. If a label fails under the real fabric, heat, detergent, or abrasion cycle, the mockup was never the real issue. That same discipline is common in packaging qualification and is useful here too.
Materials, finish, and size choices that affect wear
Material choice drives readability, comfort, and lifespan. Woven labels hold detail well and look refined, but tiny type can blur if the weave is too tight or the artwork is too busy. Printed labels usually handle fine text better and can deliver stronger contrast. Satin feels smoother against skin. Polyester is a common workhorse for wash resistance. Cotton has a softer hand but is less forgiving in aggressive laundry cycles.
Finish changes how the name reads after use. Matte surfaces generally reduce glare and help quick reading. Glossy surfaces can look sharp in a mockup, then become harder to scan under bright room light. High-contrast text is safer than decorative styling if caregivers, parents, or staff need to read the label quickly.
Size is another tradeoff. Too small, and the name becomes unreadable once the fabric folds, stretches, or shrinks. Too large, and the label can pucker or feel intrusive. A practical size for many garments sits around 1 x 2 inches to 1 x 3 inches for inside-neck or care-area placement, but the cut of the garment still matters. Larger children’s items and shared uniforms often benefit from slightly larger text blocks. Tiny baby garments usually need simpler layouts and less copy.
Skin comfort and wash intensity matter too. Labels for children’s clothing should avoid rough edges and excessive stiffness. Labels for workwear may need to survive industrial wash programs. If the order mixes garment types, one sample on the exact fabric tells you more than a clean spec sheet ever will.
Custom name labels pricing, MOQ, and unit cost drivers
Pricing is usually driven by quantity, material, color count, artwork complexity, and attachment method. A simple single-color printed label is cheaper to run than a multi-thread woven piece with custom shape work and premium finishing. Lower minimum orders almost always raise the unit cost because setup is spread across fewer pieces. Larger orders reduce per-unit pricing, but they also increase upfront spend and inventory risk.
Buyers often compare quotes on the wrong number. Base unit price matters, but so do proof revisions, setup charges, shipping, and any special packaging. If the labels need to be packed in pairs, bundled by size, or sorted by department, that handling can change the total more than people expect. The right question is not which label is cheapest. It is which label has the lowest cost per use over the life of the garment.
For common options, the ranges below are a useful starting point, not a promise. The exact figure moves with quantity, substrate, and finish.
| Format | Best use | Typical unit cost | Strengths | Tradeoffs |
|---|---|---|---|---|
| Woven sew-in | Uniforms, care garments, premium apparel | $0.18-$0.45 at mid-volume | Long wear life, polished look | Higher setup and slower production |
| Printed satin | Kids' clothing, soft garments, readable text | $0.10-$0.30 at mid-volume | Clear text, softer hand feel | Less premium look than woven |
| Heat-transfer | Activewear, T-shirts, high-volume kits | $0.15-$0.40 at mid-volume | Flat finish, no scratchy edge | Needs careful application and testing |
| Temporary stick-on | Events, rentals, short-term use | $0.05-$0.18 at mid-volume | Fast to apply, low cost | Not for repeated laundering |
For a buyer comparing options across several garment lines, the decision should be based on cost per wear, not just sticker price. A cheaper label that fades after a few cycles becomes the expensive option. A slightly higher-priced label that stays readable for months usually wins.
Production steps, turnaround, and lead time
The workflow is predictable. First comes the quote. Then artwork or text is submitted, followed by a proof. After the proof is approved, production starts. Once the labels are finished, they are inspected, packed, and shipped.
Lead time depends on format and volume. Standard printed or woven runs often move in about 7-15 business days after proof approval. Specialty finishes, custom shapes, dense color work, or larger quantities can extend that window. If a supplier has to source a specific substrate or finish, add time. If the order needs rush service, expect a premium.
Clear specifications prevent most delays. Spell every name exactly as it should appear. Confirm size in inches or millimeters. Define whether the label is sewn, ironed, heat-pressed, or temporary. If the run includes multiple names or departments, send a clean list instead of a screenshot. The cleaner the handoff, the faster the production desk can move.
Turnaround is not shipping. A 10-day production window can still land late if the shipping lane is slow, the carton size is wrong, or the delivery address is incomplete. Buyers who already manage product packaging or custom printed boxes usually understand this better than first-time buyers, because they know the full delivery window includes more than factory time.
Common mistakes that make clothing labels fail early
The biggest failure is choosing a label that looks good on screen but cannot handle the real garment. A mockup does not show how the fabric stretches, how the seam folds, or how the wash cycle affects the ink or adhesive. If the label is going on school polos, heavy knitwear, or soft jersey, the test has to include that exact fabric.
Bad sizing causes a lot of avoidable problems. Tiny text disappears when the label is bent or compressed. Crowded layouts create visual clutter and make the name harder to identify in a laundry sort. Placement matters too. If the label sits where a seam, fold, or outer tag hides it, the whole point of the exercise is lost.
Skipping a sample test is another common error. One sample on the actual garment can tell you more than a polished proof. Run it through the detergent and dryer routine the end user will actually use. If the label survives that test, the order becomes much safer. If it does not, the fix is cheap before production and expensive after it.
Rushed approvals create preventable losses. Misspelled names, weak color contrast, and unclear placement instructions are all easy to miss when the order feels routine. They are harder to correct after 3,000 labels are already printed. In bulk work, speed helps only if the specification is already tight.
Choosing the wrong attachment method is another common miss. A heat-transfer label on a thick, textured item may fail in the press. A sew-in label on a soft toddler garment may be durable but uncomfortable. A temporary label on a repeated-use uniform is the wrong tool. Matching format to fabric is not a detail. It is the job.
Expert tips for ordering labels that stay readable
Design for the worst case, not the mockup. A label should still read in low light, after repeated washing, and when handled by someone in a hurry. That means high contrast, simple typography, and enough clear space around the name. Decorative details can work, but they should never compete with the label’s main job.
Consistency matters as much as format. If you order labels for several garment types, standardize the core spec wherever possible. Same spelling rule. Same font family. Same default size range. That makes reorders faster and keeps quality from drifting across departments or seasons.
- Use short name formats if the garment is tiny.
- Choose bold, plain typefaces over ornate scripts.
- Leave padding around text so shrinking does not kill readability.
- Match the attachment method to the wash cycle, not the mockup.
- Order a test batch first if the garment mix is uncertain.
If the project sits inside a larger packaging or retail system, the naming format on the garment label should echo the format on cartons, inserts, and storage bags. That does not mean the graphics need to match exactly. It means the system should feel coherent so sorting and reordering stay simple.
Do not over-spec the product if the garment does not need it. A premium woven finish may be justified on a team kit or a resale uniform program. It is usually unnecessary on short-stay daycare items where turnaround and readable ownership matter more than presentation.
Next steps: spec, sample, and place the order
Start with a garment audit. List fabric type, wash frequency, who will wear the item, and whether the label must be sewn, ironed, or temporary. That one page tells you more than a broad product catalog does. From there, build a spec sheet with name format, size, color, quantity, and any durability requirements. Quotes get much cleaner when the inputs are specific.
Then ask for a proof or sample. Test it on the actual garment and through the actual laundry routine. That is the moment where assumptions turn into facts. If the label stays readable, feels acceptable against skin, and fits the garment without distortion, the run is ready. If it fails, revise the spec before you place the full order.
If you are comparing suppliers, make the comparison on the same assumptions: same quantity, same attachment method, same proofing rules, same shipping terms. That is the only way unit pricing is meaningful. One supplier may look cheaper until setup, revisions, and freight are added back in.
For most buyers, the smartest path is simple: define the use case, verify the sample, then scale. That process keeps the order grounded in actual wear conditions instead of a polished sales sheet.
How durable are custom name labels for clothing?
Durability depends on the material and attachment method. Woven and sewn-in labels usually last longer than temporary options, especially in repeated wash and dry cycles. The best test is the actual garment, detergent, and heat routine the end user will use.
Are iron-on clothing name labels better than sew-in labels?
Iron-on labels are faster to apply and usually cheaper, which helps when speed matters more than permanence. Sew-in labels are better for garments that face heavy laundering, high heat, or repeated reuse across different owners.
What should I put on a name label proof?
Include the exact spelling, label size, color, font choice, and attachment method so there is no guesswork in production. If space allows, a short secondary identifier like a last initial or department can help, but readability should stay first.
What affects the price of custom clothing labels the most?
Quantity, material, artwork complexity, and attachment method have the biggest effect on price and unit cost. Rush service, revisions, special packaging, and shipping can raise the final total, so compare quotes on identical assumptions.
How do I choose the right size for clothing name labels?
Choose a size that stays readable from a short distance and still fits the seam, care area, or inside-neck placement. Bigger is usually better for children’s clothes and shared uniforms, but avoid oversized labels that create bunching or discomfort.


