Custom Photo Stickers walgreens sounds simple enough: upload a photo, choose a size, get stickers back. In practice, the result depends on a handful of details that are easy to overlook until the print arrives. Material, adhesive, cut line, finish, and image resolution all affect whether the sticker feels polished or merely printed.
That matters for scrapbook accents, party favors, classroom rewards, mailer seals, and small branding pieces. It also matters when the sticker is one part of a larger packaging system, because a weak print can make the whole presentation feel less considered. A blurry sticker does not just look imperfect; it can make the entire package seem rushed.
The phrase Custom Photo Stickers Walgreens usually attracts buyers who want speed and convenience, but speed only helps if the source file is ready. The printer can reproduce detail, color, and shape only within the limits of the artwork and the stock being used. That is the part most first-time buyers learn after one disappointing proof.
Why custom photo stickers Walgreens can surprise first-time buyers
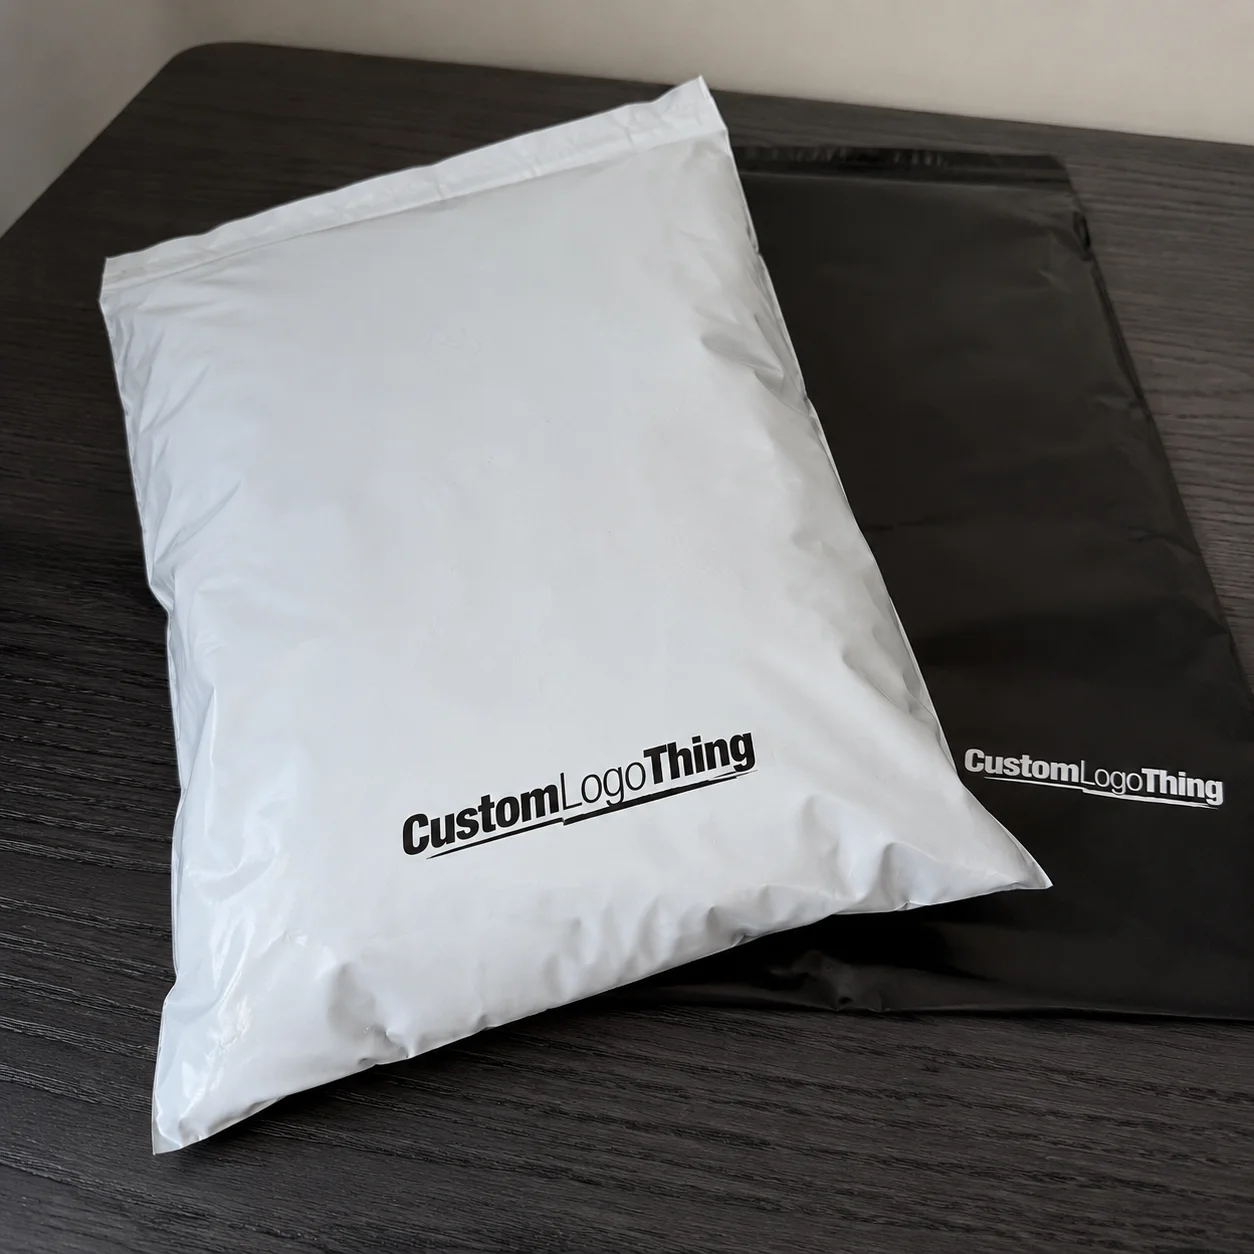
Photo stickers look small on a screen. Once they are printed, the choices behind them become obvious. A thin paper label with weak adhesive feels temporary, while a coated stock or vinyl piece with a clean edge feels closer to a finished product component. The difference is not subtle when the sticker is in hand.
Buyers looking for Custom Photo Stickers Walgreens-style service often start with convenience, which makes sense. They want something quick, not a design project. But convenience does not erase production limits. If the source image is dark, cropped too tightly, or low resolution, the printer cannot restore detail that was never there. It can only reproduce the problem more crisply.
Common use cases are straightforward: envelope seals, scrapbook pages, party giveaways, freezer labels, classroom rewards, and lightweight branding pieces. In product packaging, they often appear as insert stickers, seal stickers, or quick-turn decoration for tissue wrap and shipping mailers. A sticker used in this way is not just decoration; it becomes part of the package branding and should be chosen with that in mind.
Resolution matters immediately. A sharp 300 DPI file is the safest starting point, especially if faces, textures, or small logo details need to stay readable. Matte finishes reduce glare and make close-up viewing easier. Glossy finishes deepen color and help a design pop, but they can reflect light enough to obscure fine detail. If the sticker is going on custom printed boxes or retail packaging, that finish choice changes the entire feel of the final piece.
Good sticker printing usually comes down to subtraction. Remove tiny text, remove busy borders, remove unnecessary crop risk, and remove anything that cannot survive at the final size.
If you need a companion label rather than a standalone sticker, Custom Labels & Tags often fit better. If you are building a broader presentation, Custom Packaging Products help keep the sticker consistent with the rest of the kit.
How the ordering process and timeline typically work
The process usually starts with a file upload, then moves into the choices that affect the final result: size, quantity, finish, shape, and whether the stickers are kiss-cut on a sheet or trimmed as individual pieces. The checkout flow may look simple, but the real quality control happens earlier, during file prep and proof review.
Start with the image. Use the highest-resolution original available, not a screenshot or a social-media export. If the design includes important edges, leave enough breathing room for bleed and trimming. A margin of at least 0.125 inch is a practical baseline for most jobs. If the design uses a border, make it thick enough to survive trimming without looking uneven. Thin borders reveal even small misalignments, which is not kind to the finished piece.
Proofing is where many orders are saved, or lost. Check crop placement, contrast, color balance, and text size before approving anything. White text on a light background may disappear. A detailed photo can feel crowded once reduced to a small format. If the sticker needs to be readable from arm’s length, keep the layout simple enough to survive that distance.
| Order type | Typical timeline | Best for | Common tradeoff |
|---|---|---|---|
| Simple upload, standard size | Often 2-5 business days | Personal projects, gifts, event favors | Less room for custom finishing |
| Custom size or contour cut | Often 5-10 business days | Branding, packaging, special shapes | More proofing and trimming time |
| Edited file or resubmission | Can add 1-3 business days | Low-resolution photos, crop fixes, layout problems | Timeline stretches quickly |
Pickup is faster when the file is ready and the order is straightforward. Shipping adds transit time, which matters more when the stickers are tied to an event or a product launch. If artwork needs corrections, the schedule stretches immediately. A buyer expecting fast custom photo stickers Walgreens-style service should assume that the weakest file in the queue sets the pace. Printing is not mystical; it is labor, checks, and machine time.
For packaging programs, consistency matters as much as speed. Matching sticker specs to the rest of the packaging design reduces color surprises and keeps the visual system coherent. If the sticker is part of a broader retail packaging plan, the same image treatment, logo proportions, and finish should carry across the full set.
Cost and pricing factors that change your final total
Sticker pricing usually comes down to size, material, finish, quantity, and cut complexity. A 2-inch round sticker in coated stock costs less than a custom contour-cut vinyl piece with a specialty adhesive. That is not a hidden rule; it is the basic math of print production. Every extra step adds handling time, setup, or material cost.
Small orders almost always cost more per piece. That is normal. A run of 25 stickers still has setup, proofing, and production overhead attached to it. Larger runs, such as 250, 500, or 1,000 pieces, spread those fixed costs out and bring the unit price down. For simple photo stickers, a realistic range for larger quantities might land around $0.18-$0.45 per unit, while short runs can cost several times that on a per-sticker basis. Custom shapes, tougher adhesive, or specialty finishes can move the price upward quickly.
The most common cost drivers are easy to identify once you know what to look for:
- Size: larger stickers use more material and print area.
- Shape: circles and squares are usually cheaper than contour cuts.
- Finish: matte, gloss, soft-touch, and durable coatings each affect cost.
- Quantity: bigger runs usually lower unit cost.
- Design count: multiple artwork versions add setup complexity.
- Rush handling: expedited production and reprints can raise the total.
The buyer question is not just what costs less. It is what deserves the money. Pay for image quality, reliable adhesive, and a finish that fits the surface. Save money by keeping the shape simple, limiting artwork variations, and using standard sizes where possible. If the sticker is for a short-term event or a one-off giveaway, basic coated stock may be enough. If it is going on mailers, pouches, or packaging that gets handled often, a more durable material is worth the higher price.
For items that will be shipped or handled repeatedly, ask what the material is expected to withstand. Standards such as ISTA testing are more meaningful than vague “premium” claims, and packaging references from the Packaging School/PMMI can help frame durability questions. If a supplier cannot explain the adhesive’s intended surface or use case, assume the sticker is better suited to decoration than to demanding packaging work.
Step-by-step: choosing the right sticker specs for your photo
Start with the image, not the product page. Pick a file with clear lighting, a sharp subject, and enough empty space around the edges for trim tolerance. That space matters if you want a die-cut outline or a contour cut. A face or logo pushed too close to the border often feels cramped after trimming.
Then choose the finish based on use. Matte works well for portraits and for designs that need easy readability. Glossy creates stronger color and a brighter surface, which helps some branding pieces. Weather-resistant or laminated stocks make more sense for items that will be touched often, carried around, or exposed to moisture. If the sticker is going onto glass, plastic, or another packaged surface, the adhesive should match that surface rather than being selected by default.
Shape changes the tone of the sticker. Round stickers feel clean and simple. Square stickers feel more structured. Kiss-cut sheets are useful when you want easier peeling or a full backing sheet for organization. Custom contour cuts can make a portrait or logo feel more refined, but they also require cleaner crop planning. For custom photo stickers Walgreens-style buyers, a round or square format is usually the safest route unless the image has a very clear silhouette.
A practical decision path looks like this:
- Indoor decor or scrapbooking: coated paper or matte stock.
- Gifts and keepsakes: glossy or soft-touch for a more finished look.
- Packaging or labels: prioritize adhesive strength and legibility.
- Short-term promotion: standard finishes often do the job.
- Handling or moisture: choose a more durable, water-resistant build.
If the stickers are part of product packaging, they should match the rest of the packaging design. A playful sticker can work on a serious carton, but only if the visual language supports it. In branded packaging, the sticker is not separate from the system; it reinforces or disrupts the package branding. That is why scale, finish, and color should be considered together rather than one at a time.
Common printing mistakes that ruin photo stickers
The first mistake is cropping too tightly. A good photo can lose its impact when a forehead, shoulder, or logo edge gets trimmed off. Always check the safe area before approving the proof. With contour cuts, expect a little variation near the edge; that is standard production tolerance, not an error.
The second mistake is trusting screen color too much. Phones tend to make images look brighter and cleaner than they print. Dark photos can come out muddy, especially on matte stock. Over-saturated reds and orange tones can shift as well. If the image already looks heavy on screen, it usually prints even heavier. Print is not a correction tool for poor exposure.
The third mistake is using tiny text or thin outlines on a small sticker. Letters below about 6 pt can become difficult to read depending on the stock and print method. Thin strokes can break up. If the sticker needs to carry names, dates, or instructions, keep the typography bold and the layout simple. That matters even more in packaging, where the sticker has to stay readable after handling.
The fourth mistake is choosing the wrong adhesive or finish for the surface. Paper-backed labels may work well on envelopes but fail on curved plastic bottles or textured boxes. Glossy stock can look sharp on gifts, yet reflect too much light on a retail shelf. Outdoor or high-touch use calls for a more durable build than a decorative sticker. Otherwise, the savings disappear fast.
The blunt version is this: if the sticker will be handled often, shipped, or exposed to moisture, do not buy the cheapest option and hope for the best. Cheap is fine. Incorrect is expensive.
Expert tips to get sharper results and better value
Use the original file whenever possible. Not a screenshot. Not a compressed repost. Not the version that has already been resized three times for social media. A clean source file gives the printer the most detail to work with and usually shortens the proofing cycle. If the image came from a phone, export it at full resolution. If it came from a camera, keep the native file until approval is complete.
Testing one small batch before placing a larger order is a smart move, especially when the image is new, the size is unusual, or the sticker will sit on a specific package surface. A small run can reveal sizing issues that are hard to spot on a screen. A sticker that looks polished at 3 inches may feel crowded at 1.5 inches, and that is a layout issue, not a printer failure.
Match the finish to the job. Matte helps with readability and cuts glare. Glossy increases contrast and makes color feel stronger. Laminated or more resistant materials make sense for packaging that will be stacked, mailed, or touched repeatedly. If the sticker is part of retail packaging or custom printed boxes, the finish affects how the whole brand is perceived, not just the sticker itself.
A few value moves work consistently:
- Bundle similar designs into one order to reduce setup overhead.
- Standardize sizes so you are not paying for needless variation.
- Keep text large enough to survive production and handling.
- Check proof margins carefully, especially on portraits.
- Use the simplest cut that still suits the design.
If sustainability matters to the brand, FSC-certified paper stocks can be a useful signal for paper-based packaging components. You can review the certification basics at FSC. Practical sustainability choices matter too: right-sized orders, fewer reprints, and materials matched to actual use. Waste is not premium, even when it is packaged nicely.
Keep the final approved proof and the original artwork on file. That makes reorders faster and keeps custom photo stickers Walgreens-style jobs from turning into guesswork every time you restock. A good reorder is the one that matches the version you already know works.
Next steps for ordering custom photo stickers Walgreens-style
If you want a clean result, keep the sequence simple. Choose the photo first. Then confirm the size, finish, and shape. Then compare quantity tiers so you are not paying small-run pricing for an order that should be larger. That order of operations sounds basic because it is basic, and basic is where most mistakes start.
Before approving anything, inspect the proof for crop, contrast, and text legibility. If a face is near the edge or a logo sits close to the border, check it twice. Keep one backup image and one alternate size ready in case the first version feels too busy or too small. A little caution saves more reprints than most people expect.
If the sticker is for packaging, think about the surface it will live on. A sticker that works on a flat envelope may behave differently on a pouch, bottle, or mailer. Product packaging and package branding stay consistent only when the sticker matches the material underneath it.
For custom photo stickers Walgreens buyers, the smartest move is not starting with the lowest price. It is matching the right stock, adhesive, and cut to the real job. Do that once, save the approved specs, and the next reorder becomes much easier.
FAQ
How much do custom photo stickers Walgreens options usually cost?
Pricing usually depends on size, quantity, finish, and cut style, with smaller orders costing more per sticker. Premium materials or rush turnaround can raise the total quickly. Comparing unit cost across quantity tiers is the fastest way to spot value.
What image quality works best for custom photo stickers Walgreens printing?
Use the highest-resolution original file you have, not a screenshot or compressed social post. Sharp lighting and clean edges print better than dark, grainy, or heavily filtered photos. Leave extra margin around faces or key objects to protect the crop.
How long does the process usually take for custom photo stickers Walgreens orders?
Simple orders can move fast, but the timeline depends on proofing, file quality, quantity, and pickup or shipping method. If the artwork needs fixes, turnaround stretches immediately. Plan ahead if you need them for events, product launches, or gift packaging.
What size should I choose for custom photo stickers Walgreens use cases?
Small sizes work for seals, labels, and giveaway items. Medium sizes are better for portraits, branding, and laptop or water-bottle use. Always match the size to viewing distance and how much detail is in the image.
Can custom photo stickers Walgreens stickers be used on packaging?
Yes, if the adhesive and finish fit the packaging surface and handling needs. Matte or gloss can both work, but durability matters more than looks for shipping labels and mailers. Test one sample on the actual box or pouch before placing a larger order.


