Custom slab labels sit in a small but important part of apparel execution. They affect how a garment is read, folded, shelved, and checked in production. If the label is too crowded, too vague, or too hard to apply, the cost shows up later as handling errors or rework.
Experienced apparel teams treat slab labels as a working spec, not decoration. The label has to serve the warehouse, the factory floor, and the retail shelf at the same time. If it only works for one of those groups, the system is incomplete.
There is also a cost angle. A lower unit price can be erased by relabeling labor, proof delays, or a missed shipment window. On a larger run, a small spec mistake is often more expensive than the material upgrade that would have prevented it.
What Custom Slab Labels Actually Do for Apparel
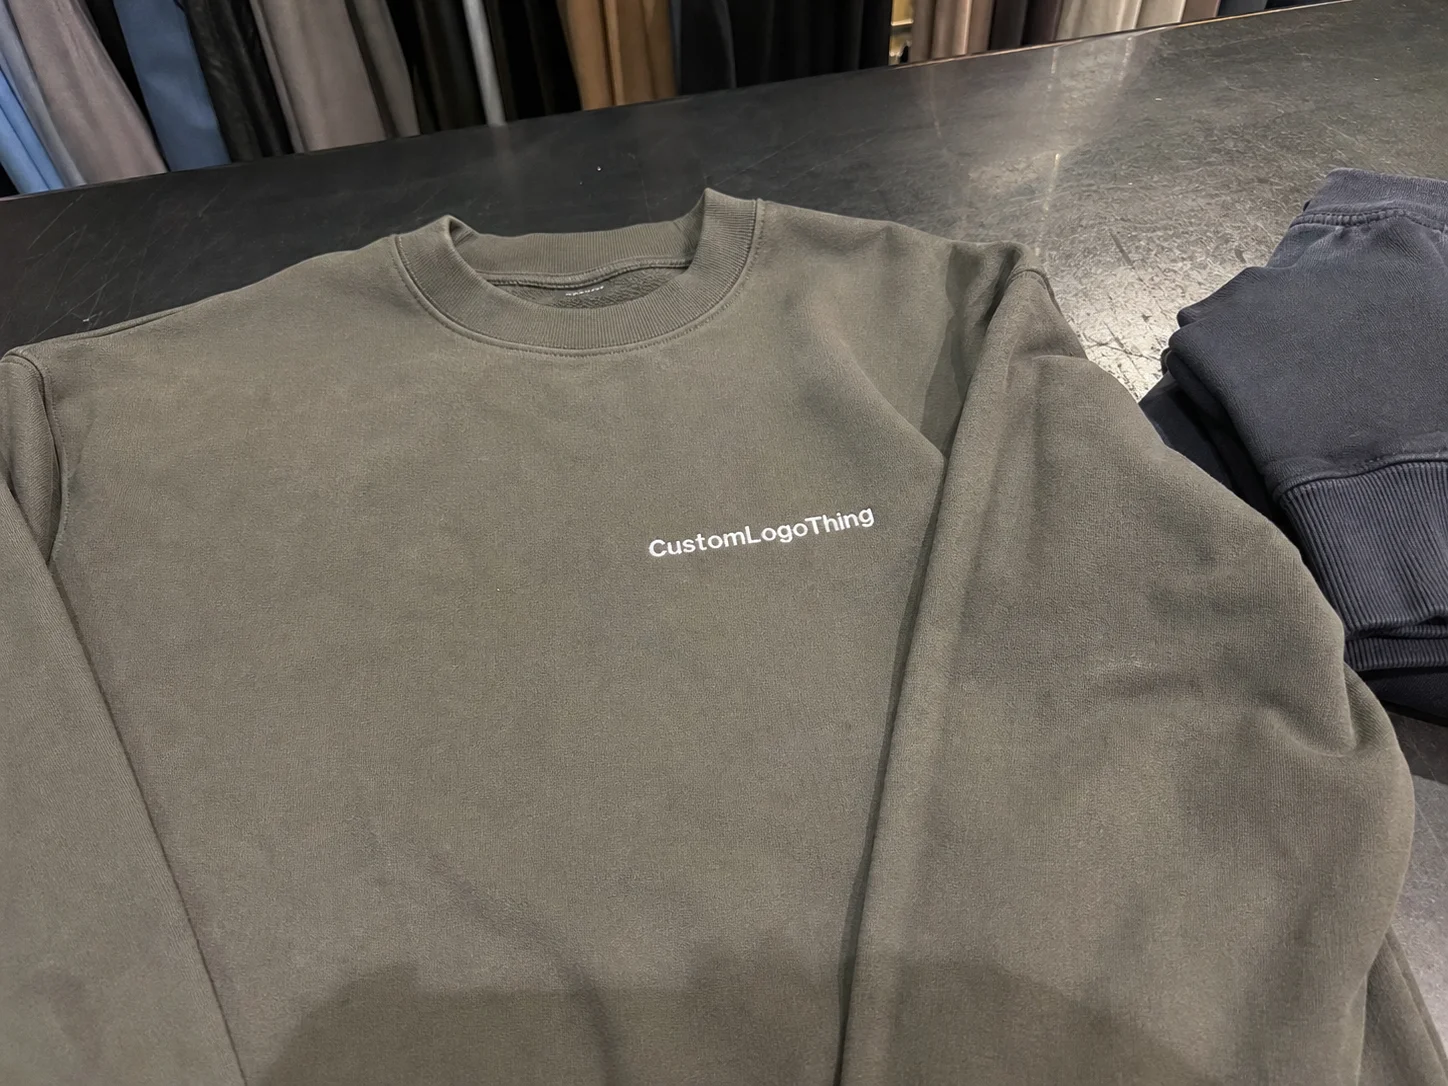
Custom slab labels are larger-format garment labels designed to carry more information in one readable layout. Depending on the program, that may include brand name, size, care instructions, fiber content, country of origin, barcode data, or internal sorting marks. Their value is functional: they compress several jobs into a single component without losing clarity.
That matters most when the label supports more than compliance. A folded tee on a retail shelf needs fast recognition. A bundled assortment in fulfillment needs fast sorting. A private-label line needs consistency across SKUs. In each case, the label becomes part of the product system rather than a loose accessory.
Clear labels also reduce handling mistakes. One legible slab label can replace multiple separate identifiers, which lowers the chance of size mix-ups, duplicate tickets, or a warehouse worker pausing to decode the layout. Small friction points add up quickly across thousands of units.
If the label can be interpreted two ways, production often defaults to the least expensive valid interpretation. Exact dimensions, fold direction, copy approval, and application instructions need to be locked before the first run.
How Slab Labels Are Made and Applied
The process starts with artwork intake and a technical check. A supplier should confirm dimensions, copy, resolution, color references, and whether the label needs a woven finish, printed finish, or heat-transfer construction. That proof stage is where most avoidable problems are caught.
Material choice changes the result more than many teams expect. Woven damask usually reads as more premium because of the texture and edge finish. Printed satin handles fine text well and can carry more information in a tight layout. Printed taffeta is common when cost matters and the design is straightforward. Heat-transfer labels remove sewn bulk, which helps on performance garments or softer interior finishes.
Application method matters just as much. A slab label can be sewn into a seam, placed in a neckline, attached as a fold-over, or built into a bagged-and-tagged set. The fold style changes how much content fits, how the label lies against the garment, and how quickly a line can apply it correctly. A straight-cut label is simpler to spec, but a center-fold or end-fold often improves durability and presentation.
One detail that gets missed is the garment fabric itself. A label that sits cleanly on woven cotton may feel different on stretch knits, fleece, or performance blends. A stiff label can scratch. A very light label can curl or shift. Even when the artwork is right, the material can still be wrong for the final handfeel.
Factory teams usually move faster when the spec is precise. Exact width and height, a defined fold, and a defined stitch point reduce interpretation errors. That lowers the odds of corrective rework, which is where a low-cost order turns into a high-cost delay.
For teams managing multiple packaging components at once, keep the label spec aligned with the broader packaging system. Typography, sizing logic, and brand tone should not drift between the label, hangtag, and insert. If they do, the package looks assembled rather than designed.
Cost, Pricing, and MOQ Factors to Compare
Price is usually driven by five variables: material, print complexity, label size, finishing, and quantity. A wider label with multiple colors and a special fold will almost always cost more than a narrow, single-color label with a simple cut. Setup time, machine handling, and inspection all rise as the spec becomes more complex.
MOQ behavior follows the same logic. Simple printed constructions may allow lower entry quantities. Specialty woven runs, custom folds, or multi-panel slab layouts often need larger minimums because the fixed setup cost has to be spread over more units. Two labels that look similar on a mockup can still produce very different quotes.
For a practical reference point, many buyers will see a range like this on a 5,000-piece order. Actual pricing shifts with coverage, finishing, supplier capacity, and whether artwork changes trigger additional setup.
| Label Type | Best Fit | Typical Unit Range | What You Get | Watch-outs |
|---|---|---|---|---|
| Printed satin | Soft apparel, detailed copy | $0.08-$0.18 | Good print clarity, flexible layout | Can feel slippery if the construction is too light |
| Woven damask | Premium brand positioning | $0.12-$0.30 | Durable texture, polished appearance | Fine text needs careful font sizing |
| Heat-transfer style | Performance garments, low-bulk interiors | $0.10-$0.22 | No sewn edge bulk, softer handfeel | Requires correct application conditions |
| Special fold or multi-panel slab | Retail presentation, multi-line information | $0.14-$0.35 | More readable layout, cleaner shelf presence | Higher setup and tighter proof control |
Those figures are not universal. Some vendors charge setup separately, often in the $40-$150 range depending on artwork complexity and structure. Sampling may be free, deducted from the order, or billed on its own. Freight can also move the landed cost more than people expect on lower-volume runs.
Ask for quotes that separate unit price, setup, sampling, shipping, and finishing fees. That is the only way to compare suppliers honestly. A quote that looks lower can easily become more expensive once extra line items appear.
Production Steps and Typical Turnaround
The production sequence is usually straightforward: quote approval, artwork proof, sample or strike-off if required, full production, quality inspection, packing, and shipment. The schedule only looks simple on paper. In practice, delays usually come from spec confusion rather than machine capacity.
Missing copy, unclear fold instructions, inconsistent color approval, and late proof feedback can add days. If the supplier has to pause and ask what a label is supposed to say, the project is already behind. The fastest orders are the ones that reach production with little interpretation left.
Typical turnaround depends on order size, label type, and factory load. A straightforward run with approved artwork may finish in roughly 12-15 business days after proof approval. More complex constructions or sampled orders can take longer. Rush requests can shorten the calendar, but they usually narrow revision time and may increase freight or finishing costs.
If the labels must arrive with cartons, hangtags, or insert materials, build the schedule around the slowest component. That rule is boring and useful. A label that lands early helps nothing if the rest of the packaging misses the launch window. The same applies across Custom Packaging Products more broadly, where one late item can hold up the entire release.
Quality control should be written into the order, not assumed. Specify tolerances for size, color, and placement. If the supplier knows the acceptable range before production starts, disputes are less likely.
Step-by-Step Guide to Ordering the Right Spec
Start with the use case. Is the label meant for retail display, bulk packing, direct-to-consumer fulfillment, or a mixed-channel program? The answer determines how much information the label needs, how durable the construction should be, and how polished the final presentation has to feel.
Next, define the information the label must carry. At minimum, most apparel orders need brand name and size. Many also require care instructions, fiber content, country of origin, or regulated compliance text. If the garment is sold across markets, legal copy should be reviewed before artwork is finalized.
Then choose the construction. Woven, printed satin, printed taffeta, and heat-transfer labels solve different problems. Woven often supports premium positioning. Printed satin can carry more detail. Heat-transfer works well when low-bulk comfort matters. Match the choice to the garment, not to the broadest supplier catalog.
After that, lock the physical spec:
- Exact width and height
- Fold style, if any
- Stitch location or application method
- Material and finish
- Color references, ideally with Pantone guidance where relevant
- Tolerance notes for cutting and placement
Finally, send a clean artwork file. Vector formats such as AI, EPS, or a high-resolution PDF are the safest starting points. Outline fonts when possible. If there are multiple versions, name them clearly by size, style code, or colorway. File confusion is a routine cause of avoidable delay.
For repeat orders, keep one internal spec sheet with the approved dimensions, artwork version, material, fold style, application method, and final proof. That makes the next order easier to place and easier to inspect.
Common Mistakes That Lead to Reprints
The biggest mistake is trying to fit too much into too little space. Dense legal copy, tiny fonts, and oversized logos compete with each other until the label becomes hard to read. A mockup can still look fine on a screen and fail once printed at actual size.
Another frequent issue is forgetting that fabric changes the way a label behaves. A label that looks crisp in proof can curl, twist, or feel scratchy once attached to the actual garment. The material may be technically correct and still be wrong for the final product.
Size and fold tolerances cause trouble too. If a label has to work across several garment sizes or multiple factories, the acceptable range should be written down. Without that, one supplier may interpret the spec differently from another. The result is inconsistency, and inconsistency is expensive.
Skipping preproduction approval is the other costly habit. A proof is the last cheap chance to catch a bad font size, a misplaced stitch point, or a copy error. Once production starts, every correction gets more expensive.
A 2 mm shift may sound trivial in a mockup. On a real label, that can push text into the fold, crowd a barcode, or make a seam look misaligned.
One more mistake is approving a label without checking it on the final garment. A spec can be correct and still fail in use. If the fabric stretches, washes, or folds differently than expected, evaluate the label in that environment before clearing the full run.
Expert Tips for a Faster, Cleaner Next Order
Ask for a sample or reference swatch before locking the order. It is the fastest way to check handfeel, print clarity, edge finish, and fold behavior without guessing. If the sample is wrong, correct it before the full run.
Request quotes with line-item detail. Separate setup, unit price, shipping, and finishing charges. Then compare totals, not just headline numbers. A supplier that looks more expensive can be the better buy if it reduces hidden charges and avoids a second approval round.
Build one reusable spec sheet for every reorder. Keep the approved dimensions, artwork version, material, fold style, and application method in one place. Store the final proof with it. That document becomes the fastest path back to production when the next replenishment order arrives.
If the label sits inside a wider packaging program, keep its design language aligned with hangtags, inserts, and cartons. Package branding works best when the parts feel related without looking copied. A customer registers the system, not each component in isolation.
For recurring launches, narrow the decision list to three things: approved construction, approved application method, and approved artwork. Once those are stable, custom slab labels become easier to reorder and easier to inspect.
What are custom slab labels used for on clothing?
They combine size, brand, and compliance information into one readable label layout. They also help apparel look more organized at retail and in fulfillment, and they reduce confusion when a brand manages many SKUs or size runs.
How much do custom slab labels usually cost?
Price changes with material, size, color count, fold style, and finishing. Higher MOQs and simpler constructions usually lower the unit cost. Ask for a quote that separates setup fees, sampling, and shipping so the comparison is accurate.
What is the normal turnaround for custom slab labels?
Turnaround depends on proof approval, sampling needs, and factory capacity. Orders move faster when artwork is final and specs are already approved. Plan extra time for launches, seasonal drops, or rush replacements.
What file should I send for slab label artwork?
Send a vector file such as AI, EPS, or a high-resolution PDF when possible. Outline fonts and include exact dimensions, colors, and any legal copy. If the label has multiple versions, label each one clearly before submission.
How do I choose the right material for custom slab labels?
Match the material to the garment feel, wash durability, and brand position. Woven options often suit premium looks, while printed constructions can be more flexible on detail. Test the label on the actual fabric before approving production.
Handled this way, custom slab labels stop being a loose line item and become a repeatable part of apparel execution. That is the difference between a one-off order and a label program you can reOrder with Confidence.


