Custom soda can labels turn a standard can into branded packaging without committing to fully decorated cans. That makes them useful for launches, seasonal releases, private-label beverage runs, weddings, tasting tables, and short promotional batches. The value is practical: lower inventory risk, faster artwork changes, and less pressure to forecast demand far ahead of time.
The format also works well when the package needs to change often. Labels can carry flavor updates, barcodes, QR codes, and legal copy without retooling the can itself. For Brands That Need consistent presentation across cartons, inserts, or shipper boxes, it also fits neatly with other Custom Labels & Tags and broader Custom Packaging Products.
The real decision is not whether the design looks good on screen. It is whether the label fits the can, survives cold handling, and prints cleanly at the quantity and turnaround the project requires. If those details are off, the packaging fails even when the artwork is strong.
Custom Soda Can Labels: what they are and where they win
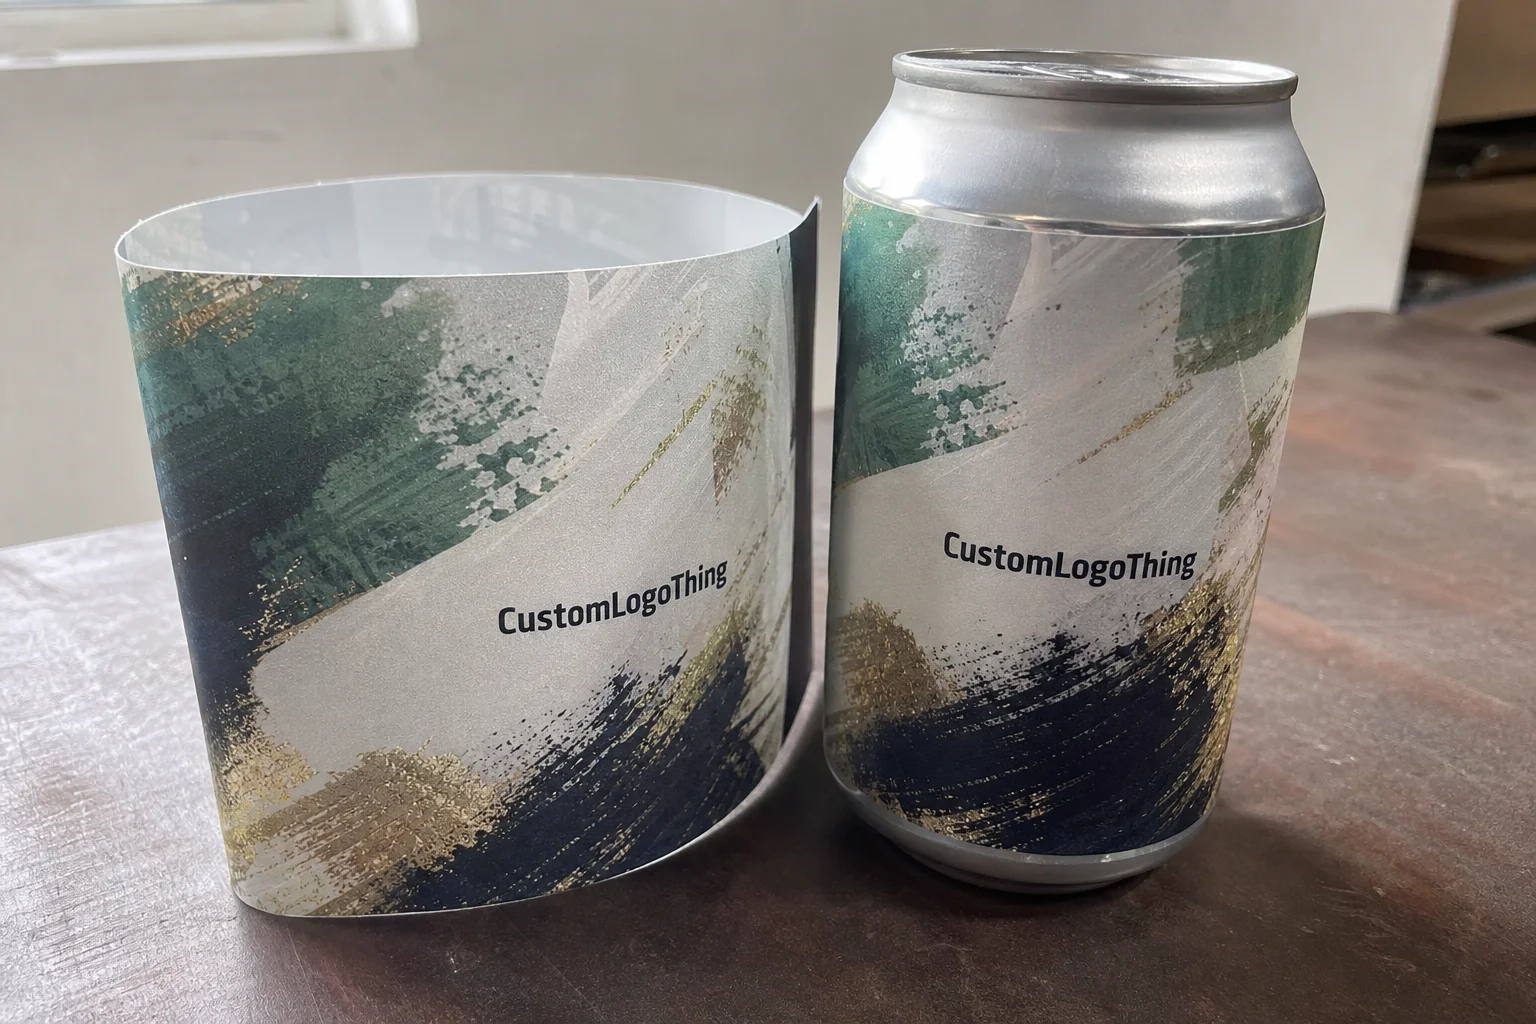
At a basic level, custom soda can labels are pressure-sensitive labels applied after printing. They are different from directly printed cans, which usually involve higher setup costs and larger commitments. Labels shift the spend toward print and application, which changes the economics for smaller or more flexible runs.
They are strongest in situations where speed and version control matter. A sparkling water brand can swap flavors without sitting on obsolete inventory. A brewery can test a seasonal release without locking into a long production run. An event planner can use one design for a corporate function and another for a private event without rebuilding the packaging system.
The format also suits products that are handled closely and seen briefly. Samples on a counter, mini-fridges in hospitality suites, gift boxes, and promotional packs all rely on fast readability. In those settings, the label has to hold up under condensation and still look deliberate after the can has been chilled and moved around.
A mockup does not prove performance. A finished can should be checked cold, handled, and stacked. Most label issues show up there, not in the file.
For many buyers, the appeal is control. Labels make it easier to update ingredients, legal copy, or barcodes when the product changes. That matters when the formulation is still being refined or when the same beverage needs different versions for different markets.
How the labeling process works from file to finished can
The process starts with the dieline. That template defines the label width, height, seam position, and safe zones. It also changes with can size. A standard 12 oz can, an 8 oz slim can, and a tall format do not share the same measurements, so a generic “soda can” spec is not enough.
After the dieline, the artwork is checked for production issues. Small type can collapse, barcodes can sit too close to a curve, and light text can disappear against the can surface. Thin borders and tight registration become more noticeable once the label is wrapped. Those are normal prepress concerns, but they need to be caught before print.
The usual workflow is simple: file review, proof, approval, print, finish, cut, inspect, ship. Some suppliers also stage labels for application. The main variable is how much testing happens against the actual can profile, because labels behave differently on matte and glossy surfaces, and they react differently on chilled cans versus room-temperature cans.
Application matters as much as print quality. Small runs are often labeled by hand, while larger runs may use an applicator or a line-assisted process. Cans need to be clean, dry, and free from condensation. If they are already cold, adhesion becomes less reliable. If there is dust or residue, the edges can lift later.
For shipping durability, ISTA testing standards are a useful reference for how packaging handles transport stress. They do not replace a real can test, but they reinforce the important point: packaging works as a system, not as a file.
Sizing, materials, and finish choices that affect performance
The most important technical choice is not color. It is whether the label size and material match the can and the environment. A design that looks correct on a proof can still fail if the adhesive is wrong for cold storage, the stock is too stiff for the curve, or the finish scuffs too easily in transit.
Material usually falls into three practical categories. Paper-based labels tend to be the lowest-cost option, but they are more vulnerable to moisture and abrasion. Film-based labels, especially BOPP, handle condensation and cooler storage better. Specialty stocks can create a premium look, but they cost more and may require tighter press control.
Finish changes the package feel more than many buyers expect. Matte reads softer and often more premium. Gloss adds shelf pop. Soft-touch can look refined, though it is not always the best value if scuff resistance matters more than tactile appeal.
There is also a compliance side to the material decision. Ingredients, nutrition panels, barcodes, QR codes, and legal text need enough contrast and enough quiet space to stay legible after chilling. Crowded labels become harder to scan and harder to trust.
For teams that care about sourcing, ask direct questions about the substrate and the supplier's documentation. The Forest Stewardship Council is a useful reference point if the packaging brief includes certified fiber or chain-of-custody requirements: FSC. It is not a substitute for due diligence, but it gives procurement a clear framework.
Labels should also fit the rest of the brand system. A can that echoes the same typography and color logic as cartons, inserts, or shipper boxes feels deliberate. One that ignores the rest of the packaging line can look like a one-off, even if the print quality is solid.
| Label option | Best use | Performance | Typical cost impact |
|---|---|---|---|
| Paper pressure-sensitive | Dry environments, short display windows | Strong print clarity, weaker moisture resistance | Lowest |
| BOPP film | Cold storage, coolers, higher handling | Better moisture resistance and scuff durability | Moderate |
| Specialty textured stock | Premium launches, gift sets, limited editions | Distinct tactile appeal, more sensitive to finish variation | Higher |
| Clear film with white ink | Minimalist branding on metallic cans | Clean visual effect, but contrast planning has to be precise | Moderate to higher |
Pricing, MOQ, and unit cost drivers to compare before you order
Pricing is mostly a volume story. Larger runs cost less per label. Smaller runs carry more setup cost per unit. That matters because the initial quote often leaves out the details that move the final number.
For a practical frame of reference, short runs of a few hundred labels often land around $0.45 to $1.10 per label, depending on stock, print coverage, and finishing. Larger quantities may fall closer to $0.12 to $0.28 per label for standard jobs. White ink, specialty coatings, tight color matching, and rush scheduling can push prices higher.
MOQ exists because setup time and material waste are real. What buyers should compare is how the MOQ interacts with the rest of the quote. Sometimes a slightly larger order lowers the unit cost enough to justify the extra inventory. Sometimes it does not. The math matters more than the headline number.
When comparing quotes, ask for the complete cost stack: print method, stock, finish, die-cutting, proofing, freight, rush fees, and any art revision charges. If the supplier also helps with application, that should be listed clearly. A low quote can become expensive if key line items are missing.
These are the main drivers that move price most often:
- Print coverage: dense ink coverage and metallic effects usually cost more than simple two- or three-color work.
- Material: film stocks generally perform better in ice and coolers, while paper tends to be cheaper.
- Quantity: higher volumes reduce unit cost, sometimes sharply once a pricing tier changes.
- Finish: matte, gloss, soft-touch, and specialty coatings all affect the final number.
- Turnaround: rush work can add fees because it interrupts the normal production schedule.
Buyers planning broader packaging spend should compare labels alongside cartons, inserts, and custom printed boxes. If the beverage launch, the shipping package, and the retail presentation are all on the same schedule, procurement is easier and waste is lower.
Production steps and turnaround: what happens after approval
Approval changes the risk profile. After the proof is signed off, edits become expensive, so proof review deserves more attention than most teams give it. A typo caught late can delay the run and add cost.
The production sequence is usually familiar: file prep, color management, print, finishing, cutting, inspection, packaging. If the supplier offers application support, that may happen after the labels are produced or at a separate stage. Standard turnaround often lands around 7 to 12 business days after proof approval, though special finishes, complicated artwork, or a tight event deadline can extend that.
Coordination is the hidden schedule risk. Labels may be ready before cans arrive, before the filler is booked, or before the shipper cartons are finished. The cleanest plan is to align label production with the actual fill date and use date, not just the date the artwork is approved.
A written schedule helps. Separate the milestones: proof approval, production start, completion, transit, and buffer for a reprint if needed. It looks tedious on paper, but it prevents the common late-stage scramble.
Sample testing should happen before the full release. A chilled can should be checked after refrigeration, not just before it goes into the cooler. If the adhesive survives that test, the risk drops substantially. If it does not, catching the problem on one sample is far cheaper than discovering it on a full case count.
Common mistakes that make can labels look cheap or fail
Size errors are the first failure point. A label that is too long can overlap awkwardly. One that is too short can expose too much can surface and make the design feel unfinished. Both mistakes are visible at a glance and both are avoidable with the correct dieline.
Environmental assumptions are next. Condensation, refrigeration, and ice buckets are hard on weak adhesive systems. A label that performs on a dry desk may start lifting in a cooler. If the product will be used for retail packaging or event service, the stock and adhesive need to be chosen for the harshest realistic condition.
Artwork problems are just as damaging. Low-resolution logos, weak contrast, tiny text, and crowded compliance copy all get worse when the label wraps around a cylinder. Flat-screen design can hide those issues; the can will not.
Operational mistakes are quieter but just as costly. Ordering too late. Skipping proof time. Assuming one design can fit multiple can sizes without changes. Forgetting to order extras for spoilage or on-site replacement. Those errors show up across packaging categories, and they are usually preventable.
Application consistency matters too. If labels are placed at different heights across the batch, the run looks less controlled even if the print quality is strong. That is one reason the application step should be treated as part of quality control, not just labor.
The most expensive label is the one that arrives on time but cannot be used. The failure is usually fit, surface prep, or timing, not print quality.
What to prepare before you request a quote
A useful quote starts with useful inputs. If you want accurate pricing for custom soda can labels, send the can size, quantity, target use date, finish preference, artwork files, and whether the labels will be applied by hand or on a line. Exact information reduces back-and-forth and makes the estimate more reliable.
It also helps to separate brand assets from production assets. A logo file is not the same thing as a barcode. Ingredient copy is not the same thing as legal copy. When those pieces are gathered early, proofing moves faster and the layout has fewer last-minute surprises.
If the cans will be stored cold or used in wet conditions, ask for a sample or test proof. A label that survives on a dry table is not fully validated. A label that survives on a chilled can is much closer to real-world use.
Plan for overage. A buffer for spoilage, testing, and replacements is normal in beverage work. Three to five percent is a reasonable starting point for many small batches, although the exact number depends on the application method and the event risk.
If you are comparing suppliers, keep the assumptions identical across quotes. Same quantity. Same can format. Same finish. Same timing. That is the only clean way to see whether a quote is actually competitive or just incomplete.
With those details in place, the path is straightforward: verify the dieline, test the finish on the right can, confirm the schedule, and place the order with enough time for proofing and transit.
What size should custom soda can labels be for a standard 12 oz can?
Use the supplier's dieline for the exact can diameter and panel height instead of guessing from a generic template. The right dimensions depend on seam position, top and bottom margins, and the can profile itself. A label built for an 8 oz slim can will not usually fit a standard 12 oz can without adjustment.
Do custom soda can labels hold up in ice and condensation?
They can, but only if the stock and adhesive are rated for cold, wet conditions. Paper labels are usually weaker in coolers and ice buckets than film-based options such as BOPP. A finished sample should be tested on chilled cans before a full production run is approved.
What is the usual MOQ for custom soda can labels?
MOQ varies by printer because setup time and material waste affect the economics of small runs. A quote should show whether proofing is included and how pricing changes at the next quantity tier. If your order is small, stepped pricing can show where the best unit cost begins.
Can one custom label design fit both 8 oz and 12 oz cans?
Usually not without changes, because the circumference and usable label area are different. The artwork can often be adapted, but each can size should be checked against its own dieline. If the label includes small text, QR codes, or a detailed compliance panel, resizing can affect readability.
How far in advance should I order custom soda can labels before an event?
Order early enough to cover proofing, production, transit, and any corrections. For event work, build in enough time to test the labels after printing and before distribution. A practical sequence is to lock the artwork, reserve time for sample testing, and then move to full production once the label has been checked on the actual can.
The best label choice is usually the one that matches the job rather than the one that sounds most premium on paper. For a short-run launch, a well-specified label can deliver strong shelf presence without the overhead of a full can program. For a recurring beverage line, the same format can still work if the specs are disciplined and the testing is real.

