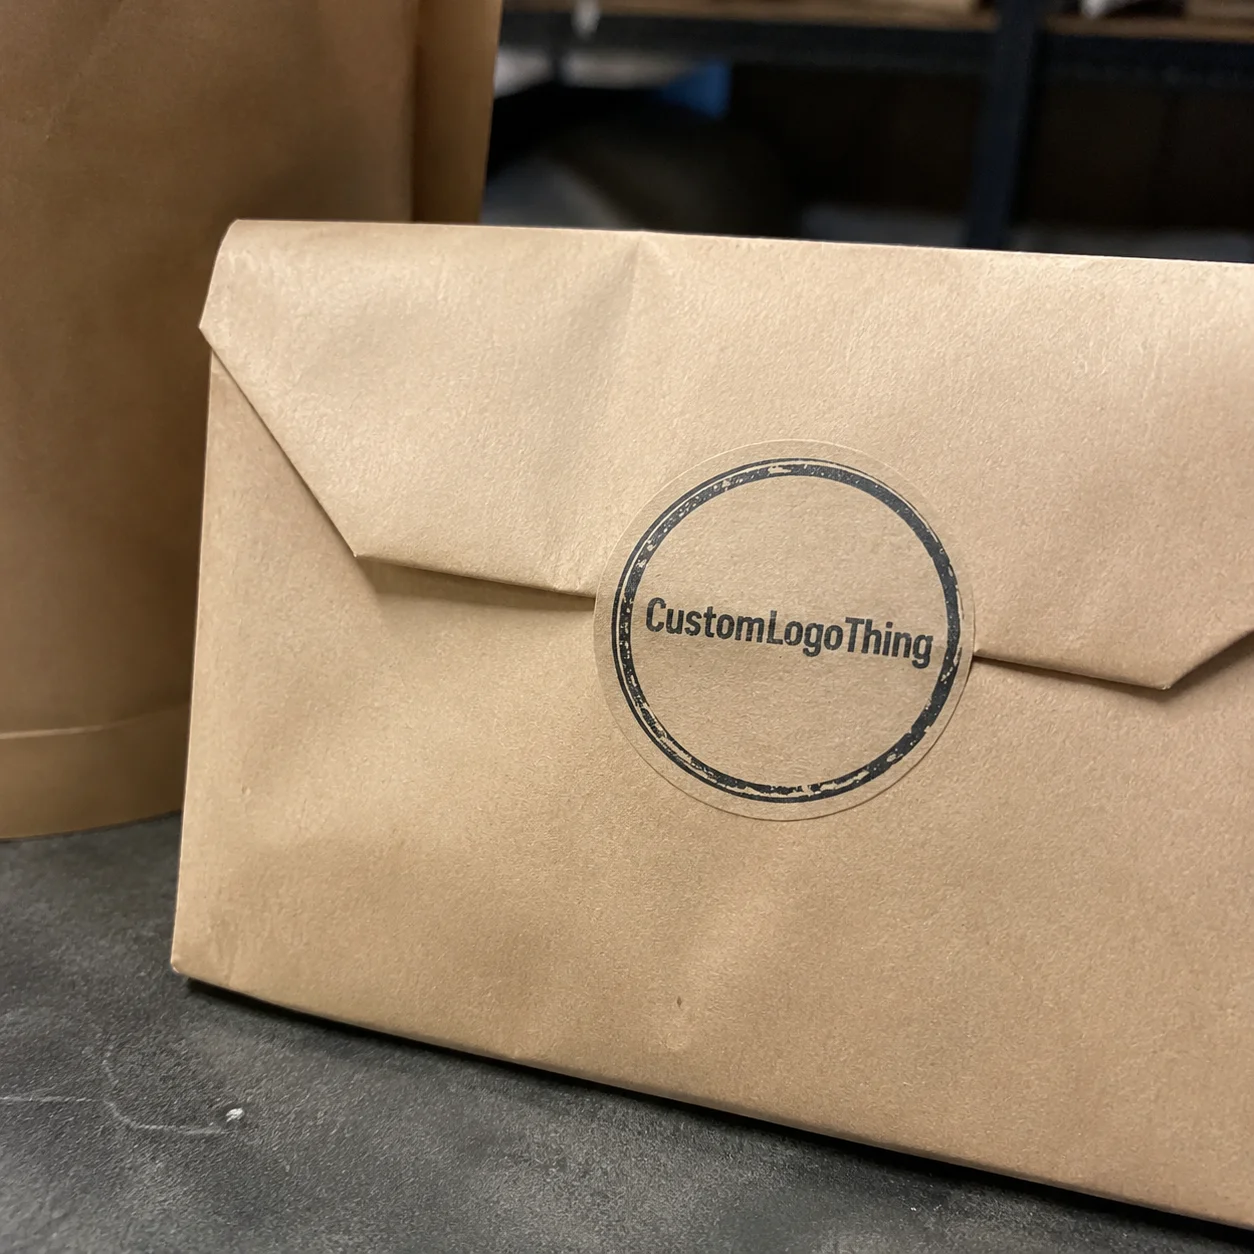
Custom stamp stickers do a lot with a very small footprint. A seal on a mailer flap, a label on tissue wrap, or a postmark-style mark on an insert can make packaging feel deliberate without forcing a brand into a full custom box program.
That is why custom stamp stickers keep showing up in small-batch launches, subscription kits, seasonal packaging, and retail kits that need a polished finish without a complicated setup. They bring the look of a stamped impression into adhesive form, which makes them useful for closures, accents, and lightweight branding across many kinds of branded packaging.
The appeal is practical as much as visual. Buyers want low minimums, quick artwork changes, and a format that can be applied by hand without slowing fulfillment. That combination is hard to beat when the packaging team needs speed and consistency more than elaborate decoration.
Why custom stamp stickers stand out on packaging
Stamp-style graphics feel familiar because they borrow from postal marks, archival seals, and certification badges, yet they still read quickly on a box or envelope. That matters on packaging, where the customer often sees the outer layer first and decides almost immediately whether the brand feels careful, premium, or rushed.
Custom stamp stickers are adhesive labels made to mimic that stamped look. The artwork usually relies on bold outlines, clear type, and a shape that still feels balanced once it is trimmed into a circle, oval, square, or contour cut. The best versions look intentional from arm’s length and still hold up when viewed close up.
They are common on tissue seals, envelope closures, retail inserts, event mailers, and product bundles. They also fit neatly into packaging systems where the outer box stays simple but a small branded detail carries the visual identity. That can be especially useful for brands that want to avoid large print runs while still creating a repeatable finish.
For smaller teams, the production side is a major advantage. Stickers can be ordered in a few hundred pieces, adjusted for a campaign, and applied with minimal training. Compared with custom printed cartons, the setup is lighter, the timeline is shorter, and the risk is easier to control when artwork changes from one launch to the next.
A good stamp-style sticker should feel like it belongs to the package system, not like an extra graphic placed on top at the last minute.
They also pair naturally with other branded items such as Custom Labels & Tags and broader Custom Packaging Products, especially when the same shape or border treatment appears across inserts, mailers, and closures.
How the stamp-sticker production process works
The workflow is simple on paper, but the details matter. It starts with artwork setup, where the designer defines the size, trim, bleed, and safe area. Then comes proofing, printing, cutting, and final packing on sheets or rolls. Each step can affect how the sticker looks and how it behaves in production.
With custom stamp stickers, the proof stage is where most avoidable problems get caught. A proper proof confirms the final size, border thickness, color placement, and cut line. If tiny text sits too close to the edge, or if a circular border will feel cramped once trimmed, the proof should make that obvious before production starts.
Printing method also shapes the result. Digital printing is often the best option for shorter runs, quick turn jobs, and artwork that changes often. It gives buyers flexibility and avoids some of the setup overhead that comes with larger, more specialized runs. For bigger quantities, the recommended method may shift depending on coverage, finish, and the shape being cut.
Construction changes how the sticker is used. A kiss-cut keeps the artwork on the backing sheet and cuts only the top layer, which is useful for hand application and mixed designs. A full die-cut follows the outside shape more closely and usually gives a cleaner presentation when the sticker itself is part of the branding.
Adhesive and liner choices are easy to overlook, but they matter every day in fulfillment. Permanent adhesive works well on shipping cartons, folding cartons, and most dry packaging. Removable adhesive can make sense for temporary promotions or sample packaging. The liner material affects how the stickers dispense, which matters if a packing team is applying them at speed.
| Format | Best for | Typical use | Handling |
|---|---|---|---|
| Sheets | Small orders, hand application | Mailers, inserts, low-volume fulfillment | Easy to store and distribute |
| Rolls | Higher-volume packing lines | Cartons, pouches, faster application | Dispenses quickly with minimal pause |
| Kiss-cut sheets | Mixed artwork or sample packs | Retail kits, promotional sets | Cleaner removal from the backing |
| Die-cut singles | Presentation-focused branding | Premium packaging, seals, inserts | Strong visual impact on the package |
If sustainability is part of the brief, ask about the face stock, liner, and adhesive rather than assuming they are interchangeable. Paper options may be available with FSC certification in some programs, and some suppliers can suggest lower-waste configurations when the application does not require a synthetic film. For shipping and packaging performance, the ISTA testing framework is a useful reference, and the EPA provides practical guidance on waste reduction and material handling.
Key material, finish, and sizing choices
Material changes the look, the feel, and the job the sticker can safely do. Paper face stock gives the most traditional stamp appearance, especially when the design uses dark type, rough edges, or a seal motif. It is usually the best fit for envelopes, insert cards, and folding cartons where moisture is not a concern.
BOPP is the stronger option when the packaging may see handling, condensation, or light moisture. It holds up better on jars, pouches, and shipping environments where paper can start to look tired. Vinyl is more forgiving on curved containers and surfaces that get touched often, though it is not always necessary unless durability is part of the brief.
Finish changes the tone without changing the artwork itself. Matte usually preserves the stamp look and keeps glare down, which helps fine lines and small type stay readable. Gloss makes color feel brighter, but it can push a stamp-style layout toward a more polished, less traditional look. Soft-touch adds a velvety surface and often suits premium packaging, though it adds cost and is not always worth it for everyday fulfillment.
Size needs more attention than first-time buyers expect. Small seals around 1 to 1.5 inches work well for closures and subtle branding. Mid-size stickers around 2 to 3 inches are often the sweet spot for front-facing accents or short messaging. Larger pieces can carry more information, but stamp-style graphics usually lose some of their charm once they become too busy or too large for the package surface.
Line weight and spacing matter just as much as size. Stamp-style artwork usually prints better when it uses clear borders, open areas, and strong contrast. Thin script, dense shading, and too many nested rings can look fine on screen and muddy on press. A cleaner layout almost always reproduces more faithfully on adhesive stock.
If the sticker is part of a broader packaging system, it helps to keep one core shape and one core finish, then vary the copy or icon within that system. That keeps the branding consistent while still allowing seasonal or product-specific updates.
Custom stamp stickers pricing: what drives cost
Pricing for custom stamp stickers usually comes down to size, quantity, material, finish, print coverage, and whether the shape requires a custom die. Two orders can look nearly identical and still price very differently if one uses a standard circle on paper stock and the other uses a specialty film with a custom contour and a premium finish.
Quantity almost always improves unit pricing, but setup and complexity can matter as much as volume on smaller orders. That is why first-time buyers are sometimes surprised when a modest change in material or shape moves the price more than they expected. The tooling, proofing, and cut process all play a role, especially when the run is short.
In practice, buyers usually see the best value when they keep the structure simple and put the budget into the parts customers will actually notice. A clean shape, solid print quality, and a finish that suits the packaging often matter more than adding extra effects.
- Standard shapes like circles and rectangles usually cost less than custom contours.
- Heavier print coverage can raise cost, especially with dense backgrounds or multiple ink layers.
- Premium finishes such as soft-touch or specialty lamination typically increase the total.
- Larger quantities reduce per-piece pricing, which matters for repeat packaging programs.
| Order profile | Typical cost behavior | Best fit | Notes |
|---|---|---|---|
| Short run, simple shape | Higher per-unit cost, lower total spend | Launches, samples, local events | Good for artwork testing |
| Mid-volume, standard material | Balanced price and flexibility | Most small-brand packaging | Often the best first order |
| Large-volume, premium finish | Lower unit cost, higher project total | Retail packaging, repeat campaigns | Works well for stable artwork |
As a practical planning range, small custom runs often cost more per piece because setup takes a larger share of the job. Once quantities move into the low thousands, the unit price usually gets far more efficient. It is reasonable to ask for quotes at 1,000, 2,500, 5,000, and 10,000 pieces so the breakpoints are visible before anyone commits.
There are sensible ways to trim cost without giving up quality. A standard circle or square reduces cut complexity. Fewer colors simplify production. Paper stock is often enough if the stickers are going onto dry packaging and the surface will not see moisture or abrasion. Those choices often save more than trying to shave fractions from the design later.
Premium finishes are worth the expense when the sticker is part of the unboxing moment, such as launch kits, holiday mailers, influencer packages, or packaging that needs a more finished first impression. For daily fulfillment, a straightforward material and finish usually make more sense.
Turnaround, lead time, and ordering steps
The ordering process is straightforward, but delays usually come from incomplete information. A useful quote request includes size, quantity, material, finish, application surface, and whether the stickers should ship on sheets or rolls. If the packing team has a specific setup, that should be included too, because it may affect the recommendation.
Once specs are set, artwork is submitted and a digital proof is prepared. That proof is the place to check spelling, size, color balance, border thickness, and cut alignment. If a correction is needed, it is far cheaper to make it there than after production has started.
Lead time depends on proof approval, print method, finishing, and order volume. For many standard jobs, a production window of about 7 to 15 business days after proof approval is a realistic planning range. Specialty finishes, higher volume, or peak-season scheduling can extend that. Shipping time should be added on top of production, not folded into it.
The safest way to plan is to work backward from the launch date. If the packaging needs to be in-house a week early, the order has to clear proofing, print production, packing, and freight before then. That leaves room for one revision and the occasional logistics delay, both of which are common enough to plan for.
For brands comparing custom stamp stickers with other packaging components, it helps to line up labels, tags, and inserts so the visual language stays consistent. A stamp motif usually feels stronger when it appears in a system rather than as a one-off decoration.
Common mistakes buyers make with stamp-style stickers
The biggest mistake is trying to pack too much detail into a small imprint area. Stamp-style graphics want clarity. If the design includes tiny words, dense shading, or too many border rings, the final sticker can look softer and less readable than expected. Simpler artwork usually prints cleaner and feels more authentic.
Another common issue is choosing the wrong adhesive for the surface. Textured cartons, cold-pack packaging, refrigerated surfaces, and glossy pouches all behave differently. A permanent paper sticker that works well on a dry mailer may fail on a chilled jar or a coated pouch. The surface matters as much as the artwork.
Bleed and safe area also get overlooked. If the cut line is too close to small text or the outer border is too thin, the final piece can look uneven or fragile. That can trigger delays because the artwork needs to be adjusted or approved with an obvious risk attached.
Skipping the proof is expensive. Some buyers assume a simple shape does not need review, then find that the size feels wrong in hand or the logo reads too small from shelf distance. One proof is far less costly than reprinting a run.
For regulated or compliance-sensitive uses, decorative branding should stay separate from required labeling unless the supplier has confirmed the use case. Packaging decoration and functional labeling are not automatically the same thing.
If a stamp-style sticker only looks right at one zoom level on screen, it probably needs simplification before production.
Expert tips for stronger branding and next steps
If you are starting from zero, begin with one core size and one finish, then test placement on a few package types before expanding. A 2-inch seal may look balanced on a folding carton and oversized on a narrow mailer. Even a small shift in placement can change how the packaging reads.
Consistency usually matters more than complexity. Repeating the same icon, border treatment, or stamp shape across inserts, mailers, and closures builds recognition faster than adding more graphic effects. That kind of repetition feels more credible and usually ages better across multiple launches.
It also helps to gather exact specs before asking for quotes. Measure the application area, decide on sheets or rolls, define the finish, and describe the environment the sticker will face. Concrete input makes pricing easier to compare and avoids apples-to-oranges quotes.
For brands building a broader packaging system, custom stamp stickers can sit alongside labels, tags, and other branded materials without overwhelming the package. That balance is what usually makes the result feel considered rather than decorative for its own sake.
Before placing an order, use this checklist:
- Measure the application area.
- Choose the material based on moisture, handling, and surface type.
- Select a finish that supports the design.
- Prepare artwork with proper bleed and safe margins.
- Request a proof and confirm the timeline before launch.
Do those five things well, and custom stamp stickers become one of the simplest ways to strengthen branded packaging without adding production headaches.
Frequently asked questions
What are custom stamp stickers used for on packaging?
They are used as branded seals, closure labels, insert accents, and decorative marks That Make Packaging feel more intentional. They work especially well for mailers, boxes, tissue wrap, envelopes, and product pouches.
Are custom stamp stickers better on sheets or rolls?
Sheets are convenient for hand application and smaller orders, while rolls are better for faster application and higher-volume packing lines. The right format depends on how the stickers will be applied and how much speed the packing team needs.
What material works best for custom stamp stickers?
Paper works well for a traditional stamp look, while BOPP or vinyl is better when moisture resistance and durability matter. The best choice depends on whether the sticker is for dry retail packaging, shipping, or surfaces that may get handled often.
How much do custom stamp stickers usually cost?
Pricing depends on size, quantity, material, finish, and whether the artwork needs a custom shape or special production steps. Higher quantities usually lower the per-piece cost, but premium materials or finishes can raise the total.
How long does the custom stamp stickers process take?
Lead time depends on proof approval, print method, finishing, and order size, so the timeline should be confirmed before launch planning. Fast approval of artwork and specs usually helps keep the project moving without delays.
Done well, custom stamp stickers carry more visual weight than their size suggests. They can tighten up a box, soften a mailer, or give a plain pouch a branded finish that feels deliberate, which is why they keep earning a place in practical packaging plans.


