Custom Stickers Chicago: What Local Buyers Really Need to Know
Custom stickers Chicago buyers usually need more than a logo on adhesive paper. They need a label, seal, decal, warning mark, QR-code sticker, or retail-facing detail that survives the real use case. That might mean a sweaty beverage can, a kraft mailer, a candle jar, a bakery box, a laptop, or a product pouch getting tossed into a delivery bin in February.
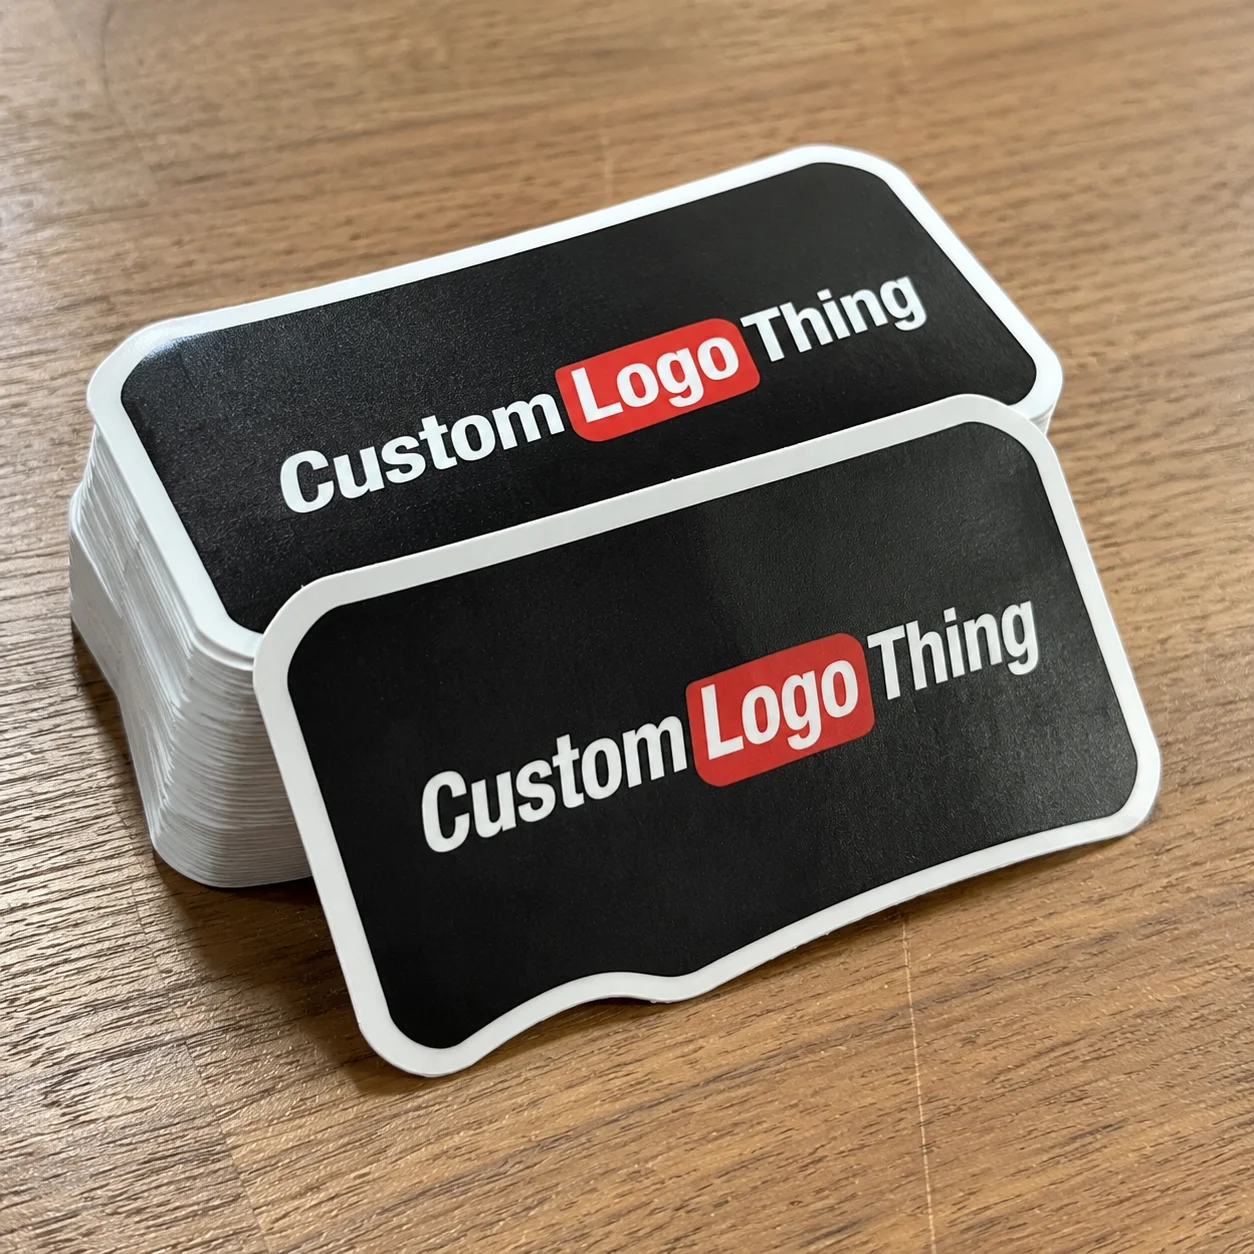
A sticker can make packaging feel finished in about three seconds. It can also make a good product look rushed. Annoying, but true.
A neighborhood coffee roaster preparing 750 bags for a weekend market has a different sticker problem than a tech team ordering die-cut decals for an event. The roaster needs roast name, origin, tasting notes, net weight, brand mark, and maybe a QR code on a bag that may be handled, stacked, and restocked. The event decal needs clean edges, durable face stock, and a liner people can peel without picking at it like they are defusing a bomb.
A custom sticker is a printed adhesive graphic made to a specific size, shape, material, finish, adhesive, liner, and application requirement. That last part does the heavy lifting. Decorative laptop decals, product labels, packaging seals, warning labels, QR-code labels, tamper seals, and promotional handouts may come from similar equipment. They do not need the same construction.
Local use changes the spec. Chicago has humid summer deliveries, cold loading docks, hot retail windows, and indoor-outdoor events where packaging gets handled by people wearing gloves, carrying drinks, or moving too fast. Beverage cans sweat. Candle jars pick up oil from fingers. Corrugated mailers have texture. Freezer products punish the wrong adhesive. Event deadlines do not care that a proof sat unread for two days.
Most sticker problems start before price is discussed. “How much for a 3-inch circle?” is not a bad question, just an incomplete one. A better version is: “What material and adhesive will work on this surface, in this storage condition, for this deadline?” That is the difference between buying decoration and specifying packaging.
If stickers are part of broader product packaging, think about them alongside boxes, bags, inserts, bands, seals, and labels. A matte label on a glossy box can be intentional. Or it can look like two vendors never spoke. Custom Logo Things supports related branded packaging through options such as Custom Labels & Tags, but the useful work starts with the spec, not with a vague request for “something nice.”
How Sticker Printing Works From Artwork to Finished Roll or Sheet
Sticker production follows a practical path: artwork review, file setup, material selection, proofing, printing, finishing, cutting, quality check, packing, and delivery. The order matters. If the cut line is wrong, the best ink and the nicest laminate in the shop will not rescue the job.
Digital printing is common for short runs, variable designs, seasonal packaging, and fast revisions. It avoids plate costs and makes a 250-piece test run realistic. Flexographic printing often makes more sense for larger repeat orders, especially when unit cost needs to drop across thousands of labels. Specialty processes such as foil stamping, embossing, textured varnish, and spot UV add Cost and Lead Time, but they can improve packaging when used with restraint. Used everywhere, they start to look like a menu with every topping selected.
Format is an early decision. Roll stickers suit production labeling, dispensers, and hand application at higher volume. Sheet stickers work for office use, small batches, kits, and mixed designs on one sheet. Individually cut decals are better for giveaways, retail packs, laptop stickers, event swag, and promotional inserts.
Cutting affects usability more than many buyers expect. Die-cutting creates a custom outer shape. Kiss-cutting cuts through the sticker but leaves the liner intact, which makes peeling easier. Rounded corners reduce edge lifting on jars, boxes, and mailers. Perforations help teams separate labels during packing. Back-slit liners can make large decals less frustrating to apply, especially when the sticker is wider than a hand.
Proofing is risk control, not paperwork. Check finished size, spelling, bleed, color expectations, barcode readability, QR-code scan distance, and cut path before approving production.
A sticker is a system. Face stock, adhesive, liner, ink, coating, application surface, pressure, temperature, and dwell time all affect performance. ASTM test methods for peel adhesion and tack are often used in pressure-sensitive label development. Shipping and handling decisions may also connect to standards from groups such as ISTA. You do not need to become a lab technician. You do need to understand that “sticky enough” is not a specification.
Quality checks should match the job. For a basic promotional decal, that may mean checking color, cut accuracy, liner release, and count. For product labels, it may include roll direction, copy accuracy, barcode scan checks, registration, adhesive performance, and visual inspection under normal lighting. The more functional the sticker, the less you should treat the proof as a formality.
Materials, Adhesives, and Finishes That Change Sticker Performance
Material choice is where many sticker orders succeed or fail. Paper labels are economical and attractive for dry indoor uses: bakery boxes, paper bags, hang tags, cartons, and short-life retail packaging. A paper label may be fine for 500 soap boxes on a boutique shelf. It is not automatically fine for cold brew bottles sitting in ice.
BOPP film, usually white, clear, or metallic, is a workhorse for moisture resistance. It is common on food, beverage, cosmetics, and bath products because it resists tearing and handles condensation better than paper. Vinyl offers stronger outdoor durability and flexibility, useful for decals, equipment labels, and promotional stickers exposed to abrasion or weather. Kraft paper gives a natural look, but it can darken print colors and has limited moisture tolerance. Clear film creates a “no-label” look on glass or plastic, though white ink planning matters if the artwork must stay opaque.
Adhesive selection is just as important. Permanent adhesive is the default for many product labels. Removable adhesive works for temporary promotions or price labels, but it may not grip rough corrugated board well. Freezer-grade and low-temperature adhesives help on refrigerated or frozen goods. High-tack adhesive can improve bonding to textured cardboard, plastic pouches, and difficult surfaces. Repositionable adhesive gives applicators a second chance, though final bond strength may differ from permanent options.
Application temperature matters. A label applied in a warm office may bond nicely, then fail after a cold truck ride if the adhesive was never designed for that environment. Some adhesives can perform in cold storage after bonding but still need a minimum application temperature. That distinction is easy to miss and expensive to learn later.
Finishes change both appearance and function. Gloss increases color pop but can create glare on small type. Matte looks quieter and more premium, especially on minimalist packaging. Soft-touch feels upscale, though it can show scuffs on dark solids. Laminate adds abrasion and moisture protection. Varnish is lighter-duty and often more economical. Foil accents and spot UV can work beautifully on cosmetic labels, candle jars, and gift packaging, but they need clean artwork and realistic expectations about cost.
Surface compatibility deserves an actual test. Glass, cardboard, corrugated mailers, plastic pouches, metal tins, candle jars, paper bags, and textured custom printed boxes all create different bonding conditions. A beautiful sticker that smears, wrinkles, or peels is not a small defect. It is a brand problem customers can touch.
| Material or Adhesive | Typical Use | Watchouts | Best Fit |
|---|---|---|---|
| Paper label stock | Dry indoor packaging, bags, boxes | Poor moisture resistance unless coated | Short-run retail labels and economical seals |
| BOPP film | Food, beverage, cosmetics | Needs correct adhesive for curved or cold surfaces | Moisture-resistant product labels |
| Vinyl | Decals, outdoor stickers, equipment labels | Higher cost than basic paper | Durable promotional and exterior use |
| High-tack adhesive | Textured board, pouches, rough mailers | Can be hard to remove cleanly | Challenging surfaces and shipping packaging |
| Freezer-grade adhesive | Cold storage, frozen food, refrigerated goods | Application temperature still matters | Cold-chain product packaging |
Pricing, MOQ, and Unit Cost Factors for Local Sticker Orders
Sticker pricing is driven by more than square inches. Material, adhesive, finish, print method, color coverage, shape complexity, quantity, proofing, packing format, and delivery all move the number. A plain 2-inch paper circle on a roll is a different job from a clear BOPP label with white ink, laminate, and a custom die-cut shape.
MOQ means minimum order quantity. It is the smallest quantity a printer can produce efficiently based on setup, material, press time, finishing, and handling. Digital printing has made smaller test runs more practical, especially for startups, pop-ups, and seasonal launches. Still, a short run usually carries a higher unit cost because setup time is spread over fewer pieces.
As a working range, simple digitally printed stickers might land around $0.18 to $0.45 per piece at 1,000 units, depending on size, stock, finish, and cut style. Very small test runs of 100 to 250 pieces can be much higher per unit, sometimes $0.70 to $2.00 each for specialty materials or individual cuts. Larger roll-label orders may drop sharply at 5,000 or 10,000 pieces, especially if the design repeats and the material is standard. These are directional ranges, not promises. Every quote depends on the actual spec.
The tradeoff is straightforward. A 250-piece test run protects cash flow and lets you check adhesion, color, and shelf presence. A 5,000-piece run usually lowers cost per sticker, but it locks in the design. If the barcode is too small or the label wrinkles on the jar shoulder, cheap unit cost turns into expensive inventory.
Hidden variables show up often: custom dies, rush fees, split shipments, barcode testing, white ink on clear material, specialty laminates, hand-applied packing, and separate rolls by flavor or SKU. Roll direction matters if stickers feed into an applicator. Core size may matter too. Quote the finished use, not just the dimensions. A freezer label, candle warning label, laptop decal, and tamper seal can share a size while having very different cost structures.
Ask for tiered pricing at several quantities: 250, 500, 1,000, 2,500, and 5,000 pieces, for example. The point is not always to buy the largest number. The point is to see where the unit cost drops enough to justify the cash outlay. For brands coordinating stickers with boxes, inserts, bags, or other Custom Packaging Products, combined planning can also reduce awkward mismatches in color, finish, and launch timing.
Process and Timeline: From Quote Request to Delivery
A realistic sticker timeline starts before artwork upload. Gather specs first. Then Request a Quote, review materials, submit artwork, approve the proof, move into production, complete quality checks, and arrange shipping or local delivery. Simple jobs can move quickly after proof approval. Specialty finishes, unusual materials, or large quantities need more room.
For a standard digital roll or sheet sticker order, buyers often see production timelines around 5 to 10 business days after proof approval. More complex work can move toward 12 to 15 business days or longer. Rush orders may be possible, but the bottleneck is not always press time. Material availability, finishing queues, proof delays, and carrier schedules can all slow the job.
Good quoting information speeds everything up. Send the size, quantity, shape, material preference, finish, roll or sheet format, application surface, deadline, delivery location, and whether artwork is print-ready. Include photos of the actual package if possible. A printer can spot risks quickly: a jar curve, a pouch seam, a textured mailer, or a label panel that is smaller than expected.
Print-ready artwork usually means vector files when possible, high-resolution raster images at 300 dpi at final size, bleed beyond the cut line, safe zones for type and logos, outlined fonts, CMYK color setup, and a clearly marked cut path. Pantone matching may be available, but digital output, laminate, paper tone, and viewing light can shift perception. If exact brand color is critical, ask about drawdowns or printed samples.
Revisions add time. One proof cycle is normal. Three proof cycles, five stakeholders, and a launch date that cannot move create stress. I have seen this pattern across packaging projects: production gets blamed for being “slow” after the artwork sat unresolved for half the schedule. Approval discipline matters. Boring, yes. Also very useful.
Build a backward schedule from the event date, retail delivery, or product launch. Add time for proof review, sample testing, application trials, packing labor, and possible reprint decisions. For food, beverage, cosmetics, or regulated categories, check required label content before printing. The printer can help with format and production, but compliance responsibility usually sits with the brand.
Common Ordering Mistakes That Lead to Peeling, Delays, or Reprints
The most expensive mistake is ordering based only on appearance. A design can look excellent on a screen and fail on the package. Where will the sticker be applied? How long will it be stored? Will it ship in cold weather? Will customers handle it with wet hands? Will it sit near heat, oil, ice, sunlight, or abrasion?
Artwork mistakes are common and preventable. Missing bleed can create white slivers along the edge. Low-resolution logos print soft. Tiny type may pass internal review and fail on shelf. Weak contrast makes ingredients, warnings, or QR instructions hard to read. Unoutlined fonts can substitute unexpectedly. QR codes squeezed below practical scan size create customer friction; for many phone cameras, a code below roughly 0.8 inches can become unreliable depending on contrast, quiet zone, and scan distance.
Specification mistakes are just as costly. Paper labels on wet products can wrinkle or stain. Removable adhesive on rough cardboard may lift. A glossy finish over small black text can glare under retail lighting. Clear labels without white ink can vanish on dark contents. Square corners on curved containers may catch and peel faster than rounded corners.
Quantity errors hurt in two directions. Ordering too few can delay launch, especially if hand application creates 3% to 8% spoilage from crooked placement, damaged liners, or relabeled samples. Buying too many before testing a new design can trap cash in unusable inventory. That is especially painful when the product name, net weight, barcode, ingredients, or legal copy changes.
Skipping samples is risky for custom stickers Chicago projects involving refrigeration, condensation, curved containers, textured packaging, outdoor exposure, or frequent handling. A small material test can reveal curling, edge lift, ink rub, or poor contrast before a full run is produced. It is not always free, and it is not always necessary for a simple dry paper label. For performance-critical uses, it is cheap insurance.
- Confirm dimensions: measure the actual label panel, not just the design file.
- Test the surface: apply samples to the real jar, pouch, box, tin, or mailer.
- Review the proof: check spelling, bleed, color notes, cut line, and roll direction.
- Scan codes: test QR codes and barcodes at printed size using normal lighting.
- Pad quantity: account for setup samples, hand-application waste, and sales extras.
- Verify deadline: include proof approval, production, shipping, and packing labor.
Sustainability claims need the same care. If you want FSC-certified paper, recycled content, compostable materials, or a specific end-of-life story, ask for documentation rather than relying on vague “eco” language. The Forest Stewardship Council is a useful reference point for paper sourcing claims, but adhesives, liners, inks, and coatings complicate recyclability. Packaging is rarely as simple as one green icon.
Next Steps: Build a Sticker Spec That Gets a Faster, Cleaner Quote
A strong sticker quote request is short, specific, and honest about the end use. You do not need a technical thesis. You do need enough detail for the printer to avoid guessing.
Start with a mini-brief: product type, application surface, size, shape, quantity, material preference, finish, roll or sheet format, deadline, and delivery location. Add whether the sticker is decorative, regulatory, promotional, scannable, tamper-evident, or part of a larger product label system. Those uses point to different materials, adhesives, and quality checks.
If durability matters, request material samples. Refrigerated goods, outdoor use, candles, cosmetics, food packaging, and shipping labels all deserve more scrutiny than a basic envelope seal. Apply the sample to the real package. Leave it overnight. Chill it if it will be chilled. Rub it with a thumb. Put it on a curved surface. Try to remove it. The results are more useful than a perfect mockup on a monitor.
Create two quantity scenarios: a test run and a launch run. For example, ask for 250 pieces and 2,500 pieces, or 500 pieces and 5,000 pieces. That gives you a real view of cash flow versus unit cost. It also keeps the conversation grounded if your design, SKU count, or retail schedule changes.
Check the label on the actual package before final approval. Curves distort rectangles. Seams interrupt adhesion. Kraft board changes color perception. A matte black label can look premium on screen and dull on a dark bottle. A bright white sticker can look clean on a mockup and harsh on natural paper. Product packaging is physical. Screens are planning tools, not evidence.
Send existing packaging photos with the quote request. Include one straight-on image, one angled image, and one close-up of the application area. If the sticker coordinates with custom printed boxes, mailers, inserts, or other package branding, share those references too. Color and finish consistency across the whole pack can make a modest label feel far more intentional.
For custom stickers Chicago, the smartest move is practical: gather specs, request samples when performance matters, approve the proof carefully, and schedule production around the real launch date. Not the hopeful launch date. The real one.
FAQ
What information should I send when requesting custom sticker printing in Chicago?
Send size, quantity, shape, material preference, finish, artwork files, application surface, roll or sheet preference, deadline, and shipping or pickup details. Include photos of the product or packaging so the printer can evaluate curves, texture, moisture exposure, and available label space. Also mention whether the sticker is decorative, regulatory, promotional, scannable, tamper-evident, or part of a product label system.
How much do custom stickers in Chicago usually cost?
Pricing depends on quantity, size, material, adhesive, finish, cut style, proofing needs, and whether the order requires rush production. Simple 1,000-piece digital runs may fall around $0.18 to $0.45 per sticker, while very small or specialty runs can cost more per piece. Ask for tiered pricing so you can compare the test-run cost against the launch-run cost.
What is the best material for custom labels on food, beverage, or candle packaging?
Paper can work for dry indoor packaging, while BOPP or other film labels are usually better for moisture, oils, refrigeration, and frequent handling. Candle labels need attention to heat exposure, curved glass, warning label requirements, adhesive strength, and finish readability. The safest choice comes from testing the material on the actual container before approving the full run.
How long does it take to print custom stickers locally?
Turnaround depends on proof approval, material availability, order size, finishing complexity, and whether the job is standard or rush. Simple digitally printed stickers may take about 5 to 10 business days after proof approval, while specialty finishes, custom dies, or large runs may need 12 to 15 business days or more. Build in extra time for artwork revisions, sample testing, shipping, and packing.
Should I order roll stickers, sheet stickers, or individually cut stickers?
Choose roll stickers for fast application, production labeling, or label dispensers. Choose sheet stickers for small batches, office use, kits, or situations where multiple designs appear together. Choose individually cut stickers for giveaways, retail packs, events, laptop decals, or promotional inserts.


