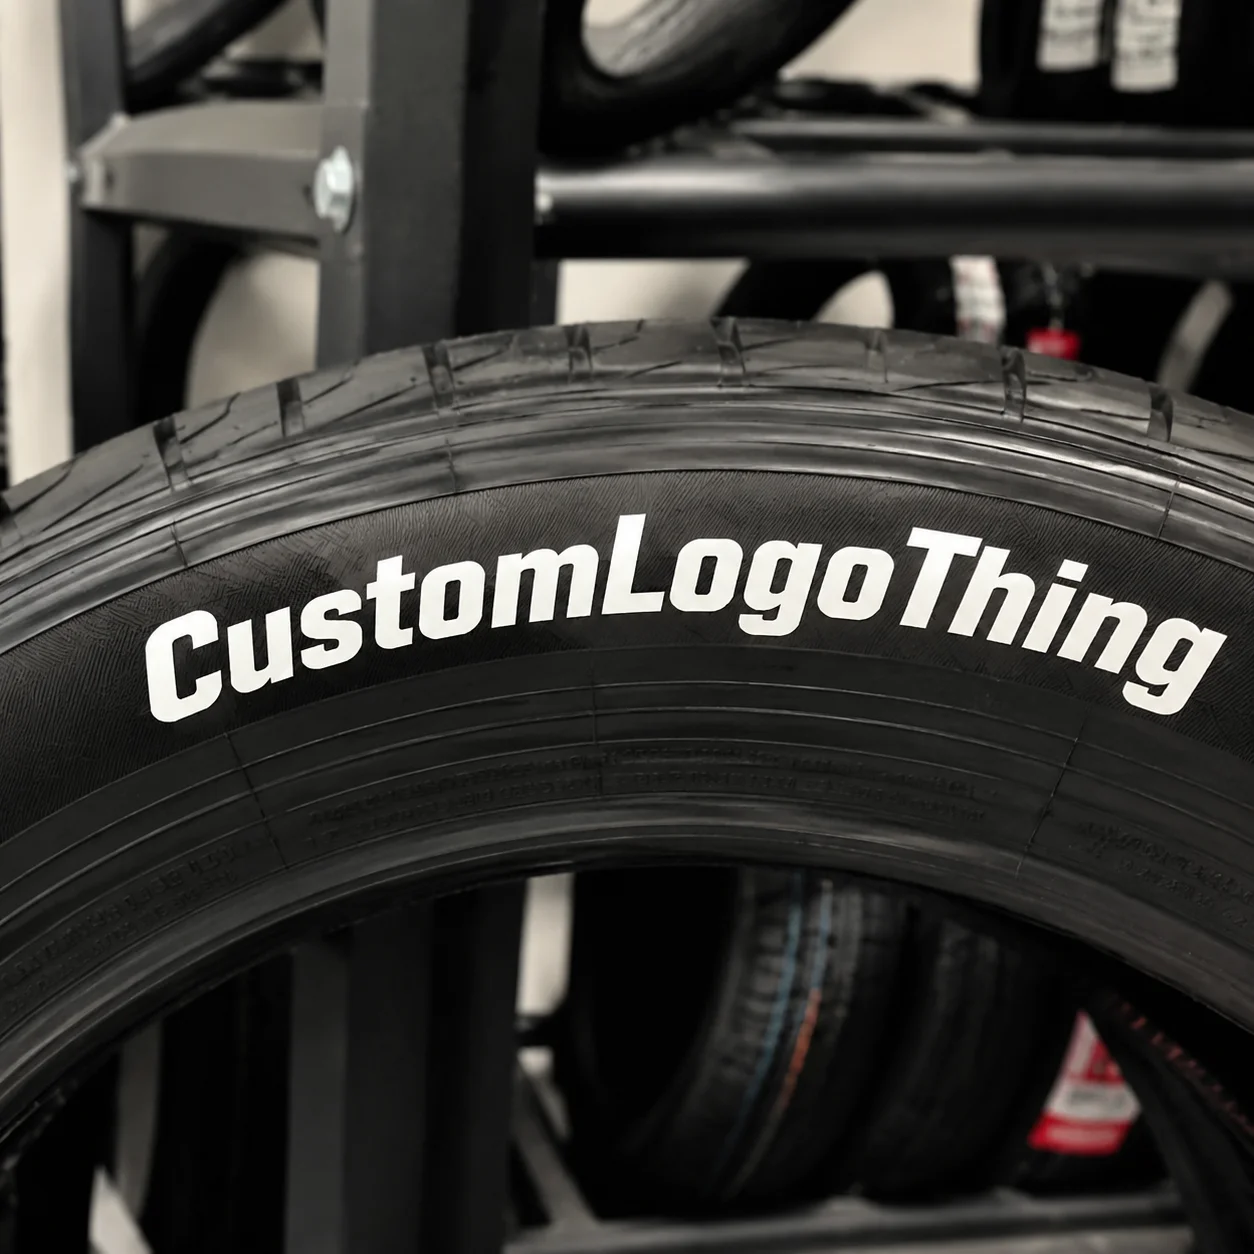
A tire sidewall is one of the largest unused branding surfaces on a vehicle. Custom tire stickers turn that quiet black ring into something readable from 20 feet away: a white tire letter, a sponsor logo, a driver name, or a black-on-black raised mark that only catches light at the edge.
The effect is stronger than many buyers expect. A hood decal can disappear in a parking lot. Sidewall lettering repeats around the vehicle, frames the wheel, and shows up cleanly in low-angle photos. That repetition is useful for motorsport styling, retail display vehicles, car club events, product shoots, fleet identification, and personal builds.
Custom tire stickers are adhesive, rubberized, printed, or cut graphic elements made to bond to tire rubber. Some are flat and short-term. Others use raised rubber-style material for a more permanent, molded look. The distinction matters because tire rubber is a hostile surface for ordinary labels.
Standard vinyl stickers are built for smooth, stable substrates such as glass, painted metal, acrylic, or packaging film. Tires flex. They heat up. They release oils, collect brake dust, meet water, and often carry molded ribs or manufacturer lettering exactly where a buyer wants a clean logo. A good tire lettering project starts with material, adhesive, fit, and installation planning, not just a logo file.
What Custom Tire Stickers Are and Why Tire Lettering Gets Noticed
The simplest way to sort tire lettering is by intended use. Decorative tire decals are usually thinner and flatter, often chosen for short-term display, photo shoots, or low-mileage vehicles. Raised rubber tire lettering uses thicker material and a stronger bonding process, giving the sidewall a dimensional look. Temporary event lettering is designed for a limited window: a race weekend, dealership activation, launch event, or promotional display. Paint-marker alternatives sit at the low-tech end, but they rarely offer the same edge definition, repeatability, or brand control.
From a packaging buyer’s perspective, tire lettering belongs in the same decision family as Custom Labels & Tags. The surface is tougher, but the questions are familiar: artwork control, color consistency, die-cut accuracy, packing method, proof approval, and damage prevention in transit. The difference is that the final substrate is rubber under load, not a carton, jar, pouch, or retail display.
Visibility is the reason buyers tolerate the extra complexity. A 1-inch mark on a sidewall can carry more visual weight than a larger decal placed in a crowded body panel. The wheel naturally draws the eye, and the circular frame makes simple lettering feel deliberate. That can help a sponsor mark, brand name, or vehicle nickname look integrated rather than pasted on.
The practical questions come first: what material will last, how the tire should be prepared, what affects cost, how long production takes, and which design choices cause peeling. Answer those before ordering. Otherwise, the lowest-cost kit may become the most expensive option after a corner lifts during a wash or a logo looks undersized beside the wheel.
How Tire Lettering Materials and Adhesives Actually Work
Successful tire lettering depends on matching a flexible face material with an adhesive system that can grip a curved, textured, low-surface-energy rubber substrate. That last phrase is not decoration. Rubber sidewalls do not behave like coated paperboard or PET film. Adhesive has to wet out a difficult surface, then survive sidewall motion, heat cycling, road water, abrasive dirt, and cleaning chemicals.
Common material categories include rubber-based raised letters, specialty vinyl or film decals, and printed or cut logo pieces. Raised rubber-style letters are usually selected for longer-term styling because they have thickness, opacity, and a defined dimensional edge. Specialty film decals can work for static displays, show vehicles, and short promotional runs where mileage is limited. Printed pieces help with gradients, color detail, or sponsor marks, but tiny shapes and thin outlines need review because every extra edge is a possible lift point.
The tire itself introduces contaminants that are easy to miss. Mold-release agents from manufacturing, silicone tire dressings, embedded grime, oxidation, and natural rubber oils can interfere with bonding. A sidewall may look clean and still reject adhesive. Strong kits normally include specific cleaning instructions, and some use a liquid bonding agent rather than relying only on peel-and-stick pressure-sensitive adhesive.
Flat decals and raised lettering read differently. Flat pieces can look crisp from a distance, but close up they sit on the sidewall like a label. Raised letters catch light along the edge and look more integrated, especially in white, yellow, red, or black-on-black. Thickness, edge definition, gloss level, white opacity, and logo detail all change the final impression.
Size changes the equation. A 1-inch white block letter can look bold on a 17-inch wheel setup. On a larger tire with a tall sidewall, the same letter may feel timid. On a low-profile performance tire, it may be too tall to sit cleanly between the rim and shoulder. Tire lettering is not scaled from the wheel diameter alone.
Practical callout: durability is a system, not a single material claim. Tire condition, install temperature, cleaning method, adhesive cure time, sidewall shape, driving habits, and maintenance all affect how long the lettering stays attached and readable.
Key Design Specs: Size, Fit, Color, and Sidewall Shape
Good design starts with the tire, not the logo. The most useful inputs are tire brand and model, full tire size, wheel diameter, sidewall height, available flat area, desired lettering height, logo dimensions, quantity per tire, and whether the design wraps along the tire curve. Two tires with the same rim diameter can have completely different shoulder shapes, sidewall ribs, molded warnings, and usable branding space.
Measure the actual sidewall area before guessing. A 20-inch wheel does not automatically mean there is room for tall lettering. Low-profile tires may have only a narrow usable band. All-terrain tires can have aggressive textures that interrupt adhesive contact. Performance tires may place molded brand marks exactly where the buyer wants a sponsor logo.
Letter height affects readability, fit, and production stability. Tall letters are easier to read, but they can bridge across ridges or land over molded tire information. Smaller letters can look refined, yet anything below roughly 0.5 inch tall becomes harder to weed, install, clean, and read from distance, depending on the typeface. Many passenger and performance applications land around 0.75 to 1.25 inches, but sidewall height should decide the final size.
Artwork quality matters just as much. Vector files such as AI, EPS, or clean SVG are preferred for cut lettering because the edges stay sharp at any size. High-resolution raster files may work for printed details, but fuzzy artwork creates fuzzy production decisions. Thin strokes, tiny internal gaps, distressed textures, and small script details often need simplification so the final pieces can be cut, handled, bonded, and cleaned without fragile points.
Color has a practical side. White gives the classic motorsport look and reads quickly. Red, yellow, blue, or green can match a brand palette or vehicle accent. Black-on-black creates subtle raised detailing that feels quieter and more premium. Metallic and specialty finishes may look attractive on screen, but road use, brake dust, and tire cleaners can be less forgiving, so ask about expected service conditions before approving them.
Proofing is the checkpoint. Check spelling, reading order, tire count, mirrored placement, logo orientation, and whether the same design goes on all four tires or only the outside-facing positions. Staggered setups may need different sizes for front and rear tires. That single detail prevents a surprising number of installation problems.
Pricing, MOQ, and Unit Cost Factors to Expect
Pricing for custom tire stickers is usually driven by material type, letter height, total piece count, artwork complexity, color count, finish, production method, and whether a logo needs custom setup. Simple block lettering costs less than a multi-color sponsor logo with thin details. A one-off personal kit carries more proofing and setup cost per piece than a larger event run.
Raised rubber-style letters generally cost more than flat decals. The material is thicker, cutting or forming steps are more specialized, bonding requirements are stricter, and finished pieces need careful packing so the edges are protected. For small custom orders, basic tire lettering kits often fall roughly in the $45 to $120 range. Detailed logo kits, larger lettering, specialty colors, multi-color work, or multi-tire sets can move higher. Bulk promotional runs reduce the per-kit cost only after artwork, sizing, and setup are locked.
Minimum order quantity depends on production efficiency. A shop may accept a single vehicle kit for standard text, while custom logos, multi-color pieces, unusual sizing, or separate front and rear layouts may require a higher minimum. MOQ is not just a sales preference. It reflects setup time, proofing, cutting layout, material yield, and packing labor.
| Option | Best Use | Typical Cost Behavior | Durability Notes |
|---|---|---|---|
| Flat short-term decal | Events, photo shoots, retail displays | Lower setup and material cost for simple shapes | Best for limited use and clean, smooth sidewalls |
| Raised rubber-style lettering | Street vehicles, show cars, longer-term branding | Higher per-kit cost due to thicker material and bonding needs | More durable when installed on a prepared sidewall |
| Printed logo pieces | Brand marks, sponsor graphics, color detail | Cost rises with color count, detail, and proofing time | Fine details need review to avoid weak edges |
| Bulk promotional kits | Car clubs, fleet campaigns, launch events | Lower unit cost after setup is spread across quantity | Consistent packing and labeling become more important |
Helpful quote details reduce back-and-forth: quantity, tire size, artwork file, desired letter height, color, finish, indoor or outdoor use, expected lifespan, packaging needs, and deadline. If kits need to be boxed, grouped by vehicle, labeled by driver name, or split by front and rear tire, say so early. The same thinking applies across Custom Packaging Products: better input produces a cleaner proof, a tighter production plan, and fewer surprises.
The cheapest option is not always the lowest-cost option. If lettering fails during an event, leaves residue, needs replacement, or looks wrong beside a polished wrap, the savings disappear quickly.
Process and Timeline from Artwork Proof to Finished Kit
A typical order follows a clear sequence: submit tire and artwork details, confirm feasibility, receive a digital proof, approve dimensions and layout, move into production, package the kit, and ship. Simple repeat orders can move quickly. New custom tire Stickers With Logo cleanup, uncommon colors, or multiple tire positions need more proofing time.
Artwork review is where production reality meets the design file. Cut paths may need cleanup. Overly detailed marks may need simplification. The curve fit has to be checked against tire diameter and sidewall band. If a logo has hairlines or tiny islands, the production team may recommend thickening them or converting them into a printed element. That is not nitpicking. It is the difference between a piece that installs cleanly and one that tears, traps dirt, or lifts at a fragile point.
The digital proof is the buyer’s decision point. Check exact spelling, logo proportions, letter height, color, quantity, and placement. If the design includes left and right side orientation, confirm both. If only the outward-facing side of each tire gets lettering, confirm that too. Material should not be cut until the proof is right.
Production may include cutting, printing, weeding away excess material, applying transfer support, pairing pieces into tire sets, and inspecting edges. For multi-piece kits, organized packing matters. A simple label such as “front left outer” or “rear pair” can prevent installation mistakes, especially for event crews working under time pressure.
Timelines vary. A straightforward approved text kit may ship in about 5 to 10 business days after proof approval. Custom logo work, multi-color layouts, larger quantities, or special materials may require 10 to 20 business days. Rush deadlines depend on material availability, artwork readiness, and proof approval speed. Build in time for installation and curing before the vehicle is driven hard, photographed, washed, or loaded for transport.
Quality control should be specific. Edges should be clean, spelling should match the approved proof, color should be consistent across the set, and pieces should not arrive bent, contaminated, or stuck together. For brand programs, packout accuracy matters almost as much as the letters themselves. A perfect logo in the wrong driver bag still creates a problem at the install table.
For buyers managing brand presentation, the process will feel familiar. It resembles packaging design approval for Custom Printed Boxes or product branding: art file, proof, production, quality check, packout, and delivery. The substrate is simply less forgiving.
Step-by-Step Installation Guide for Cleaner Tire Application
Installation is where many tire lettering projects succeed or fail. Even a well-made kit can lift if applied over tire shine, dust, moisture, or an uneven sidewall area. Good prep is not glamorous. It is the work that makes the lettering look sharp after the first drive.
- Choose the workspace. Work in a dry, dust-controlled area, ideally around 65 to 80 degrees Fahrenheit. Cool, damp conditions slow bonding.
- Position the tire. Removing the wheel can make alignment easier, but many kits can be applied on the vehicle if access is good.
- Scrub the sidewall. Use the recommended cleaner and a firm brush to remove old dressing, embedded grime, and oxidation. Repeat until the towel no longer pulls oily residue.
- Dry fully. Moisture left in sidewall texture can weaken the bond. Give the surface time, not just a quick wipe.
- Dry-fit the layout. Place the letters before adhesive contact. Check spacing from the rim, spacing from the shoulder, and the overall curve.
- Mark light references. Use gentle alignment marks that can be removed or hidden, not heavy marks that contaminate the surface.
- Apply as directed. Use the supplied adhesive or remove backing according to the kit instructions. Press from the center outward and avoid stretching the material.
- Work the edges. Hold firm pressure along edges and corners. Most early failures begin at the edge, not the center.
- Allow curing time. Many systems need several hours, and some benefit from 24 hours or more before driving, washing, or applying dressing.
Maintenance should stay mild. Clean with soap and water. Avoid harsh solvents, petroleum-based tire dressings, and aggressive pressure washing at the edges. Inspect after the first drive and address early lifting immediately by following the product-specific repair instructions. If several letters lift in the same pattern, look for contamination, texture interference, or fit problems rather than assuming one random bad piece.
For broader handling and transit planning, packaging buyers often reference test-minded organizations such as ISTA when thinking about how products survive distribution. Tire lettering kits are small, but the discipline still applies: protect edges, keep sets organized, and avoid packing pressure that bends fine details before installation.
Common Mistakes That Cause Peeling, Warping, or Weak Branding
The most common mistake is applying lettering over tire shine, silicone dressing, or road grime. Silicone can create an invisible barrier between adhesive and rubber. The sidewall may look black and clean, but the bond will reveal the contamination after heat, flex, and water exposure.
Rushing cure time creates another failure point. If the vehicle is driven immediately, exposed to rain, washed, or taken on a long highway run before the adhesive has stabilized, the edges may start moving before the bond is ready. Cure instructions can feel inconvenient before an event. Skipping them is still one of the fastest ways to waste a kit.
Design mistakes show up in the field. Letters that are too tall may cross molded ridges. Thin logo details may tear during weeding or lift after cleaning. Low-contrast colors may disappear once brake dust and shadow build up. A logo that works on a website header may need simplification for rubber, just as a complex mark may need adjustment before it prints cleanly on small branded packaging.
Ordering mistakes are avoidable with a checklist. Do not measure only the wheel diameter. Do not assume rear tires match front tires on staggered vehicles. Do not approve a proof without checking orientation. Order a few spare letters if the vehicle will be used hard, displayed often, or installed by several people. Spares are inexpensive insurance compared with re-running a tiny custom batch.
Cleaning errors shorten service life. Petroleum-based tire dressings, abrasive brushes, strong solvents, and direct pressure-washer spray at the edges can all weaken or damage lettering. Heavy brake dust should not sit for weeks. Mild, regular cleaning is better than aggressive rescue cleaning later.
Minor lifting can sometimes be corrected early if the surface is still clean and the product instructions allow repair. Repeated edge failure usually points to surface contamination, poor fit, incompatible product selection, or installation conditions. That is not always the answer buyers want, but it is usually the honest one.
What to Prepare Before Requesting a Quote
Before requesting a quote, gather the details that help production make a practical recommendation: tire brand, tire size, wheel diameter, clear sidewall photos, desired wording or logo, letter height preference, color, finish, quantity, and deadline. For a club, event, or fleet order, include how many unique names, vehicle positions, or packaged sets are needed.
Take photos straight-on in good lighting. The production team needs to see molded tire text, ribbing, existing branding, shoulder shape, and the available flat area. A close-up of the sidewall texture helps too. If the tire has heavy dressing on it, mention that, because prep may take extra work before installation.
Choose the order type based on real use. A single vehicle kit can focus on fit and appearance. A small batch for a car club or event may need consistent layout plus simple packing by driver or vehicle. A larger promotional run may need tighter unit pricing, labeled bags, printed instruction cards, or retail-ready organization. For broader material and waste conversations around printed components and paper-based inserts, the EPA Sustainable Materials Management program offers useful background.
Ask practical questions before approval: What surface prep is required? Is adhesive included? How long does curing take? Which cleaners should be avoided? Are spare letters recommended? How will the kit be packed and labeled? These details sound small until a crew is installing four sets the night before a launch.
Custom tire stickers work best when the order is treated like a small engineered branding system rather than a novelty decal. Confirm the tire measurements, approve the proof carefully, plan the installation window, and leave time for production, shipping, and curing. The payoff is cleaner lettering, stronger brand presentation, and a finish that looks as if it belonged on the vehicle from the beginning.
FAQ
How long do custom tire stickers usually last?
Lifespan depends on material, surface preparation, adhesive system, curing time, driving conditions, and cleaning habits. Raised rubber-style lettering generally lasts longer than short-term flat decals when installed correctly. Tire shine, harsh solvents, pressure washing at the edges, and aggressive track use can shorten service life.
Can tire decals be applied to any tire sidewall?
Most smooth or lightly textured sidewalls are better candidates than heavily ribbed, cracked, dry-rotted, or heavily dressed tires. The design needs enough open space away from molded letters, shoulder curves, and raised sidewall features. Photos and tire size details help confirm fit before production.
What affects the cost of custom tire lettering?
Main cost factors include material type, letter height, quantity, artwork complexity, color count, finish, and production setup. Custom logos often require more proofing and file preparation than simple block lettering. Larger quantities can reduce unit cost because setup work is spread across more pieces.
Do custom tire stickers need professional installation?
Many kits can be installed by a careful buyer, but surface prep and patience are critical. Professional installation may be helpful for show vehicles, complex logos, large batches, or tight event deadlines. The installer should follow the product-specific cleaning, adhesive, pressure, and curing instructions.
Can I order custom tire stickers with a logo instead of text?
Yes, but the logo should be simple enough to cut, print, install, and clean without fragile edges. Vector artwork is preferred for crisp shapes, clean curves, and accurate sizing. Very thin lines, tiny gaps, and small internal details may need adjustment for better durability.


