A customized mailer box does more than hold a product. It protects the contents in transit, gives the brand a physical presence before the item is even revealed, and helps a shipment feel deliberate instead of assembled at the last minute. That combination matters because packaging is often the first thing a customer touches, and first touch shapes expectation faster than most teams realize.
From a buyer’s perspective, the value is practical as much as visual. One well-spec’d box can replace a plain shipper, reduce the need for extra wrapping, and tighten the whole packout so the product moves less inside the carton. Done well, it also lowers the odds of crushed corners, scuffed finishes, and repacking work at the fulfillment stage.
The useful question is not whether branded packaging looks better than a generic mailer. It does. The real question is whether the structure, board grade, print method, and closure style match the product, the shipping lane, and the amount of handling the box will actually see.
What a customized mailer box is and why buyers notice it fast
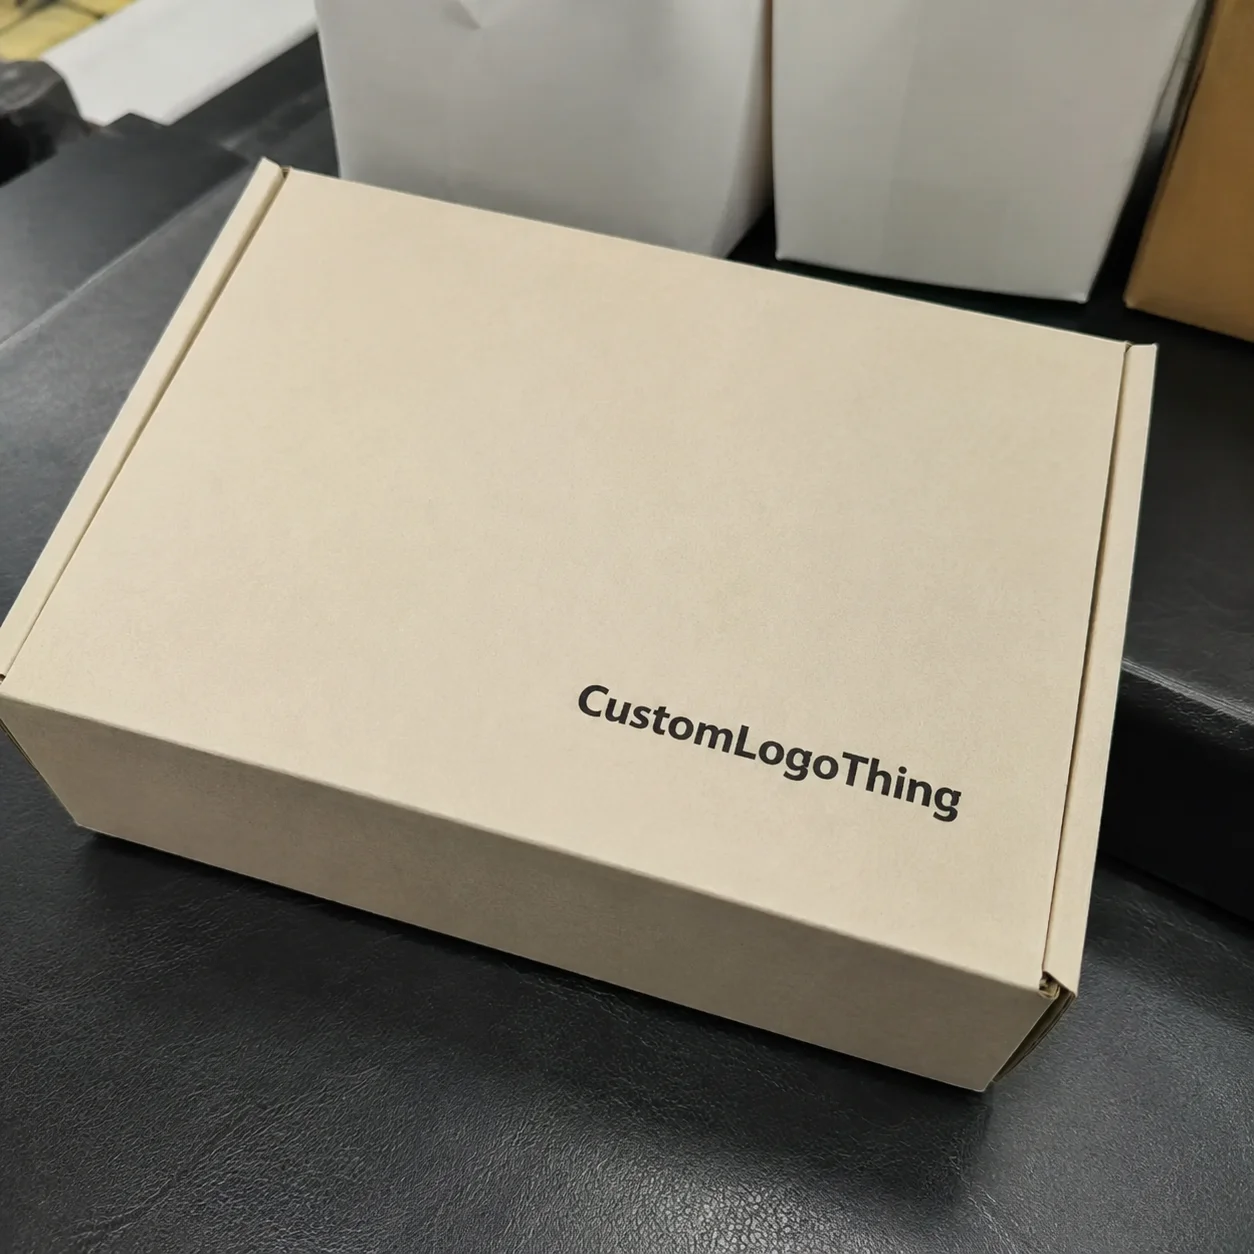
A mailer box is a corrugated carton with a hinged lid and built-in tuck flaps that close without needing a separate shipper and lid. A customized mailer box takes that basic structure and adapts it to a specific product, brand, or kit. That adaptation may be simple, such as a printed exterior and sized-to-fit dimensions, or more involved, with interior printing, custom inserts, specialty finishing, or a structure that opens in a particular sequence.
Buyers notice it quickly because the box arrives before the product does. If the carton feels sturdy, opens cleanly, and shows crisp print where it should, the customer starts assigning value immediately. If the box bows, the closure feels weak, or the print looks off-register, the experience drops long before the product is inspected.
The best packaging does not shout. It signals quality through fit, finish, and restraint. A skincare brand may want a clean exterior and a soft interior reveal. A subscription kit may need a more durable structure and space for multiple components. An accessory brand may only need a small footprint, but the box still has to protect the item and keep it centered during shipping.
Packaging is often the first physical proof point of a brand promise. If the box feels careless, the product can inherit that impression before it is even opened.
There is also a waste-reduction angle that matters to operations teams. Right-sized packaging uses less filler, takes up less storage space, and can reduce material waste across a shipping program. The U.S. EPA has long encouraged source reduction and right-sizing as practical ways to cut packaging waste, and that logic holds up on the floor: fewer voids usually mean fewer materials, fewer touchpoints, and fewer places for damage to start. For broader packaging education and standards, the Packaging School and PMMI packaging resources are useful references.
How the box structure, materials, and print shape the experience
Three things shape whether a mailer box feels premium or merely decorated: the board, the structure, and the print application. Those choices are easy to separate on a spec sheet, but in practice they work together, and weak performance in one area can undermine the rest.
Board strength comes first. Corrugated board is not just “cardboard”; it is a layered material made from linerboard and fluting, and the flute profile affects stiffness, crush resistance, and how well the box survives stacking pressure. For apparel, light accessories, and other low-load orders, a single-wall board is often enough. For heavier kits, fragile items, or products with hard edges, moving up to a stronger board grade can be the difference between clean arrival and preventable damage.
Structure matters just as much as material. A mailer with a secure tuck and tight lock tabs generally travels better than one that bows open or needs excessive tape to stay closed. If the closure depends on too much filler or external reinforcement, the structure is probably doing less work than it should.
Print application changes both the look and the economics. Digital printing is usually the best fit for short runs, variable artwork, and product launches that need lower setup friction. Offset printing becomes more attractive at larger volumes, where color consistency and unit cost improve. Flexographic printing can also perform well on corrugated stock, especially for simpler graphics and high-volume production, though the visual result depends heavily on design complexity and ink coverage.
| Option | Best For | Typical Strength | Cost Impact |
|---|---|---|---|
| Single-wall corrugated | Light ecommerce, apparel, small accessories | Good for low to moderate load | Lower |
| Heavier board grade | Subscription kits, bundled items, fragile goods | Better crush resistance and stacking performance | Moderate |
| Digital print | Short runs, seasonal campaigns, frequent updates | Depends on board and structure | Higher unit cost, lower setup cost |
| Offset print | Larger runs, tighter color control | Strong visual consistency | Better unit economics at scale |
Finishes are where a box starts to feel designed rather than merely printed. Matte gives a calmer, more restrained surface. Gloss pushes color brighter and can make artwork read from a distance. Soft-touch adds a more tactile premium feel, though it typically raises cost and may show scuffs differently. Spot UV is useful when one logo, wordmark, or graphic needs emphasis without coating the whole panel.
For teams comparing packaging formats, it helps to place a customized mailer box against other options in the lineup, including Custom Packaging Products and, for lighter shipping needs, Custom Poly Mailers. The right structure depends on product weight, fragility, and how much of the unboxing moment the package is expected to carry.
Key specs that determine fit, durability, and unboxing
Internal dimensions are the first spec to get right. Not the outside size, and not the shipping label area. The usable inside space is what determines whether the product sits still, needs filler, or rattles around in transit. A box that is too loose can feel cheaper and also create abrasion or corner damage. A box that is too tight can bow at the closure or make packing slow enough to hurt throughput.
Tolerance matters here. A good fit leaves enough room for inserts, tissue, a sleeve, or a protective layer without relying on void fill to stabilize the product. If the item includes multiple pieces, confirm the packed dimensions of the final kit rather than measuring one component and assuming the rest will fall into place.
Closure style and tuck depth affect how reliably the box stays shut. Deeper flaps usually hold better, especially when the carton sees vibration or stacking pressure. Thin or shallow tabs may be acceptable for a light item, but they can feel flimsy when the box is handled more than once. The lid should close with a clean sequence, not a fight.
Branding surface area is another small decision with a large effect. Some brands want full-bleed graphics on every exterior panel. Others reserve one side for a label, barcode, or warehouse sticker and keep the rest cleaner. More coverage can elevate the look, but it also affects cost, lead time, and the chance of scuffs showing up on dark or richly printed panels.
Sustainability claims should stay grounded in what the box actually does. Recycled content, right-sizing, and avoiding unnecessary coatings are all meaningful when they improve the package without weakening it. If chain-of-custody or fiber sourcing matters, the FSC certification site is a reliable reference. The point is to choose materials that perform in real fulfillment conditions, not just in a mockup.
For products that will move through parcel networks rather than a hand-delivery setup, testing is worth discussing early. Fragile or oddly shaped items may need better crush resistance, clearer orientation marks, or insert designs that stop movement under vibration. ISTA methods are often part of that conversation, and the ISTA testing standards are a good place to start if packaging will face repeat transport stress.
Custom mailer box process and timeline: from artwork to delivery
Most custom packaging programs follow the same sequence: quote, dieline approval, artwork prep, proofing, sampling, production, and shipping. The process is familiar, but delays usually happen in the same places. A product measurement is off. The artwork is still being revised. The color on screen does not match the color on board. A team approves a design before the box spec is truly locked.
Artwork delays are common because packaging touches multiple teams. Brand wants one thing, operations wants another, and the fulfillment team usually notices fit issues after everyone else has already moved on to print concerns. Dieline revisions also come up often, especially when the product is thicker than expected or an insert was sized from incomplete dimensions.
Timeline depends on complexity. A simple structure with digital print can move faster than a fully custom carton with specialty finish, inserts, and extra approval rounds. As a planning range, many buyers see about 12 to 15 business days after proof approval for simpler production runs, while more complex jobs can take longer once sampling and freight are included. That is not a guarantee, but it is a reasonable baseline for scheduling.
Before a quote is requested, the most helpful inputs are straightforward:
- Exact product dimensions, including any wrap, pouch, or accessory kit
- Target quantity and expected reorder volume
- Brand files in vector format when possible
- Shipping destination and receiving constraints
- Insert requirements, if any
Build in time for sample review. A prototype often reveals closure tension, print placement, or insert issues that are not obvious on a PDF proof. If the packaging is tied to a launch, holiday drop, or retail rollout, it is safer to plan one revision than to assume the first sample will be final.
Cost, pricing, MOQ, and unit-cost tradeoffs
Pricing for a customized mailer box usually comes down to five variables: size, board grade, print coverage, finish, and quantity. Bigger boxes use more material and often cost more to ship. Heavier board raises the material bill. More ink, more passes, or more complex artwork increase production work. Specialty finishes add another step and another cost layer. None of that is surprising, but it is easy to underestimate how quickly small choices stack up.
MOQ, or minimum order quantity, is the lowest run a supplier will produce. Lower quantities usually carry a higher unit price because setup costs are spread across fewer boxes. Higher quantities tend to reduce the per-unit price, but that improvement comes with storage and cash flow considerations. Buying too many boxes too early can be just as painful as paying too much per box.
Short-run digital pricing often makes sense for pilot launches, seasonal campaigns, or products still moving through design changes. Offset printing starts to make more sense once the artwork is stable and the order volume is high enough to absorb the setup cost. There is no universal winner. The better path depends on how often the design changes, how much stock you can hold, and whether the main goal is speed to market or lower unit cost.
| Cost Driver | Why It Changes Price | What Buyers Can Do |
|---|---|---|
| Box size | Uses more board and may raise freight | Right-size around the packed product |
| Print coverage | More ink, more setup, more production attention | Print where customers actually look |
| Finish selection | Extra process steps and material cost | Choose one finish that supports the brand |
| Custom inserts | Additional tooling and material | Confirm whether inserts are truly necessary |
| Rush timing | May compress scheduling and freight options | Plan with buffer so urgency stays optional |
It helps to budget on landed cost per packed order, not just box price. A box that costs a few cents more but reduces damage, filler, or dimensional shipping charges can be the cheaper choice in practice. That comparison is easy to miss when teams focus only on the carton line item.
In the market, small runs of a customized mailer box can land anywhere from the high cents into the low dollars per unit depending on spec complexity. Larger runs with simpler print often improve the math. Exact pricing varies too much to pretend otherwise, so a useful quote should separate board, print, finishing, inserts, and freight instead of hiding all of it in one number.
Common mistakes that raise damage, costs, or returns
The first mistake is measuring only the product itself. That ignores sleeves, inserts, tissue, and the clearance needed for the box to close without deforming. A package that fits the naked item can still fail once the actual packout is assembled.
Another common issue is overspecifying the print. More graphics can make a box feel richer, but full coverage is not always the smartest spend. In many cases, the strongest visual impact comes from a clean top panel, a controlled interior reveal, or one side panel that carries the key brand message without crowding the entire box.
Oversizing creates problems in two directions. It can raise dimensional shipping costs, and it gives the product room to shift. Movement is what turns a sturdy carton into a disappointing arrival, even if the item survives the trip. A box can be structurally fine and still feel careless if the contents slide around inside it.
Another avoidable mistake is approving artwork before the dieline and board spec are final. Fold lines move. Logo placement shifts. A panel that looked centered on screen can end up awkward once the carton is folded and glued. That problem usually traces back to design being finalized too early.
Skipping a sample is the last easy way to create a problem that did not need to exist. A sample shows closure behavior, print appearance, stackability, and how the box feels in the hand. It is a small step compared with the cost of a flawed launch run.
Expert tips for ordering a smarter branded shipper
Design around the primary packout first. Teams sometimes try to make one box cover every possible order type, and the result is often a compromise that fits none of them especially well. If the main shipment is a single SKU, build for that. If the box is a kit, optimize around the full kit, not the parts one by one.
Request a physical sample or prototype when the product is fragile, premium, unusually shaped, or expensive to replace. Paper mockups are useful for checking size. A real sample is better for checking closure tension, print finish, and the way the carton behaves when stacked with other cartons. Handling the box reveals more than a static proof ever will.
Keep the outside message concise. The exterior should identify and elevate the brand, not try to explain the whole product story. If deeper copy matters, move it inside the lid, onto an insert card, or into the product literature. That keeps the exterior cleaner and gives the unboxing a more controlled reveal.
Before approving production, check three things: stackability, tape adhesion where relevant, and shelf presentation. Those checks sound routine because they are. They also catch the problems that matter most once the box is in real use, from warehouse handling to retail display to customer-facing delivery.
Align the packaging choice with fulfillment speed and storage reality. A beautiful carton that slows packing or consumes too much pallet space may look premium on paper but cost more in operations than it saves in brand value. The better package is the one the team can use consistently without creating friction.
Next steps before you request quotes
Before you ask for pricing, gather the basics that actually drive the quote: product dimensions, order quantity, shipping method, and insert requirements. That gives the first proposal enough context to be useful instead of vaguely attractive.
Prepare artwork files and separate must-haves from nice-to-haves. If the logo has to sit on the lid and the interior print is optional, that should be clear from the start. The same idea applies to finish and board grade: ask for options so the budget conversation is grounded in real tradeoffs.
Ask for at least two material or print paths if the project allows it. A small shift in board grade or print method can change both protection and cost. Sometimes the better answer is not the most decorated version. It is the version that performs best in the real shipping lane.
Request a sample, confirm timeline milestones, and verify freight assumptions before approving production. Those steps prevent the most common surprises. If the box is tied to a launch date, work backward from that date instead of forward from the quote.
Done well, a customized mailer box becomes part of the product experience, part of the cost structure, and part of the reason the brand feels memorable after the first open. The box does not need to do everything. It does need to fit, protect, and arrive looking like it was designed for the job.
What size should a customized mailer box be for my product?
Start with the packed dimensions, not the bare product size. Leave room for inserts, tissue, or protective padding without creating excess movement, and ask for a dieline or sample to confirm the fit before production.
How much does a customized mailer box usually cost?
Pricing depends on size, board grade, print coverage, finish, and quantity. Higher quantities usually reduce unit cost, while specialty finishes raise it, so request landed cost including freight for a fair comparison.
What is the typical turnaround time for custom mailer boxes?
Timeline usually includes proofing, sampling, production, and shipping. Artwork delays and approval changes are the most common reasons schedules slip, and custom inserts or launch deadlines can add more buffer time.
Do I need a sample before ordering a customized mailer box?
A sample is strongly recommended for new products, premium packaging, or unusual dimensions. It helps verify fit, color, closure, and the unboxing experience, and it is usually the cheapest way to catch issues early.
What makes one customized mailer box better than another?
The best option balances protection, brand presentation, shipping efficiency, and cost. Look at board strength, print quality, closure design, and fit for the product, then choose the spec that supports your actual packout and reorder plan.

