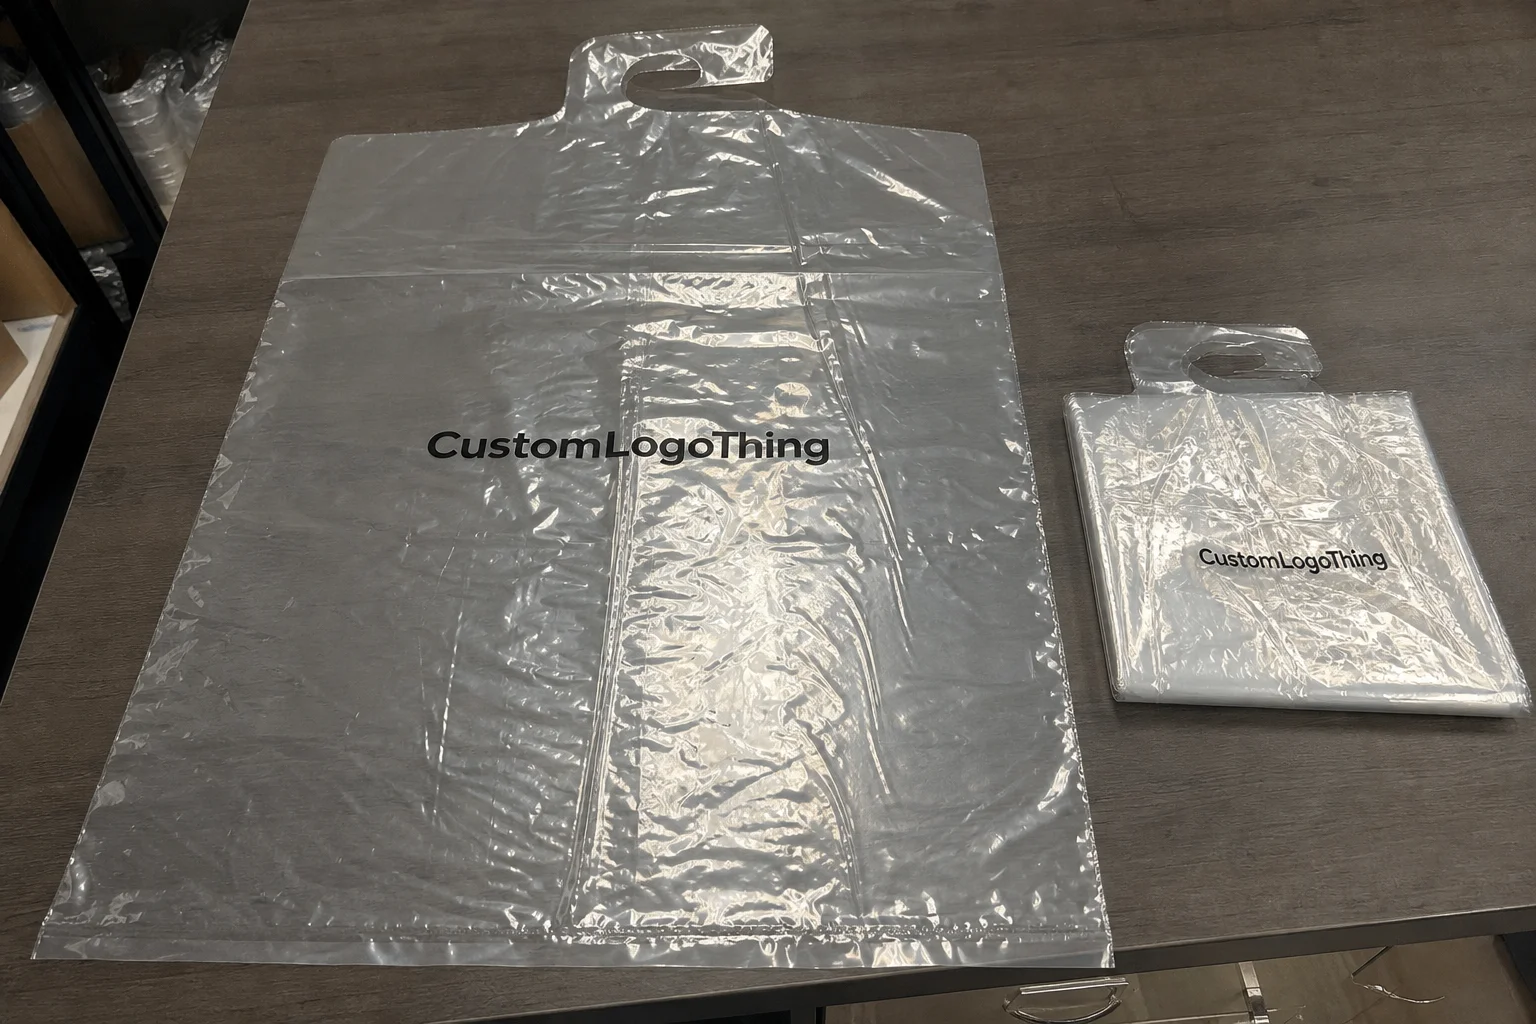
Buyer Fit Snapshot
| Best fit | To Void Fill Poly Mailers Combos for Shipping projects where brand print, material claims, artwork control, MOQ, and repeat-order consistency need to be specified before quoting. |
|---|---|
| Quote inputs | Share finished size, material target, print colors, finish, packing count, annual reorder estimate, ship-to region, and any compliance wording. |
| Proofing check | Approve dieline scale, logo placement, barcode or warning zones, color tolerance, closure strength, and carton packing before bulk production. |
| Main risk | Vague material claims, crowded artwork, missing packing details, or unclear freight terms can make a low unit price expensive after revisions. |
Fast answer: To Void Fill Poly Mailers Combos for Shipping: Film, Print, MOQ, and Carton Packing should be specified like a repeatable production item. The safest quote records material, print method, finish, artwork proof, packing count, and reorder notes in one written spec.
Production checks before approval
Compare the actual filled-product size with the drawing, then confirm tolerance on folds, seals, hang holes, label areas, and retail display edges. Reserve space for logos, QR codes, warning copy, and material claims before decorative graphics fill the panel.
Quote comparison points
Review material grade, print process, finish, sampling route, tooling charges, carton quantity, and freight assumptions side by side. A quote is only useful when the supplier can repeat the same color, closure quality, and packing count on the next order.
If you spend enough time on a packing line, you start seeing the same pattern over and over: the damage claims that get blamed on “carrier abuse” often begin with a bad guide to Void Fill Poly Mailers Combos decision at the pack station. I’ve watched a $14 beauty kit survive a drop test in a 6 mil poly mailer, then arrive crushed because the bottle kept slamming into the seam with every conveyor turn; the mailer was fine, the empty space inside was the problem. At a fulfillment site outside Dallas, where the line was moving about 900 parcels per shift, that kind of miss turned into a weekly claims report with a very specific cost: roughly $8.40 in replacement and handling for every damaged unit. Honestly, that kind of thing still annoys me, because it is such an avoidable headache.
That is why the guide to void fill poly mailers combos matters so much. You are not just choosing a mailer, and you are not just picking a filler; you are building a small shipping system that has to handle vibration, stack pressure, temperature swings, and the messy reality of human packing speed. In my experience, the best packouts are the ones that look almost boringly simple: the item fits, it stays put, and the customer opens the pouch without finding scuffed corners or a crushed accessory rattling around inside. On a line in Edison, New Jersey, one supervisor liked to say, “If it sounds like a maraca, it ships like a regret,” and he said it while holding a 9 x 12 inch coextruded mailer that was packed with exactly two sheets of kraft paper and a 3-ounce accessory kit that still needed center support.
What a Guide to Void Fill Poly Mailers Combos Really Means
A guide to void fill poly mailers combos really means the mailer, the filler, and any secondary protection working together as one package design. That may sound obvious, but on factory floors in Shenzhen and Ohio alike, I’ve seen teams treat the mailer as the “real” package and the filler as an afterthought, which is usually where the trouble starts. A 10 x 13 inch coextruded polyethylene mailer with a product floating loose inside behaves very differently from the same mailer packed with 8 x 10 inch kraft paper inserts or a thin wrap of air cushioning. In a plant near Hangzhou, for example, a 2.75 mil matte-finish mailer with no void fill was failing corner compression checks after just 12 to 15 business days of live-order use, while the same SKU passed once the team added a single kraft brace folded to 4 x 6 inches.
Here is the practical way I explain it to clients: a standard poly mailer is mainly a shell, a padded poly mailer adds built-in cushioning, and a mailer-plus-void-fill setup lets you tune the protection around the exact SKU. The guide to void fill poly mailers combos is most useful when the item has odd geometry, sharp edges, mixed densities, or accessories that can knock against each other. I am talking about things like boxed cosmetics with metal caps, small electronics parts with exposed corners, framed promotional pieces, and even apparel kits with a hard tag, a card, or a gift insert that can create a pressure point. A 7-inch brushed-aluminum product tray, for instance, needs a very different setup than a soft folded tee in a 2.5 mil pouch, because the tray edge can cut into the film while the tee simply needs enough filler to stop drifting.
Lightweight does not always mean low risk. A 4-ounce product can still split a seam, scuff a surface, or trigger a return if it slides around and gets pinched during sortation. I learned that the hard way years ago at a regional e-commerce operation packing sample sets; the merchandise weighed almost nothing, but the outer print finish was soft-touch lamination, and the blank space inside the mailer was turning every parcel into a tiny maraca. The return rate on that line climbed from 0.6% to 2.1% over a 19-day run, and the fix was not a pricier carrier contract, just a 5-inch fold of paper used as a block at the bottom edge.
“Most damage claims don’t start with rough carriers; they start with a package that was allowed to move too much before it ever left the building.”
So the promise of a good guide to void fill poly mailers combos is simple: protect the product without wasting material, adding unnecessary grams, or creating extra labor at the station. That balance matters whether you are shipping 200 orders a week or 20,000, especially if your material target is something like $0.15 per unit for 5000 pieces of a 2.5 mil mailer and a $0.03 paper insert.
How Guide to Void Fill Poly Mailers Combos Work in Real Shipping
Once a parcel leaves the pack line, it starts getting punished in ways most people never see. It rides conveyors, gets dropped into gaylords, gets stacked under heavier cartons, and vibrates for miles in a truck. Inside that motion, the product can shift 1/2 inch, 2 inches, or more depending on how much air is left in the pouch, and that movement is what turns a decent package into a claim. The guide to void fill poly mailers combos works because it takes that internal movement out of the equation, which matters just as much in a Columbus regional hub as it does in a slower warehouse lane in Phoenix.
Void fill reduces motion, absorbs micro-impact, and helps distribute pressure across the package instead of concentrating it on one corner or edge. In a warehouse I toured outside Atlanta, operators were using plain 2 mil mailers for mixed-sku kits, and the returns showed a clear pattern: the outside film wasn’t punctured, but the contents had chafed against each other hard enough to damage finish quality. A little paper void fill solved the issue faster than switching carriers, and it cost far less than paying for re-shipments. The paper itself was 60 lb kraft, cut into 6 x 9 inch sheets, and the line only needed about 4 extra seconds per parcel to make the correction work.
The common void fill options in a guide to void fill poly mailers combos are pretty straightforward:
- Kraft paper for shape retention and light bracing.
- Air pillows for very light cushioning and fast packout.
- Crumpled paper for irregular spaces and low-cost stabilization.
- Biodegradable loose fill for specialty presentation or compostable programs.
- Lightweight foam wrap for surface protection and scuff control.
Each one does a slightly different job. Kraft paper is great when you need the product centered and kept from sliding; air pillows are useful when you want to stop rattling without adding much weight; foam wrap works better for glossy or painted surfaces where abrasion is the enemy. I have seen cosmetics teams prefer thin foam sheets around mirrored compacts, while book distributors often use paper because it supports the corners better during corner compression. A mailer-plus-paper setup can add only 7 to 12 grams, while a bubble or foam layer may add 18 to 25 grams depending on thickness, so the guide to void fill poly mailers combos is really about matching the protection style to the failure mode you are trying to eliminate.
Mailer construction matters too. Coextruded polyethylene films are common because they give you puncture resistance, tear resistance, and a nice balance of flexibility; bubble-lined interiors add built-in cushioning but can be bulkier; tamper-evident adhesive seals help with security and presentation. A typical coextruded film might use a 2.5 mil outer layer with a 40 to 60 percent recycled content blend, while a premium padded format can be built around a 350gsm C1S artboard insert paired with film for presentation-heavy kits. If you want broader packaging options, I would also look at Custom Packaging Products and compare how different structures behave under real line conditions.
For standards-minded teams, it helps to keep the conversation grounded in actual test methods. ISTA transit testing and ASTM-style material checks are useful reference points, and packaging professionals can also review guidance from the International Safe Transit Association and the EPA recycling guidance when they are evaluating end-of-life and material recovery. A guide to void fill poly mailers combos is stronger when you can defend the packout with data, not just hunches, and a simple 25-parcel lane test can reveal more than a glossy spec sheet from a supplier in Guangzhou.
Key Factors That Shape the Best Guide to Void Fill Poly Mailers Combos
If you want a guide to void fill poly mailers combos That Actually Works in production, start with the product itself. Weight, fragility, dimensions, surface finish, and even the accessory mix all matter. A 12-ounce soft goods order behaves one way; a 12-ounce glass bottle with a printed sleeve behaves very differently. Too many teams begin with the mailer catalog and stop there, when they should begin with the SKU profile and work backward. In one Newark packing room, a team switched from a 9 x 12 mailer to a 10 x 13 mailer just to make insertion easier, and the result was nearly 1.5 inches of extra travel that no one had planned for.
Dimensional stability is a big one. An oversized mailer may look harmless on a sample table, but once the product is dropped into a pouch with 1 to 2 inches of extra space, you invite migration, corner strikes, and seal stress. I once sat in a supplier negotiation where the buyer wanted to save $0.02 per unit by moving to a larger generic mailer; we tested it on a small mixed-load run, and the damage rate rose from 0.7% to 2.9% in ten days. That “cheap” change ended up costing more in returns than the entire savings plan, which was especially obvious once the warehouse in Indianapolis had to absorb 43 re-shipments in one week.
Shipping method changes the equation too. Ground parcels moving through regional hubs see more compression and more repeated handling than a slower, direct route. Bulk sortation centers can be especially unforgiving because packages are moving in stacks, not alone. A guide to void fill poly mailers combos should therefore distinguish between a two-day regional network and a dense national network with higher transfer counts. A packout that holds up in a Chicago-to-St. Louis lane may behave very differently after three handoffs through Memphis, Nashville, and Louisville.
Here is a useful way to compare the tradeoffs:
| Combo Type | Typical Use | Material Cost | Labor Impact | Protection Level |
|---|---|---|---|---|
| Standard poly mailer only | Soft goods, low-shift items | Lowest | Fastest | Low to moderate |
| Poly mailer + paper void fill | Books, kits, mixed-density items | Moderate | Moderate | Moderate to high |
| Poly mailer + air pillows | Light fragile items, presentation kits | Moderate to high | Fast | Moderate |
| Padded poly mailer + small insert wrap | Cosmetics, accessories, small electronics parts | Higher | Moderate | High |
Cost should always be viewed as total packout cost, not just unit cost. That means material price, labor seconds, damage rate, shipping weight, and even dimensional-weight effects if the mailer gets bulky. A guide to void fill poly mailers combos that ignores labor time can fool you badly: if one packout takes 14 seconds and another takes 22 seconds, the cheaper material may still lose once you multiply by 3,000 daily orders. I have seen perfectly sensible procurement ideas turn into operational chaos because somebody forgot to ask the line workers how long the new setup would take, or whether the new fold pattern required a second hand movement that added 3 full seconds to every parcel.
Sustainability and customer experience also sit in the same decision. A neat packout with recyclable paper and a clean seal often feels better to the customer than a pouch stuffed to the point of looking swollen and wasteful. If the product category and brand positioning call for a more polished look, custom printing can help too. I would consider Custom Poly Mailers when the outer presentation needs to support the brand story, not just the shipping function, especially for seasonal drops packed in facilities around Los Angeles or Savannah where unboxing presentation often affects repeat purchases.
One more point from the floor: ambient conditions matter. In a cold dock at 45°F, some adhesive seals behave differently than they do in a climate-controlled room at 72°F, and dusty environments can compromise sealing if the film edge is not kept clean. A seal test that passes at 70% relative humidity in a coastal warehouse may not pass in a dry inland site in Reno. So the best guide to void fill poly mailers combos is not theoretical; it has to survive the actual building, the actual shift, and the actual carrier lane.
Step-by-Step Process for Building Guide to Void Fill Poly Mailers Combos
Building a workable guide to void fill poly mailers combos starts with a SKU audit, and I mean a real one, not a spreadsheet that only lists length and width. Measure the product, note the edge profile, check whether there are accessories that rattle, and identify any surfaces that can scuff. If the item has a glossy finish, soft-touch coating, or metallic print, surface abrasion may be the primary concern rather than puncture. A 6-inch cosmetics tray with a foil stamp needs different handling than a plain folded apparel insert, even if both weigh 8 ounces.
Step one is choosing the smallest mailer that allows a clean insert. “Clean insert” is the key phrase. You want the product to slide in without folding, forcing, or stretching the film to the point where the adhesive flap is under constant stress. At one plant I worked with, operators were overstuffing 9 x 12 mailers with 8.5 x 11 inserts and then wondering why seals were popping in summer trucks; the answer was right there in the film strain. The team later changed to a 2.75 mil mailer with a 1-inch adhesive strip and cut open failures by 68% over a 4-week period, which was a much better outcome than arguing with the weather.
Step two is selecting the void fill based on movement risk:
- Paper if the goal is to center the product and keep a rigid shape.
- Air pillows if you need light cushioning with minimal added weight.
- Wrap if the surface must be protected from rubbing or scratching.
- Hybrid systems when the SKU has both movement risk and finish risk.
For instance, a boxed perfume sample may need foam wrap around the bottle, then a small paper fill block to stop sliding. A thin book with a bookmark insert may do better with one well-placed paper bundle. The guide to void fill poly mailers combos should not force every SKU into the same pattern because that creates unnecessary labor and too much filler waste. A 150-unit test at a site in Charlotte showed that a hybrid paper-plus-wrap packout reduced scuff claims from 5 units to 1 unit, while adding only $0.04 in materials per order.
Step three is creating a packing sequence that operators can repeat without thinking too hard. In the best lines I have seen, the station layout is almost self-explanatory: product at left, filler in the center, mailers at right, seal at the front edge, and a shake check before the parcel leaves the table. That kind of layout cuts training time and reduces shift-to-shift variation. It also keeps the grumbling to a minimum, which is rare enough to mention. A new hire in Monterrey, for example, was able to pack 120 parcels in her second hour once the station was arranged in that order, because she never had to reach across the bench for paper or hunt for the adhesive flap.
Step four is the test protocol. I recommend three simple checks before approving a new guide to void fill poly mailers combos:
- Shake test: close the pouch, shake it twice, and listen for movement.
- Corner compression check: press the corners by hand to see if the product migrates.
- Short transit trial: run live or internal parcels through a short route and inspect returns.
That short trial matters more than people think. I remember a client in consumer electronics who passed every bench test but failed in the carrier network because the accessory cable box shifted only after repeated side loading in the hub. A one-day route test caught what the lab sample missed. The guide to void fill poly mailers combos should always include a real-world lane test, even if it is just 25 parcels shipped to internal staff in Austin, Raleigh, or another nearby office that can check the unpacking experience the next morning.
Step five is documentation. Take photos of the approved packout, list the exact mailer spec, record the filler type and placement, and note the acceptable tolerance for overfill or underfill. When multiple shifts pack the same SKU, documented rules are the difference between consistent shipping and a slow drift into chaos. A useful record might say: 2.5 mil coextruded poly mailer from a plant in Dongguan, 8 x 10 inch folded insert, one 12 x 18 inch kraft paper cushion, seal pressure of 5 seconds, and a mandatory shake check before carton staging.
If you want a practical place to start, a simple approved packout sheet might record: 2.5 mil coextruded poly mailer, 8 x 10 inch folded insert, one 12 x 18 inch kraft paper cushion, seal pressure of 5 seconds, and a mandatory shake check. That kind of specificity makes a guide to void fill poly mailers combos usable on the line, not just readable in a meeting, and it gives purchasing a clear spec to quote against from factories in Vietnam, Mexico, or coastal Guangdong.
Common Mistakes in Guide to Void Fill Poly Mailers Combos
The first mistake I see in a guide to void fill poly mailers combos is overfilling. Too much void fill can create bulging seams, awkward parcel shapes, and seals that work harder than they should. I once watched a team stuff so much crumpled paper into a pouch that the adhesive flap had almost no contact area left; the package looked protected, but the seal was begging to fail. On that line in Richmond, the operators had added enough paper to increase the parcel thickness from 0.6 inch to almost 1.4 inches, which meant the carrier’s automated belts had more chance to catch the package and deform it further. I was half convinced the mailer was going to file a complaint with HR.
The second mistake is choosing a mailer that is too large. When the product migrates inside the pouch, the edges take repeated impacts, especially in corners. That becomes even worse if the item is dense in one area and hollow in another. A poly mailer that looks “safe” on paper can still let the item wander around like loose hardware in a bucket. I’ve seen a 10 x 14 pouch used for a 7 x 9 boxed item, and the result was a rattling packout that failed after only 14 business days of live shipping because the product had plenty of room to slam from side to side.
The third mistake is relying on the mailer alone for fragile goods. If the real issue is internal movement, no amount of outer-film strength will fix it. I have seen people specify thicker film, more expensive seals, and even extra warning labels when a small amount of paper fill would have done the job. A solid guide to void fill poly mailers combos keeps the cause of failure front and center, and it usually beats spending an extra $0.06 per unit on heavier film that still leaves the contents loose.
The fourth mistake is ignoring seal performance. Adhesive behaves differently in cold rooms, humid docks, and dusty environments, and some seals need a few seconds of pressure to bond properly. If operators are rushing, the flap may look closed while the bond is still weak. That is a recipe for open parcels and customer complaints. A warehouse in Tampa once had a spike in seal failure every afternoon after 3 p.m., and the problem turned out to be dust buildup on the seal edge combined with operators reducing dwell time from 5 seconds to 2.
The fifth mistake is forgetting labor. A packout that takes too many motions will not stay consistent across shifts, especially with new hires. Simpler is often better, not because the packaging team is lazy, but because line speed, fatigue, and human variation are real. A guide to void fill poly mailers combos should support throughput as much as protection, and if a station needs six extra motions to place filler, then the “better” material may become the worse operational choice in a 10-hour shift.
Expert Tips to Improve Guide to Void Fill Poly Mailers Combos
The best improvement I can give any team is this: test on a real production floor, not just from a supplier sample kit. Data sheets are useful, but they rarely capture the exact handling pattern of your building. In one client meeting, we tested three mailer-and-fill combinations side by side at a pack line with four operators, and the one that looked “most protective” in theory was the slowest and most inconsistent in practice. The winning setup was the one operators could repeat 300 times without thinking. That is the kind of boring victory I like, especially when the final approved combo holds steady for 12 to 15 business days before the first recheck rather than drifting by the end of the first shift.
Standardize by product family wherever possible. If five SKUs share the same size class, edge profile, and finish, they should probably share the same guide to void fill poly mailers combos. That cuts training time, reduces picking errors, and makes materials planning easier. In my experience, the more you fragment your packouts, the more likely your line is to drift into mistakes when volume spikes on Monday mornings or right before a promotion launch. A family-based spec sheet for a 6 x 8 accessory set, for example, can save purchasing from sourcing three slightly different insert sizes from three different factories in Suzhou, Puebla, and Ho Chi Minh City.
If cost is tight, solve the biggest loss driver first. Sometimes the issue is breakage. Sometimes it is returns caused by ugly presentation. Sometimes it is re-shipping labor. I like to rank those drivers by dollars per month, not by gut feeling. For example, if a 1.8% breakage rate on a $22 product is costing $2,200 monthly, that is usually a better target than trimming $300 in filler spend. The guide to void fill poly mailers combos should always be tied to actual loss economics, because a $0.02 savings on material can be swallowed whole by one afternoon of preventable returns.
Run a monthly review with returns data, carrier claims, and pack station feedback. I know that sounds mundane, but the best operations I have seen keep a short, honest loop between shipping and QA. When a specific lane starts producing scuffs, or when one shift begins overfilling pouches, the issue can be corrected before it becomes expensive. A 20-minute review every 30 days often catches the same issue that would otherwise show up later as 50 damaged parcels and a lot of unhappy emails.
Also, think about presentation as part of protection. A branded outer package, custom insert card, or neat branded closure can make a fill-heavy packout feel intentional rather than improvised. If that matters to your brand, a custom setup may be worth the extra planning. I would rather see a cleanly branded mailer with smart void fill than a plain pouch stuffed until it looks like a pillow, especially if your unboxing happens in markets like Seattle or San Diego where customers often mention presentation in reviews.
For teams looking to align with broader material goals, it can help to review standards and certifications from groups like the Forest Stewardship Council if paper content and sourcing are part of the discussion. That is especially useful when your guide to void fill poly mailers combos includes kraft paper or paper-based secondary protection and you need to speak to procurement, sustainability, and operations in the same meeting. A supply chain that can trace paper from a certified mill in Oregon or British Columbia will usually have a cleaner story than one relying on vague “eco-friendly” claims.
Next Steps After Choosing Guide to Void Fill Poly Mailers Combos
Once you have a preferred guide to void fill poly mailers combos, move quickly but carefully. Start by measuring your top SKUs and collecting sample mailers in two or three sizes, not ten. Then build test packouts for each likely combination and compare them on protection, cost, labor time, and customer presentation. That small matrix gives you a clean way to make a decision without endless debating. If you are buying at scale, ask for quotes in concrete terms such as $0.15 per unit for 5000 pieces, 12-15 business days from proof approval, and a confirmed film spec so you are not comparing one supplier’s 2.3 mil pouch against another supplier’s 2.75 mil film.
My recommendation is to pilot the best combo on a limited order volume first, maybe 200 to 500 shipments depending on your throughput. Watch for seal failures, product shifting, scuffing, and any operator confusion. If the package survives live orders and the pack station can maintain the rhythm, you have something worth scaling. A 10-day pilot in a single lane, especially on a 7 a.m. to 3 p.m. shift, often reveals more than a month of lab samples sitting in a conference room.
A practical rollout often looks like this:
- Test three combinations on real products.
- Validate with shake checks, compression checks, and short transit trials.
- Train operators with photos and one-page packout rules.
- Launch on a limited set of SKUs or one shipping lane.
- Review claims, returns, and labor time after the first full cycle.
That sequence keeps the decision grounded. It also helps if you use the same terms across purchasing, QA, and the line, because terminology drift causes more problems than people realize. If purchasing calls it a “light cushion pack” while operations calls it a “paper-braced mailer” and customer service thinks it is a “padded pouch,” someone will eventually order the wrong material. The guide to void fill poly mailers combos only works if everyone uses the same language, the same dimensions, and the same approved supplier list from day one.
One final thought from the floor: the right packaging choice is usually the one that protects the product, keeps the line moving, and feels reasonable when a customer opens it. That balance is not flashy, but it is what keeps claims down and margins intact. If you choose your guide to void fill poly mailers combos carefully, you will end up with fewer damaged shipments, fewer do-overs, and a packout your team can actually repeat on a busy day.
FAQ
What is the best guide to void fill poly mailers combos for fragile items?
The best guide to void fill poly mailers combos for fragile items usually pairs a snug poly mailer with paper wrap or air cushioning so the product cannot move more than a few millimeters inside the pouch. I like to see a shake test and a short drop test before a fragile SKU goes live, because that catches loose movement and weak seal behavior fast. In practice, that often means a 2.5 mil mailer with a 6 x 9 inch kraft wrap for a small glass item, followed by a 25-parcel lane trial through a regional hub.
How do I choose the right void fill amount in a poly mailer combo?
Use enough fill to stop shifting, but not so much that the mailer bulges or stresses the adhesive seal. The right amount depends on the product shape, the remaining empty space after insertion, and whether the item has corners, glossy surfaces, or accessories that can scratch. A good guide to void fill poly mailers combos should be based on movement control, not just how “full” the parcel looks, and many teams find that one folded paper insert or a single air pillow is enough for a 4 to 8 ounce SKU.
Are guide to void fill poly mailers combos expensive to use?
They can be very cost-effective when they reduce damage, returns, and re-shipments. The real cost should include material price, labor seconds, shipping weight, and any dimensional-weight impact, not just the mailer unit price. In many operations, a slightly higher packout cost saves far more money downstream, especially if the better packout holds damage under 1% while the cheaper one creeps toward 3% over a 30-day run.
Can I use guide to void fill poly mailers combos for apparel?
Yes, especially when apparel includes hard accessories, boxed items, or products that can wrinkle and shift during transit. For soft garments alone, a simple poly mailer may be enough if the fit is tight and the item does not move much. The moment accessories or rigid inserts enter the mix, the guide to void fill poly mailers combos becomes more useful, particularly for apparel kits packed with hang tags, cards, or sample add-ons that create internal movement.
How do I test a new poly mailer and void fill combo before shipping?
Pack a sample, shake it, compress the corners by hand, and run a small transit trial with live orders or internal routes. Check for movement, seal failure, product scuffing, and the customer-unboxing appearance before approving the packout. If the guide to void fill poly mailers combos passes those checks on a real line, you are in much better shape for scale-up, especially once the pilot has covered at least 200 parcels across one full shift cycle.