Buyer Fit Snapshot
| Best fit | handmade product packaging ideas sell for packaging buyers comparing material specs, print proof, MOQ, unit cost, freight, and repeat-order risk where brand print, material, artwork control, and repeat-order consistency matter. |
|---|---|
| Quote inputs | Share finished size, material target, print colors, finish, packing count, annual reorder estimate, and delivery region. |
| Proofing check | Approve dieline scale, logo placement, barcode or warning zones, color tolerance, and any recyclable or compostable wording before bulk production. |
| Main risk | Vague material claims, crowded artwork, or missing packing details can create delays even when the unit price looks attractive. |
Fast answer: Handmade Product Packaging Ideas Sell: Material, Print, MOQ, and Cost should be specified like a repeatable production item. The safest quote includes material, print method, finish, artwork proof, carton packing, and reorder notes in one written spec.
What to confirm before approving the packaging proof
Check the product dimensions against the actual filled item, not only the sales mockup. Ask for tolerance on folds, seals, hang holes, label areas, and retail display edges. If the package carries a logo, QR code, warning copy, or legal claim, reserve that space before decorative graphics fill the panel.
How to compare quotes without losing quality
Compare board or film grade, print process, finish, sampling route, tooling charges, carton quantity, and freight assumptions side by side. A lower quote is only useful if the supplier can repeat the same color, closure quality, and packing count on the next order.
Handmade Product Packaging Ideas sound simple until you’re the one trying to ship 300 candles, 120 soap bars, or a batch of ceramic mugs that all need to arrive intact, look expensive, and still leave room for profit. I’ve watched a $0.18 paperboard insert change how customers described a handmade product in reviews, especially when that insert was a 350gsm C1S artboard die-cut in Dongguan, Guangdong, with a clean 1.5 mm fold allowance and a snug fit around a 7 oz amber jar. Same product. Same jar. Different perception. That little piece of packaging did more than hold the item in place; it made the brand feel deliberate, not improvised. Honestly, that’s the part people underestimate the most.
That’s the real job of handmade product packaging ideas. They’re not just about wrapping something pretty. They’re about protection, branding, unboxing, and practicality for small-batch products that still need to perform like serious retail packaging. A package can look charming on a studio table and fail miserably in a warehouse lane between Ohio and Arizona in July, where temperatures can push past 95°F and adhesive performance starts to matter a lot more than mood boards. That’s where many brands get adorable right up until the damage claims start. I’ve seen it happen, and no one enjoys the email thread afterward.
My goal here is to give you handmade product packaging ideas that work in real life, with pricing ranges, process notes, and the mistakes I’ve seen on factory floors and in client meetings from Shenzhen to Los Angeles. I’ll cover material choices, custom printed boxes, label setups, sustainable packaging options, and the boring-but-expensive stuff like freight, proofing, and setup fees. Packaging always costs more than people expect, especially when a supplier quotes $0.15 per unit for 5,000 pieces and the landed cost turns into $0.29 after carton packing, sea freight, and last-mile delivery. Every time. I still get mildly annoyed when someone says, “Can’t we just make the box a little nicer for free?” as if paperboard is growing on trees in Shenzhen.
Handmade Product Packaging Ideas: What It Really Means
When I say handmade product packaging ideas, I mean the full system around the product: the container, the label, the insert, the outer wrap, the shipping protection, and the little brand cues that tell a customer, “someone thought this through.” Handmade packaging has to do three jobs at once. It has to protect the product. It has to support the brand story. It has to do both without turning fulfillment into a headache. That sounds tidy on paper; in a packing room with tape guns, a 2 p.m. carrier pickup, and 800 units to finish, it’s a bit more exciting than people expect.
I still remember standing on a packing line in Shenzhen with a client who sold small-batch soy candles. She loved the rustic look of her kraft box, but her candles were arriving with shattered glass lids because the insert was basically decorative cardboard with a 250gsm liner that flexed too easily. We switched to a molded pulp insert from a factory in Zhongshan and added a 0.8 mm paperboard spacer. The unit cost went from $0.62 to $0.80, and the tooling added 9 business days to the first run after proof approval. She hated that number for about 10 minutes. Then her damage rate dropped, and the returns stopped eating her profit. Funny how math tends to win, even when everyone in the room is hoping it won’t.
There’s also a difference between packaging that looks handmade and packaging that is production-ready for a real business. Anyone can tie twine around tissue paper and call it branded packaging. If the adhesive fails in humid storage, the ink rubs off, or the box crushes in transit, that’s not package branding. That’s an expensive craft project. I say that with affection, but also with a little scar tissue from more than one Guangzhou press check where a matte label curled at the corners after 72 hours in 85% humidity.
Good handmade product packaging ideas support repeat purchases and giftability. A soap bar wrapped in a paper belly band feels gift-ready. A jewelry box with a velvet insert feels premium enough to keep. A ceramic mug in a rigid carton with a protective paper pulp tray feels like a thoughtful purchase instead of a gamble. That matters because people buy handmade products for the story as much as the item. Packaging is part of that story, whether we like it or not, and a clean unboxing sequence can add real value even when the material cost is only $0.22 per unit.
Here’s the structure I use with clients at Custom Logo Things and when sourcing through suppliers like Uline, Packlane, or local paper converters in Portland, Oregon and Dongguan, China: define the product, decide the unboxing experience, Choose the Right protection, then layer on brand details. Do it backwards, and you end up paying for flashy packaging that can’t survive shipping. I’ve seen that movie. It ends with refunds and somebody asking why the “pretty box” turned into a dented pancake by the time it reached Dallas.
How Handmade Product Packaging Ideas Work in Real Life
Most handmade product packaging ideas are built in layers. Think of it like a stack, not a single box. The product usually lives inside primary packaging first, then secondary packaging, then shipping protection. Each layer affects perception, cost, and safety differently. If one layer is weak, the whole stack starts sulking, and the failure usually shows up at the worst possible moment, such as a holiday rush from November 15 through December 18.
- Primary packaging: the container or wrap touching the product, like a jar, pouch, sleeve, or soap wrap.
- Secondary packaging: the retail-ready outer box, carton, or branded sleeve.
- Inserts: paperboard, molded pulp, foam alternatives, or chipboard that hold the item in place.
- Labels: branding, ingredient text, barcode, SKU, and legal copy.
- Shipping protection: mailers, void fill, tape, corner pads, or corrugated shippers.
Each layer has a job. If the primary packaging is pretty but flimsy, the product suffers. If the outer box is gorgeous but oversized, shipping cost balloons, especially when dimensional weight kicks in on a 12 x 10 x 6 inch carton. If the labels are bad, the whole thing looks cheap even when the materials are decent. That’s packaging design in the real world: tradeoffs, not magic. People love the word “simple” until they realize simple still has to survive a conveyor belt in Memphis or a parcel sort center in Louisville.
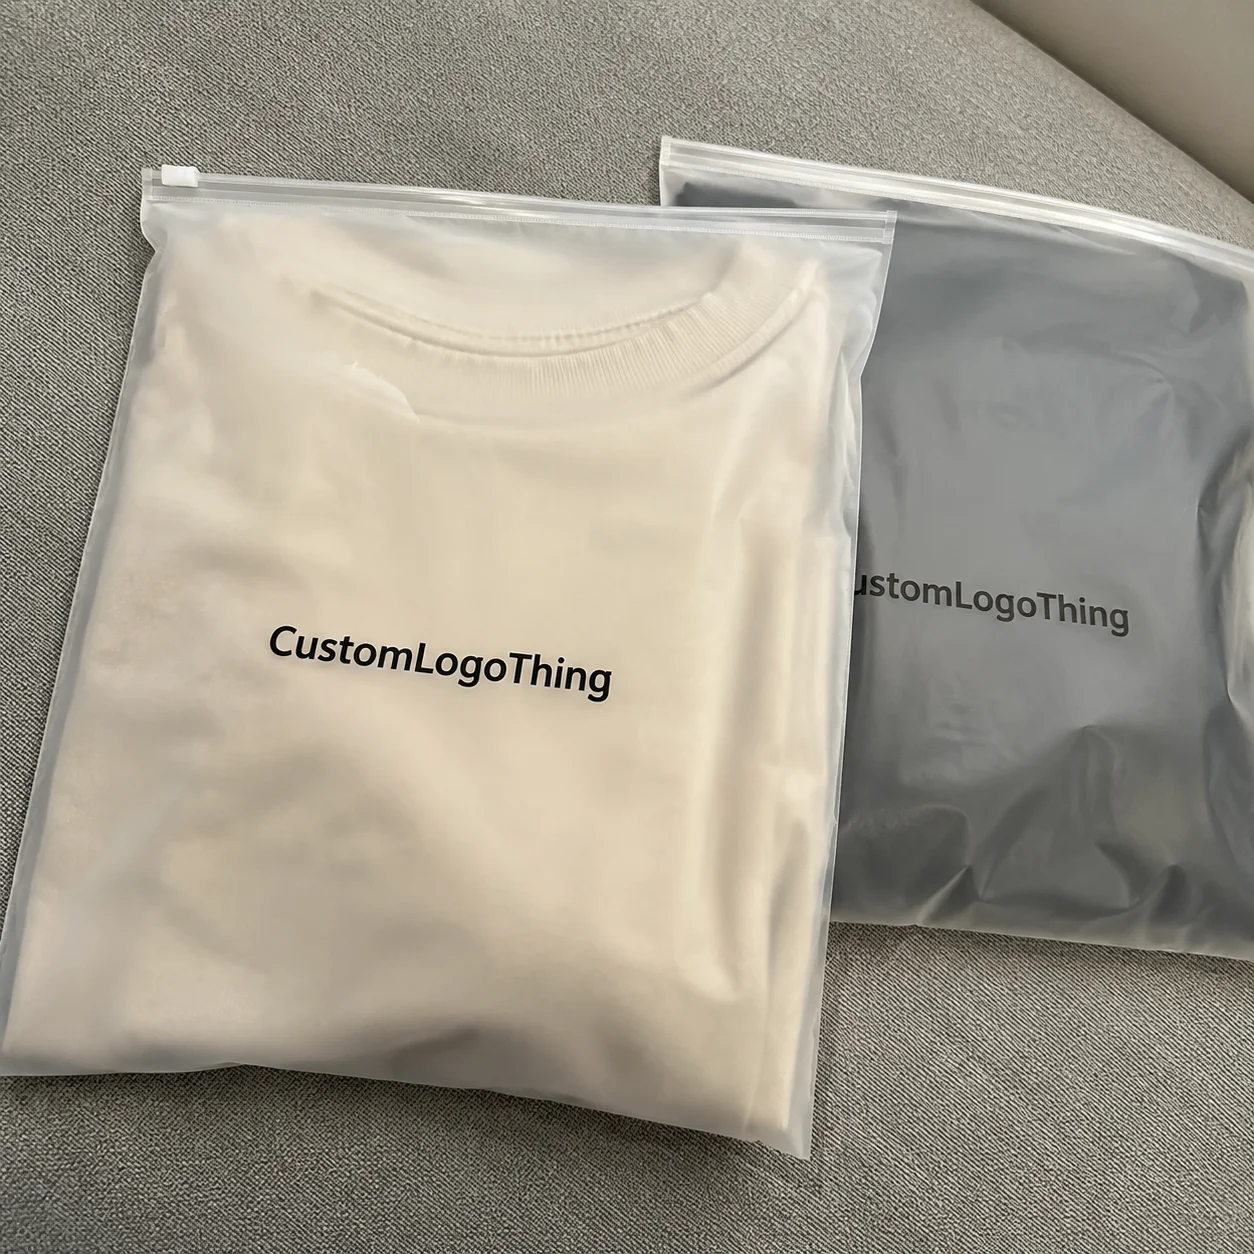
For soap, a simple belly band plus a compostable sleeve may be enough. For candles, I prefer a printed rigid box or a sturdy folding carton with a 350gsm insert. For jewelry, a compact box with a foam or paperboard insert makes the piece feel more valuable without adding much weight. Ceramics need the most attention because breakage loves corners, edges, and weak inserts, so I often specify E-flute corrugated outers with paper-pulp cradles for mugs and planters. Baked goods are a different animal entirely because shelf life, grease resistance, and food-safe materials matter. Apparel can often get by with branded mailers, tissue, and a folded insert card. Same packaging category, different demands.
Printing methods change the experience too. Offset printing gives clean color consistency for custom printed boxes, especially when you’re matching a Pantone 186 C or a deep forest green across 8,000 units. Digital printing is better for shorter runs and variable designs, with proofs often turning around in 2-4 business days. Flexo can be cost-effective for certain mailers and shipping cartons, especially at volume. I’ve negotiated with converters in Shenzhen and Xiamen who could shave $0.04 off a mailer just by switching from a full flood print to a two-color design. Small number. Big impact over 8,000 units. And yes, I once had to argue for an hour over four cents, which felt ridiculous until we multiplied it by the order quantity and suddenly everybody in the room cared deeply.
Materials matter just as much. Kraft paperboard reads earthy and honest. C1S artboard with matte lamination feels cleaner and more retail-friendly, especially in 300gsm or 350gsm weights. Soft-touch lamination adds that velvety feel people always describe as “luxury,” even when they can’t explain why. Recycled stock helps with sustainability goals, but recycled doesn’t automatically mean better if the print cracks, the board fibers show through, or the box collapses in humidity after a 16-day ocean freight crossing. Green choices are welcome, but the packaging still has to function. A noble box that fails in transit is still just expensive confetti.
Here are a few supplier examples I’ve used or quoted against from Los Angeles, New Jersey, and Shenzhen:
- Uline for stock mailers, corrugated shippers, tape, and basic packing supplies.
- Packlane for short-run custom mailers and branded boxes with flexible ordering.
- Local converters for paperboard, sleeves, inserts, and color control when you need tighter production oversight.
If you want a neutral source on packaging materials and end-of-life considerations, I also recommend checking EPA recycling guidance and FSC certification standards. Those won’t tell you how to make a box pretty, but they will keep your sustainability claims closer to reality and help you avoid vague “eco” language that falls apart under a supplier audit.
Key Factors to Judge Before Choosing Packaging
Before you pick from the endless pool of handmade product packaging ideas, start with the product itself. Is it fragile? Heavy? Moisture-sensitive? Does it have a shelf life? A jar of salve needs different packaging than a ceramic planter. A chocolate truffle needs different packaging than a candle. If you ignore product behavior, you’re designing for the Instagram photo, not the shipment. I’ve done enough production calls to know that the package never gets a vote, but it always gets blamed.
I ask clients four basic questions before quoting anything: How fragile is it? How much does it weigh? What temperature or moisture conditions will it face? And how will it ship? These sound obvious, but you’d be surprised how many brands try to use a decorative tuck box for a heavy item because it “looks clean.” Clean until the side tab pops open, anyway. Then it’s less “clean brand story” and more “why is everything in the corrugate bay dented?”
Brand positioning matters too. Rustic brands can use kraft, raw edges, and one-color printing. Luxury brands usually need heavier stock, refined typography, and tighter color control. Eco-friendly brands often need minimal material use, recycled fiber, and simple adhesives. Playful brands can get away with bright colors, stickers, and bold inserts. Minimal brands often depend on white space, texture, and precise print alignment. The wrong package style sends the wrong signal fast, especially if your customer expects a $42 gift item and receives a flimsy 200gsm fold-over sleeve instead.
Budget is where reality shows up. For small runs, handmade product packaging ideas can get pricey per unit because setup costs are spread across fewer pieces. A 500-piece run of custom printed boxes may cost far more per unit than a 5,000-piece run of the same box, sometimes by 30% to 40% depending on tooling and freight origin. That doesn’t mean the small run is wrong. It means you need to know your numbers before ordering 2,000 boxes you can’t afford to use. I’m still not convinced there’s a polite way to say, “You ordered like a wholesaler but sell like a startup,” so I’ll just say it plainly here.
Compliance matters more than people want to admit. Handmade food products may need ingredient panels, allergen notes, and net weight labeling. Cosmetics and bath products may require INCI naming, batch coding, and caution statements depending on the market. I’ve had clients lose two weeks because the label copy was designed before the regulatory checklist, and a printer in New Jersey would not release production until the copy was corrected. Pretty labels are nice. Illegal labels are not. The printer will not save you from a missing ingredient statement, no matter how charming the font is.
And then there’s sustainability. I hear “eco” a lot, and I usually ask, “In what way, exactly?” Recycled paperboard is useful. Paper tape is useful. Water-based inks are useful in some applications. Compostable films can be great, but only if the end user has access to the right waste stream. Mixing plastic windows, metallic foils, and paperboard into a single package can make recycling harder, not easier. A sustainable claim should survive contact with the waste bin. If it doesn’t, it’s more marketing copy than material strategy, and a buyer in Austin or Berlin will usually notice within seconds.
| Packaging Style | Best For | Typical Unit Cost | Main Tradeoff |
|---|---|---|---|
| Kraft mailer with sticker branding | Apparel, lightweight handmade goods | $0.35-$1.10 | Low cost, less premium feel |
| Printed folding carton | Soap, candles, small gifts | $0.55-$1.80 | Better retail look, needs design and proofing |
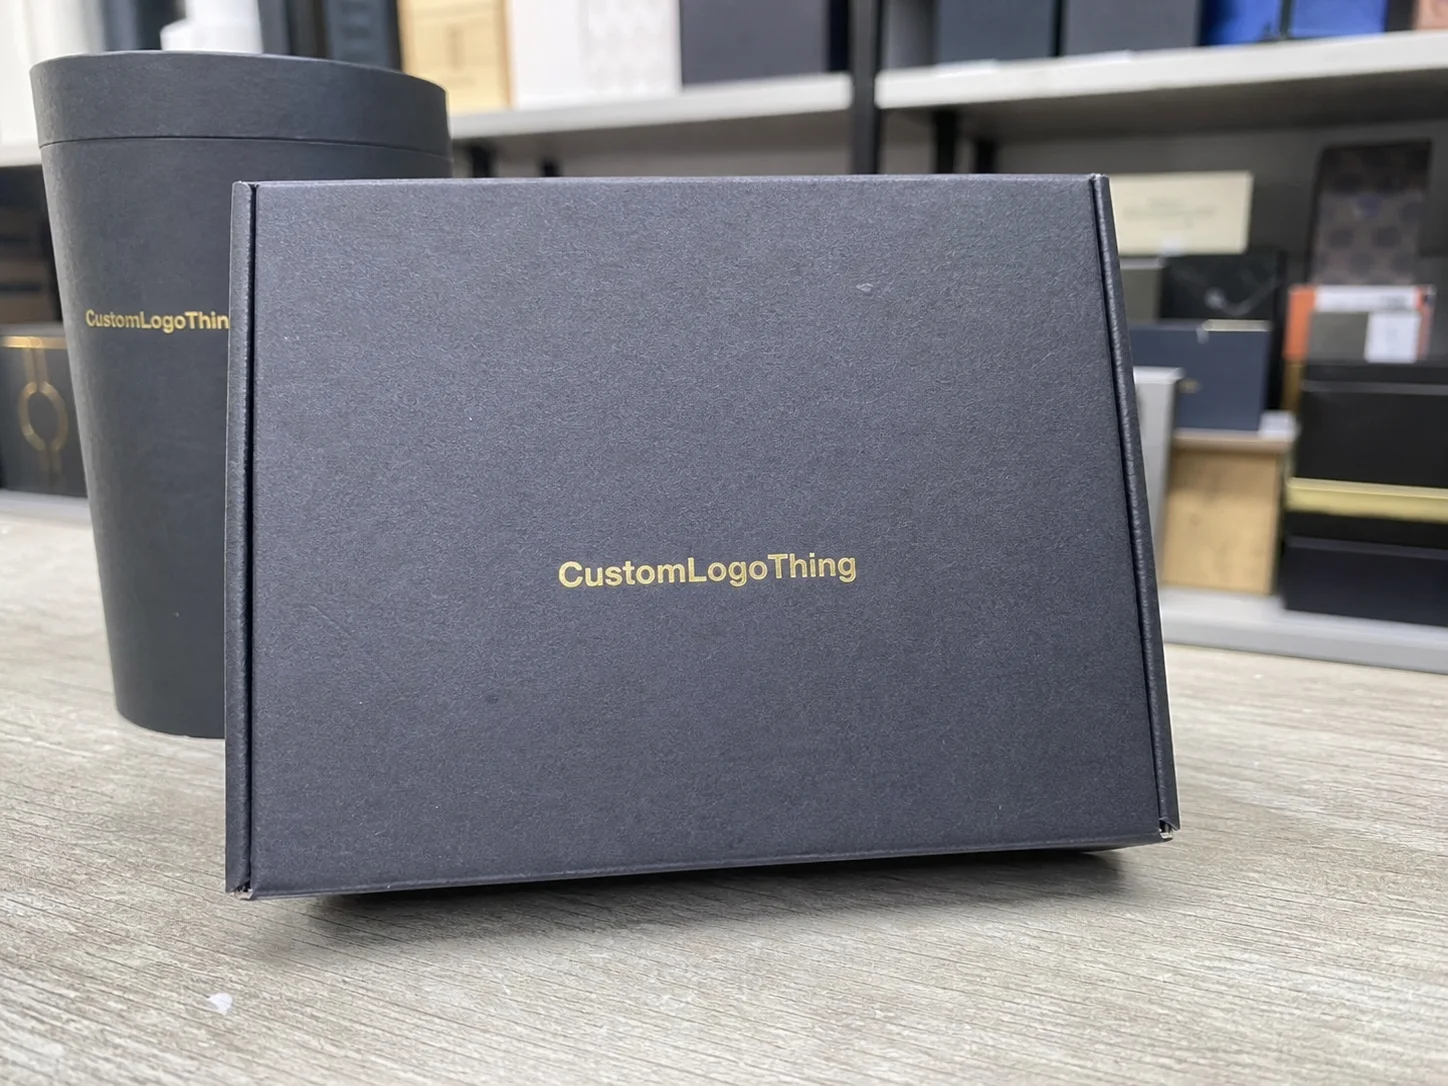
| Custom rigid box | Jewelry, premium gifts, luxury sets | $1.80-$4.50 | Strong presentation, higher freight and storage cost |
| Simple label and tissue system | Low-fragility, low-margin items | $0.12-$0.45 | Affordable, limited protection |
That table is a starting point, not a promise. Volume, material grade, print coverage, and supplier location can move those numbers fast. Still, it helps brands stop guessing and start comparing. Honestly, half the battle is just getting everyone in the room to look at the same numbers, especially when one quote is from a converter in Foshan and another is from a domestic printer in Ohio.
Handmade Product Packaging Ideas: Step-by-Step Process
The best handmade product packaging ideas start from the inside out. That means you define the product first, then choose the packaging structure, not the other way around. I’ve watched people fall in love with a rigid box before measuring their jar, then discover the lid height won’t fit and the insert needs another 3 mm of clearance. That’s a very expensive romance. I’ve seen that heartbreak in person more than once, and it never gets less avoidable.
1. Start with the product and shipping method
Write down exact dimensions, weight, surface sensitivity, and whether the item ships single-unit or in bundles. A 6 oz candle in a glass jar is not the same as a 14 oz candle in a tin. A handmade ceramic cup with a handle needs a different clearance than a flat soap bar. If it ships through USPS, UPS, or a regional carrier, the outer package must survive real handling, not a gentle desk test. Your product is not being delivered by a careful intern with a pillow.
2. Choose the base container or wrap
This is where product packaging starts to become brand packaging. For soap, that may be a compostable wrap, kraft belly band, or folded carton. For candles, a printed carton or rigid tube might work. For jewelry, a hinged box, drawer box, or small paperboard carton with insert is common. For apparel, a poly mailer or corrugated mailer with branded tissue can do the job without adding unnecessary weight. The base container should do the heavy lifting; the pretty details should support it, not rescue it.
I once helped a client selling hand-poured candles move from clear clamshells to matte black cartons with a simple white stamp produced in Dongguan on 350gsm SBS board. Their cost increased by $0.27 per unit, but the average gift order value jumped because the packaging looked retail-ready. That’s the kind of math I enjoy. Not glamorous. Effective. And much less stressful than trying to explain why the clamshells made the product feel like a hardware store afterthought.
3. Add branding without overcomplicating the build
Use stickers, sleeves, belly bands, stamps, or one-color print when you want to keep costs under control. If you need stronger package branding, consider custom printed boxes or a branded insert card. The trick is not to print every surface just because you can. One strong visual cue usually does more work than five noisy ones, and a two-color design on 1,000 pieces can look cleaner than a six-color layout that costs $0.19 more per unit. If everything is shouting, nothing is leading.
A small batch brand I worked with in Los Angeles had a gorgeous logo and a terrible packaging habit: they used seven different label sizes across the same product line. The shelves looked messy, and the customer experience felt random. We standardized to two label sizes, one box size, and one ink color, then moved printing to a converter in California that could hold registration within 0.3 mm. Manufacturing got easier, and the brand looked more expensive for less money. That should happen more often than it does, but apparently consistency is one of those things people say they want until the spreadsheet shows up.
4. Prototype before full production
Order samples. Build mockups. Test tape. Test label adhesion. Test whether the box closes when the insert is inside. A sample that looks perfect on a table can fail badly once it’s packed by a fulfillment team that’s moving 200 units an hour. I always ask for at least one round of physical samples for handmade product Packaging Ideas That involve custom sizes, inserts, or print alignment. If a supplier pushes back on samples, that’s usually a sign to slow down, not speed up.
Here’s a simple prototype checklist:
- Measure the product three times.
- Confirm the closure height and wall thickness.
- Test for scuffing, rubbing, and shifting.
- Drop test from 24 to 36 inches for fragile items.
- Check the package after 48 hours in humid conditions if moisture is a risk.
5. Test protection and shelf appeal
Packaging should survive shipping and still look good on a shelf or in a gift box. That means the exterior, label placement, and opening experience all matter. A candle box that arrives crushed but looks amazing in photos is still a failed package. A soap wrap that protects the bar but looks like it was printed on a home inkjet is also a miss. You need both sides to work. I’d rather have a package that is slightly plain and entirely dependable than one that is gorgeous for the ten seconds before it gets flattened.
6. Build the timeline honestly
For custom printed boxes and other branded packaging, a realistic timeline often looks like this: 3-7 business days for design prep, 4-8 business days for proofing and sample review, 12-15 business days from proof approval for production, then shipping time on top. Specialty finishes, die-cuts, and insert tooling can add 5-10 additional business days, especially if the tooling is coming from a workshop in Shenzhen or Ningbo. If you’re planning for a launch or holiday peak, build a cushion. I’d rather see a brand wait an extra week than launch with the wrong box and spend the next month apologizing.
For a lot of handmade brands, a good rollout starts with stock packaging and one custom element. Then, once you know the product moves, you upgrade the rest. That approach keeps cash tied up in inventory lower and gives you room to refine the packaging design based on actual customer feedback. It also means you’re not staring at 4,000 misprinted sleeves while muttering to yourself in the stockroom, which I can confirm is not a fun hobby.
Cost and Pricing for Handmade Product Packaging Ideas
Pricing for handmade product packaging ideas depends on more variables than most sellers expect. Material type, print method, order volume, die-cuts, coatings, inserts, freight, and setup fees all move the number. The base unit price is only part of the story. I’ve seen “cheap” packaging become the most expensive line on a P&L because freight and spoilage were ignored, especially on a 3,000-piece order shipped from Ningbo to Los Angeles. That one hurts, because it usually shows up after everyone has already celebrated the quote.
Here are realistic cost buckets I’ve quoted or negotiated against:
- Branded stickers: often $0.03-$0.12 each depending on size and finish.
- Custom belly bands or sleeves: often $0.08-$0.28 each.
- Printed folding cartons: often $0.35-$1.20 each at small to mid volumes.
- Custom mailers: often $0.55-$1.50 each depending on size and print coverage.
- Rigid boxes: often $1.50-$4.50 each, sometimes more with specialty finishes.
If you need a practical comparison, here’s how I think about it. A label-led system is the cheapest entry point. A printed carton is a strong middle ground for retail packaging. A rigid box is for premium positioning or fragile, giftable items where the box itself is part of the product experience. None of these are automatically right. The right one depends on margin, and margin has a very rude habit of showing up uninvited when you least want it to, especially if your retail price sits under $18.
| Option | Approx. Cost Range | Best Use Case | Notes |
|---|---|---|---|
| Sticker + tissue | $0.12-$0.40 | Low-fragility handmade items | Best when you need low-cost branded packaging fast |
| Printed carton | $0.45-$1.50 | Soap, candles, small gifts | Good balance of presentation and protection |
| Mailer + insert | $0.70-$2.10 | Subscription items, bundled products | More shipping-safe, more material usage |
| Rigid presentation box | $1.80-$5.00 | Premium retail gifts, jewelry | High perceived value, more freight cost |
Hidden costs are where the budget gets bruised. Plates for offset printing. Dieline setup. Proof fees. Samples. Freight from Asia or domestic production. Spoilage, which happens when 2% to 5% of a run gets damaged or rejected. Storage, if you order 10,000 boxes and only need 2,500 this quarter. That’s why I tell brands to ask for the landed unit cost, not just the factory quote. A quote that ignores freight is basically a polite lie with nice formatting, especially when the factory in Shenzhen quotes FOB and the forwarder adds another $380 at booking.
For budgeting, I use a simple rule: packaging should usually sit somewhere around 5% to 15% of retail price, depending on the product category and positioning. A $24 candle can support more packaging cost than a $9 soap bar. A $68 gift set can carry a nicer box than a single $12 item. If packaging consumes too much margin, you’re decorating your way into lower profit. Cute. Not ideal. Your accountant will absolutely notice, too.
Where should you spend? On structure, fit, and one memorable brand cue. Where can you save? On excess print coverage, unnecessary coatings, and oversized packaging that costs more to ship. If you’re choosing between a foil logo and a better insert, I’d often take the insert. Customers forgive plain faster than they forgive broken. They rarely write glowing reviews about a broken item with a shiny logo.
Common Mistakes with Handmade Product Packaging Ideas
The biggest mistake I see with handmade product packaging ideas is treating “eco” as a design style instead of a material decision. A kraft box with a plastic window and metallic laminate is not automatically sustainable just because it looks earthy. If you want greener packaging, check the actual stock, adhesive, ink, and recycling path. Otherwise you’re selling a vibe, not a responsible package. And vibes don’t get sorted at the curb, whether the package was assembled in Phoenix or printed in Quanzhou.
Another common mistake is overpackaging. I’ve seen handmade brands put a product in a pouch, then a box, then a sleeve, then tissue, then ribbon, then a shipping box, then peanuts. The customer opens it and feels nothing except confusion and a larger shipping bill. Simple products don’t need costume changes. If the item is low-fragility, let the packaging do enough, not everything. I promise the product will still feel special if it arrives intact and doesn’t require a rescue mission to open.
Beautiful materials can still fail. Soft-touch lamination feels great, but if you choose it for a humid storage environment without testing, you may see scuffing or edge wear after just a few weeks in a warehouse near Houston. Kraft stock is charming, but it can show oil marks, dirt, and inconsistent print. Foam inserts may protect well, but they can also clash with sustainability goals. That’s the tradeoff nobody wants to put on the mood board. I know, because the mood board usually looks much nicer without the words “humidity testing” in the corner.
Label readability is another one. If your product requires ingredient lists, batch codes, barcode placement, or caution text, make sure the type size is readable and the layout doesn’t bury the information on a flap. I once had a bath product client lose retail placement because the barcode sat too close to the fold line and wouldn’t scan cleanly on the buyer’s Zebra tester. The retailer didn’t care that the box looked nice. They cared that it worked. Retail buyers are famously unimpressed by “but it photographed well.”
And please don’t order too much too soon. Handmade brands love to skip testing and go straight to a 10,000-piece print run because the per-unit cost looked better. Then the product label changes, or the box size is wrong, or the logo gets tweaked, and suddenly you’ve got a garage full of obsolete inventory. Start with a small batch. Learn. Adjust. Then scale. Your future self, who is not trying to store cartons under a folding table in Pasadena, will thank you.
“The box looked beautiful on the sample table. In transit, it looked like a toddler sat on it.” That was a real client quote after we skipped a crush test. We fixed the insert, raised the board grade from 250gsm to 350gsm, and the returns disappeared.
To keep this from happening, ask suppliers for material specs, compression information, and test references. If you’re shipping fragile products, look at industry testing standards through ISTA. I’m not saying every handmade brand needs a lab. I am saying “it seemed sturdy” is not a test method. That phrase has caused enough headaches for one lifetime, especially when a 28 lb compression test would have revealed the weakness in the carton flap.
Expert Tips and Next Steps for Better Packaging
After years of sampling, press checks, and more packaging negotiations than I care to count, my favorite handmade product packaging ideas usually share one trait: they pick a single hero detail and let it carry the brand. That might be a textured label, a foil mark, a custom insert, a stamped logo, or a ribbon in one signature color. You do not need every surface to scream. In fact, that usually makes the package look cheaper. Quiet confidence usually beats loud chaos, especially on a shelf in Seattle or a craft fair in Brooklyn.
If you want to improve package branding without exploding the budget, build a sample kit. Keep approved paper stocks, color references, finish swatches, and dimensional drawings in one place. A good sample kit saves time on future reorders and makes supplier communication much easier. I’ve lost entire afternoons because a client said “the blue from last time” and nobody had the actual swatch from the factory in Dongguan. Vague memories are not production specs, even if everyone nods solemnly.
I also recommend building three packaging tiers:
- Budget: sticker, tissue, stock mailer, simple insert card.
- Standard: printed carton, branded sleeve, better paper stock, one special finish.
- Premium: rigid box, custom insert, specialty coating, richer unboxing sequence.
That gives you room to scale without redesigning the whole line. It also helps when a retailer asks for a gift version or when a holiday bundle needs a different presentation. One of my favorite clients sold bath salts in a simple pouch all year, then switched to a kraft box with a belly band and tissue for Q4. Same product. Higher perceived value. Better average order size. Honestly, it was one of those rare moments where the packaging actually did the heavy lifting instead of just looking pretty.
For the next 7 days, do this:
- Audit your top 3 products and write down dimensions, weight, and fragility.
- Pull 2-3 brand styles you like and note what materials they use.
- Request quotes for stock packaging and one custom option.
- Order samples from a supplier like Uline or a custom printer for comparison.
- Test one packaging change on your best-selling item first.
If you need packaging components, you can start with Custom Packaging Products and build from there. I’d rather see a handmade brand improve one item well than spread the budget across five products and end up with five half-finished packaging systems. Focus wins. Scattershot looks busy; focused looks intentional.
My last piece of advice: measure customer reaction. Watch reviews. Read unboxing comments. Track damage rates. If a $0.18 insert reduces breakage and improves perceived value, that’s not a tiny upgrade. That’s a profitable one. Good handmade product packaging ideas are never just decoration. They are part of the product, part of the sale, and part of the reason people come back.
FAQs
What are the best handmade product packaging ideas for small brands?
Start with simple upgrades like branded stickers, tissue paper, belly bands, and custom mailers. Choose packaging that matches your product fragility and brand style, not just what looks cute on social media. Test one concept on your best-selling item before rolling it out across the whole line, ideally with a 25-piece sample run or a low-cost proof from a printer in Los Angeles or New Jersey.
How much do handmade product packaging ideas usually cost per unit?
Sticker-based branding can be under $0.20 per unit, while custom mailers or printed boxes can climb much higher depending on quantity and finish. Foil, embossing, inserts, and low volumes push pricing up fast. A 5,000-piece printed carton in 350gsm C1S artboard might land around $0.42 per unit before freight, while a 500-piece rigid box can exceed $2.50 per unit. Always include freight and setup fees when comparing quotes.
How long does it take to produce custom handmade packaging?
Stock-based packaging can move quickly, but custom printed packaging usually needs time for design, proofing, sampling, and production. Expect 3-7 business days for dieline prep, 4-8 business days for proof review, and typically 12-15 business days from proof approval for production on standard folding cartons. Build in extra time if you need die-cuts, specialty finishes, or multiple proof rounds.
Which handmade product packaging ideas are best for eco-friendly brands?
Use recycled paperboard, kraft mailers, paper tape, and minimal ink coverage where possible. Check whether compostable or recyclable claims are actually supported by local waste systems in your target city or region. Avoid mixing too many materials if you want disposal to be simpler for customers, and ask your supplier for FSC-certified board or post-consumer recycled content percentages when possible.
How do I make handmade product packaging ideas look premium on a budget?
Focus on one strong visual cue, like a textured label, matte stock, or custom stamp. Keep the layout clean and use fewer colors to reduce print cost. Use inserts and unboxing order to create a premium feel without spending on expensive finishes everywhere. A $0.06 paper label on a 300gsm folding carton can look far more elevated than a noisy box with six finishing treatments.