If you need to Purchase Custom Stickers, the first decision is rarely the artwork. It is the use case. A sticker for a kraft mailer, a coated folding carton, a chilled bottle, and a retail display card all face different conditions, and those conditions determine whether paper, film, or vinyl will hold up. Buyers who skip that step often end up paying twice: once for the order, then again for replacements that peel, scuff, or fail to line up cleanly.
Sticker buying becomes much easier when you treat it as part of packaging engineering rather than a quick print purchase. The right size, adhesive, finish, and format can make a box feel finished, seal a pouch neatly, or give a product line a consistent visual anchor. The wrong mix can make even strong branding look rushed.
Why Custom Stickers Matter for Packaging, Branding, and Unboxing
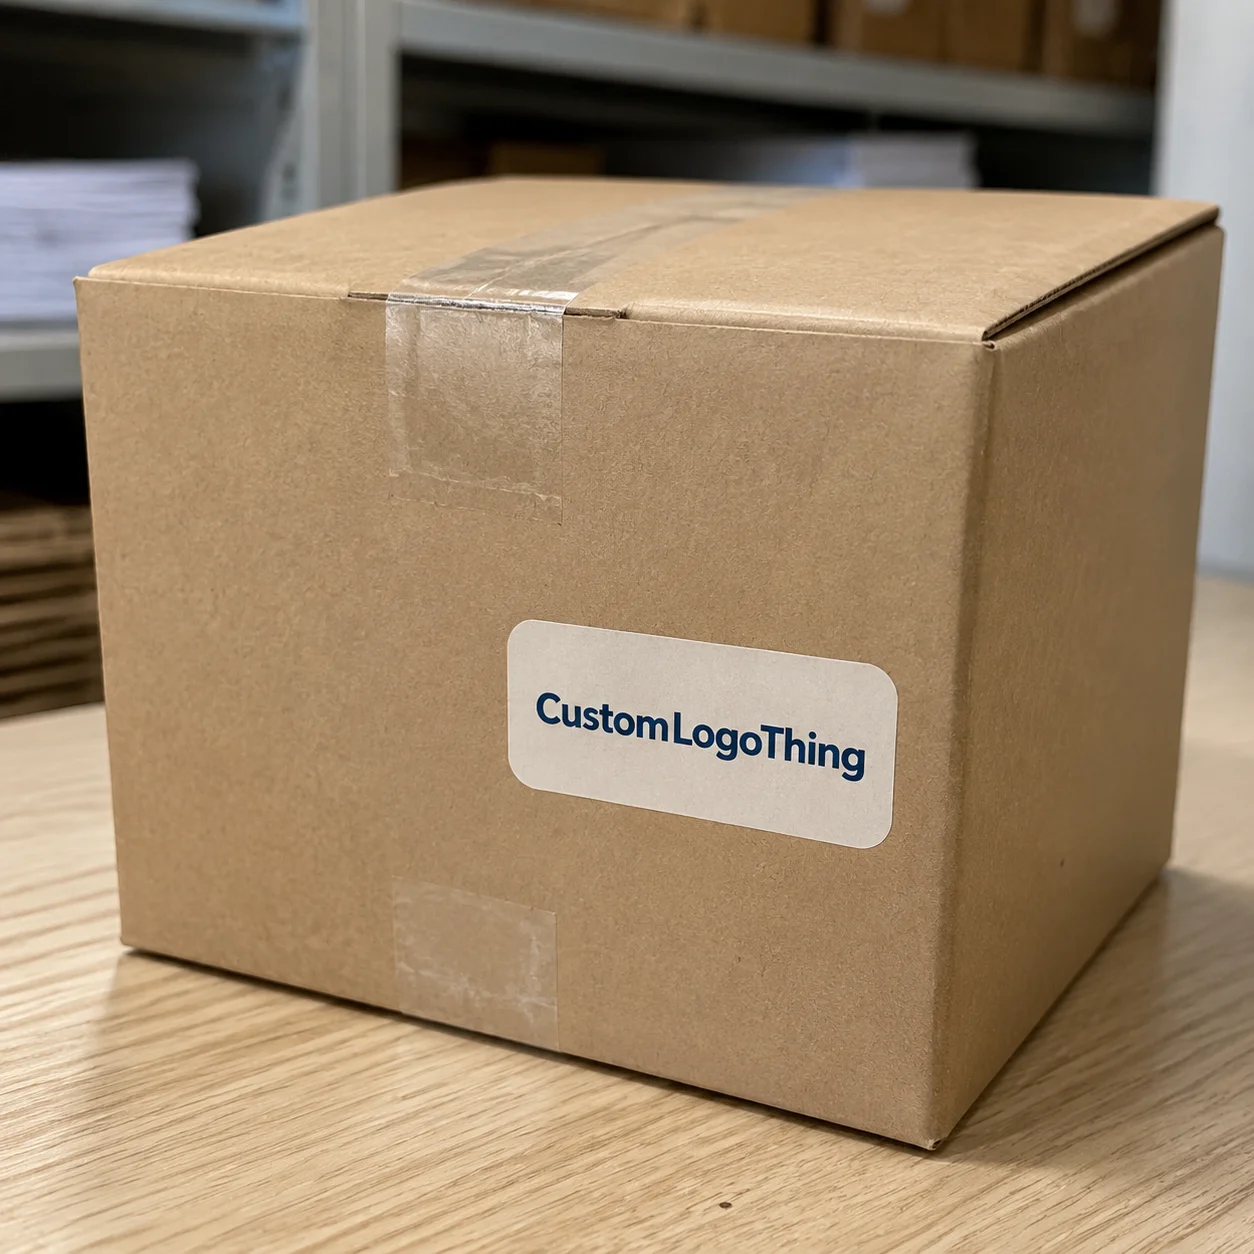
Stickers do a lot of work for a small piece of print. They can seal tissue paper, identify flavors, carry a logo, support a campaign, or add a simple branded touch to shipping boxes. In unboxing, they are often one of the first printed elements a customer notices because they sit right where the package is opened, handled, and photographed.
That makes them especially useful for buyers who need a flexible branding tool without changing the primary carton or label structure. A box can stay plain, while a sticker brings the seasonal message, the limited-edition callout, or the product-specific detail. For small brands, that flexibility matters because packaging often changes faster than the container itself.
There are several common sticker constructions. Die-cut stickers follow the artwork shape and work well for logos, mascots, and simple icons. Kiss-cut stickers leave extra backing around the design, which makes peeling easier and helps protect small details. Sheeted stickers are practical for hand application, sample kits, and low-volume runs. Roll labels are better when the application needs to move quickly or repeatedly.
Material choice changes the result more than many first-time buyers expect. Paper stock is economical and works well in dry indoor settings. Film and vinyl offer better moisture resistance and scuff protection. Clear film creates a cleaner, printed-on-surface look, but it is less forgiving on dark or textured packaging. Specialty finishes can elevate presentation, though they also add production complexity and cost.
From a production standpoint, the best sticker is the one that suits the surface, the handling conditions, and the application method, not the one that looks best on a screen mockup.
That is the real buying filter. Before you purchase custom stickers, decide what the piece must do after it leaves the printer. Does it need to stay intact in a chilled environment? Does it need to peel cleanly from a promotion card? Does it need to survive repeated handling on a shipping carton? Each answer points to a different build.
How the Ordering and Printing Process Works
The ordering flow is usually straightforward, but the details matter. It starts with artwork upload and a prepress review, where the printer checks file size, bleed, trim, resolution, and cut line placement. After proof approval, the order moves into printing, finishing, cutting, inspection, and packing. If the pieces are being supplied on rolls, winding direction and core size also need to be confirmed so the labels work with the intended dispenser.
Digital printing is common for shorter runs and versioned designs because it handles smaller quantities efficiently and can move quickly between jobs. Larger, stable orders can sometimes be produced more economically at scale, depending on the material and finish. The important point is not just what prints fastest, but what matches the quantity and the application.
Proofing prevents most of the costly surprises. Small text can fill in if it is too light or too small. QR codes can fail if the contrast is weak or the code is scaled down too aggressively. Cut lines can drift if the dieline is not prepared cleanly. Color also shifts from one stock to another, especially when comparing coated film, matte paper, and clear material. A good proof should set expectations for the actual stock, not just show the artwork in isolation.
Most print vendors will check a few technical basics before production:
- Bleed so artwork extends beyond the trim edge.
- Safe area so important text and logos stay inside the cut.
- Resolution so details remain sharp at print size.
- Contour accuracy so custom shapes follow the design properly.
- Application format so the order suits sheets, rolls, or individual pieces.
If the same design has to work across jars, mailers, and retail packaging, it is worth deciding early whether the sticker should function as a decorative accent or a true label. Those are close categories, but production requirements are not identical.
Cost, Pricing, MOQ, and What Changes the Quote
Sticker pricing depends on more than diameter or width. Quantity is usually the biggest driver, followed by stock, finish, shape complexity, and any specialty requirements such as white ink, lamination, or unusual die work. A simple round paper sticker and a clear film label with custom contour cutting are not comparable products, even if they cover the same surface area.
Unit price usually drops as order size increases because setup, proofing, cutting, and handling are spread across more pieces. That is why a 500-piece order can look expensive on a per-unit basis while still costing less overall than a larger run. For buyers planning a launch or a seasonal push, the total project cost often matters more than the lowest displayed unit price.
Minimum order quantities exist because every run carries fixed labor: file checks, press setup, finishing, inspection, and packing. Specialty materials and custom finishes often have higher minimums because they require more preparation or narrower production windows. If you only need a small test quantity, check whether the lower order still makes sense once shipping and setup are included.
Here is a practical comparison of common sticker options:
| Option | Typical Use | Price Behavior | Notes |
|---|---|---|---|
| Paper sheet stickers | Short-run branding, inserts, dry indoor use | Lowest entry cost | Works well for simple packaging and promotional pieces |
| Film or vinyl stickers | Durable labels, moisture-prone surfaces | Moderate | Better scuff resistance and better long-term wear |
| Clear or specialty finish stickers | Premium branding, cosmetic packaging, display items | Higher | May need white ink and tighter proof review |
| Roll labels with custom winding | Faster application, higher-volume labeling | Better at scale | Useful when application speed affects labor cost |
Quotes can also be affected by design help, revision rounds, rush service, special packing, and delivery method. A job that includes a cut file check, one proof revision, and standard bulk packing is not equivalent to a lower quote that excludes those steps. Comparing only the headline number is one of the fastest ways to misread sticker pricing.
When you purchase custom stickers, ask whether the quote includes proofing, how revisions are handled, and whether shipping is included or billed separately. Those items often change the real cost more than the printing line itself.
Choose the Right Material, Adhesive, and Finish for Your Surface
Material selection should begin with the surface and environment. Paper is fine for dry, indoor, low-wear applications. BOPP and vinyl are better when moisture, friction, or longer handling life are part of the job. Clear film can look very clean on a light container, but it becomes harder to read on dark backgrounds unless the artwork is built with that in mind.
The adhesive matters just as much as the face stock. Permanent adhesive belongs on shipping boxes, jars, pouches, and other surfaces where the sticker needs to stay put. Removable adhesive is better for short promotions, temporary event labels, and any situation where clean removal matters. Cold storage, condensation, and textured surfaces are all conditions that should be confirmed before ordering, not after the first sample arrives.
Finish changes both the look and the reading experience. Matte has a softer appearance and is easier to write on. Gloss makes colors appear brighter and gives the piece more visual punch. Satin sits between the two and is often a safe choice when the buyer wants clean color without a strong shine. Soft-touch coatings can feel premium, but they are not right for every application and may show handling marks in certain uses.
Surface shape also affects performance. Curved bottles and jars need enough flexibility to wrap without wrinkling. Textured cartons can reduce adhesion. If the package sweats or chills, film stock usually performs more reliably than paper. Clear labels may need white ink beneath the art, and metallic effects can change the way logos read under store lighting. Those are small details, but they are the details that decide whether the sticker looks finished or slightly off.
If the sticker is part of a larger packaging system, it helps to align it with other pieces like Custom Labels & Tags and Custom Packaging Products. A sticker that clashes with the rest of the pack can make the whole presentation feel pieced together rather than intentional.
Packaging teams often also check durability and sourcing references from groups like the International Safe Transit Association and the Forest Stewardship Council when performance and material responsibility both matter.
Step-by-Step Process and Timeline for Ordering
A good ordering process starts with the application, not the art file. Define whether the sticker is sealing, decorating, identifying, or promoting. Then choose the basic size, shape, material, adhesive, and finish. Once those are set, artwork preparation and proofing become much easier because the design can be built for the actual job instead of a generic mockup.
For straightforward runs, a common production timeline is about 12 to 15 business days after proof approval, although that can stretch if the order includes specialty finishes, clear stock, dense color coverage, or multiple revision rounds. Rush options may be available, but rush work tends to reduce flexibility elsewhere, so it is better to build enough lead time into the project from the start.
Artwork prep is where many delays begin. Use the requested file type, usually vector or high-resolution print files. Include bleed, keep critical elements inside the safe area, and separate the dieline from the print layers if a custom shape is involved. If there is a QR code, test it at final size before sending the file. A code that scans in a design program is not automatically reliable once it is printed small.
Some timeline questions are worth answering before the quote is approved:
- Do you need a physical sample or material swatch first?
- How many proof rounds are likely before sign-off?
- Will the stickers ship in one batch or split shipments?
- Is the deadline tied to a launch, trade show, or seasonal promotion?
Adding a little buffer helps more than most buyers expect. If the launch date is fixed, it is risky to leave sticker approval for the last week. A small delay at proofing can create a much larger problem at packing or shipping, especially if the stickers are tied to a larger packaging order.
Common Ordering Mistakes That Lead to Reprints
The most expensive sticker mistakes are usually practical, not dramatic. A buyer chooses paper stock for a refrigerated pouch, then the condensation breaks down the adhesion. Another order uses a decorative finish where a more durable label structure would have made more sense. Those problems are easy to avoid once the application environment is defined clearly.
Artwork issues cause just as many reprints. Files arrive too low in resolution, small fonts fill in, or the trim edge is too close to important design elements. Cut lines are another common problem, especially on custom shapes. If the shape is complex, the proof should be checked carefully for alignment between the print art and the contour.
Quantity planning can also go wrong. Some buyers order exactly what they need for the first run and ignore the fact that setup costs return on every reorder. If the sticker is part of ongoing packaging, a slightly larger initial quantity can reduce the cost of future restocks and avoid rush orders later.
Color and legibility deserve a separate check. Clear stock may require white ink underlay. Dark packaging may swallow small logos unless contrast is strong enough. QR codes should be tested at the actual printed size, not just on screen. These are simple checks, but they save more money than most design revisions.
Expert Tips for Better Results Before You Place the Order
The best test is still the actual surface. A sample sheet helps, but it does not replace applying the sticker to the real box, pouch, glass jar, or plastic container. Curvature, coating, temperature, and texture can all change performance in ways that do not show up in a flat proof.
Keep the layout readable. Give logos and text enough breathing room so trimming variation does not threaten the design. If the art is busy, simplify the edges or reduce extra detail near the cut line. A sticker has a small footprint, and the designs that work best are usually the ones that read quickly at arm’s length.
Think about how the sticker will be used after delivery. Sheets are often better for kits, inserts, and small manual runs. Rolls are better when the application repeats often or happens quickly. If your team applies labels by hand, the easiest format to handle is often the one that saves time and reduces mistakes, even if it is less decorative on paper.
Before you purchase custom stickers, pressure-test the order against a few practical questions:
- Will the sticker face moisture, friction, or cold storage?
- Does it need to peel cleanly or stay attached permanently?
- Should the finish feel premium, writable, or highly reflective?
- Will application happen by hand, from sheets, or from rolls?
Simple, specific specs usually produce the cleanest results. When the design is built around the actual surface and the actual handling conditions, the finished sticker tends to look more deliberate and behave more predictably.
Final Checks and Next Steps Before You Order
Before placing the order, confirm the core details one more time: size, shape, stock, adhesive, finish, quantity, and delivery date. That single review catches more errors than most buyers expect. It also makes quote comparisons fair, because sticker pricing only makes sense when the specifications are identical across vendors.
Check the proof approval path, file readiness, and packaging requirements before production starts. If the stickers need to arrive with custom printed boxes or other packaging components, line up the timing together. Packaging pieces that are ordered separately often become a problem only when the launch date is close and one item is delayed.
The most useful preparation is usually the simplest one: measure the surface, gather the artwork, and write down the actual performance conditions before asking for a price. That gives you a far better chance of getting Stickers That Look right, stick right, and arrive on time.
What do I need to know before I purchase custom stickers for packaging?
Start with the surface and the environment. Confirm whether the sticker needs to seal, decorate, or identify, then choose a stock and adhesive that can handle the conditions. Prepare artwork with bleed, safe margins, and the final cut shape in mind.
How much does it usually cost to purchase custom stickers in bulk?
Cost depends on size, quantity, material, finish, and shape complexity. Larger orders usually lower the unit price because setup is spread across more pieces. Specialty finishes, rush service, and custom handling can raise the quote.
What is the usual turnaround time for custom sticker orders?
Simple orders often move faster than specialty or high-volume runs. A common production window is about 12 to 15 business days after proof approval, though revisions, sampling, and shipping can extend that. If the stickers are tied to a launch, build in extra time.
Which material is best for durable custom stickers?
Film or vinyl is usually the better choice for moisture, scuff resistance, and longer wear. Paper works well for dry indoor use and lower-cost promotional pieces. The best material depends on the package surface, handling, and how long the sticker must last.
How do I make sure the artwork prints correctly on custom stickers?
Use a high-resolution or vector file, include bleed, and keep important elements inside the safe area. Check the proof for trim placement, contrast, and size before approval. If the sticker uses a custom contour, verify the dieline carefully.


