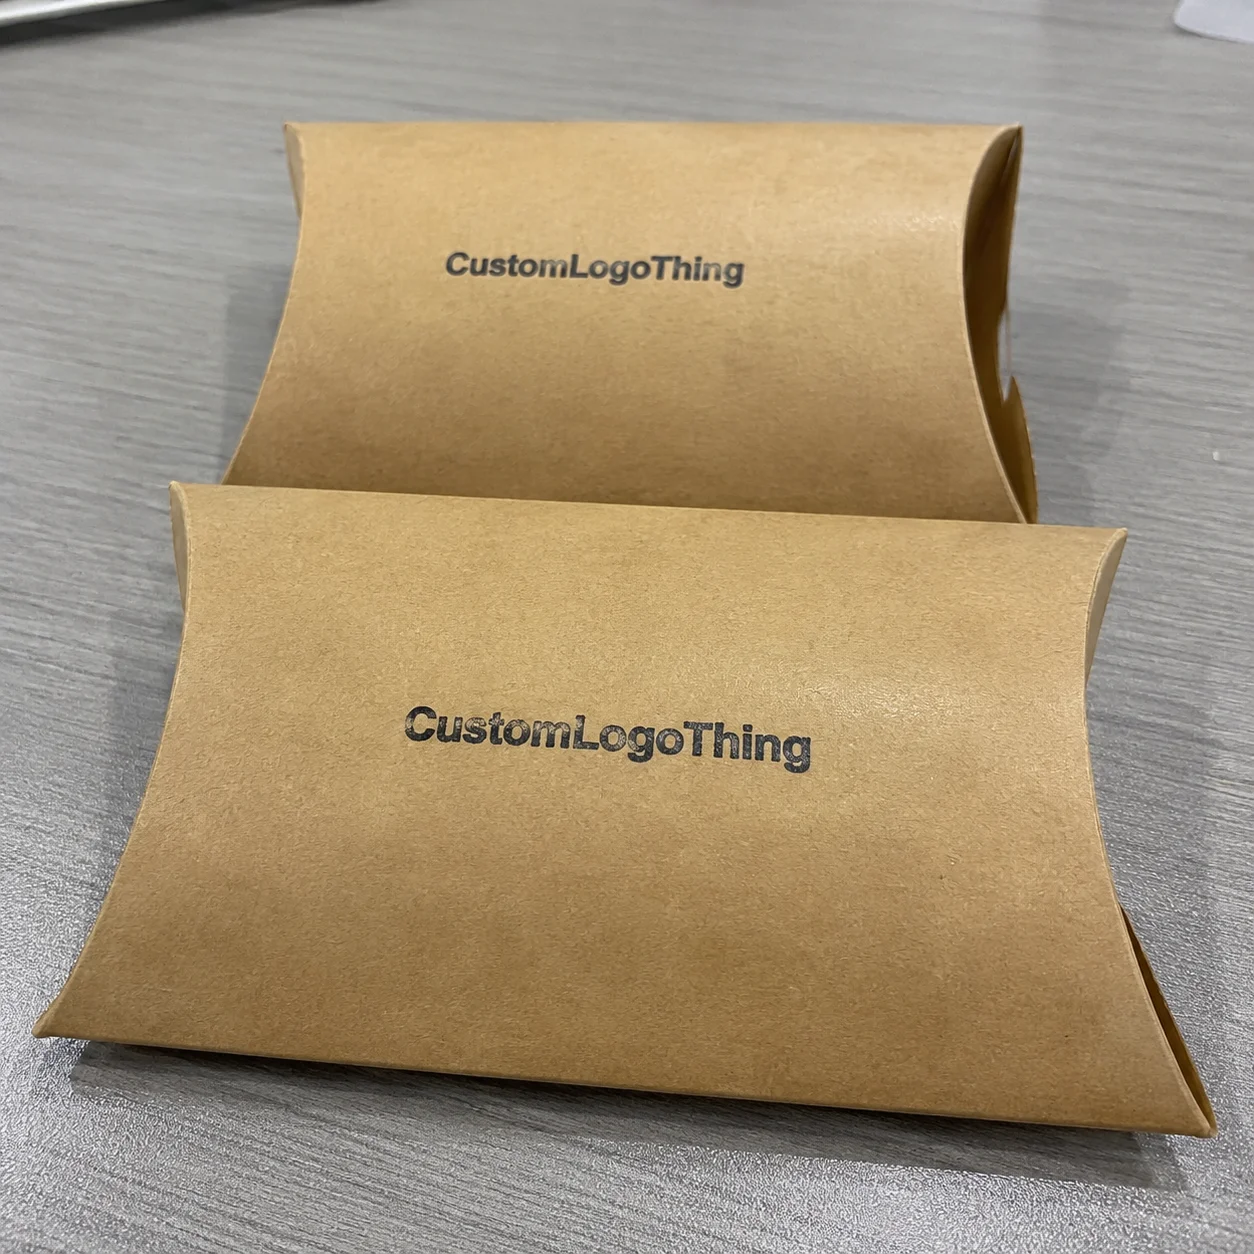
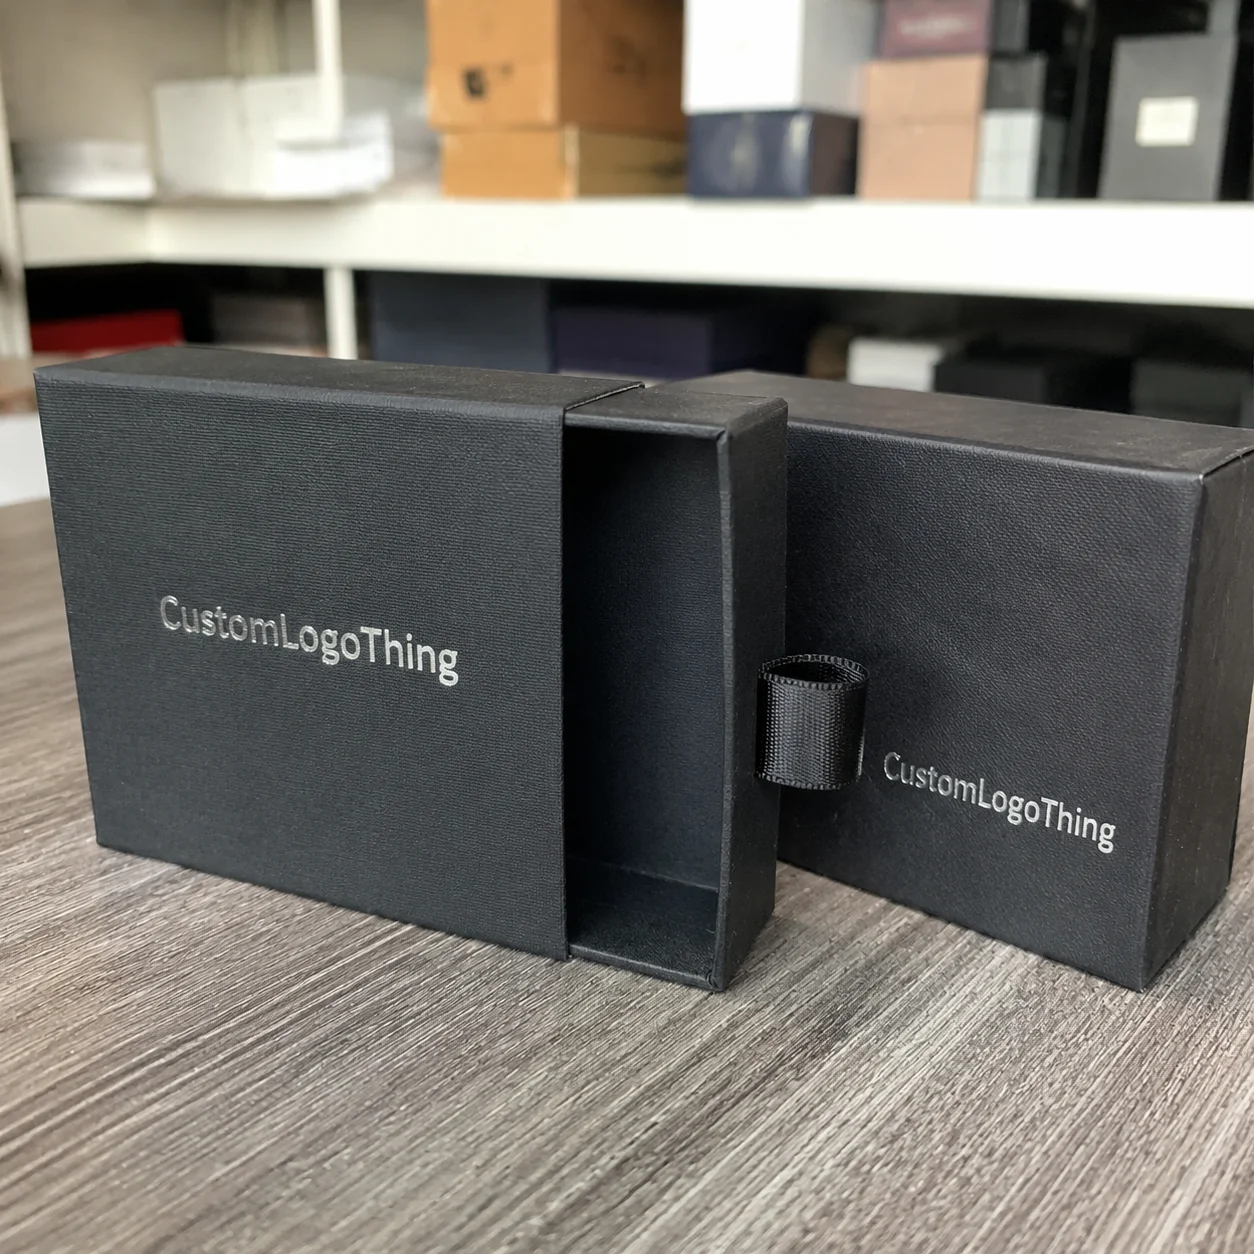
A luxury launch can slip because of something almost absurdly small: a magnet that feels weak, an insert that grips the product too tightly, or a foil logo sitting 2 mm off center. A magnetic Boxes Sample Approval Checklist gives buyers a way to catch structural, visual, and functional problems before bulk production starts, while the defect is still one sample instead of 5,000 unsellable boxes.
Magnetic Boxes Sample Approval Checklist: What to Inspect First
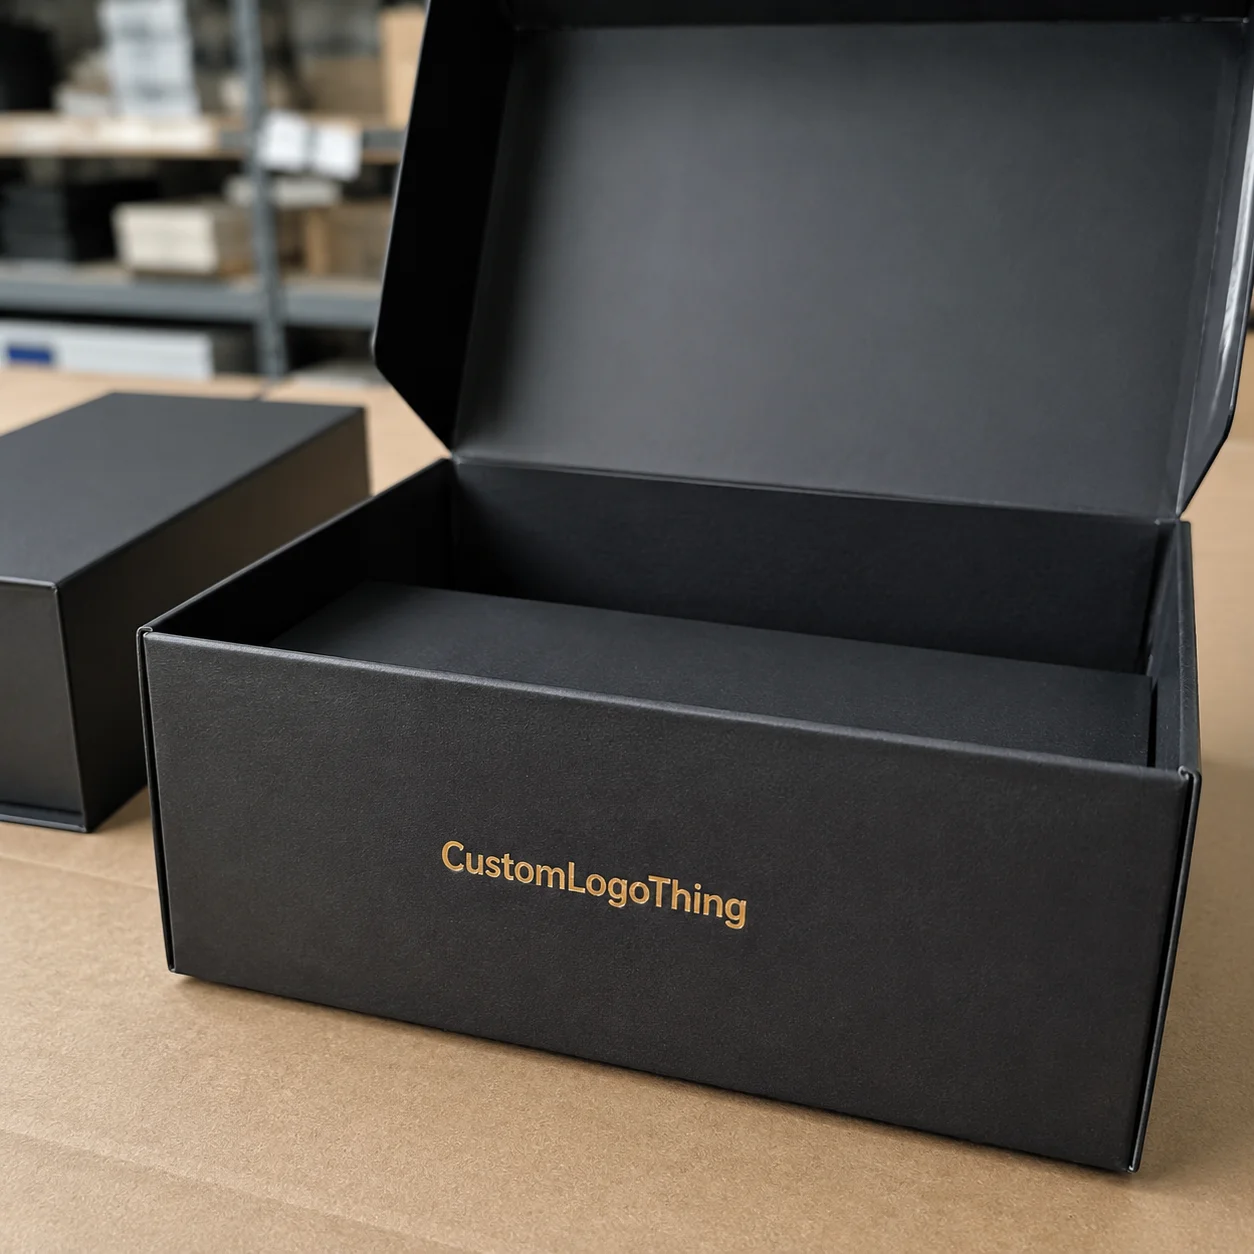
Sample approval means the buyer signs off on a physical or pre-production sample before the manufacturer releases the full order. That signature carries weight. For custom magnetic rigid boxes, the approved sample becomes the production reference for board thickness, wrap material, printing, finishing, insert fit, magnet position, hinge behavior, and closure feel.
These boxes need a more exacting review than simple folding cartons because more parts are working at once. A folding carton may involve 350gsm SBS or C1S board, print, die-cutting, folding, and gluing. A magnetic rigid box can involve 1.5 mm to 2.5 mm greyboard, wrapped paper, two or four concealed magnets, ribbon pulls, EVA or paperboard inserts, lamination, foil stamping, and hand assembly. Move one part by a few millimeters and another part may stop behaving.
Treat sample approval as risk control, not paperwork. A sample is a miniature audit of the finished production run. It shows whether the product fits, whether the lid closes with the right resistance, whether the surface scuffs too easily, and whether the brand presentation matches the retail price. The checklist keeps that audit from turning into a subjective debate over whether the box “feels nice.”
Approval rule: never approve a magnetic box sample because it is “close enough” unless you can tolerate that same issue across the full order quantity.
The numbers turn ugly fast. A $1 correction at the sample stage can become a $5,000 defect on a 5,000-piece order, before repacking labor, delayed launch inventory, replacement freight, or retailer penalties enter the calculation. For premium packaging, those secondary costs often exceed the printed box cost itself.
Start with the risk areas that actually change outcomes: dimensions, material, print color, finishing, magnet strength, insert fit, transit protection, cost impact, and production timeline. A disciplined review matters because design, procurement, marketing, and operations are often judging the same object from different angles.
How Sample Approval Works Before Magnetic Box Production
The usual path looks simple: artwork confirmation, dieline review, material selection, sample making, buyer inspection, revision notes, final approval, then production release. The weak point is rarely the flowchart. It is the handoff. A designer may approve the logo placement. Procurement may approve the price. Operations may later discover that the outer box wastes space in the master carton.
Different sample types answer different questions. A white sample checks structure and sizing without printed graphics. A digital printed sample shows branding direction, though it may not match offset production color exactly. A handmade pre-production sample is common for rigid magnetic boxes because wrapping, corners, closure, and insert fit all need physical review. A production-line sample carries more authority and usually makes sense for high-volume, high-risk, or premium launches where custom packaging quality control matters.
Before a sample leaves the factory, a capable supplier should inspect board thickness, wrap tension, visible glue marks, corner finish, magnet placement, lid alignment, and insert position. That internal check does not replace buyer review. It only lowers the odds that obvious defects arrive on your desk.
Compare the sample against approved references, not memory. Put the dieline, artwork proof, product dimensions, color standard, and brand guidelines next to the box. If the brand uses Pantone 186 C, approving “a nice red” under warm office lighting is not a color standard. It is a guess with courier fees attached.
Remote approvals through photos and videos help with early filtering. Ask for close-up shots of corners, lid gaps, foil edges, insert cavities, and magnet closure. Screen color is unreliable, and magnet feel cannot be judged through a video. If closure strength, soft-touch coating, or product fit affects the customer experience, request a physical sample.
Record the decision in writing. Use version numbers, dated notes, marked photos, and precise language such as “approve structure, revise foil position by 1.5 mm to the right” instead of “logo needs adjustment.” A checklist works best when it creates a production record, not just a yes or no.
Structural Checks: Fit, Closure, Board, and Insert Accuracy
Begin with the product. It should slide in cleanly, stay protected, and avoid rattling unless loose presentation space is intentional. For many consumer products, 1 mm to 2 mm of practical tolerance around a fitted cavity is safer than a near-friction fit, depending on insert material and product surface. Too tight looks precise for five seconds. Then production variation arrives.
Measure internal length, width, and depth. Check lid clearance, wall thickness, insert cavity size, and compatibility with the shipping carton. A structural change that adds 5 mm to the outer box can affect how many units fit per master carton and how much dimensional weight you pay for air freight. The checklist should connect these measurements to shipping cost, not only shelf presentation.
Magnet performance deserves a real test. Open and close the lid 20 to 30 times. The closure should feel secure but should not require force. Customers do not open luxury packaging like lab technicians. They tug, tilt, pause, and sometimes open it one-handed while filming an unboxing. The sample should survive that behavior without the lid twisting, sagging, or popping open.
Lid alignment is a quiet defect. The lid should sit flush, open smoothly, and avoid springing back unevenly. A small hinge tension problem can make the box feel cheap even when the materials are expensive. Look at the side profile on a flat surface. If one corner lifts, bulk production will not correct it by luck. The structure needs adjustment.
Rigid board thickness is not a simple “more is better” decision. A 2.0 mm greyboard may feel substantial for a cosmetics or electronics gift box. A 2.5 mm board adds stiffness, but it may also make the box bulky, increase freight volume, and overpower a small product. Density matters too. Two boards with the same thickness can behave differently under pressure.
Inserts need their own inspection. EVA foam gives a clean, fitted look but adds weight and can carry a plastic smell if not aired properly. Paperboard inserts are lighter and often easier to recycle. Molded pulp can support sustainability claims, though fine details may be less crisp. Silk-lined trays look premium but can wrinkle when tension and glue are poorly controlled. Cardboard platforms are cost-efficient, yet they must resist bending under product weight.
- Shake test: place the product inside, close the box, and gently shake it in several directions.
- Closure cycle test: open and close the lid repeatedly to check magnet pull, hinge memory, and lid alignment.
- Drop-handling observation: simulate normal handling from desk height without treating the sample like a certified transit test.
- Shelf presentation test: place the box upright and flat to check lid behavior, scuff visibility, and front-facing alignment.
For formal distribution testing, standards from ISTA are useful reference points, especially if magnetic boxes ship through parcel networks. The sample itself is not a full ISTA test result. It is an early warning system, and the approval record should make that warning visible before a purchase order becomes a warehouse problem.
Print, Color, Foil, and Finish Details Buyers Often Miss
Cosmetic approval is more than deciding whether the box looks attractive. It is a controlled comparison against artwork, brand colors, and the intended retail environment. A magnetic gift box that looks elegant under a conference room LED panel may look flat under warm boutique lighting.
Check logo position, typography sharpness, barcode readability, color consistency, image resolution, bleed, safe zones, and spelling. Yes, spelling. Packaging errors still happen because everyone looks at the logo and nobody reads the side panel after the third proof. Build in one slow reading pass, preferably by someone who did not design the artwork.
Color standards need discipline. Pantone references, CMYK conversions, paper color, lamination, and texture all influence the final appearance. A black wrap on textured paper will not behave like black ink on coated art paper. If you are matching an existing branded package, place both packages side by side under at least two lighting conditions. Daylight and neutral 5000K lighting usually reveal different problems.
Magnetic boxes commonly use matte lamination, gloss lamination, soft-touch coating, spot UV, embossing, debossing, hot foil stamping, and textured specialty paper. Each finish brings a benefit and a risk. Soft-touch feels expensive but shows fingerprints. Foil looks sharp but exposes registration errors. Dark wraps create drama and reveal scuffing faster than lighter papers. Spot UV can look impressive, unless it lands slightly off the printed artwork.
| Finish or Component | Typical Buyer Benefit | Approval Risk to Check | Possible Cost Impact |
|---|---|---|---|
| Soft-touch lamination | Velvety hand feel for premium presentation | Fingerprints, scuffs, inconsistent surface sheen | Often adds $0.15-$0.45 per unit, depending on size and quantity |
| Hot foil stamping | Metallic logo or accent detail | Misregistration, broken foil edges, overlarge foil area | Foil die plus unit charge; larger areas raise waste risk |
| EVA foam insert | Precise product hold and strong reveal | Too-tight cavity, odor, added weight | Can add $0.25-$1.20 per unit based on thickness and cutting |
| Textured paper wrap | Premium tactile surface without heavy print | Color variation, edge wear, glue visibility | Varies widely; specialty papers may raise MOQ |
Photograph the sample from the top, front, side, inside, and close-up detail areas. Include a ruler or caliper in at least a few shots. Good photos help the supplier understand whether an issue is about position, proportion, color, or finish quality.
Luxury buyers often notice finish mismatch before they notice material specs. Hand feel creates the first quality signal. A 2 mm board spec may be technically correct, but if the wrap feels plasticky or the foil breaks at the corner, the customer reads the whole package as lower value.
Do not stop at the lid. Check inside panels, tray edges, ribbon ends, hinge areas, and the base under the insert. The unboxing experience continues after the first reveal, and poor inside finishing is where many magnetic boxes betray rushed assembly.
Cost, MOQ, and Pricing Changes After Sample Review
Sample approval can change the final quote. Board thickness, insert material, magnet count, foil area, lamination type, and shipping carton design all affect unit cost. A change that looks cosmetic to marketing may look like new tooling to production.
Common cost drivers include rigid board grade, paper wrap, printing method, finishing complexity, insert type, hand assembly time, and freight volume. Shifting from a printed paperboard insert to custom-cut EVA foam can improve presentation, but it may add weight, increase assembly time, and raise landed cost per unit. For 5,000 pieces, even $0.35 extra per box becomes $1,750 before freight changes.
MOQ needs an honest conversation. Lower quantities usually carry higher per-unit costs because setup, tooling, foil dies, printing makeready, and labor are spread across fewer boxes. A 500-piece magnetic box run may be possible, but the unit price can look surprisingly high compared with 3,000 or 5,000 pieces. That is not automatically supplier markup. It is math.
Sample fees are normal for custom magnetic boxes. A white sample may be relatively inexpensive, while a fully printed and finished pre-production sample with foil, insert, and specialty paper can cost far more. Some suppliers credit sample fees back after bulk order confirmation, especially above a certain order value. Confirm that policy before sampling starts.
The cheapest sample route can hide risk if it skips actual materials or finishing. A digitally printed sample without soft-touch coating will not tell you whether the final surface scuffs. A structure sample without real magnets will not tell you whether the closure feels right. Match the sample type to the decision in front of you.
Ask for a revised quote after any sample change, even if the change feels minor. Magnet relocation, a 3 mm depth increase, a different insert, or a larger foil area can change tooling, labor, packaging weight, and master carton count. Procurement, design, and operations should approve the same specification, not three slightly different versions of the same box. Add that commercial check directly to the sample approval checklist so price and physical approval move together.
For buyers comparing magnetic rigid boxes with other formats, reviewing Custom Packaging Products can help clarify whether a rigid magnetic structure is necessary or whether a folding carton, drawer box, or mailer box would meet the same commercial goal with less assembly cost.
Timeline and Lead Time: From Sample Notes to Production Approval
The approval timeline usually moves through file check, sample production, courier transit, buyer review, revisions, second sample if needed, final sign-off, and mass production. Each step can be short. Together, they stretch when no one owns the decision.
Timing depends on material availability, finishing complexity, factory workload, revision depth, and international shipping. A simple white structural sample may take a few business days after dieline confirmation. A fully finished magnetic box sample with foil stamping, insert, specialty paper, and lamination can take longer, often around 7 to 15 business days before courier time. Treat that as a planning bracket, not a promise.
Some changes almost always add time: a new dieline, new insert structure, color rematch, foil die adjustment, magnet relocation, or structural resizing. A spelling correction in artwork may be handled quickly. A box that needs 4 mm more internal depth requires structural revision, and that can ripple into insert design, paper wrap dimensions, and carton packing.
Decide which comments need a revised physical sample and which can be handled through written approval plus production photos. A typo, barcode update, or small artwork correction with no structural effect may only need written confirmation. Fit, closure, materials, color standard, or finishing registration deserve another sample.
Set an internal review deadline before the sample arrives. Marketing, product, procurement, compliance, and operations should not inspect it one department at a time over three weeks. Put the review meeting on the calendar. Bring the actual product, accessories, manuals, charging cables, dust bags, retail labels, and any required inserts. The checklist should sit in that meeting, not in a forgotten folder after the decision is made.
Sample delay is not always supplier delay. Buyer-side bottlenecks are common and often invisible until launch pressure builds. One missing compliance approval can stall a box longer than the sample room did.
Create one revision document with photos, arrows, measurements, and priority labels. “Must fix before production” is different from “acceptable if production tolerance improves.” Scattered email comments invite interpretation, and interpretation is expensive in packaging.
Rushing approval may save three days at the front end. It can cost weeks if bulk boxes arrive with tight inserts, misaligned lids, or scuffed wrap paper. That trade is rarely worth it.
What Should You Check Before Signing a Magnetic Boxes Sample Approval Checklist?
Before signing a magnetic Boxes Sample Approval Checklist, check product fit, lid alignment, magnet strength, board thickness, insert accuracy, print color, logo placement, finish quality, shipping protection, revised cost, MOQ, lead time, and the final written specification. If the sample fails any point that affects customer use, retail appearance, or shipment durability, request a correction before production approval.
The short version is simple, but the work is not casual. Put the product inside the box. Add every accessory. Close it. Open it. Shake it. Photograph it. Measure it. Compare it with the dieline and artwork proof. Then ask a less glamorous question: can the supplier repeat this result thousands of times within acceptable tolerance?
A signed checklist should identify the exact sample version being approved. Use the sample date, version number, artwork file name, dieline file name, material specification, finishing notes, and insert details. If a “golden sample” is kept by both buyer and manufacturer, label it clearly and protect it from fading, dust, dents, and casual office handling.
This is also the moment to separate preference from requirement. “We prefer a slightly stronger magnet” is not the same as “lid opens during normal handling and must be corrected.” The first may be negotiable. The second is a production risk. Useful approval records make that distinction visible.
Common Sample Approval Mistakes That Create Bulk Order Problems
The first mistake is approving photos only. Photos can show print position and obvious construction defects, but they cannot prove closure feel, board rigidity, surface texture, insert pressure, or the small resistance that makes a lid feel properly built. A physical review is strongly recommended whenever the package carries real brand value.
The second mistake is reviewing the box empty. Test it with the actual product and every part that ships with it: accessories, manuals, cables, protective bags, warranty cards, retail stickers, or QR inserts. A box that fits the hero product may fail once the charging cable and booklet are added.
Vague feedback creates expensive interpretation. “Make it more premium” gives production no target. “Color looks off” is not enough. Better feedback sounds like this: “Match Pantone 7546 C more closely; current sample appears too blue under 5000K light” or “move logo 2 mm upward to align with approved dieline center mark.”
Shipping behavior gets overlooked because the sample looks perfect on a desk. Magnetic gift boxes can scuff, crush, or pop open during transit if the outer carton is weak or the internal packing is loose. If parcel shipping is expected, ask about master carton board grade, packing orientation, corner protection, and whether an outer sleeve or belly band is needed to reduce accidental opening.
Over-customization has a cost beyond price. Too many finishes can create registration risk, longer lead time, and higher rejection rates. Foil plus embossing plus spot UV plus a textured wrap may sound premium in a concept deck. On a small logo, it may simply add defect points.
Compliance checks belong in sample approval too. Review barcode placement, warning labels, recycling marks, country-of-origin statements, retailer shelf rules, and material claims. For sustainability language, buyers should be careful. If the box uses FSC-certified paper, confirm the claim with the supplier and understand the trademark rules through FSC rather than treating certification as a decorative icon.
Keep the approved sample. Label it as the golden sample, store it cleanly, and ask the manufacturer to keep a matching reference. If a dispute happens later, the golden sample is the physical benchmark. Not the memory of a meeting. Not the prettiest photo in the email chain.
Most bulk packaging failures are not mysteries. They are usually sample issues that were noticed, softened in language, and approved anyway.
Next Steps: Approve, Revise, or Reject the Magnetic Box Sample
Use a practical decision framework. Approve only if structure, branding, finish, fit, and shipping assumptions match the agreed specification. If one of those core areas is uncertain, approval should pause.
Approval with minor notes can be reasonable when the corrections are small, non-critical, and easy to verify. Examples include a minor text update, a small barcode file replacement, or a packaging mark that does not affect structure, color matching, or tooling. Ask for pre-production photos to confirm the change before the full run moves forward.
Request a revised sample when the change affects size, closure, insert fit, board material, color standard, foil registration, or any feature the customer will touch directly. A magnetic box is a tactile format. If the hand feel is wrong in the sample, production is unlikely to feel better without a clear correction.
Reject and restart when the sample fails product fit, does not match the approved dieline, uses the wrong materials, or cannot survive reasonable handling. That may feel harsh. It is cheaper than approving a flawed structure and negotiating over rejected bulk inventory later.
Before final sign-off, build an approval packet. Include the signed magnetic boxes sample approval checklist, photos of the approved sample, final dieline, final artwork proof, quote, MOQ, lead time, shipping method, and any tolerance notes. Label one physical sample as the approved benchmark and ask the manufacturer to keep the same version for production reference.
If you are still comparing formats or want to align the box with a broader packaging range, review Custom Packaging Products before locking the magnetic structure. Sometimes the right answer is still a magnetic rigid box. Sometimes a drawer box or premium folding carton protects the margin better.
A magnetic boxes sample approval checklist turns subjective opinions into measurable approval criteria before money moves into mass production. Inspect the sample, mark changes directly on photos, confirm cost and lead time impact, then approve only the exact version you want produced.
FAQs
What should a magnetic box sample approval checklist include?
It should include product fit, internal and external dimensions, board thickness, magnet strength, lid alignment, insert accuracy, print color, logo placement, finish quality, shipping protection, pricing changes, and final written approval. The strongest checklist ties each item back to an approved dieline, artwork proof, quote, and physical sample.
Do I need a physical sample before ordering custom magnetic boxes?
Yes. A physical sample is strongly recommended for magnetic boxes because closure feel, board rigidity, insert fit, and finish quality cannot be judged reliably from photos alone. Photos help with early review, but they do not replace touching the sample and testing it with the actual product.
How many revisions are normal during magnetic box sample approval?
One revision is common when the dieline and artwork are already accurate. Multiple revisions usually mean the product fit, materials, finish, or branding requirements were not fully defined before sampling. Each revision should be documented with measurements, marked photos, and approval status.
Can sample approval change the final cost of magnetic boxes?
Yes. Changes to board thickness, magnets, inserts, foil stamping, lamination, paper wrap, or box size can affect unit cost, tooling, freight volume, and MOQ. Ask for a revised quote after every approved change so the commercial record matches the physical sample.
How should I send feedback on a magnetic box sample?
Use clear photos, measurements, marked-up areas, priority labels, and specific replacement instructions. Keep all feedback in one document so the factory is not interpreting scattered comments across emails, chat messages, and meeting notes. The checklist is most useful when it becomes the single source for production approval.