Why a Drawer Boxes Sample Approval Checklist Can Save the Order
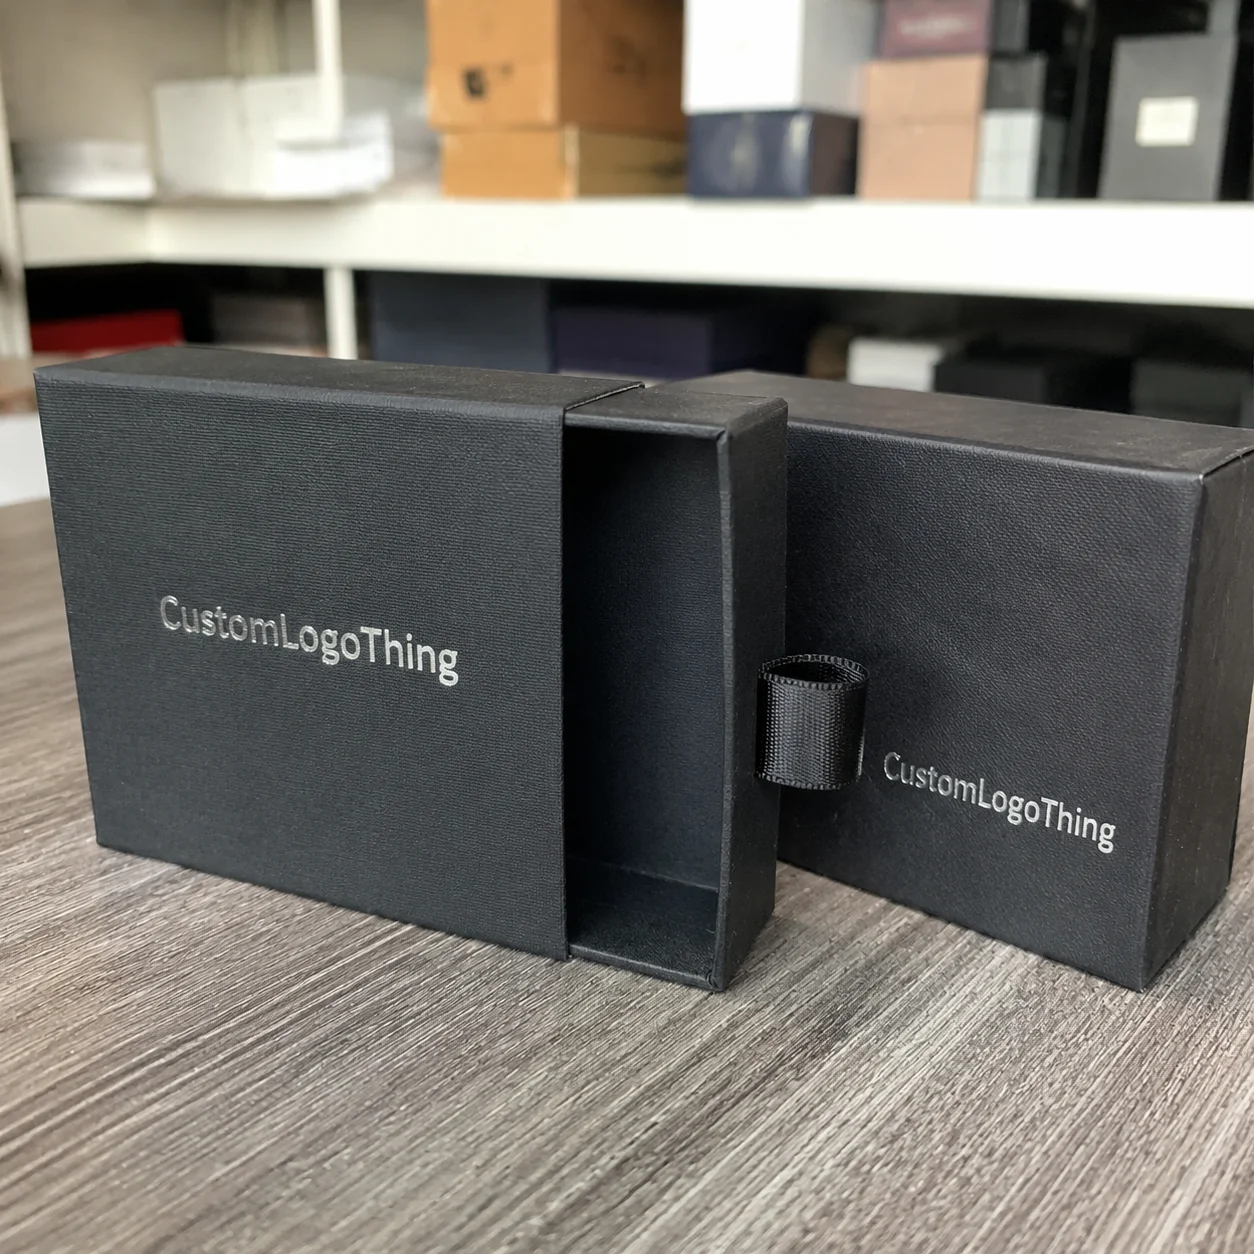
The sample lands on the conference table. The print looks clean. The logo has the right polish. Everyone likes the first impression.
Then someone loads the actual product, pulls the tray ten times, and the sleeve starts to drag. The insert rubs a product corner. The ribbon pull feels weaker than it did in the rendering. That is the moment a drawer boxes Sample Approval Checklist earns its place. It slows the review down just enough for buyers to inspect the box the way customers, warehouse teams, kitting staff, and store associates will handle it.
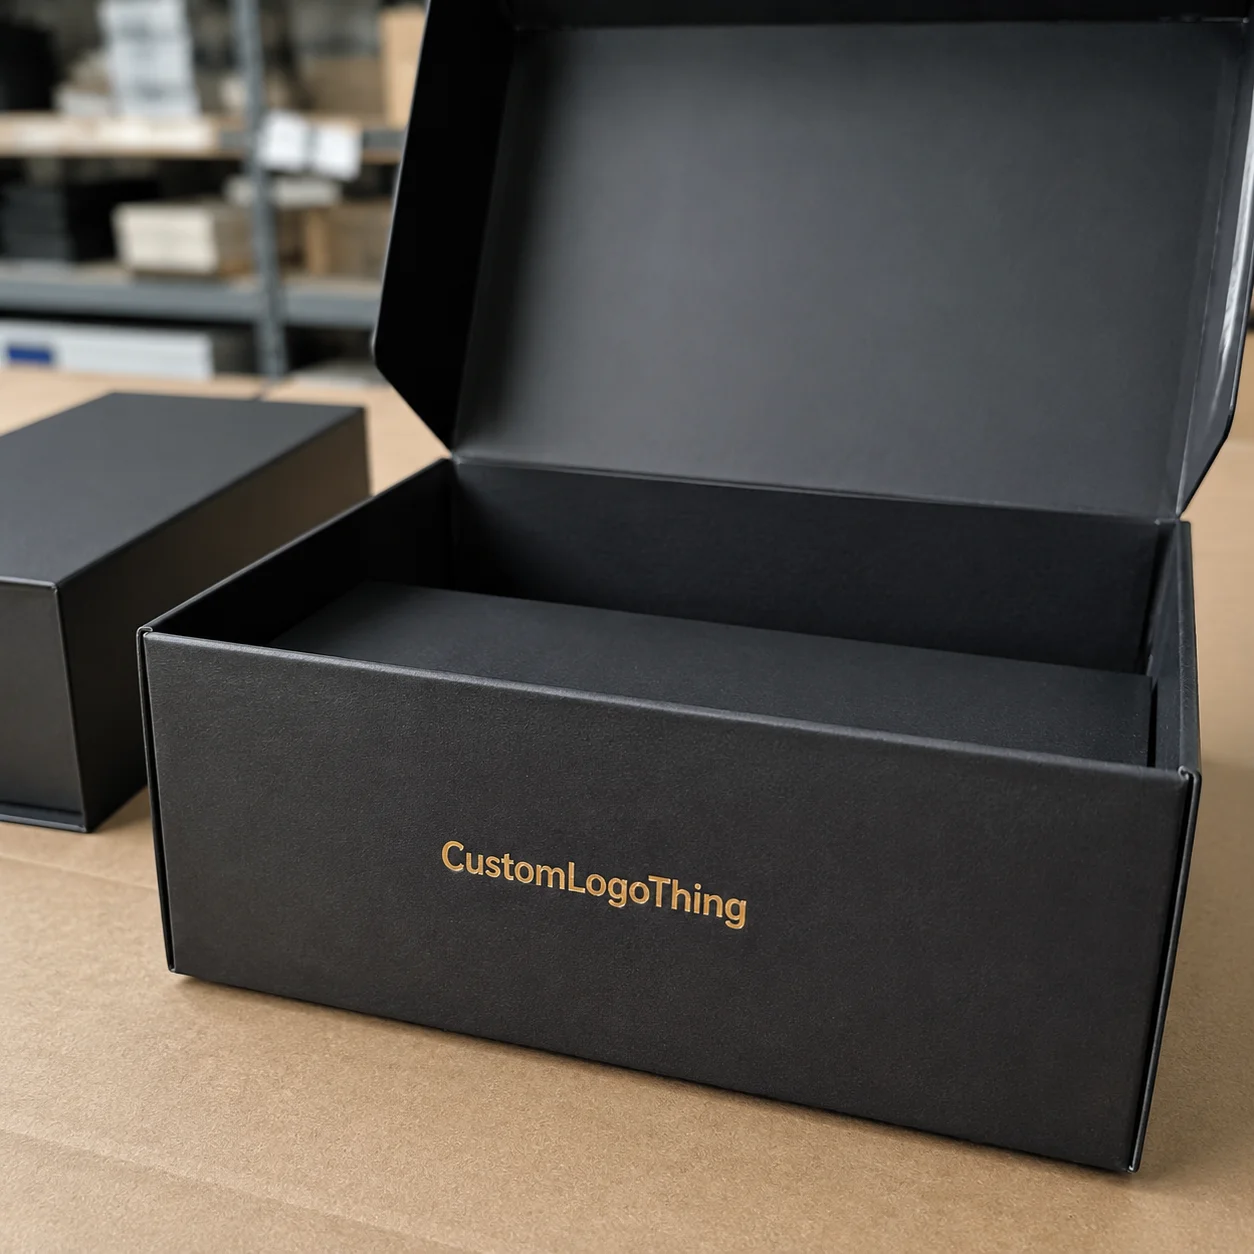
A drawer box is a tray-and-sleeve packaging format, usually made from rigid greyboard, folding carton paperboard, or wrapped paperboard. It appears in cosmetics, jewelry, electronics accessories, gift sets, stationery, retail kits, and premium promotional products. The idea sounds almost too simple: one part slides into another. The execution is less forgiving.
Sample approval is the buyer's last practical checkpoint before tooling, material ordering, printing, foil stamping, insert cutting, wrapping, and assembly move into production quantities. Once a supplier has ordered specialty paper, made an embossing die, or cut insert tooling, a small correction can become slow and expensive. The checklist turns that checkpoint into a controlled packaging quality review, not a quick visual vote.
Most sample problems come from rushed reviews. The goal is not to demand machine-level precision from every handmade prototype. Hand-cut and hand-wrapped samples can show small differences from production. The sharper job is to separate acceptable prototype variation from structural, artwork, material, or assembly risks that could repeat across the full run.
Practical rule: if feedback sounds like "it feels off," turn it into a measurable comment about fit, color, board thickness, closure, insert position, pull strength, or branding placement before production approval is given.
What to Check First: Structure, Fit, and Product Hold
Start with the physical box, not the graphics. Drawer boxes succeed or fail on how the tray slides, how the sleeve carries the load, and how well the product stays positioned after normal handling. A beautiful print job cannot rescue a tray that jams or an insert that lets the product bounce during transit.
Test tray-to-sleeve movement with the real product inside. Pull the tray open slowly. Pull it faster. Hold the sleeve at a slight angle and repeat the motion. The tray should move with controlled resistance, without scraping printed surfaces, binding at the corners, or falling open under its own weight. For many retail drawer boxes, a clearance change of only 0.5 mm to 1.5 mm can noticeably change the user experience.
Measure the sample against the approved dieline, CAD drawing, or specification sheet. Rigid box wrapping, laminated paper, board caliper, glue thickness, and turned edges all create dimensional shifts. A common rigid drawer box might use 1.5 mm to 2.5 mm greyboard wrapped with 128 gsm to 157 gsm printed art paper. A lighter paperboard drawer might use 350 gsm to 500 gsm C1S or SBS board. Those numbers do not sit quietly on a spec sheet. They affect fit, wall strength, tray glide, shipping weight, and carton count.
Inspect the insert with the same suspicion. Foam, paperboard, molded pulp, EVA, corrugated, and folded cardboard inserts behave differently under pressure. Check cavity size, product orientation, finger access, and removal effort. The product should sit neatly, but the customer should not have to tear the insert or dig under a fragile item to remove it.
Load matters. Do not approve an empty sample unless the box will ship or display empty. Put the actual product inside, shake it gently, tilt it forward, open and close it 10 to 20 times, and see whether the presentation still holds. Look at corners, tray walls, and sleeve edges after testing. Crushed corners, glue squeeze-out, bowed sleeves, loose wrap, and uneven tray walls are not harmless cosmetic details if they point to assembly difficulty at scale.
Print, Color, Logo Placement, and Finish Details
The second approval pass belongs to decorated surfaces. Print, color, foil, coating, and texture are usually the most visible differences between a good-looking mockup and a production-ready sample. Use the latest approved artwork file, not an old PDF, screenshot, or sales rendering. File-version errors remain one of the easiest ways to pay for the wrong logo, missing legal copy, or outdated barcode placement.
A useful Sample Approval Checklist should identify the exact artwork file, dieline version, print method, and finish schedule under review. That sounds clerical. It is not. A drawer box can pass a visual review and still fail commercially because the approved sample used revision 6 while purchasing released revision 8.
Check logo placement with the tray fully closed. Is the logo centered? Does it align with the opening direction? Does it sit clear of wrapped edges, folds, ribbon holes, thumb notches, and glue areas? A logo that looks centered on a flat proof may shift visually once the sleeve wraps around rigid board.
Color approval needs real lighting, not a phone photo alone. CMYK print, Pantone spot color, foil, lamination, and paper stock all affect brand color. Review the sample under office light, daylight, and the type of retail light where the product may be displayed. Soft-touch lamination can mute color slightly. Gloss lamination can deepen it. Uncoated textured paper can absorb ink and reduce sharpness. Not every difference is a defect, but brand-critical colors need a written reference, such as a signed physical target, approved drawdown, or agreed tolerance range.
Look closely at finish durability. Matte lamination can scuff. Gloss can show scratches. Soft-touch coating feels premium, yet dark colors may show fingerprints quickly. Foil stamping should be clean at the edges, with no pinholes or broken strokes, especially on thin serif letters. Embossing and debossing should align with the printed art. Spot UV should register cleanly without creeping into nearby copy.
Scan every barcode and QR code on the physical sample. Read the small text with normal eyesight at normal distance. A clean digital proof can still print too small, too low contrast, or too close to a wrapped edge. For symbols and package testing requirements, buyers can also reference standards from groups such as ISTA, especially if the drawer box is part of a shipping system rather than only a retail presentation piece.
Process and Timeline: From Sample Notes to Production Approval
The approval path should be plain enough that nobody has to reconstruct it from a message thread. The buyer reviews the sample, marks comments clearly, the manufacturer confirms which issues require revision, and both sides agree whether another sample is needed before mass production. A drawer Boxes Sample Approval Checklist keeps the discussion from scattering across emails, photos, calls, and half-remembered comments.
Digital proofs can move quickly, sometimes within 1 to 3 business days after artwork is ready. Physical samples take longer because they may require material selection, cutting, printing, lamination, foil stamping, insert making, wrapping, assembly, packing, and transit. A simple white sample may take 3 to 7 business days. A printed pre-production sample with foil, embossing, and a custom insert can take 10 to 18 business days before shipping time is added.
| Sample Type | Best Use | Typical Timing | Common Cost Range |
|---|---|---|---|
| White sample | Checks size, tray movement, insert fit, and structure before print | 3 to 7 business days | $50 to $150, depending on size and insert |
| Printed sample | Reviews artwork, color direction, logo placement, and surface finish | 7 to 14 business days | $120 to $350 for many custom drawer box projects |
| Pre-production sample | Confirms final materials, final dieline, final artwork, and production method | 10 to 18 business days | $200 to $600 if specialty tooling or finishing is involved |
| Production sample | Verifies output pulled from the actual production run | During or after first production batch | Usually included in production quality control |
Revisions are not equal. Correcting a typo may be straightforward if printing has not started. Changing tray depth, sleeve clearance, insert cavities, paper stock, foil dies, or embossing plates can add days and sometimes new setup charges. If a launch date is tight, ask which changes affect the critical path.
Consolidate feedback into one written approval document. Production teams need one source of truth for dimensions, artwork file names, materials, finishes, insert details, and acceptance standards. The approval should state one of three outcomes: approved for production, approved with listed corrections, or revise and resubmit sample. Photos with arrows, measurements, and sample revision numbers help more than broad comments. Keep the checklist with the quote, proof, and sample history so purchasing, design, and production are reviewing the same facts.
Cost and Pricing Items That Change After Sample Review
Sample review is also a cost checkpoint. A buyer may discover that the drawer box needs thicker board, a tighter insert, stronger packing, a different laminate, or revised sleeve clearance before the full run is quoted as final. That is normal. It should be documented before the production invoice is approved.
Structural cost drivers include rigid board thickness, tray depth, sleeve size, wrap paper, ribbon pulls, magnets, insert material, and whether the box needs to survive parcel shipping or only retail display. A small rigid drawer box at 5,000 pieces might land around $1.20 to $2.80 per unit depending on size, wrap, insert, and finish. A larger premium kit box with EVA foam and foil decoration can run far higher. Order quantity, material availability, labor content, freight method, and packing requirements all push the final number.
Decorative choices add cost in different ways. Foil stamping may require a die and is often priced by area and setup. Embossing or debossing needs plates and registration control. Spot UV may require an extra pass. Soft-touch lamination usually costs more than standard matte or gloss film, and specialty paper can trigger minimum sheet purchases.
MOQ can shift after sample review. Certain papers, foils, laminates, molded pulp tools, foam thicknesses, or finishing processes have minimum material or setup requirements. A change that looks small on the sample table can affect the practical order quantity, especially below 1,000 pieces. A disciplined review catches those cost changes while they are still negotiable.
Look beyond unit price. Inner cartons, export cartons, protective tissue, polybags, corner protection, freight volume, and damage risk all affect total landed cost. A drawer box that costs $0.18 less per unit but increases damage by 3 percent may not be cheaper once replacement product, customer service, and rush reshipments are counted.
Before approval, confirm whether sample costs, tooling, print plates, foil dies, revision fees, and freight are included, credited back, or billed separately. Buyers working through Custom Packaging Products should keep the quote, sample notes, and production approval tied together so commercial terms match the final approved specification.
Common Sample Approval Mistakes Buyers Can Avoid
The most common mistake is approving by appearance only. A drawer box can photograph beautifully and still fail after the actual product is loaded, lifted, tilted, opened, closed, packed, and unpacked. Use the product. Use the insert. Use the sleeve as the customer will use it.
Poor lighting creates bad decisions. Phone photos are useful for quick sharing, but they are not enough for color, foil reflection, small copy, surface scuffing, or texture. Review physical samples under more than one light source and compare them with the approved file and any brand color target.
Unclear feedback slows everything down. Notes such as "make it more premium" or "fix the fit" leave too much room for interpretation. Better notes sound like this: "increase tray-to-sleeve clearance by 1 mm," "move logo 3 mm toward the opening edge," or "change insert finger notch from 12 mm to 18 mm for easier removal." The checklist forces that conversion from opinion to instruction.
File confusion is another expensive one. If a newer artwork version is circulating while a sample based on the older file is being approved, the production team may not know which version controls. Record the approved artwork file name, revision date, dieline approval status, and any exceptions in the drawer Boxes Sample Approval Checklist.
Fulfillment requirements also get missed. The finished box may need to fit master cartons, kitting stations, shelf displays, mailer cartons, or barcode scanning processes. If the drawer box will go into a shipper, check the combined dimensions before approval. A 2 mm increase in sleeve width can matter when 24 units need to fit an export carton.
Do not assume handmade sample quirks will disappear automatically in production. Ask the manufacturer which issues are prototype-only and which reflect the intended production method. Keep one approved physical sample on hand as the reference standard for incoming quality checks, especially for color, tray feel, insert fit, and logo position.
Expert Tips for Reviewing Drawer Box Samples Like a Packaging Team
Set up the review table before the sample is opened. Put the sample, product, approved artwork, dieline, quote, material notes, ruler or caliper, phone for photos, and written checklist in one place. Basic, yes. Effective, also yes. A tight review setup prevents guessing.
Test the opening experience like a customer. Hold the sleeve in one hand, pull the ribbon or tray with the other, check resistance, listen for scraping, and watch whether the product presentation stays neat. Premium drawer boxes are touched slowly and closely. Small friction points feel larger in the hand than they look on a spec sheet.
Judge board and wrap quality at the corners and inside edges. Look for lifting paper, uneven turns, exposed greyboard, glue marks, cracked lamination, and tray walls that lean inward. Those details reveal how cleanly the box can be repeated at scale. For paper sourcing claims, confirm documentation if needed; FSC certification can be checked through the Forest Stewardship Council rather than treated as a decorative logo.
- Use repeatable photos: shoot each revision from the same top, front, side, open-tray, and insert angles.
- Write tolerances: define acceptable variation for color, foil position, tray slide feel, hand assembly, and insert fit.
- Include operations: product, brand, fulfillment, and quality teams often notice different problems.
- Check packing: review inner carton count, abrasion protection, and whether boxes rub during transit.
A practical drawer boxes sample approval checklist should also include a short handling test. Open and close the box at least 10 times, load the actual product, place it in any planned shipper or master carton, and check whether the appearance still matches the brand expectation after handling. That small test often exposes weak ribbon attachment, sleeve scuffing, or insert movement before full production begins.
For buyers building a wider packaging program, it helps to compare the drawer box against other formats in Custom Packaging Products. Sometimes the right answer is still a drawer box. Other times, a rigid lid-and-base box, mailer, folding carton, or magnetic closure box better matches the product weight, budget, and fulfillment method.
What Should a Drawer Boxes Sample Approval Checklist Include?
A drawer boxes sample approval checklist should include every item that can affect fit, function, brand accuracy, cost, and production repeatability. The short version: verify the structure, load the product, check the insert, compare the sample to the dieline, inspect artwork, test finishes, scan codes, review packing, confirm costs, and record the final approval status.
The longer version is where mistakes become visible. Start with finished dimensions, tray depth, sleeve clearance, board thickness, paper stock, wrap quality, and opening resistance. Then move to the product insert: cavity size, holding strength, removal access, material, and whether the product shifts after repeated handling. After that, inspect print accuracy, logo placement, color tolerance, foil registration, embossing alignment, lamination, coating, scuff resistance, barcode readability, and legal copy.
Finish the checklist with commercial and operational details: sample revision number, approved artwork file, approved dieline, material specification, unit price, tooling fees, MOQ, production timeline, carton pack, freight assumptions, and whether another sample is required. A checklist that stops at "approved" is too thin. The useful version explains exactly what has been approved.
Next Steps Before You Approve the Final Drawer Box Sample
Use a simple closeout workflow. Inspect the sample physically, compare it to artwork and specifications, test the packed product, document corrections, confirm cost changes, confirm timeline changes, and request written production confirmation. Short steps, done in order, prevent long arguments later.
Separate must-fix issues from preferences. Structural fit, barcode readability, incorrect artwork, unsafe product movement, and damaged finishes need a different level of urgency than minor aesthetic refinements. If a tray binds, fix it. If a logo is 1 mm lower than preferred but still within a written tolerance, decide whether changing it is worth the delay.
Your approval note should include sample date, revision number, product name, finished dimensions, material, board thickness, finish, insert type, approved artwork file name, and all approved changes. Add photos and measurements. Keep the language direct. The final approval record should be clear enough for someone outside the meeting to understand what changed and what did not.
Request another sample if the tray fit changes, the insert is rebuilt, artwork is revised heavily, color is brand-critical, or a new finish is added. Approval with corrections may be reasonable for small text updates, agreed alignment adjustments, or production-process refinements that the manufacturer can document clearly before mass production.
A drawer boxes sample approval checklist should leave the buyer with a clear yes, no, or revise decision before money, materials, and production time are committed. That clarity protects the brand, the supplier, and the people who have to pack, ship, display, sell, and finally open the box.
FAQ
What should a drawer boxes sample approval checklist include?
It should include tray and sleeve fit, product insert fit, box dimensions, board thickness, paper wrap, print accuracy, logo placement, color, finish quality, barcode readability, packing method, cost changes, and final production approval status. The checklist should also record the sample version, review date, approved artwork file name, and any corrections the manufacturer must make before production.
How many drawer box samples should I review before production?
Many buyers can approve after one well-made pre-production sample if the structure, artwork, materials, and finish are already correct. A second sample is wise when the tray fit, insert, color, specialty finish, or box dimensions change in a meaningful way after the first review.
Should I approve drawer boxes from photos or wait for a physical sample?
Photos can confirm basic artwork placement or visible corrections, but they cannot prove sleeve resistance, product fit, board feel, surface texture, or how the box handles real weight. For custom drawer boxes with rigid construction, inserts, foil, embossing, or brand-critical color, a physical sample is the safer approval standard.
Can sample approval change the final cost of custom drawer boxes?
Yes. Changes to board thickness, paper stock, insert material, foil area, embossing dies, lamination, packing style, or carton size can affect unit cost, setup charges, MOQ, and freight. Any sample-based revision should be confirmed in an updated quote before the buyer approves full production.
How long does drawer box sample approval usually take?
The review itself can often be completed in one or two business days if the buyer has the product, artwork, and checklist ready. Physical sample creation and revisions take longer because they may involve printing, wrapping, finishing, insert cutting, assembly, and shipping, so the timeline should be confirmed before launch dates are promised.