What Custom Big Stickers Are Really Used For
A large sticker can do the work of a sign, a packaging accent, and a temporary ad display for far less than a rigid fixture. That is the practical reason buyers order custom big stickers: they need visibility, speed, and brand control without committing to metal signs, acrylic panels, or permanent installation.
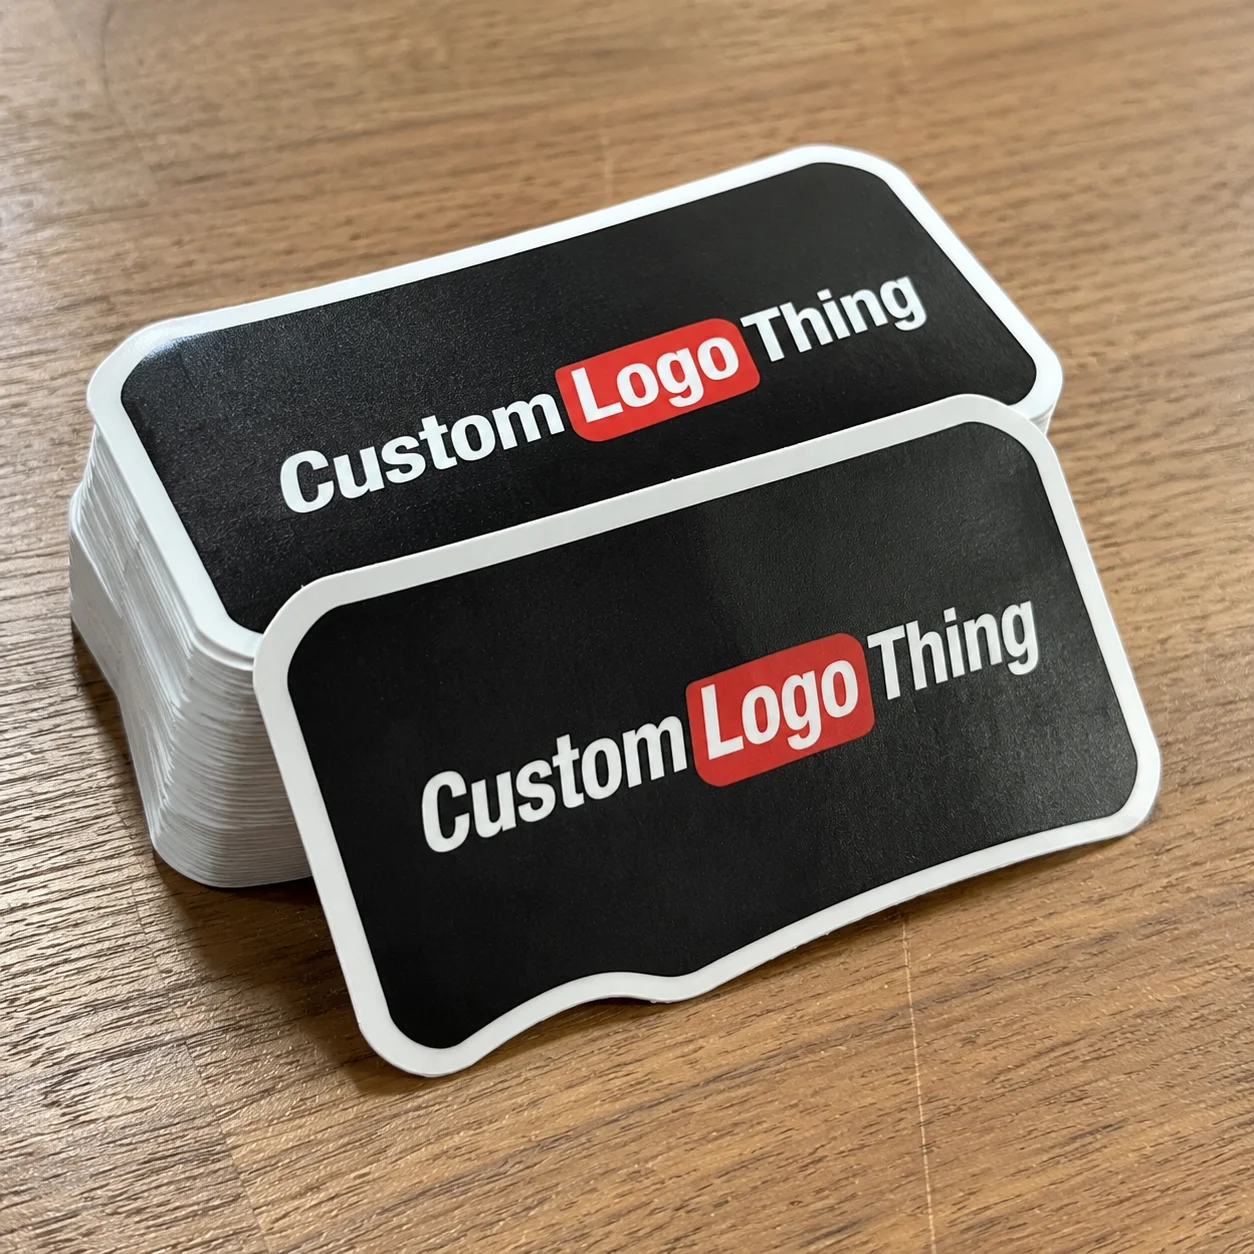
Custom big stickers are oversized adhesive graphics made to a chosen size, shape, artwork, material, and surface requirement. They might be 14 inches wide, 36 inches tall, or large enough to cover a storefront window. The definition is less about one fixed measurement and more about production risk. Once a sticker becomes big enough to wrinkle, stretch, glare, curl, or fail during installation, it needs large-format thinking.
Use cases are broader than most people expect. Retail teams use oversized decals for glass windows, seasonal walls, point-of-sale displays, and temporary promotions. Packaging teams use them to dress plain shipping cartons, short-run Custom Labels & Tags, sample kits, and launch boxes when fully printed packaging is too expensive or too slow. Event teams use floor graphics, directional arrows, sponsor logos, booth backdrops, and oversized promotional giveaways. Operations teams use durable decals for equipment labels, warehouse zones, fleet vehicles, reusable bins, and safety notices.
The big difference between small logo stickers and large decals is not just size. Viewing distance changes. Adhesive strength matters more. Material thickness affects handling. Print resolution is judged from 3 feet, 10 feet, or across a trade show aisle. A 2-inch sticker can hide a tiny bubble. A 40-inch wall graphic turns that same bubble into a tiny public accusation.
Buyer field note: treat a large sticker like a lightweight display system, not a bigger giveaway sticker. The surface, adhesive, finish, packing method, and installation plan are part of the product.
How Oversized Sticker Printing and Adhesives Work
Oversized sticker production follows a fairly standard path. Artwork is checked at scale, printed digitally or screen printed, laminated if the use case needs protection, cut to shape, weeded if there are loose vinyl areas, then packed flat or rolled. Digital printing is common for short runs, multi-color art, variable sizing, and quick campaign work. Screen printing can make sense for long runs, spot colors, heavy ink coverage, or specialty effects, but setup costs and minimums are usually higher.
Material choice is the first real fork in the road. White vinyl is the workhorse for bold color and opaque coverage. Clear vinyl works well on glass or premium product packaging, although white ink may be needed behind artwork so colors do not fade into the background. Removable wall film is made for painted drywall and temporary interiors. Static cling can work on clean glass without adhesive, but it is a poor choice for rough surfaces, curved panels, dusty spaces, or long outdoor exposure. Reflective film improves nighttime visibility for safety labels and vehicles. Floor graphic media needs a compatible slip-resistant laminate because shoes, grit, carts, and cleaning routines punish printed surfaces fast.
Adhesives are not interchangeable. Permanent adhesive is selected for long-term durability, equipment, metal panels, outdoor signage, and packaging that must survive handling. Removable adhesive suits campaigns, rentals, seasonal retail packaging, and event displays where clean removal matters. Low-tack wall adhesive reduces paint damage risk, although it cannot rescue uncured paint, dusty texture, or weak primer. High-tack adhesive helps on rough plastic, cold surfaces, powder-coated metal, and corrugated packaging with heavier fiber texture.
Lamination is practical, not decorative fluff. Gloss laminate boosts color depth and makes graphics pop under retail lighting. Matte laminate reduces glare for photography, offices, museums, and premium branded packaging. Textured floor laminate adds traction and abrasion resistance. UV-resistant laminate can extend outdoor life, especially where sunlight, rain, and cleaning chemicals are part of the environment.
Outdoor life should be discussed in ranges, not promises carved in stone. A temporary event decal may only need to survive a weekend. A seasonal retail graphic may need 90 days. A vehicle, equipment, or exterior panel decal may need one to three years or more. Film grade, ink system, laminate, surface prep, climate, sun exposure, abrasion, and installation quality all affect the answer. Anyone quoting “waterproof forever” is selling vibes. Vibes do not pass quality control.
Resolution needs a reality check too. A large wall decal viewed from 8 feet away does not always need the same pixel density as a cosmetic label viewed at arm’s length. Vector artwork is best because it scales cleanly. Raster images may still work, but they need enough resolution at final size. A crisp 300 dpi image at 5 inches wide becomes much softer if stretched to 40 inches.
Size, Surface, Shape, and Durability Specs to Decide First
Start with the surface. Glass, corrugated cardboard, painted drywall, metal, plastic, concrete, and fabric all behave differently. A decal that grips beautifully to smooth glass may peel from a low-energy plastic tote. A wall film that removes cleanly from satin paint may struggle on textured drywall. Corrugated cartons can absorb pressure unevenly, especially if the flute pattern telegraphs through thin material.
Size changes the installation method. A 6-inch decal can usually be hand-applied with a thumb and a little patience. A 36-inch window graphic may need transfer tape, a hinge method, a felt-edge squeegee, and two installers. Large vinyl pieces can stretch if pulled aggressively. Once stretched, the edges may not line up with window frames, box panels, wall layout marks, or other decals in a set.
Shape affects both cost and usability. Square and rectangle stickers are efficient because they nest well on sheets or rolls and create less waste. Die-cut shapes strengthen branding, especially for mascots, product silhouettes, and bold retail packaging. Kiss-cut decals leave the backing intact for easier peeling. Contour-cut designs create display impact, but narrow points, thin letters, and delicate tails can lift more easily during installation or cleaning.
Durability depends on the environment. Indoor decals face fingerprints, dust, HVAC airflow, and occasional cleaning. Outdoor decals face moisture, UV light, temperature swings, abrasion, and surface expansion. Floor graphics face the roughest cycle: shoes, grit, rolling carts, mops, and sometimes floor scrubbers. Slip-resistance discussions often reference ASTM guidance, and organizations such as ISTA provide useful context for packaging transit testing where decals must survive shipping stress as part of a packed unit.
- Final size: width and height in inches, plus tolerance if placement is tight.
- Surface photo: include close-up texture and a wider placement view.
- Use environment: indoor, outdoor, refrigerated, underfoot, or transit handling.
- Expected lifespan: weekend event, 90-day campaign, 1-year display, or longer.
- Removal needs: permanent bond, clean removal, or repositioning during installation.
- Stress factors: shipping, foot traffic, cleaning chemicals, sunlight, heat, or moisture.
Surface photos are underrated. They take 30 seconds to send and can prevent the classic mismatch: beautiful print, wrong adhesive, disappointing result.
Pricing, MOQ, and Unit Cost Drivers for Large Stickers
Large sticker pricing is usually driven by square inches, material, finishing, quantity, setup complexity, and packing method. Sticker count alone can mislead buyers. Ten decals measuring 24 by 36 inches use far more material and machine time than 500 small logo stickers for package branding.
Setup also spreads unevenly. One oversized decal may cost $35 to $95 because artwork review, proofing, printer setup, cutting, and packing all land on a single unit. At 100 pieces, the same size might drop sharply per unit if the material, print mode, and packing are efficient. For rough planning, a 24-by-36-inch indoor vinyl decal may quote around $18 to $45 each at moderate quantities. Floor-rated or outdoor laminated versions can move higher. Specialty reflective material, clear vinyl with white ink, low-temperature adhesive, or individual shipping tubes can add more.
| Option | Best Use | Typical Cost Behavior | Buyer Watchout |
|---|---|---|---|
| White vinyl with gloss laminate | Retail windows, signs, product launches | Often economical at 25+ pieces | Glare may show under bright lights |
| Removable wall film | Offices, events, painted interiors | Usually higher than standard vinyl | Paint must be cured and clean |
| Clear vinyl with white ink | Glass, premium packaging design, displays | Costs more due to ink layers | White ink placement must be proofed |
| Floor graphic media | Event floors, retail aisles, wayfinding | Higher due to rated laminate | Slip resistance and edge lift matter |
| Reflective film | Vehicles, safety labels, night visibility | Material drives a premium | Not needed for most indoor displays |
Common add-ons include clear material, heavy laminate, floor-rated laminate, complex contour cutting, individual bagging, instruction inserts, rush production, and oversized shipping tubes. Rolled packing can protect large graphics, but tube size can push freight costs above what buyers expect. Flat packing may be better for smaller oversized sheets, especially if decals are going into kits with other Custom Packaging Products.
Minimum order quantity depends on the production method. Digital printing often supports low quantities, even single pieces, though the unit cost may feel high. Specialty materials, screen printing, custom tooling, unusual finishing, or exact color matching may require higher minimums. A practical quote request should include size, quantity, material preference, surface, usage environment, artwork file, deadline, and shipping destination. If the material choice is uncertain, say so. A capable production team would rather solve the spec than price the wrong construction quickly.
Process and Timeline From Artwork to Delivery
The order flow is predictable: specs, artwork review, quote, digital proof, approval, production, finishing, quality check, packing, and shipping. The fragile step is usually proof approval. Not printing. Not cutting. Approval.
Proofing deserves slow attention. Check final dimensions, bleed, cut line, spelling, quantity, material callout, adhesive type, and color expectations. If clear vinyl is involved, verify whether white ink prints behind the art, as a flood layer, or only under selected areas. If the decal wraps around a box edge or sits inside a window frame, confirm the safe area. A half-inch error may not matter on a banner. It can ruin alignment on product packaging or a retail display panel.
Timelines vary. A simple digitally printed decal order with approved artwork may be produced in several business days. Larger quantities, laminated outdoor decals, floor graphics, specialty films, and complex die-cuts can take longer. Many oversized decal orders land in a 7 to 15 business day production window after proof approval, but that depends on material availability, revision rounds, drying time, finishing, and shipping distance. Rush jobs are possible in some cases. Not all.
Large stickers can require extra drying, lamination, and packing time compared with small roll labels. Ink needs to settle before laminate is applied, especially with heavy coverage. Laminated sheets need trimming and inspection. Rolled decals should be wound carefully so the printed face and release liner are protected. If the decal is very large, packing shortcuts can create creases that no installer can hide.
Quality control should include more than “does it look good?” A proper check should confirm size, cut accuracy, print alignment, visible banding, laminate defects, edge lifting, color consistency across panels, release liner condition, and packing protection. For multi-panel graphics, panel order and overlap should be labeled clearly. For floor graphics, the laminate should match the intended use. For packaging decals, samples should be checked on an actual box or carton when possible.
Build approval time into the schedule. Brand teams often need one person to check color, another to check copy, and a third to approve placement. That can turn a same-day proof into a three-day pause. For campaigns tied to trade shows, store openings, product drops, or retail resets, send artwork and specs before the deadline starts breathing down your neck.
Step-by-Step Guide to Ordering Oversized Decals
- Measure the placement area. Record width and height, then leave margin for visual balance, surface edges, handles, seams, hinges, window frames, and human error. A decal does not need to fill every inch to look bold.
- Photograph the surface. Send one close-up and one wider shot. Texture, curvature, paint type, weather exposure, and nearby obstacles can change the recommended adhesive or installation method.
- Choose material by use. Pick vinyl, wall film, clear film, static cling, or floor media based on lifespan, removal needs, and exposure. If the graphic goes outdoors, ask about UV-resistant ink and laminate. If it goes underfoot, ask about floor-rated construction.
- Prepare artwork correctly. Vector files such as AI, EPS, or print-ready PDF are usually safest. Outline fonts, embed images, include bleed, mark cut lines clearly, and build at actual size or an agreed scale such as 50 percent.
- Request and inspect a proof. Review size, color, shape, quantity, material, adhesive, cut path, and white ink instructions. Approve only when the proof matches the intended use.
- Plan installation tools. For larger pieces, gather a squeegee, masking tape, surface cleaner, lint-free cloth, level, measuring tape, and a second person. For glass, confirm whether wet application is acceptable for the material.
For branded packaging projects, step 1 may happen on a dieline rather than a wall. Measure the box panel, check fold lines, and avoid placing a heavy decal over a crease unless the material can flex without lifting. This matters for short-run custom printed boxes, influencer kits, sample mailers, and retail packaging where a large label is being used as a cost-controlled decoration method.
For event decals, installation planning is just as important as print quality. Venue rules may limit adhesives. Some floors require residue-free removal. Some painted walls cannot accept vinyl at all. Ask early, because reprinting with a different adhesive is cheaper than paying damage fees after the event.
Vehicle, equipment, and warehouse decals need a slightly different conversation. Ask about cleaning chemicals, pressure washing, temperature swings, surface coatings, and abrasion. Powder-coated metal, molded plastic, and painted steel are not the same target. If the graphic needs to stay readable for safety or compliance, prioritize durability over the cheapest square-inch price.
Common Mistakes That Make Large Stickers Fail
The most expensive mistake is choosing adhesive before identifying the surface. Wrong adhesive can peel, stain, bubble, or become nearly impossible to remove cleanly. High-tack vinyl on a delicate painted wall can pull paint. Low-tack film on textured plastic can fall off before the campaign ends. A cold warehouse door may need a different adhesive than a climate-controlled office wall.
Artwork mistakes show up brutally at large scale. Low-resolution images become soft. Missing bleed creates white edges. Thin cut areas tear during weeding. Tiny text becomes unreadable from normal viewing distance. Colors shift because screens emit light and printed vinyl reflects it. If brand color is mission-critical, Request a Printed sample or color drawdown instead of trusting a monitor.
Installation mistakes are just as common. Dusty surfaces reduce bond strength. Fresh paint may outgas and cause bubbles; many installers prefer paint to cure for at least two to four weeks, depending on coating and conditions. Cold application temperatures can make adhesive less aggressive. Trapped air creates visible pockets. Stretching vinyl during placement can distort logos and cause edge lift later.
Shipping and storage create another failure chain. Do not fold large graphics unless the material is specifically designed for it. Creases can be permanent. Avoid storing rolled decals in heat, direct sun, or damp spaces. If decals stay tightly rolled for too long, they may curl during installation. Letting them relax flat before application can help, though this depends on material and size.
Diagnostic rule: when large stickers fail, the cause is often a chain of small decisions: vague surface details, rushed proofing, marginal adhesive, poor cleaning, then hot storage. The print may be only one part of the story.
There is also a scale problem buyers underestimate. A tiny placement error on a small label looks human. A tilted 5-foot logo on a glass wall looks like nobody owned a level. For oversized graphics, installation marks, reference lines, and a second set of hands are not fancy extras. They are damage control.
That is why custom big stickers should be specified with the same discipline used for product packaging or display graphics. The more visible the decal, the less room there is for guessing.
Next Steps Before You Request a Quote
Before asking for pricing, gather the basics in one message. Include final size, quantity, material goal, surface type, indoor or outdoor use, desired lifespan, artwork status, deadline, and delivery address. If the decal must fit a box, window, wall panel, vehicle door, or floor zone, include the exact placement dimensions. If it must survive shipping, say whether it will be applied before packing or after delivery.
Samples are worth considering when the sticker touches painted walls, premium packaging, glass storefronts, vehicles, or high-traffic floors. A small material sample can reveal tack level, opacity, glare, removability, and surface compatibility. For sustainability-minded packaging programs, it may also be worth reviewing sourcing and chain-of-custody expectations; the Forest Stewardship Council is a useful reference for paper-based material discussions, although many large decals use films rather than paper.
If color, installation, or removability is mission-critical, order one production sample or a short run before the full order. This is especially useful for retail rollouts, multi-location campaigns, and packaging projects where the decal becomes part of the customer’s first impression. A test piece can answer questions a PDF proof cannot: Does the matte finish feel premium? Does the adhesive grab too fast? Does the white ink look dense enough on glass? Does the edge lift after a day on the real surface?
You do not need to guess the perfect vinyl. Guessing can make the quote worse. Send photos, describe the use case, and explain the risk you are trying to avoid. “Large removable wall logo for a three-day event on painted drywall” is more useful than “need a big sticker.” “Outdoor decal for powder-coated metal equipment, expected to last one year” gives the printer a real specification target.
Custom big stickers work best when the buying process is specific: gather specs, confirm the surface, decide how long the graphic must last, and Request a Quote that includes material, adhesive, finishing, packing, installation notes, and timeline details. Do that, and an oversized decal becomes a controlled brand asset rather than a hopeful piece of printed vinyl.
FAQ
What size counts as custom big stickers?
There is no universal cutoff, but many buyers consider stickers over 12 inches wide or tall to be large-format. The better question is whether the sticker is large enough to require special material, packing, proofing, or installation planning. A 14-inch box decal may be simple; a 48-inch wall graphic needs more care.
Are large custom stickers waterproof for outdoor use?
Outdoor vinyl stickers with weather-resistant ink and laminate can handle rain and sunlight better than unlaminated indoor materials. Durability depends on the film, adhesive, UV exposure, abrasion, installation quality, cleaning routine, and whether the surface is flat, clean, and stable.
How much do oversized decals usually cost?
Cost depends on size, quantity, material, lamination, cut shape, artwork complexity, packing, and shipping method. As a rough planning range, a 24-by-36-inch indoor vinyl decal may fall around $18 to $45 each at moderate quantities, while specialty films, floor-rated laminate, or small runs can cost more.
Can custom big decals be removed without damaging paint?
Removable wall film or low-tack vinyl is designed for cleaner removal, but paint age, paint quality, wall texture, humidity, heat, and installation time all matter. Testing a sample first is the safest option for painted walls, rented spaces, event venues, or retail displays.
What artwork file works best for big sticker printing?
Vector files such as AI, EPS, or print-ready PDF are usually best because they scale cleanly for large formats. If raster artwork is used, the image must be high enough resolution at final print size, with bleed, outlined fonts, embedded links, and clearly marked cut lines.


