Custom Stickers on a roll are built for repetitive labeling. Compared with sheets, they usually apply faster, feed more cleanly through dispensers, store better, and reduce crooked placement over longer runs.
That matters because label format affects labor, throughput, and consistency almost as much as the artwork. A label that looks good on screen but wrinkles on a pouch, feeds poorly through a dispenser, or slows a packing line is a production problem, not a good spec.
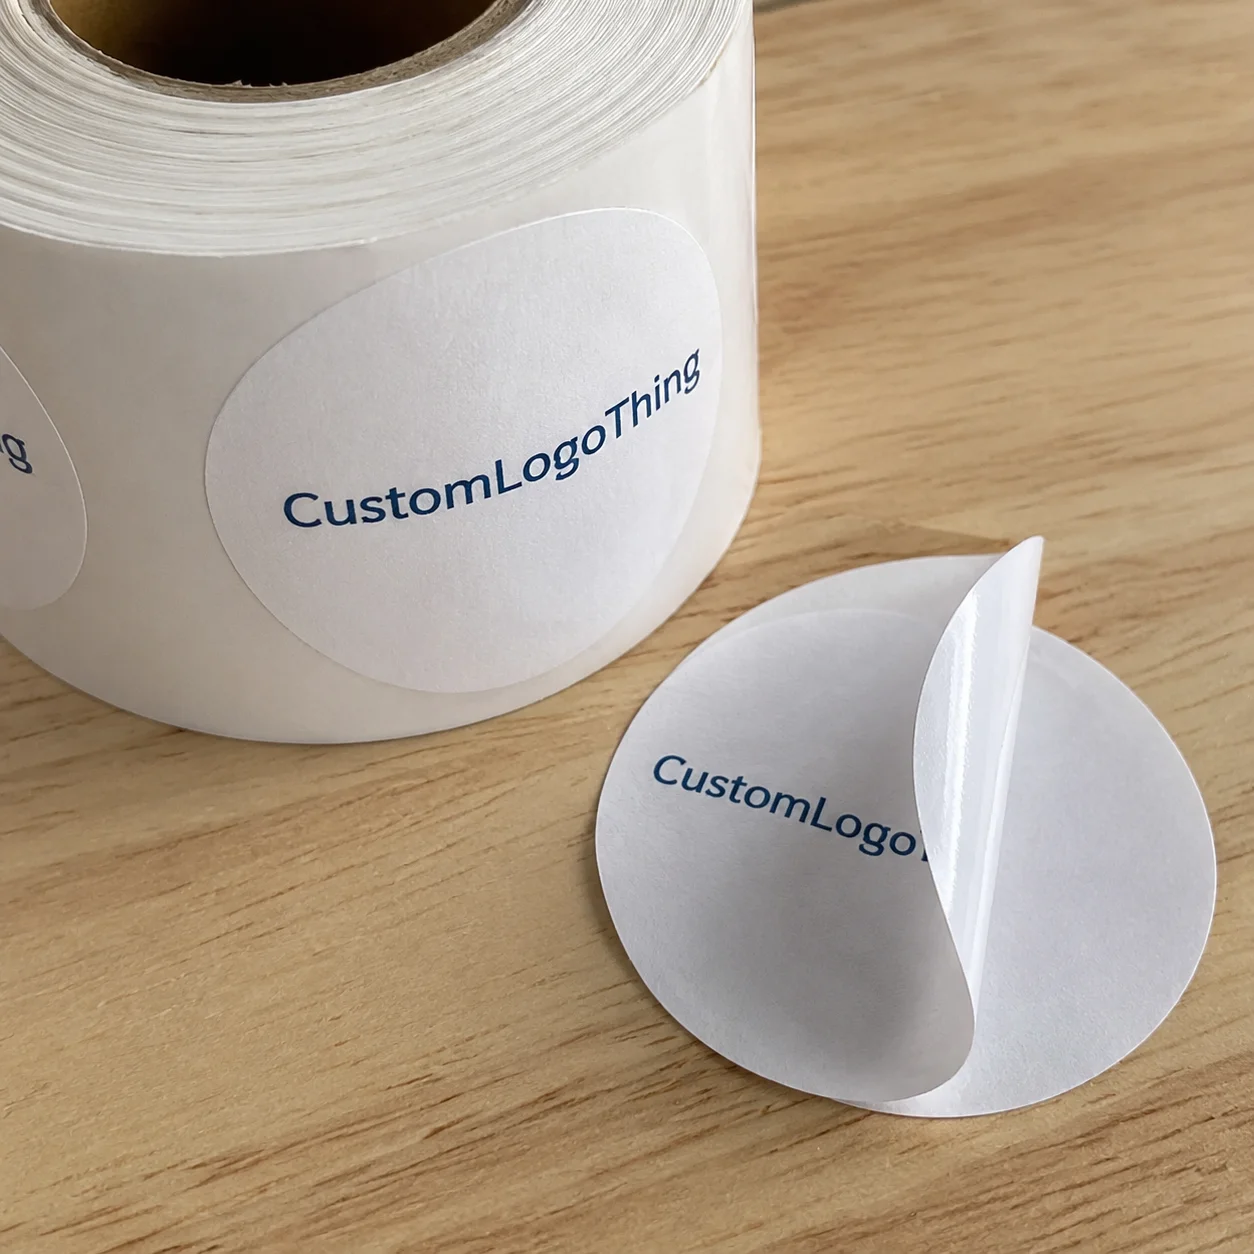
Roll stickers are labels wound on a core with a liner underneath. They can be applied by hand, through a tabletop dispenser, or on an automatic applicator. That flexibility is why they are used on coffee bags, bottles, jars, shipping packs, tamper seals, barcodes, and warehouse bins.
They are different from sheet stickers and individual decals. Sheets work for low-volume hand application. Singles are better for giveaways or retail handouts. Roll format is the practical choice once labeling becomes repetitive.
If you are comparing Custom Packaging Products or narrowing options inside Custom Labels & Tags, the key buying questions are usually the same: material, adhesive, finish, MOQ, lead time, and roll setup.
Why custom stickers on a roll show up everywhere from coffee bags to warehouse bins
The reason is simple: rolls make repeated application easier. They keep labels in order, protect the printed face better than loose sheets, and make replenishment simpler during a run.
That handling advantage shows up in several ways:
- Faster hand application
- Cleaner dispensing from manual or semi-automatic units
- More consistent placement over hundreds or thousands of units
- Less clutter at the workstation
- Better fit for multi-SKU jobs
There is also a quality-control benefit. Less touching of the printed face means fewer fingerprints, less dust pickup, and less chance of edge contamination before application. On short runs that may not matter much. On larger runs it often does.
A roaster may need a polished pouch label, a warehouse may need a barcode that scans reliably, and a small fulfillment team may just need to label 1,200 cartons without fighting sheet curl. Different use cases, same format, for operational reasons.
How custom stickers on a roll work in real packaging lines and everyday operations
The mechanics are straightforward: the roll unwinds, the label separates from the liner, the label is applied, and the spent liner is discarded or rewound. Most problems come from setup details, not from the format itself.
Most applications fall into three modes:
- Manual application: peel and apply directly from the roll.
- Semi-automatic dispensing: a tabletop dispenser advances one label at a time.
- Automatic application: a labeler places labels at line speed, often from 20 to 200+ units per minute depending on product shape and setup.
The main components are the face stock, adhesive, liner, and release coating. Core size, commonly 1 inch or 3 inches, matters because dispensers and applicators are not universal.
Orientation matters just as much. If a machine expects the design to feed in one direction and the roll is wound the opposite way, the labels may be unusable even if the print quality is perfect. This is one of the most common avoidable errors.
Label spacing matters too. If gaps are too tight, dispensing can be erratic. If they are too loose, you waste liner and reduce labels per roll. Around 0.125 inch is common, but the right gap depends on die shape, stock thickness, and equipment sensitivity.
The specs that matter most: material, adhesive, finish, size, and unwind direction
The biggest buying mistake is choosing by appearance first and use conditions second. A label has to match the surface, environment, and application method.
Material choices
Paper is usually the lowest-cost option for dry, indoor use. It prints well and works for many cartons, jars, and shelf-stable labels, but it scuffs more easily and handles moisture poorly.
BOPP film is one of the most common choices for product labeling because it resists water and oils better than paper. It is widely used on food, beverage, supplement, and personal care packaging. Vinyl is tougher and more flexible, but often unnecessary for standard product labels unless outdoor exposure or heavy abuse is expected.
Clear films create a no-label look, but they often require white ink behind text or graphics so the design stays readable. Foil and textured stocks can improve presentation, though they are not always ideal for tiny type or barcode-heavy layouts.
Adhesive and environment
Adhesive choice depends on the surface, application temperature, and use conditions. Glass is usually forgiving. Some plastics are not. Corrugate can vary by coating and texture. Chilled or frozen packaging may need cold-temp or freezer-grade adhesive. Temporary promotions or removable warehouse markings need a different adhesive than permanent retail labels.
A common mistake is assuming “permanent” means universal. It does not. A permanent adhesive can still fail on low-surface-energy plastic, dusty containers, textured surfaces, or packages labeled too cold for the adhesive to wet out properly.
Finish, size, and setup details
Gloss boosts color. Matte reduces glare and often scans better under strong lighting. If operators need to handwrite lot codes or notes, a writable topcoat or matte surface may be more useful than a slick laminate.
Size affects cost and usability. Larger labels consume more material, reduce labels per roll, increase storage volume, and can raise freight cost. Complex die cuts may add tooling cost. Rounded corners usually dispense more reliably than sharp points.
Operational specs should be confirmed early:
- Core size: often 1 inch or 3 inches
- Outer diameter: limited by dispenser or applicator capacity
- Labels per roll: affects changeovers and downtime
- Unwind direction: determines how the label feeds into the application method
Artwork setup matters too. Most files need bleed, usually 0.0625 inch to 0.125 inch, plus a safe area for text and barcodes. CMYK is standard for most work. Clear materials and metallic effects may require white ink layers or spot-color instructions. If barcodes are involved, contrast and quiet zones are essential.
For buyers with sustainability requirements, paper face stocks from certified sources may support broader packaging goals. The FSC framework is a common reference point.
Custom stickers on a roll pricing: what drives cost, MOQ, and unit economics
Quotes are only comparable if they are based on the same construction. A white BOPP label with standard adhesive is not the same manufacturing job as a clear film label with white ink, laminate, and cold-temp adhesive.
Main cost drivers include:
- Label size
- Material type
- Ink coverage and color complexity
- Finish or laminate
- Adhesive type
- Quantity
- Custom die or tooling requirements
Unit cost usually drops as volume rises because setup and finishing are spread across more labels. For many standard jobs, paper labels may fall around $0.04-$0.12 each in the 1,000 to 5,000 range. White BOPP often lands around $0.03-$0.09 each. Clear BOPP with white ink and lamination typically costs more.
| Label Type | Typical Run Size | Estimated Unit Range | Notes |
|---|---|---|---|
| Paper, standard permanent adhesive | 1,000-5,000 | $0.04-$0.12 | Best for dry indoor use |
| White BOPP, gloss or matte | 1,000-10,000 | $0.03-$0.09 | Common for food, beverage, and personal care |
| Clear BOPP with white ink | 1,000-10,000 | $0.05-$0.14 | Higher print complexity |
| Specialty foil or textured stock | 2,500-10,000 | $0.08-$0.20 | Often chosen for premium presentation |
MOQ may mean a hard minimum label count, a minimum billable order value, or simply the quantity where the economics start to make sense. Practical reorder quantity should also consider storage, freight, and monthly usage.
Secondary cost drivers matter more than many buyers expect: several SKUs in small quantities, unusual core requirements, wrong unwind direction, repeated proof revisions, rush scheduling, variable data, and sequential numbering can all increase cost.
When comparing quotes, look beyond piece price. A slightly more expensive construction may reduce scuffing, improve scan reliability, or cut line changeovers if it allows more labels per roll.
Process and lead time: from artwork approval to finished rolls on your floor
The usual path is quote request, artwork review, proofing, material confirmation, printing, finishing, rewinding, packing, and shipping. Lead time depends as much on preparation as on press capacity.
A straightforward repeat order may ship in 5-10 business days after proof approval, plus transit. A first-time custom job is often closer to 10-15 business days. Specialty materials, foil effects, multiple versions, or custom tooling can extend that timeline.
Most delays happen before production starts: missing dimensions, unclear SKU splits, no unwind direction, no core requirement, or slow proof approval. A simple label order can stall for days if one machine-related detail is missing.
Digital proofs are useful for checking copy, layout, and orientation, but they are not perfect predictors of how ink will look on clear film, textured stock, metallic material, or under laminate. If color is critical, a physical sample or press proof is often worth the time and cost.
Work backward from the fill date or launch date, not from the day the artwork feels finished. First runs should leave room for application testing. Reorders move faster, but freight disruptions and stock shortages can still affect timing.
If the product will be case-packed, shrink-bundled, or handled roughly in distribution, durability should be considered with packaging tests. Standards groups such as ISTA are often referenced when teams set transport-test expectations.
Practical rule: if the label is new, machine-applied, or tied to a launch date, order earlier than feels necessary.
Step-by-step: how to order the right roll labels without rework
Most ordering errors are preventable if the brief is built around the actual application.
- Define the use case. Hand-applied jar labels, machine-applied bottle labels, and barcode labels on corrugate do not use the same specs.
- Measure the usable label area. Curves, seams, shoulders, and closures reduce usable space quickly.
- Match material, adhesive, and finish to the environment. Consider moisture, oil, abrasion, freezer conditions, and rough handling.
- Confirm roll details early. Specify unwind direction, core size, maximum outside diameter, and labels per roll if equipment is involved.
- Prepare print-ready artwork. Include bleed, safe margins, readable text, and barcode-safe contrast.
- Request a quote with exact quantities by SKU. Include ship-to ZIP and deadline.
- Review the proof carefully. Check copy, alignment, white ink layers, barcode placement, and roll-direction notes.
- Test on the actual product. A sample can reveal lift, wrinkles, squeeze-out, or poor fit before a larger run.
This matters even more when labels need to coordinate with a broader packaging system, including inserts or custom printed boxes. Consistency helps the brand, but each printed component still has to match its own handling conditions.
Product photos are often useful in quoting because they reveal likely issues such as deep curves, recessed panels, condensation exposure, or rough texture.
Common mistakes buyers make with roll labels and how to avoid them
The most common mistake is buying for appearance alone. A gloss paper label may look excellent in proof and still fail on a chilled bottle. Use conditions should decide the construction.
Another frequent mistake is forgetting unwind direction. If the roll loads incorrectly in an automatic applicator, the labels may be perfectly printed and still unusable.
Other repeat issues include:
- Using the wrong adhesive for plastic, corrugate, damp surfaces, or temporary applications
- Missing bleed or setting type too small to read in print
- Weak barcode contrast or missing white ink on clear stock
- Ignoring dispenser or applicator limits on core size and outer diameter
- Choosing a finish for looks when abrasion resistance is the real need
- Waiting too long to reorder and turning a routine purchase into a rush job
Reorder points should be based on actual monthly consumption and realistic lead times, not guesswork.
Next steps: build a smarter quote request and test plan before you buy
For cleaner quotes and fewer surprises, build the request around the specs that affect manufacturing and application:
- Size: width, height, and shape
- Material: paper, white BOPP, clear film, foil, vinyl, and so on
- Adhesive: permanent, removable, freezer-grade, high-tack
- Finish: gloss, matte, laminate, writable topcoat
- Quantity: total and by SKU
- Roll specs: unwind direction, core size, maximum outer diameter, labels per roll
- Application method: hand, dispenser, or automatic applicator
- Deadline and ship-to ZIP: so transit and scheduling can be quoted realistically
If the surface is unusual, send photos. If the label is going onto a new substrate, chilled packaging, or an automated line, a small pilot run is usually worth it.
Compare options on total applied cost, not print cost alone. A label that applies faster, survives abrasion better, or reduces line stops may be the better buy even if the unit price is higher.
Set reorder triggers early. If monthly usage averages 8,000 labels and replenishment normally takes 10 business days plus transit, waiting until 2,000 remain leaves little margin for proof changes, freight delays, or temporary stock issues.
FAQ
What are custom stickers on a roll best used for?
They are best for medium- and high-volume labeling where speed, consistency, and easier handling matter. Common uses include bottles, jars, pouches, cartons, shipping packs, barcode labels, and warehouse identification.
How do I choose the right size for roll stickers?
Measure the usable label panel on the actual product rather than the package’s full dimensions. Leave room for seams, curves, closures, and required copy. A paper mockup on the real container is still one of the quickest ways to catch fit issues.
How much do custom stickers on a roll usually cost?
Cost depends on size, quantity, material, finish, adhesive, and print complexity. Simple paper labels usually cost less than film labels with white ink, laminate, or specialty effects. Accurate pricing requires exact specs and timing.
What lead time should I expect for custom roll labels?
Many repeat jobs ship in 5-10 business days after proof approval, while first-time custom jobs often take 10-15 business days. Specialty materials, custom dies, and complicated finishing can add time.
Can custom stickers on a roll be used with automatic label applicators?
Yes, as long as the roll matches the machine’s requirements for unwind direction, core size, outside diameter, and label spacing. Sharing applicator specs early is one of the easiest ways to avoid reruns.

