The costliest sticker problem is usually not the sticker. It is the box of unused pieces sitting under a desk because the offer changed, the label copy was revised, the launch shifted, or the design team replaced the graphic two weeks later. Happens all the time. That is why individual custom stickers are useful for small brands, product tests, event kits, and short promotional runs: they let you order usable quantities, present each sticker as a finished piece, and avoid betting too big before the design has proved itself.
What Individual Custom Stickers Solve for Small Runs
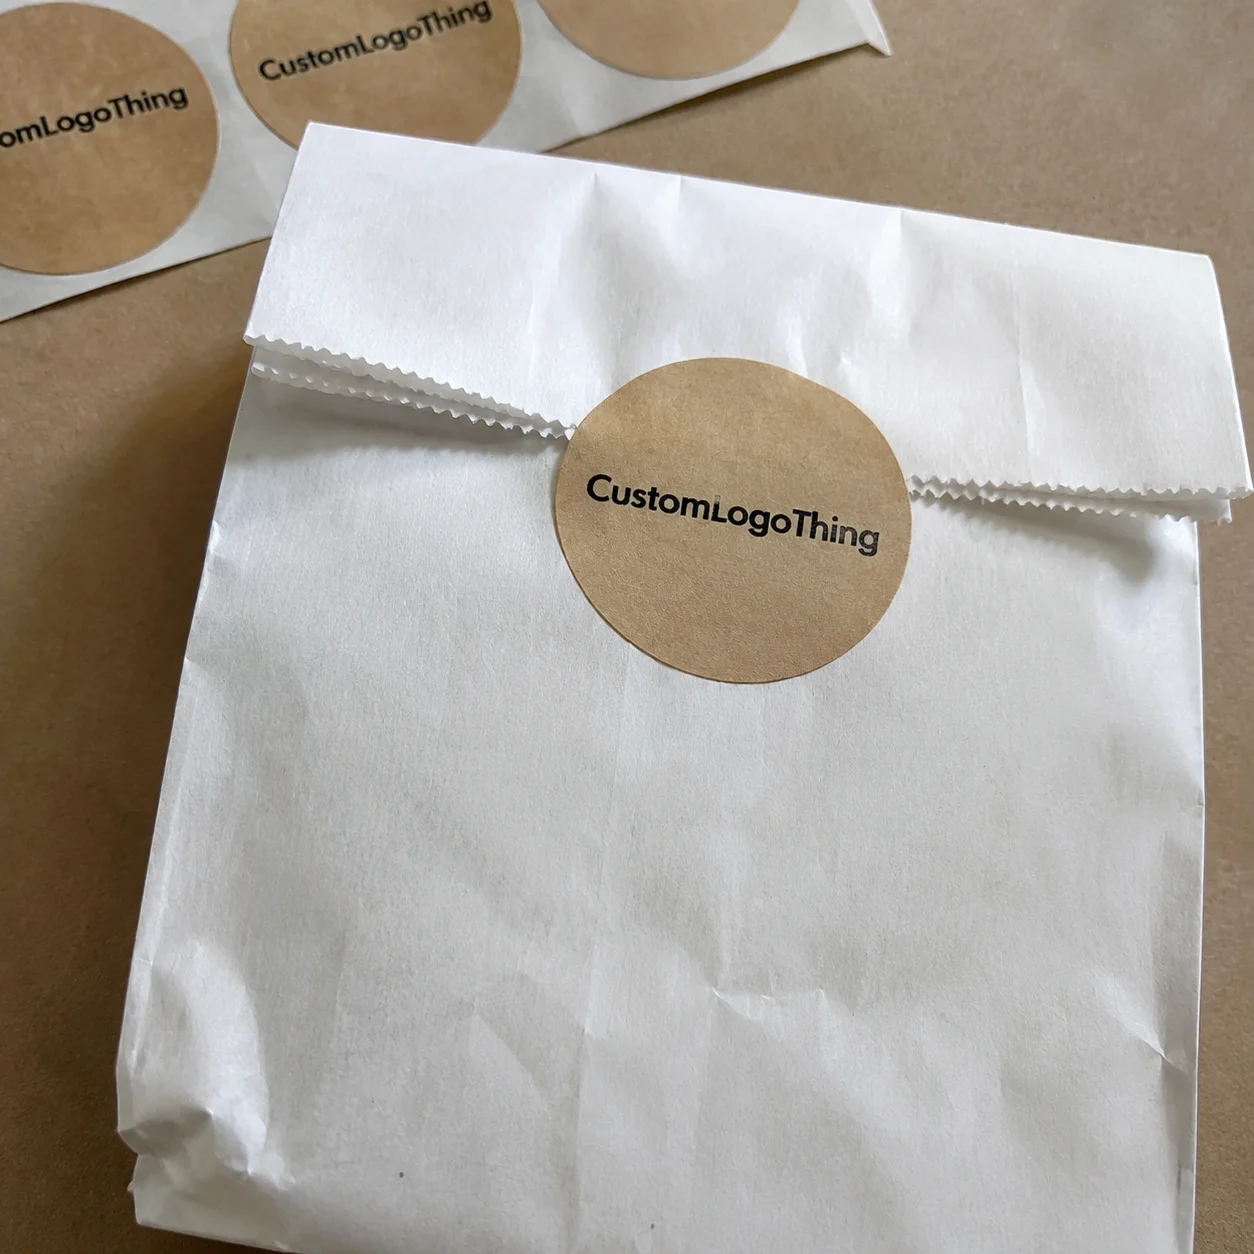
Individual custom stickers are single, pre-cut stickers supplied as loose pieces rather than on a roll or shared sheet. You can hand them out at a counter, tuck them into mailers, apply them to retail bags, pack them with samples, or bundle them inside branded kits without tearing, trimming, or separating anything first.
That handling convenience sounds minor until someone has to assemble 400 packages by Friday. A loose 3-inch logo sticker in a thank-you insert feels intentional. A label peeled off a roll can work too, but it reads more like production, less like a keepsake.
This format fits product launches, boutique packaging, sample mailers, subscription boxes, retail packaging, event giveaways, limited-edition drops, and short-run package branding. A candle brand may use a round matte sticker on tissue wrap for 300 seasonal boxes. A coffee roaster might add a contour-cut logo decal to online orders for a weekend promo. A small apparel brand might pair stickers with hang tags, postcards, and Custom Labels & Tags for a cleaner unboxing set.
The format is not the same as sticker sheets or roll labels. Sheets are useful when several designs need to stay together, such as a planner sticker set, kids' activity sheet, or themed giveaway card. Roll labels are best when speed matters, especially when hundreds or thousands of bottles, jars, pouches, or cartons need labeling in one session.
Loose-cut stickers sit between those options. They are slower to apply than rolls, but stronger for presentation, handouts, kit packing, and flexible small batches.
Practical rule: if the sticker is part of the customer experience, loose pieces usually feel more deliberate. If the sticker is mainly a production label, rolls usually handle faster.
The right sticker is not just a logo file uploaded to a printer. It is a combination of artwork, adhesive, face stock, finish, cut style, quantity, packing method, and production schedule. Miss one of those details and a good design can still peel badly, scuff too easily, look undersized, or arrive after the assembly date. Delightful.
How Loose-Cut Stickers Are Made from Artwork to Final Cut
A typical loose sticker order moves through artwork setup, digital proofing, material confirmation, printing, coating or lamination if needed, die cutting or contour cutting, quality checks, counting, and packing. Each step is simple on paper. The finished result depends on the small decisions made before production starts.
A 2.5-inch sticker with a thin border, for example, needs more care at the cut stage than a solid rectangle with generous margins. A clear sticker with white ink underprint needs different file setup than a white vinyl sticker. A sticker meant for a freezer bag needs a different adhesive conversation than one going inside a dry mailer.
Digital printing is common for small to mid-size sticker runs because it supports lower minimums, fast setup, and multiple designs without plate costs. For many short runs, a buyer can test 100, 250, or 500 pieces before committing to a larger order. Offset and flexographic printing still make sense for higher-volume labels, tight color programs, and certain production lines, but digital is practical for promotional stickers, packaging accents, event pieces, and test batches.
Artwork quality is where many jobs either become easy or turn into proof revision ping-pong. Vector files such as AI, EPS, or print-ready PDF are usually preferred because logo edges, type, and cut paths stay sharp at different sizes. Raster files can work if they are high resolution, commonly 300 dpi at final print size. Low-resolution screenshots, copied web graphics, and tiny social media logos usually print exactly as badly as you fear.
Cut Paths, Bleed, and Safe Zones
A cut path tells the cutter where the finished edge should be. Bleed extends artwork beyond that cut line, often by about 1/16 inch to 1/8 inch depending on the production setup, so tiny cutting movement does not leave a white hairline. Safe zones keep text, borders, QR codes, and logo details away from the edge.
If a circle sticker has type only 1 mm from the cut, normal production tolerance can make the spacing look uneven. That is not sloppy printing. That is physics, equipment tolerance, and a design that left no room to breathe.
Common cut styles include circles, squares, rectangles, rounded-corner labels, contour cuts around a logo, and kiss-Cut Stickers That leave a backing border for easier peeling. Kiss-cutting is often smart for delicate shapes because the sticker face can follow the artwork while the backing remains square, oval, or another easy-to-handle shape. Die-cut loose pieces look sharp, but very thin points and tiny internal details can be fragile, especially on paper stocks.
Proofs matter because they lock in size, color intent, cut line, material, finish, quantity, and special notes before production begins. A proof is not the same as holding a finished sample, but it catches plenty of expensive problems before ink hits material. If the sticker includes a QR code, barcode, dosage information, ingredient statement, safety warning, or regulated claim, proof review deserves a slow pass. Not a glance. A slow pass.
Materials, Adhesives, and Finishes That Change Performance
Sticker material is the face stock, and it drives much of the look, feel, and durability. Paper is cost-effective for indoor promotional use, thank-you seals, event handouts, and dry retail packaging. It is not the hero material for water, oils, condensation, or heavy handling.
White vinyl and white BOPP film are more durable choices for moisture, handling, and flexible applications. Clear film works well on glass jars, windows, and transparent product packaging when the container or product color should show through. Specialty stocks, such as textured paper or metallic film, can add a premium feel, but they usually need more careful proofing because texture, reflectivity, and ink density change the way artwork reads.
Adhesive choice is just as practical. Permanent adhesive is the standard option for long-term branding and product labels. Removable adhesive works better for temporary promos, event badges, laptops, or short-term retail signage where clean removal matters. Freezer-grade or cold-temperature adhesive is useful for chilled foods, frozen goods, and refrigerated samples.
Rough or textured surfaces may need a more aggressive adhesive, but the surface itself matters. Coated paper, uncoated kraft, glass, plastic, powder-coated metal, and waxy cartons do not behave the same way. Dust, oil, condensation, and low application temperature can also weaken adhesion. Blaming the sticker after applying it to a damp, dusty surface is common. It is also not very useful.
Finishes change both appearance and service life. Gloss coating gives color more pop and can help shelf lighting catch the design. Matte finish reduces glare and often suits premium or minimal packaging. Soft-touch lamination has a velvety feel, though darker artwork can show fingerprints and skin oils. Spot UV and foil add shine in selected areas, but they require tighter registration and can add production time.
Protective lamination is usually the safer choice for stickers that face water, rubbing, shipping abrasion, or repeated handling. For indoor inserts, a light coating may be enough. For bottles, coolers, laptops, windows, or outdoor exposure, a film stock with laminate is usually the grown-up answer.
| Use Case | Common Material | Suggested Finish | Practical Note |
|---|---|---|---|
| Thank-you inserts | Matte paper | Matte coating | Good for dry indoor use and short campaigns |
| Water bottles or laptops | White vinyl | Gloss or matte laminate | Better for handling, moisture, and abrasion |
| Glass jars | Clear BOPP or clear vinyl | Clear gloss laminate | Check white ink needs if artwork must stay opaque |
| Event badges or temporary decals | Paper or film | Light coating | Removable adhesive helps prevent residue complaints |
Durability depends on sunlight, water, oils, abrasion, temperature swings, and how often the sticker is touched. A sticker placed once inside a mailer has an easy life. One applied to a cooler, vehicle window, soap bottle, or outdoor sign has a much harder job. For broader packaging standards and testing context, the International Safe Transit Association publishes useful packaging test resources, and the Forest Stewardship Council is a helpful reference for responsibly sourced paper materials.
Cost, Pricing, and MOQ Factors Buyers Should Check
Sticker pricing is shaped by setup time, material, size, shape complexity, ink coverage, finish, quantity, packing method, and whether multiple designs are combined in the same order. A simple 2-inch round paper sticker prices very differently from a 4-inch laminated vinyl contour cut with heavy ink coverage. Counting and packing loose pieces also adds labor compared with roll labels, especially when the order needs bundled sets or mixed designs.
Unit cost usually drops as quantity rises because artwork review, press setup, proofing, and cutting preparation are spread across more finished pieces. As a rough buyer-side range, a small digitally printed paper sticker may land around $0.12 to $0.35 per piece at moderate quantities. A larger laminated vinyl decal may sit closer to $0.35 to $1.25 per piece depending on size, finish, and cut complexity.
Those are broad ranges, not fixed quotes. Material markets, order size, artwork condition, special packing, rush timing, and shipping method can move the number quickly. Anyone pretending otherwise is selling certainty they do not actually have.
Minimum order quantity deserves a practical look. Low minimums help with testing, launches, and seasonal designs. Larger runs make sense once the size, artwork, and demand are proven. Ordering 1,000 pieces to save a few cents each can be false economy if 600 become outdated after a price change, ingredient update, compliance edit, or brand refresh.
Do not compare quotes only by the lowest unit price. A cheaper sticker may use thinner material, weaker adhesive, no lamination, rougher cutting, or lighter proof review. Ask for the exact size, material name, adhesive type, finish, cut style, quantity breaks, proof policy, turnaround estimate, packing format, and shipping method.
If the sticker supports a larger branded packaging system with cartons, inserts, sleeves, or Custom Packaging Products, the spec should match the rest of the presentation. A premium rigid box with a flimsy sticker slapped on it is not “brand contrast.” It is a mismatch.
| Quantity Range | Best Fit | Cost Behavior | Buyer Watchout |
|---|---|---|---|
| 50-250 pieces | Tests, events, sample mailers | Higher unit cost, lower waste risk | Confirm proof details before approving |
| 500-1,000 pieces | Launches and repeat promotions | Better setup cost spread | Check storage and design lifespan |
| 2,500+ pieces | Proven designs and ongoing package branding | Lower unit cost in many specs | Do not overbuy if text may change |
Process and Timeline from Quote to Delivered Stickers
A clean ordering process starts with artwork and specs, then moves to quoting, digital proof approval, production, finishing, cutting, quality checks, packing, shipping, and receiving. The clock that matters usually begins after proof approval, not after the first email asking for a price. That catches buyers off guard more often than it should.
Lead time depends on artwork readiness, proof revisions, material availability, finishing complexity, quantity, specialty effects, and shipping distance. A standard 2.5-inch round paper sticker with print-ready artwork can move faster than a multi-design laminated vinyl order with contour cuts and foil. Many straightforward sticker runs are planned around several business days of production after approval. Specialty finishes, large counted orders, or complicated versioning can take longer.
Build in review time for internal approvals. If three people need to approve the logo, size, and color, that review can add two or three days before production starts. For first-time orders, add extra time for questions about material, adhesive, and finish.
If the stickers are needed for Custom Printed Boxes, product inserts, retail kits, or event bags, do not schedule delivery for the same day assembly begins. One delayed shipment can stall the whole packing table. It is boring advice. It is also correct.
Rush orders may be possible when artwork is clean, materials are standard, and the shape is simple. Rushing complex shapes, unclear files, specialty finishes, or many versions increases the chance of rework. From a production point of view, speed is easiest when the file is print-ready, the cut path is obvious, and the buyer has already decided on size and material.
- Submit artwork, size, quantity, material preference, deadline, and delivery location.
- Review the quote and ask about quantity breaks if the budget is tight.
- Approve the digital proof only after checking text, cut line, finish, and size.
- Allow production, finishing, cutting, counting, packing, and transit time.
- Inspect the delivered order before building kits or applying stickers to packaging.
Common Mistakes That Make Custom Stickers Look Cheap
The most common artwork mistakes are low-resolution logos, missing bleed, tiny text, thin borders, weak contrast, flattened files with hidden issues, and cut lines sitting too close to design details. A 0.5-point border around a small circle may look crisp on screen and uneven after cutting. Tiny gray text may be readable on a backlit monitor and muddy once printed on matte paper.
Specification mistakes are just as common. Paper stickers are not ideal for wet environments. Removable adhesive should not be used where permanent hold is required. A sticker that looked large on a laptop screen may feel too small on a 10-inch mailer or too big on a 2-ounce jar.
Skipping lamination on a high-touch sticker can save money up front, then cost the brand in scuffed, dull, or scratched pieces later. The customer will not know you saved seven cents. They will know the sticker looks tired.
Color expectations need a grounded conversation. Screens emit light, while printed ink reflects light, so colors rarely match a monitor perfectly. Brand colors should be checked with proper files, Pantone references where needed, and realistic proof review. A digital proof is useful for layout and intent, but it cannot fully reproduce every material, laminate, or lighting condition.
Ordering mistakes often start with good intentions. Buying too many before testing feels efficient until the size is wrong. Choosing the cheapest quote feels responsible until the adhesive fails on a textured box. Forgetting how the sticker will be peeled, applied, stored, or handed out creates frustration for the team using it.
Individual custom stickers need to work in real hands, not just look good in a mockup.
- Print a paper mockup: cut it to final size and place it on the actual jar, mailer, bag, box, or insert.
- Check the surface: coated paper, rough kraft, glass, plastic, and powder-coated metal all behave differently.
- Confirm exposure: moisture, sunlight, oils, abrasion, and cold storage change material choices.
- Review the proof slowly: verify size, spelling, QR codes, barcode quiet zones, and cut paths.
Next Steps Before You Place a Sticker Order
Before requesting pricing, gather the details that affect production: intended use, surface type, indoor or outdoor exposure, target size, quantity range, number of designs, finish preference, deadline, and packing method. If the sticker will be applied to retail packaging, a bottle, a mailer, a laptop, or a product insert, measure the real application area instead of trusting the screen preview.
A 2-inch sticker can feel generous on a small jar and undersized on a shipping box. Size is physical. Treat it that way.
Prepare artwork in vector format when possible, with outlined fonts, linked or embedded images, bleed, safe zones, and a separate cut path for custom shapes. For QR codes, test the printed size before production; many codes need at least 0.8 inch to 1 inch of clear scannable area, depending on complexity and print quality. Barcodes need quiet zones and enough contrast to scan after coating or lamination.
A small test batch is often the smartest first move for new artwork, new materials, or a new surface. Even 50 or 100 pieces can reveal whether the size feels right, the adhesive grips properly, and the finish matches the rest of your product packaging. Once the design is proven, larger runs become safer and more economical.
Custom Logo Things can support sticker specs alongside broader packaging needs, especially when stickers are part of a coordinated launch with boxes, labels, bags, or inserts. The best results come from clear specs, honest use-case details, and enough production time for proofing. Before ordering individual custom stickers, gather your artwork, size, material needs, quantity breaks, and deadline so the quote is accurate from the first pass and the finished pieces arrive ready to use instead of ready to rework.
FAQs
What are individual custom stickers best used for?
They are best for handouts, packaging inserts, small-batch branding, event giveaways, product samples, retail bags, and any use where loose, ready-to-distribute stickers are easier than rolls or sheets. They work especially well when the sticker needs to feel like a standalone branded item rather than a label applied quickly in a packing line.
Are individual stickers more expensive than sticker rolls?
They can cost more per piece because they require cutting, counting, and packing as separate units, while roll labels are optimized for fast machine or hand application. The better value depends on use: rolls usually suit high-volume labeling, while loose pieces suit giveaways, inserts, kits, and flexible small runs.
What file format should I send for custom sticker printing?
Vector files such as AI, EPS, or print-ready PDF are usually preferred because logos, text, and cut paths stay crisp at different sizes. High-resolution PNG, TIFF, or PSD files may work for simpler designs, but they should be sized correctly and reviewed carefully for resolution, bleed, and edge quality.
How long does it take to produce loose custom stickers?
Timing depends on proof approval, material availability, quantity, finish, cut complexity, packing requirements, and shipping method. A clean file on a standard material usually moves faster than a specialty finish, complex contour cut, or order with multiple designs and revision rounds.
Can individual custom decals be waterproof or outdoor-safe?
Yes, if they are specified with the right film material, adhesive, ink system, and protective laminate or coating for moisture, sunlight, and abrasion. Paper stickers are usually better for indoor or short-term use, while vinyl or durable film stocks are better for bottles, windows, equipment, and outdoor exposure.


