Why personalized die cut bags look simple but get expensive fast
Personalized die cut bags can look almost too straightforward. One flat bag, a punched handle, a logo on the surface, and the order seems like it should be easy to price. Then the quote arrives and the numbers feel higher than expected. That reaction is common, and usually it comes from underestimating how many variables sit inside a bag that appears simple from a distance.
The bag itself is not just packaging. It is a carry item, a printed brand surface, and often the first thing a customer handles after a purchase. That means the film has to hold up in use, the print has to stay readable after folding and packing, and the handle area has to survive real weight without stretching or splitting. The better the bag has to perform, the more those details matter.
Small changes move the price quickly. Film thickness, bag dimensions, handle style, print coverage, packing method, and freight weight all affect the final cost. A giveaway bag for a light event handout is not built the same way as a retail bag holding folded apparel, boxed cosmetics, or a product bundle with hard edges. If the spec is set only from a visual mockup, the quote often misses the actual use case.
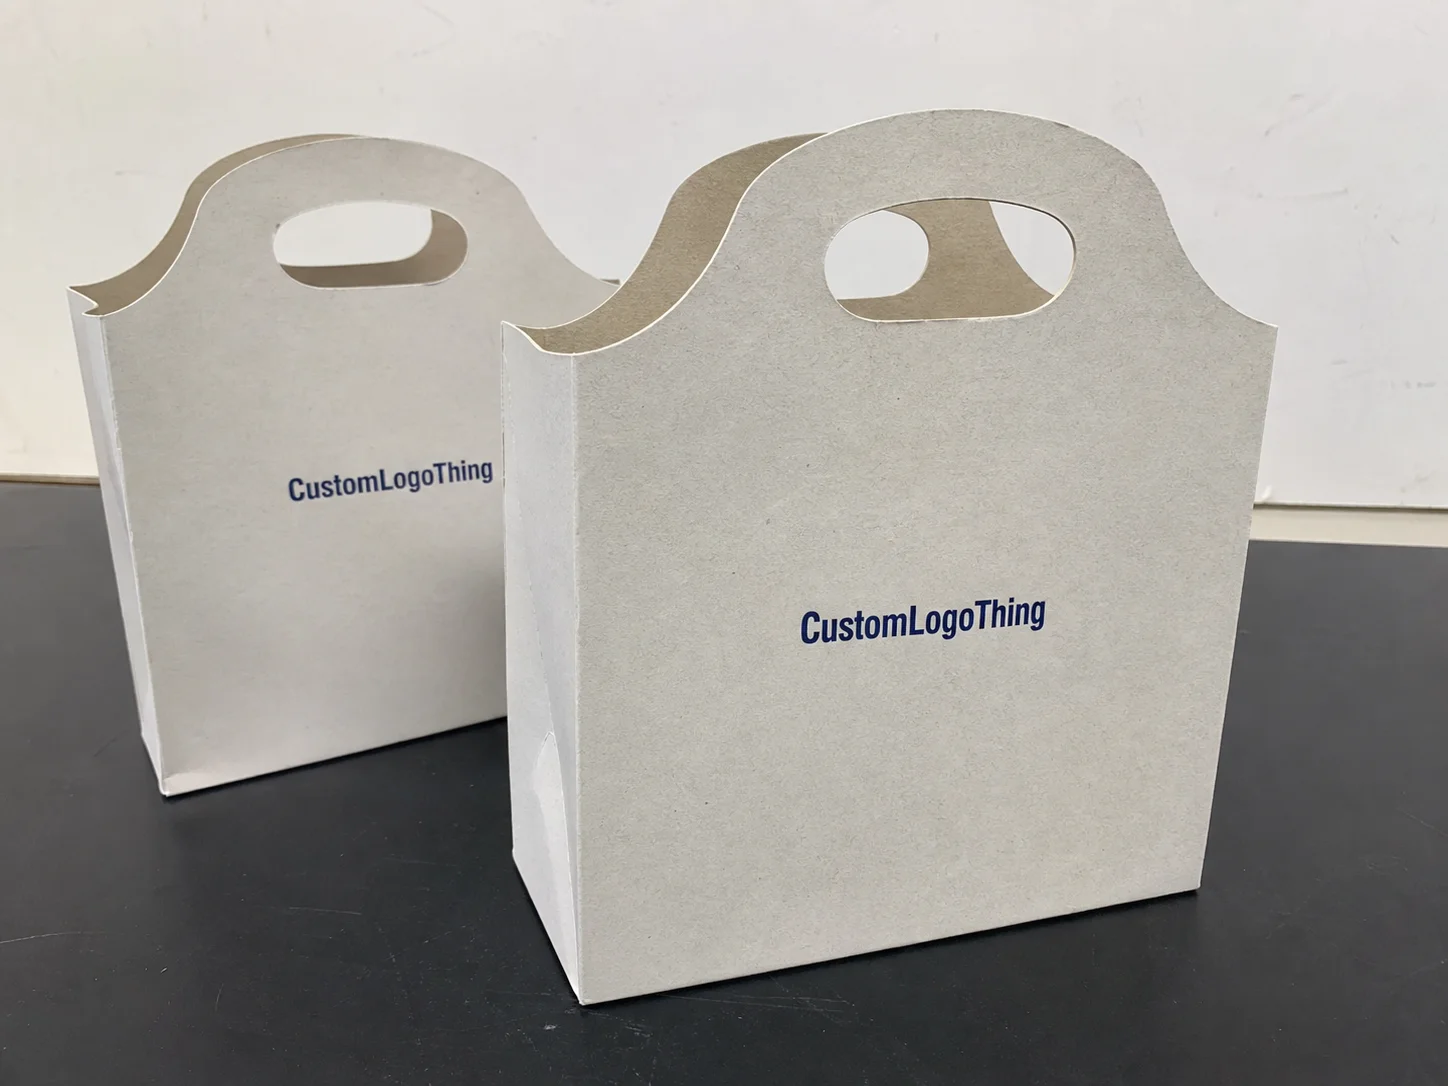
Die Cut Handle bags are popular in boutiques, gift shops, apparel stores, trade shows, and promotional packaging because they print cleanly and carry well without a rigid structure. The punched handle gives the bag a neat profile, and the wide print area turns the bag into a walking piece of branding. The tradeoff is equally clear. If the film is too light, the bag wrinkles and stretches. If the build is too heavy for the product, the buyer pays for durability that never gets used.
The practical job is balance. The right bag should feel intentional in hand, protect the item inside, and still fit the budget after shipping and handling are added in. The spec sheet, not the sales pitch, usually decides whether personalized die cut bags are a smart purchase or a messy one.
How the die cut bag production process works and timeline
The production flow is simple on paper, but each step depends on the previous one being defined correctly. The process usually starts with film selection. Most die cut handle bags are made from polyethylene, usually LDPE or HDPE, chosen for the feel, clarity, stiffness, and strength the job needs. After that comes printing, then bag conversion, then the handle punch and finishing details, followed by packing and shipping.
That sequence works only if the artwork and dimensions are usable. The factory needs a clean file, confirmed measurements, and a print layout that makes sense for the bag size. If the artwork is low resolution, if fonts are not outlined, or if the design assumes a larger print area than the bag can support, someone has to correct it before production starts. Those corrections are not minor. They can change line spacing, logo placement, color density, and the way the final bag reads once it is folded and stacked.
Layflat film is the common starting point for many die cut bags because it keeps the structure straightforward and the print zone easy to manage. Some orders use gusseted film to add depth and improve fit for boxy items or thicker bundles. Handle reinforcement can also be added, and that choice matters more than many buyers expect. A reinforced punch reduces stress around the opening and improves carry comfort, especially for retail use where the bag may be carried longer than planned.
The difference between a low-friction job and a slow one is usually preparation. If the file is clean, the size is realistic, and the print count is final, the order moves. If those details keep changing, the schedule slips before the press even starts.
For buyers who need a more formal view of shipping durability, ISTA test methods are useful because they focus attention on handling, transit stress, and packaging performance rather than appearance alone. That matters if the bags are part of a larger shipper or if the contents are sensitive to scuffing, crushing, or shifting.
A bag that only carries a folded T-shirt does not need the same build as one holding a heavier retail kit. Matching the bag to the load is cheaper than guessing high and hoping the extra thickness solves everything.
Key specs that change cost, strength, and print quality
Material thickness is one of the biggest cost drivers. Suppliers may describe it in microns or mil, depending on their market and tooling. Thinner film is fine for light giveaways and short-term use. Thicker film gives the bag a firmer feel, resists stretch better, and usually looks more premium in the hand. The mistake is assuming thicker always means better. If the load is light, extra thickness just raises the price and can make the bag feel stiff without adding real value.
Bag size matters just as much. More width, more height, or a deeper gusset means more material, more ink coverage, and more packing volume. A change that looks small in a drawing can move the quote in a noticeable way once the factory calculates film consumption and conversion waste. Print layout has the same effect. A simple one-color logo is easier to run than a full-bleed design with multiple ink passes, heavy solids, or tight registration. More colors usually mean more setup, more proofing, and more chances for variation across the run.
Handle style is another real decision point. A standard punched handle works for light retail use and promotional handouts. Reinforced handles add cost, but they also help with comfort and reduce wear around the cutout. For apparel, boxed items, or premium giveaways, that upgrade often makes sense. For short-lived event bags, it may not.
Surface finish changes the way the bag reads in person. Gloss film looks brighter and catches light more aggressively. Matte finishes feel quieter and more controlled. A soft-touch effect can feel more upscale, but it is not common in basic poly construction and should only be chosen if the budget and supply chain support it. Finish is not decoration only. It changes how the logo, color blocks, and print contrast appear under store lighting and in customer photos.
The table below is a practical way to think about spec tradeoffs. It is not universal, because every supplier has different tooling, film grades, and minimums.
| Spec Choice | Best For | Cost Impact | Risk if Underspecified |
|---|---|---|---|
| Lightweight film | Giveaways, very light retail items | Lower | Stretching, weak carry feel |
| Mid-thickness film | Apparel, general retail use | Moderate | Bag feels less substantial than the brand standard |
| Heavier film | Heavier goods, premium presentation | Higher | Overpaying if the load is light |
| Single-color print | Simple logos, sharp branding | Lower | Less visual impact than expected |
| Multi-color print | Retail branding with richer graphics | Higher | More setup and more color control needed |
Quantity is the last lever that buyers often underestimate. Setup cost gets spread across every finished bag, so a small run can look expensive on a per-unit basis even if the total order value is modest. At volume, that same setup cost gets diluted and the unit price comes down. The catch is storage and cash flow. A large order can improve the unit cost, but only if the buyer can actually use the inventory before it sits too long.
Personalized die cut bags: pricing, MOQ, and quote basics
Personalized die cut bags are priced from a mix of size, thickness, print colors, quantity, packing format, and freight. That sounds obvious, yet many quotes are compared as if every bag were the same. A larger bag with heavier film and a two-color print can cost significantly more than a smaller one-color bag, even before shipping is added.
For a simple planning range, small custom runs often land in a much higher unit-cost band than larger orders because setup and labor are spread over fewer pieces. At volume, a basic one-color retail bag may fall into a relatively low per-unit range, while short runs, heavier gauges, or multi-color prints can move into a noticeably higher bracket. The exact number depends on region, material grade, packing requirements, and freight terms, so any quote should be read as a package rather than a bag-only price.
MOQ is usually the first place where the buyer and supplier have to align expectations. Some suppliers will accept smaller quantities, but the unit price often rises because the line still has to be set up. Others keep a standard minimum so the production run stays efficient. That is not a sales tactic as much as a production reality. If a smaller quantity is required, the cleanest way to control cost is to simplify the print, keep the dimensions standard, and avoid unnecessary finishing.
The important part of quote review is consistency. Check whether the price includes one side or both, whether the thickness is the same across suppliers, whether dimensions are measured the same way, and whether the packing method is bulk packed or retail bundled. Plate fees, proof charges, rush fees, carton counts, and freight can change the total far more than buyers expect. A quote that looks lower on paper may simply be leaving out the pieces that matter.
A useful comparison is to request matched quotes using the same bag size, same film thickness, same print count, same handle style, and the same shipping terms. If those inputs differ, the comparison is not meaningful.
| Order Type | Typical Pricing Pattern | Buyer Takeaway |
|---|---|---|
| Small quantity | Highest unit cost, setup dominates | Useful for tests, events, or short campaigns |
| Mid quantity | Better unit cost, manageable inventory | Often the most practical balance |
| Large quantity | Lowest unit cost, larger cash outlay | Best only if usage is predictable |
That pattern is why buyers should think in terms of demand, not just unit price. A lower per-bag cost does not help if the inventory sits in a warehouse for months or if the bag size was chosen to chase a cheap quote instead of fitting the product well.
Production timeline and lead time: what to expect after approval
Once artwork is approved, the order usually moves through proof sign-off, printing, conversion, inspection, packing, and shipping. That sequence is standard, but the most common delays happen before the press run starts. Artwork with missing fonts, poor image resolution, or last-minute color changes can hold up the schedule longer than the actual manufacturing step.
For a straightforward job, production can move quickly once the spec is final. More complex orders take longer, especially if they involve multiple ink colors, custom sizing, reinforced handles, or a new film structure. Shipping time matters just as much as production time. Overseas freight may add more calendar days than the factory run itself. Domestic shipments can still slow down if pallets miss a cutoff, cartons are oversized, or the carrier schedule changes.
Realistic lead time depends on the supply chain details, but buyers should generally expect a short run to move faster than a highly customized order, and a large-volume order to move faster only if the artwork is ready and approvals are not delayed. If the file is complete and the spec is locked, the factory can quote a credible timeline. If the details are still moving, any lead time estimate is a guess.
These are the usual delay points:
- Artwork with low resolution or unoutlined fonts
- Color changes after proof review
- Unclear bag dimensions or handle placement
- Slow approval from multiple internal reviewers
- Production congestion during peak periods
If the bag is part of a shipping or distribution program, ask early about carton count, palletization, and pack-out method. Those details affect not just the schedule but also the freight bill and the space required at receiving. A bag order that seems small by weight can still be bulky enough to complicate storage.
For packaging programs that need a formal transit benchmark, ISTA testing gives a better picture of handling risk than appearance alone. That kind of validation is useful when the bag is part of a larger customer experience and not just a carry item.
Common mistakes buyers make with custom die cut bags
The first mistake is choosing the wrong film thickness. Too light, and the bag stretches or tears before it should. Too heavy, and the buyer pays for a premium feel that the product inside does not need. A lot of teams try to fix a weak load with extra thickness instead of adjusting the size or adding handle reinforcement. That can help, but only if the rest of the spec is already sound.
The second mistake is crowding the artwork. Tiny text near the handle, dense disclaimers, and busy backgrounds often print worse than they look on screen. Once the bag is folded, stacked, and carried, small details become even harder to read. Clear logos and clean spacing usually outperform complex layouts. That is especially true for personalized die cut bags used in retail, where the design has to survive real handling.
The third mistake is skipping a product measurement. A bag that seems right in a mockup can feel awkward once a folded sweater, rigid box, bottle set, or bundle goes inside. If the bag is too short, packing slows down and the top edge looks strained. If it is too large, the item shifts around and the presentation feels loose. Either way, the customer notices the mismatch.
The fourth mistake is ignoring freight and storage. Thousands of bags occupy more space than people expect, and shipping can become a meaningful part of the total spend, especially for lightweight but bulky orders. If carton count, pallet space, and receiving requirements are not part of the planning, the final landed cost can be a surprise.
The fifth mistake is approving a proof too quickly. The proof exists to catch problems while they are still cheap to fix. If the logo is too close to a fold, if the type is too small, or if the color looks flat, that needs to be corrected before production. Otherwise the factory is simply reproducing the mistake at scale.
Expert tips and next steps for ordering the right bag
Start with the use case rather than the decoration. A bag for a boutique checkout line has different needs from a bag used at a trade show, and both differ from a product carrier that will be moved through several hands before the customer opens it. That use case should drive thickness, handle style, size, and print approach.
Request three things every time: a clear spec sheet, a digital proof, and a sample if the order size or timeline allows it. The spec sheet tells you what is actually being quoted. The proof catches artwork issues. The sample shows the hand-feel, handle comfort, and visual balance in a way a screen never can. That last step matters because buyers often judge a bag the same way customers do, by touch as much as by image.
Compare quotes with discipline. Same dimensions. Same thickness. Same print sides. Same packing format. Same freight terms. A lower quote that uses thinner film or a simpler pack-out is not really a like-for-like comparison. It is a different product with a different risk profile.
There is also a practical way to protect budget without making the bag look cheaper. Simplify the artwork before you stretch for more quantity. Cleaner graphics usually reduce setup pressure and look better in use. In many cases, the bag feels more premium because the brand message is sharper, not because the design is busier.
For brands building personalized die cut bags into a broader packaging system, the best workflow is fairly plain: measure the item, decide the quantity, prepare artwork, request matched quotes, and confirm approval timing before production starts. That sequence avoids most of the avoidable problems, and the problems it cannot prevent are usually easier to catch in proofing than in final delivery.
Personalized die cut bags are worth buying carefully because they do more than carry a product. They carry the brand, the color palette, and the customer’s first impression out the door. The right spec earns its place. The wrong one gets noticed immediately.
FAQ
What are personalized die cut bags used for?
They are commonly used for retail purchases, giveaways, events, apparel, cosmetics, and lightweight promotional packaging. They work best when a clean branded look and an easy carry handle matter more than rigid structure.
How thick should custom die cut bags be for retail use?
Thickness should match the product weight and the presentation standard. Light items can use thinner film, while apparel, boxed goods, or heavier retail items usually need a sturdier build to avoid stretching or tearing.
What affects the price of personalized die cut bags the most?
Quantity, size, film thickness, number of print colors, packing format, and shipping are the main pricing drivers. Rush work, special finishes, and complex artwork can raise the cost further.
How long does it take to produce custom die cut bags?
Simple orders can move quickly after proof approval, while larger or more detailed runs take longer. Lead time depends on artwork readiness, production schedule, and shipping method, so approval speed has a real effect on the calendar.
Can I order small quantities of die cut bags?
Sometimes, yes, but the unit price is usually higher because setup and production costs are spread across fewer bags. If the run is small, keep the design simple and ask suppliers what minimums they can actually support.

