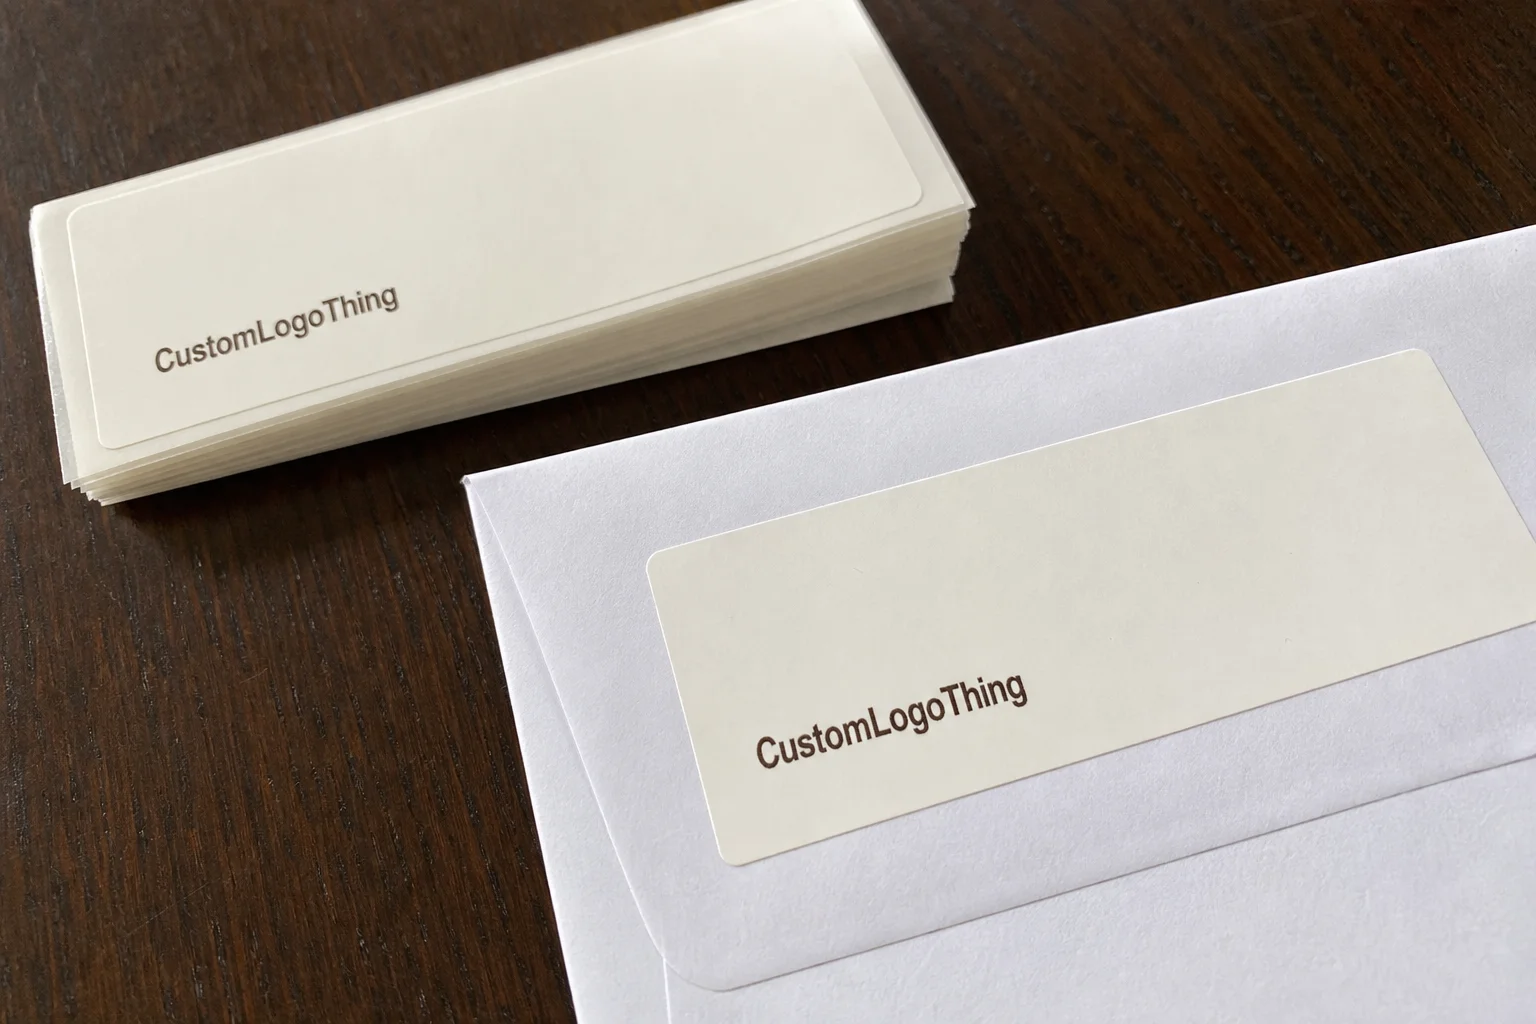
Personalized Envelope Labels: How to Order the Right Fit
Personalized envelope labels do one job that looks simple until you try to scale it: they make the envelope feel specific without turning the mailing process into manual labor. A clean label can carry a name, return address, routing code, or campaign ID and still look intentional. A poor one can drag down an otherwise strong piece, usually through small failures rather than one dramatic mistake: weak adhesion, cramped type, a finish that fights the envelope stock, or data that was never cleaned before print.
In practice, the best envelope labels are the ones nobody notices. They sit flat, read clearly, and survive sorting, stacking, shipping, and handling without curling or sliding out of position. That matters more than most buyers expect. An envelope is often the first surface a recipient sees, which means a label is not just an address field. It is part of the presentation, and part of the workflow.
The appeal is operational as much as visual. Labels let teams update names, departments, codes, or mail variants without reprinting envelopes every time a campaign changes. They also reduce handwork, which is where consistency usually starts to break down. A human can write ten addresses carefully. At five hundred, the gaps begin to show.
For teams comparing options across direct mail, invitations, onboarding kits, and B2B outreach, personalized envelope labels usually sit in a practical middle ground: more flexible than preprinted envelopes, more polished than handwriting, and easier to control than ad hoc office-label solutions.
Why personalized envelope labels still beat manual addressing
Hand addressing still has a place in very small runs or highly informal pieces. Once volume rises, though, handwriting turns into a variable the team can no longer manage. One uneven address block can make the whole mailing feel improvised. A label gives the piece a stable structure. That stability matters because the envelope is doing the first half of the communication before the contents are ever seen.
There are three practical advantages. First, personalized labels support one-to-one changes without changing the base design. Second, they create a repeatable address area that can be proofed, archived, and re-used. Third, they separate creative work from data handling, which is useful when the mailing needs names, routing instructions, postal codes, campaign IDs, or QR codes.
They are especially useful in direct mail, event invitations, sample programs, internal routing, and subscription inserts. B2B teams use them for a different reason: the envelope itself signals effort. That does not guarantee engagement, but it does change the odds. A recipient notices whether a sender cared enough to control the details.
Production-room rule: test the label on the actual envelope stock, not on a substitute. Smooth white paper, recycled kraft, and lightly coated stocks behave very differently under the same adhesive.
That last point is where a lot of first orders go wrong. A label that looks perfect on a spec sheet can still fail on a textured or fibrous envelope. If the piece is going into a mailstream, being handled by a fulfillment team, or stored before use, the envelope label has to hold through more than one condition. It is not enough that it looked good on a monitor.
For teams building a broader labeling system, the base assortment often starts with Custom Labels & Tags because it creates a predictable path for size, stock, and finish across multiple programs.
How personalized envelope labels fit different envelope stocks
There is a straightforward production logic behind personalized labels, but the details matter. Artwork is prepared first. Then the variable data file is merged, which is where names, addresses, or routing data enter the template. After that comes proofing, then printing, then finishing, and finally packing for application or fulfillment. If the order uses an unusual size or a more demanding adhesive, testing should happen before full production starts.
For short and mid-size runs, digital printing is usually the cleanest option. It handles variable data without the overhead of larger conventional setups. Hybrid production can make sense if the job mixes standard branding with version-specific content or if the stock build is more complex. For most personalized envelope labels, digital or hybrid production keeps turnaround realistic without making quality brittle.
Format is not a cosmetic choice. Sheet labels are easier for hand application, small offices, and low-volume fulfillment. Roll labels are more efficient for faster application, semi-automated equipment, or mailroom workflows. Both can work well; the wrong one just slows the team down. A label format that looks inexpensive on paper can become expensive if staff spend extra time separating, aligning, or rehandling it.
Envelope surface is the hidden variable. Smooth white stocks are usually the easiest. Textured papers, kraft, and recycled envelopes can still work, but they deserve a real test because surface texture changes how adhesive bites. On heavily textured stock, the label may need stronger adhesive or a slightly larger footprint so the edges stay down. On a lightly coated stock, the same adhesive may hold fine but take longer to settle.
Personalization does not have to stop at the recipient name. It can include postal barcodes, internal routing marks, version codes, department names, or campaign identifiers. That is useful when the envelope needs to carry operational information without cluttering the design. Done well, it looks deliberate. Done poorly, it looks like a shipping label on stationery.
There is also a practical comparison worth making. A mailer that uses the same label template across multiple campaigns is easier to control than one that keeps changing format, size, and placement. Every change increases the chance of misalignment. That is why the most efficient orders usually have a fixed base layout and only the variable fields change.
Material, adhesive, and finish choices that affect performance
A label is a small composite product. Facestock, adhesive, liner, finish, size, and print method all interact. If one part is off, the result can still look fine in proof and fail in use. Buyers often focus on color first. In mail applications, adhesion and readability usually matter more.
The three adhesive families that come up most often are permanent, removable, and aggressive. Permanent is the default for most mail pieces because it is designed to stay put on paper surfaces. Removable is useful when a label needs to be peeled away later, but it usually gives up some holding strength. Aggressive adhesive becomes relevant on textured, recycled, or irregular envelope stocks where edge lift is the main risk. It is not a universal answer, but it solves problems that standard paper adhesive cannot always solve.
Finish affects both appearance and function. Matte reduces glare and usually reads better under bright office lighting or when scanned. Gloss gives more visual punch, though reflections can get in the way on some surfaces. Uncoated finishes feel closer to stationery and can fit a more premium or natural look. If sustainability is part of the brief, check paper sourcing and certification claims instead of assuming a label is responsibly made because it looks recycled. FSC is one reference point, not a shortcut around due diligence.
Size is not trivial. The address block needs breathing room, and the label has to avoid flap folds, seams, and windows. A 2 x 4 inch format may fit a standard #10 envelope comfortably, while larger invitation pieces can justify a different shape or proportion. If the label dominates the envelope, the mailer starts to look like packaging rather than correspondence.
Storage and handling also affect performance. Heat can soften adhesive. Humidity can change how sheets separate and how inks settle. Stacks pressed too tightly for too long can make labels harder to peel. None of this is dramatic, but it explains why labels that look fine in a sample pack can become annoying in a real mailroom.
For buyers comparing options, the table below is a realistic starting point. The numbers are ballpark figures, not a quote.
| Option | Best for | Typical setup | Typical unit cost |
|---|---|---|---|
| Sheet labels | Small teams, hand application, short campaigns | Lower setup complexity, easier proofing | $0.18-$0.42 per label at 1,000-5,000 pieces |
| Roll labels | Higher-volume mailrooms, faster application | Better for dispensing equipment and fulfillment | $0.10-$0.28 per label at 5,000+ pieces |
| Specialty stock labels | Textured, recycled, premium, or unusual envelope surfaces | More testing, sometimes higher waste allowance | $0.24-$0.55 per label depending on stock and finish |
Those ranges move with quantity, coverage, and finishing. Still, they are useful because they anchor the discussion in production reality rather than vague language about premium or budget options.
Production steps and timeline from proof to delivery
A clean order starts with clean inputs. Send the envelope dimensions, stock description, label size, finish preference, adhesive preference, and recipient file up front. If the label needs barcodes or postal compliance elements, say so immediately. The earlier the constraints are visible, the fewer correction loops the job will need later.
Most projects follow the same sequence: request specs, submit artwork, confirm variable data, review the proof, approve a sample if needed, then move into production. The slowest part is usually not the print run. It is data cleanup, proof revision, and waiting for final approval. That is where time disappears.
Simple digital orders often ship in roughly 5 to 10 business days after proof approval. More complex work, including specialty materials or multi-SKU personalization, commonly falls into the 10 to 15 business day range. If the job needs testing against the exact envelope stock or a revised die, plan for longer. Rush service can compress the schedule, but it usually raises cost and reduces the margin for error.
That schedule is why a launch checklist helps. Mail teams often assume the quote is the hard part. It usually is not. The real risk is missing a field in the data file, approving the wrong version, or discovering too late that the envelope stock changes how the label behaves.
- Envelope dimensions and stock type
- Label size and shape
- Quantity and expected reorders
- Recipient data file and field map
- Color, finish, and adhesive preference
- Turnaround target and backup stock
For repeat programs, it is worth saving an approved spec sheet and file version. That turns the next run into a controlled reorder instead of a fresh design discussion. The fewer variables that change, the easier it is to keep the label consistent across campaigns.
Cost, pricing, and MOQ: what actually drives the quote
Pricing usually comes down to a short list of variables: quantity, size, stock, finish, adhesive, print coverage, personalization complexity, and rush timing. A label printed in a 500-piece run is not priced the same way as a 25,000-piece roll order. MOQ matters because setup costs have to be spread across the run. As volume rises, unit cost usually falls.
The biggest quoting mistake is comparing jobs that are not actually the same. One supplier may quote standard matte paper with light coverage. Another may include specialty adhesive, proofing, freight, and data cleanup. Those numbers are not directly comparable unless the buyer lines them up item by item. That is why quote discipline matters more than chasing the lowest headline number.
Here is the kind of cost structure buyers should expect to see in a real breakdown:
- Artwork setup or variable-data merge
- Stock and adhesive selection
- Print method and color count
- Die-cut or finishing charges
- Proofing and sample review
- Freight and any rush surcharge
- Leftover inventory risk if the run is overestimated
As a rough benchmark, a straightforward 2 x 4 inch label on standard paper stock can land around $0.18-$0.28 per unit at moderate volume. Specialty stock, low quantity, or heavier personalization pushes the number upward quickly. That is why application efficiency matters. A label that applies cleanly the first time is usually cheaper in practice than a lower-priced label that causes rework.
Buyers who manage more than one packaging or mail component often benefit from sourcing labels, tags, and envelope applications through the same supply logic. The benefit is not a vague notion of convenience. It is fewer spec mismatches, easier reorders, and a better chance that the label, envelope, and data file all agree with each other on the first run.
Common ordering mistakes that trigger reprints and delays
The most common mistake is choosing adhesive by instinct instead of testing it on the actual envelope stock. That is especially risky on recycled or textured paper. A label can look secure at first and still start lifting at the corners after shipping or stacking. The fix is simple: test the real substrate, not a near match.
Layout problems come next. Address blocks that are too small, too dense, or too low in contrast create legibility issues. A stylish proof is not enough if the text becomes hard to scan or difficult to read at a glance. Bleed, margins, and safe zones matter here because the label has to work as an address carrier before it works as a design element.
Data errors are another hidden cost. Duplicate records, missing fields, inconsistent abbreviations, and unverified postal formatting can all lead to a reprint or delay. If the recipient file comes from multiple systems, clean it before merge. The printer should not be the first place you discover that half the records are missing a suite number or use different capitalization rules.
Skipping a physical proof can also be expensive. Screen proofs are useful, but they do not show how the stock, ink, adhesive, and finish interact in real conditions. A sample on the actual envelope stock catches surprises quickly. That is far cheaper than discovering an issue after thousands of pieces are already printed.
For teams that want a practical standard, look for suppliers who can explain testing against recognized packaging practices. The ISTA testing framework is a useful reference point for handling and transit stress, even if the job itself does not require formal certification. The principle is straightforward: test the way the piece will be used, not only the way it looks in a proof.
One small test batch often prevents the largest waste. It protects timing, keeps the data team honest, and avoids the kind of last-minute merge problem that can stall a mailing entirely. That is not overengineering. It is basic risk control.
Expert tips and next steps for a cleaner first order
Start with a test application on the exact envelope stock. Not a substitute. Not a close match. The actual stock. If the label needs to cross a seam, sit near a flap, or hold on a lightly coated surface, that is the condition that matters. Everything else is a rehearsal.
Then lock one reusable label size for the majority of campaigns. A stable size simplifies artwork, reduces proof churn, and gives the team a template that can be updated without redesigning the whole system every time. The variable fields can change. The structure should not.
Ask for a spec sheet, proof, sample, and data template before the order is placed. That sounds basic because it is basic. It also removes most of the friction. A good supplier should be able to confirm stock, adhesive, finish, and turnaround in writing. If those details remain vague, the quote probably is too.
For repeat mailings, the launch checklist should include envelope dimensions, address area, quantity, recipient file, turnaround target, and backup stock. If the piece is going into a branded or regulated environment, add a final proof sign-off and a sample check on the actual envelope itself.
The result is a label program that behaves like a controlled production process instead of a one-off print order. Personalized envelope labels work best that way: not as decoration, but as a repeatable part of the mailing system. That is how they save time, protect presentation, and avoid the quiet errors that are expensive precisely because they look small.
FAQs
How do personalized envelope labels compare with direct envelope printing?
Labels are usually better for smaller runs, frequent changes, and reorder flexibility because they do not lock you into preprinted envelope inventory. Direct printing can make sense for very large, unchanged mailings, but it is less forgiving when names, campaigns, or return addresses change often. Personalized envelope labels also make it easier to test more than one design before scaling the best-performing version.
What envelope materials work best with personalized envelope labels?
Smooth, uncoated, and lightly coated envelopes are usually the easiest to work with. Textured, recycled, and specialty finishes can still work, but they should be tested for adhesion and legibility before the full run. If the surface is fibrous or uneven, adhesive selection matters as much as print quality.
Can personalized envelope labels include both branding and mailing data?
Yes. A label can carry a logo, return address, recipient name, and mailing address if the layout is planned carefully. Postal readability should come first, then branding can be placed where it does not interfere with sorting or scanning. Variable data fields make it easy to personalize each piece without changing the base design.
What is a typical turnaround for personalized envelope labels?
Simple digital jobs can move quickly once artwork and data are approved, while custom materials or larger runs take longer. The biggest delays usually come from proof revisions, missing data, and approval hold-ups rather than print time itself. Rush service is possible, but it usually costs more and leaves less room for testing.
What should I prepare before requesting a quote for personalized envelope labels?
Have the envelope dimensions, stock type, quantity, label size, finish, and adhesive preference ready. Send a clean recipient file if personalization is needed, along with any postal or barcode requirements. Ask for a proof and confirm the timeline so the quote reflects the actual production path, not just the print price.


