A missing sweater in a school laundry pile can cost more than a pack of personalized iron on labels. That feels minor until you add up the replacement garment, the time spent asking around, and the very real chance that the item never comes back. For families, camps, care facilities, and uniform buyers, identification is not a decorative extra; it is a low-cost way to reduce loss.
These labels solve a specific problem: clothing needs to stay identifiable after heat, water, friction, and repeated handling. Handwritten names fade. Stickers do poorly on fabric. Sewn tags take more labor and can feel bulky if they are not placed carefully. A well-made heat-applied label sits in the middle of that tradeoff, giving clear identification without turning every garment into a small sewing project.
That middle ground matters. Buyers usually want something fast to apply, comfortable enough to wear, and durable enough to survive the laundry cycle. A label that looks good in a proof but lifts after a few washes is not a bargain, no matter how low the starting price may be.
What personalized iron-on labels are and why they outperform handwritten tags
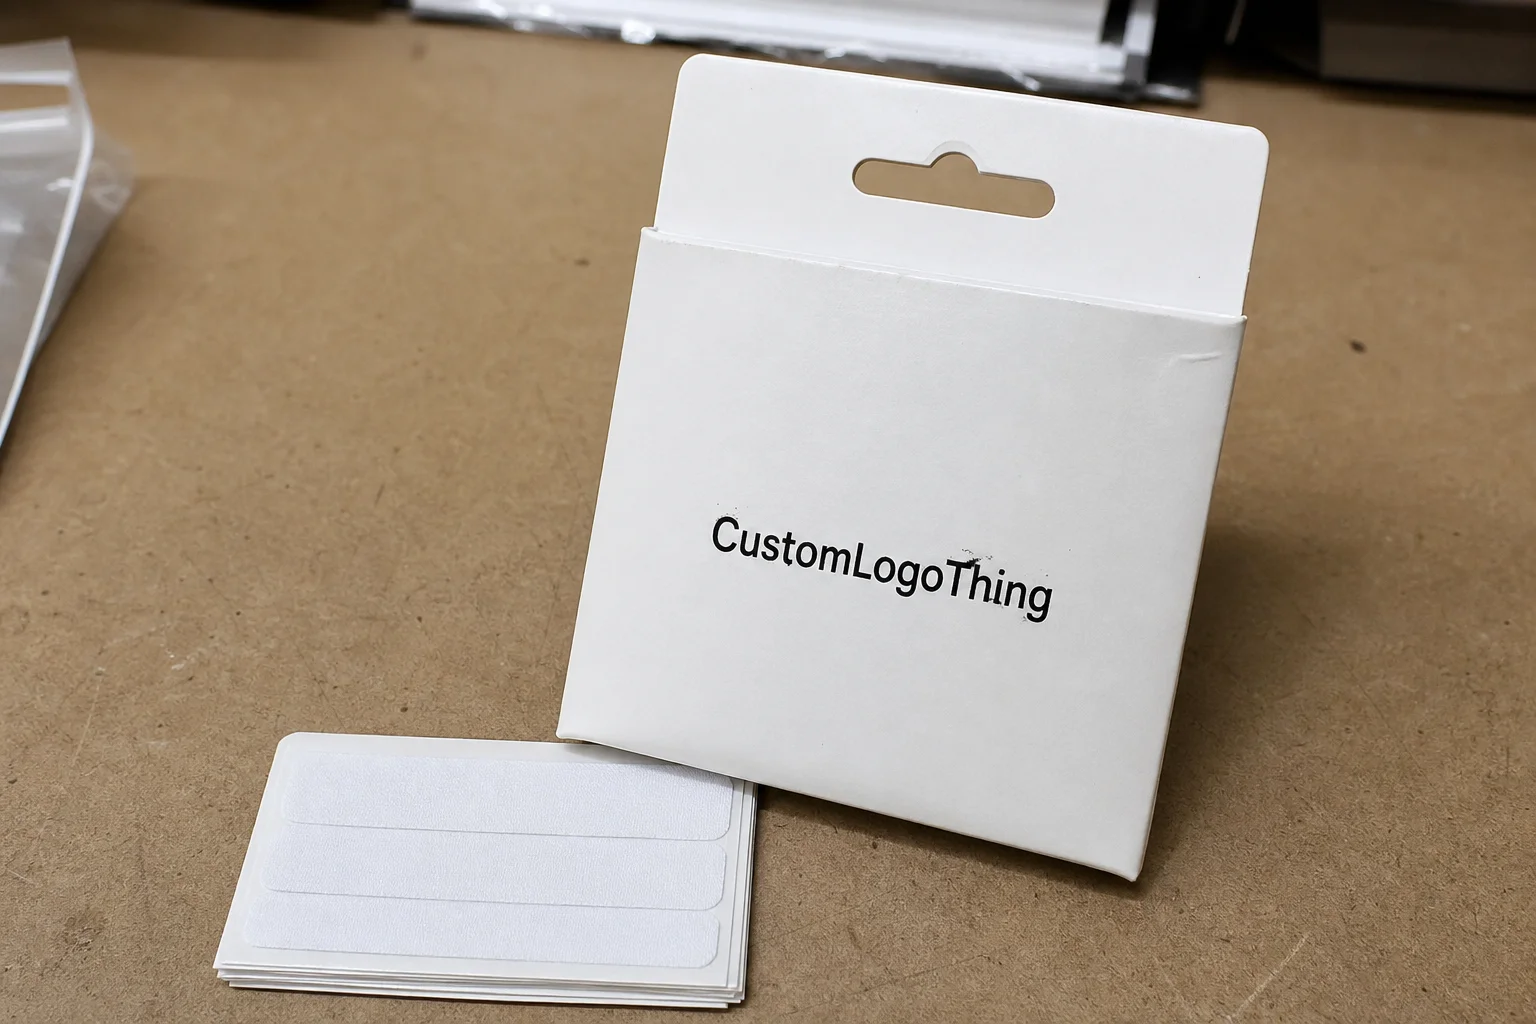
Personalized iron-on labels are heat-applied identification marks made for garments and other textiles. They are usually printed or transfer-based, then bonded to the fabric with heat and pressure. In real use, they show up on daycare clothes, boarding school uniforms, camp shirts, senior care items, athletic gear, and travel wardrobes where mix-ups happen quickly.
The buyer benefit is easy to understand. A label gives you cleaner presentation than marker writing, stronger permanence than a sticker, and less confusion in shared laundry environments. If you have ever seen three identical navy sweatshirts in one bin, the appeal becomes obvious very quickly.
There is also a cost angle that people sometimes overlook. Replacing a lost hoodie, sports top, or blazer can cost several times more than labeling an entire wardrobe. So the label is not just an accessory; it is a small prevention tool that pays for itself whenever it helps an item come home.
“The cheapest clothing label is rarely the best value if it disappears after a few washes.”
Most buyers choose these labels because they need names to stay visible even after laundering. That visibility matters for caregivers, teachers, camp staff, and resale sellers who need inventory control without loose tags or bulky stitching.
There is a practical design side to this too. A name printed clearly on a collar, hem, or care area is easier to spot and easier to sort. That sounds simple, but in a crowded laundry process, simple visibility is what keeps garments from being mistaken for someone else’s.
How the heat-transfer process works on different fabrics
The process is easy to describe and easy to get wrong. A printed or cut label is placed on the fabric, heat and pressure bond it in place, and the carrier layer is removed or left to set depending on the label construction. The result should feel secure, flat, and readable.
Not all fabrics behave the same way. Cotton is usually the easiest surface because it tolerates heat well and gives the adhesive a predictable base. Polyester blends can work too, but temperature control matters more. Nylon, fleece, stretch athletic wear, and waterproof-treated garments are trickier because they can scorch, distort, or resist bonding.
Here is the practical difference: a cotton T-shirt often gives you a wider application window, while a stretchy performance jersey may need lower heat and more careful pressure control. If the garment has a coating, a heavy texture, or a water-repellent finish, adhesion can be inconsistent. That is why one label can survive beautifully on a school polo and fail on a coated rain shell.
Heat-applied labels sit between sewn labels and adhesive stickers. Sewn labels are durable, but they take labor and can be uncomfortable if placed poorly. Stickers are fast, but fabric is not their best surface. Heat-transfer labels usually give the cleanest balance of speed, appearance, and long-term hold, provided the substrate is suitable.
Wash cycles, tumble drying, and repeated flexing matter more than the initial application alone. A label that survives the first press but lifts after three laundry loads was never fully bonded. That is a process problem as much as a product problem.
Key factors that affect durability, comfort, and readability
Durability starts with the label material. Buyers usually choose among woven, printed, satin, film, or transfer-style constructions. Woven labels feel premium and hold detail well, but they may be better for sewn applications than heat transfer. Printed and transfer-style labels often give sharper text at smaller sizes. Satin can feel smoother against the skin, which matters for children’s clothing and items worn directly on the body.
The second durability driver is abrasion resistance. Think about where the label sits. A collar tag rubbed by skin is one thing. A label on gym shorts that gets twisted, stretched, and tossed into a hot dryer is another. Ink quality, resin quality, and adhesive formulation all influence how long the mark stays legible.
Readability gets overlooked surprisingly often. A buyer may approve a script font on screen, then discover that after a few washes the letters blur together. Strong contrast, adequate spacing, and a sensible font weight matter more than decoration. For small clothing labels, a bold sans serif usually outperforms a thin script every time.
Comfort matters too, especially for children’s clothing, pajamas, and performance wear. Labels worn against the skin should be low-profile and soft enough not to irritate. For baby items and sensitive users, it can be wise to choose a smoother surface or place the label where there is less direct friction. A label can be technically durable and still be the wrong choice if it feels scratchy in everyday wear.
Some buyers also need room for practical information beyond a name. A phone number, allergy note, room number, or care instruction can be useful if the item is likely to leave home. Keep the message short. A label is not a business card, and once the text gets too dense, readability drops fast.
For organizations that care about sourcing documentation, material selection can matter as well. Recycled content, packaging specs, and certification paperwork may all be relevant, but they should be confirmed item by item rather than assumed. Packaging materials and garment-label materials are not the same category, so any compliance claim needs to be checked against the actual product being ordered.
| Label type | Best use | Comfort | Durability | Typical buyer tradeoff |
|---|---|---|---|---|
| Printed heat-transfer | School clothes, uniforms, daycare items | Low profile | High when applied correctly | Good balance of cost and readability |
| Satin iron-on | Soft garments, baby wear, close-to-skin items | Very soft | Moderate to high | Softer feel, sometimes less abrasion resistance |
| Woven sewn label | Premium apparel, uniforms, resale pieces | Moderate | Very high | More labor, less convenient for fast application |
| Transfer-style label | Performance wear, repeated laundering | Lowest bulk | High on compatible fabrics | Requires tighter process control |
Most buyers do not need the most elaborate structure available. They need the right balance of feel, legibility, and application reliability. A label chosen for a child’s school polo may not be the right choice for a sports uniform, and a performance-wear label may be overkill for a stack of camp T-shirts.
Cost, pricing, and unit-cost tradeoffs buyers should compare
Price is driven by quantity, color count, shape complexity, material selection, and packaging format. A simple one-color text label in a standard size costs less to produce than a custom die-cut shape with multiple colors and individualized naming. That pattern holds in almost every run.
For small household packs, unit pricing often looks higher because setup is spread over fewer pieces. For bulk school or team orders, the per-label cost usually drops. A realistic example: a run of 500 labels may price very differently from 5,000 labels, even if the artwork is identical, because the fixed prep cost gets spread across the larger quantity.
There are other costs hidden in the process. Artwork cleanup, proof revisions, rush production, sample runs, and split shipments can change the final number quickly. Buyers sometimes compare only the base price and forget shipping or rework charges. That is how the “cheap” option becomes the expensive one.
As a rough market observation, small custom packs for household use often fall into a higher per-piece range, while larger runs can reduce the unit cost dramatically. Exact pricing varies by size, material, and finish, but the pattern is consistent: customization and quantity drive the economics more than the name alone.
If you want a simple rule of thumb, do not judge labels only by purchase price. Judge them by lifespan, reorder frequency, and the value of the item they protect. A label that lasts through dozens of wash cycles can be cheaper overall than a bargain version that peels after a month.
Shipping performance and package handling matter too. Even though clothing labels are different from transit packaging, the same basic principle applies: test under real stress, not only on paper. If your labels are meant for repeated laundering, that repeated use is the performance test that matters.
For buyers comparing multiple suppliers, it helps to ask whether the quoted price includes one proof, any size limits, backing options, and a reprint policy if production damage occurs. Those details can change the true value of the order even when the headline price looks attractive.
Process and timeline: from artwork approval to final application
The usual workflow starts with an inquiry and ends with shipment. First comes the artwork proof. Then, if needed, a sample or pre-production review. After approval, production, finishing, packing, and shipping follow in sequence. None of that is complicated, but every handoff adds time if the details are incomplete.
Turnaround changes based on design complexity and order volume. A plain text label can move faster than a multi-element design that needs careful alignment, special color matching, or custom sizing. That is why simple orders usually move more quickly than highly customized ones.
Lead time is also affected by proof revisions, weekends, shipping distance, and seasonal peaks. Orders placed before school or camp season tend to face more competition for production slots. If the deadline matters, leave room for one round of corrections. That is often the difference between a calm approval and a rushed compromise.
Prepare your details early: exact spelling, preferred label placement, garment size range, and any care instructions. If you need split quantities or multiple family names, organize them before requesting a quote. Missing information slows the process more than almost anything else.
Fast jobs are possible, but rushed timelines usually reduce your options. You may have fewer material choices, less proofing time, and a narrower margin for error. That can be acceptable for a simple reorder. It is riskier for a first-time purchase.
For buyers comparing labels with broader garment trimming or packaging workflows, it helps to review a supplier’s category range before narrowing to the exact format. Sometimes the label type changes once the use case is defined properly, especially if the buyer is balancing comfort, wash durability, and production speed.
Step-by-step: choosing the right label for your clothing use case
- Identify the garment category. School uniforms, sportswear, baby clothes, workwear, and resale inventory all have different wash habits and comfort needs.
- Choose the application style and material. Match the label to how often the item is washed and how soft the finish must feel.
- Finalize the artwork. Decide on name format, icon if needed, font size, contrast, and any phone or care details.
- Set quantity with a buffer. Buy for current needs plus a few extras for replacement items or new garments.
- Test one item first. Apply a label to one garment using the same heat, pressure, and timing you will use for the rest.
That last step saves headaches. A one-item test can show you if the fabric is too textured, too heat-sensitive, or too stretchy for the selected label. It is a small pause that prevents a full-batch mistake.
From a buyer’s point of view, this is classic specification discipline. Define the substrate, define the use case, then choose the material. If the order is for a daycare wardrobe, the goal is different from a sports uniform or resale lot. The label should match the job, not the other way around.
Size is part of the decision too. Small neck labels can be discreet, but they may not allow much text. Larger labels are easier to read and often easier to apply consistently, though they are not always suitable for delicate garments. A useful order usually starts with the smallest size that still gives the text enough breathing room.
Common mistakes that shorten label life or waste money
The first mistake is simple: too little heat or too little pressure. Weak bonding can look fine on day one, then lift on the second wash. That usually means the application process was underpowered, not that the entire product is defective.
Another common error is applying labels to damp fabric, thick seams, or coated materials without checking compatibility. Moisture interferes with adhesion. Raised seams create uneven pressure. Coated textiles can resist heat transfer altogether. A flat, clean surface gives the label the best chance of holding.
People also approve fonts that are too delicate for real laundry life. A fine script might look elegant in a proof file, but once it goes through repeated washing, it can become hard to read. If the goal is identification, readability beats style every time.
Overordering is another trap. If the design may change soon, ordering a huge quantity creates dead stock. Underordering can be equally annoying because a second small run often costs more per unit. The smartest purchase usually sits in the middle: enough quantity to justify setup, not so much that you are stuck with obsolete artwork.
Finally, do not assume every fabric behaves the same. The same heat setting that works on cotton may damage synthetic blends. Variables matter. Even in simple garment labeling, controlled testing is better than guesswork because fabric response changes with weave, finish, and fiber mix.
One more small mistake is skipping cooling time. A label that is peeled or flexed too soon may not fully set, especially on fabrics that hold heat. Let the garment rest long enough before laundering or packing it away.
Expert tips and next steps for ordering personalized iron on labels
If you are buying personalized iron on labels for the first time, start with one garment family. That could be school polos, athletic tops, or baby bodysuits. Once the style proves itself, expand into the rest of the wardrobe. This reduces risk and gives you a better read on durability.
Always ask for a proof that shows actual size, contrast, and placement. Screen mockups can hide practical problems. A label that looks readable at full zoom may be too small on a real shirt. Ask for the label in context if possible, especially if the garment surface is narrow or the text is long.
Match label size to the available surface area. Tiny shirt necklines need different dimensions than coats or uniforms. If the label is too large, it can feel clumsy. Too small, and it disappears in the wash. The best option usually leaves enough margin around the text so the edges stay clean and the wording remains legible after laundering.
Keep a reorder note with the exact artwork version, quantity, and material. Future buying becomes much easier when you are not reconstructing the spec from memory six months later. That simple record also helps if you need to match a previous batch for replacement garments.
For buyers who want a cleaner purchasing process, the next steps are straightforward:
- Gather garment types and fabric content.
- Decide the message and any contact details.
- Compare material options and pricing.
- Request a proof before production.
- Test one label before applying the full batch.
That sequence keeps the order controlled and the outcome predictable. In clothing identification, predictable is good. If you want garments to come home, personalized iron on labels are one of the simplest tools you can buy, provided you Choose the Right material, apply it correctly, and treat the proof as seriously as the product.
For buyers comparing formats across a broader set of identification products, a general labels-and-tags category can help narrow the options before a final specification is locked in. The best result usually comes from matching the label to the garment, not from choosing the most decorative version available.
How long do personalized iron on labels usually last on clothing?
They can last through many wash-and-dry cycles when applied correctly and matched to the right fabric. Longevity depends on heat setting, pressure, fabric type, and how often the garment is laundered. Labels on high-abrasion items may wear faster than those on occasional-use clothing.
Can personalized iron on labels go on stretchy or synthetic fabrics?
Yes, but compatibility matters more than with basic cotton. Polyester blends, nylon, and stretch fabrics may need lower heat, careful pressure control, or a different label material. Always test one item first to avoid scorching, lifting, or fabric distortion.
What should I include on custom clothing labels besides a name?
A first name and last initial are common for privacy and readability. You can add a phone number, room number, allergy note, or care instruction if space allows. Keep the design simple so the text stays legible after repeated washing.
What affects the price of personalized iron on labels the most?
Quantity, artwork complexity, material type, and production setup are the biggest price drivers. Rush service, proof changes, and special finishing can raise the total cost. Buying in larger quantities often reduces the unit cost significantly.
What is the best way to apply iron-on labels so they stay put?
Use a clean, dry garment and follow the recommended heat, pressure, and timing closely. Apply to a flat area away from thick seams, zippers, or textured trims. Let the label cool and set fully before washing the item.


