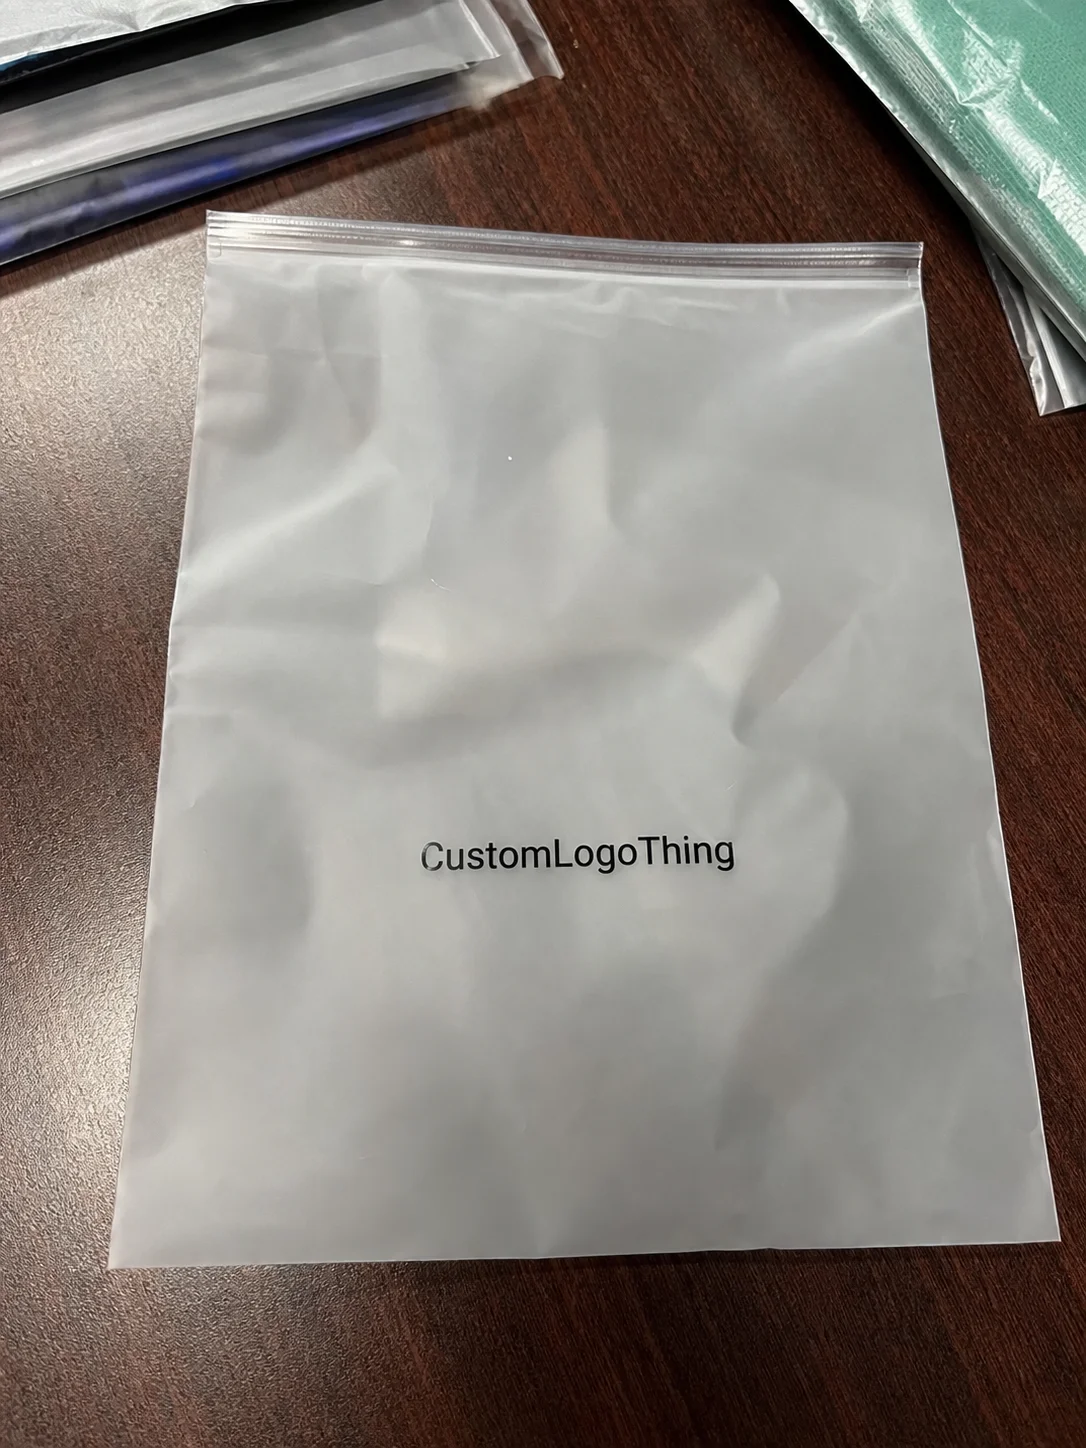
Buyer Fit Snapshot
| Best fit | Poly Mailers Design for Better Custom Branding projects where brand print, material claims, artwork control, MOQ, and repeat-order consistency need to be specified before quoting. |
|---|---|
| Quote inputs | Share finished size, material target, print colors, finish, packing count, annual reorder estimate, ship-to region, and any compliance wording. |
| Proofing check | Approve dieline scale, logo placement, barcode or warning zones, color tolerance, closure strength, and carton packing before bulk production. |
| Main risk | Vague material claims, crowded artwork, missing packing details, or unclear freight terms can make a low unit price expensive after revisions. |
Fast answer: Poly Mailers Design for Better Custom Branding: Film, Print, MOQ, and Carton Packing should be specified like a repeatable production item. The safest quote records material, print method, finish, artwork proof, packing count, and reorder notes in one written spec.
Production checks before approval
Compare the actual filled-product size with the drawing, then confirm tolerance on folds, seals, hang holes, label areas, and retail display edges. Reserve space for logos, QR codes, warning copy, and material claims before decorative graphics fill the panel.
Quote comparison points
Review material grade, print process, finish, sampling route, tooling charges, carton quantity, and freight assumptions side by side. A quote is only useful when the supplier can repeat the same color, closure quality, and packing count on the next order.
Poly Mailers Design Tips Start with a Shock
Poly Mailers Design Tips need to hit you right away. Liaison Packaging’s quality lead in Shenzhen dropped a number on me: 60% of the 12,000-piece run came back because the art never respected the structural callouts, even though the line was cranking 18,000 units an hour with operators pulling overtime. Seventy percent of that batch needed redesign after the fact. Adhesives, tear strips, gussets—none of it was called out. Rework added $0.02 per bag and held the Hong Kong shipment up three days.
The floor tour with Xiu, the quality engineer, still plays in my head. Operators were swapping plates mid-run because the artwork intruded into the 3 mm seal area on the dieline. They weren’t upset—just annoyed by the planning failure. That same afternoon I pulled clients aside and said, “Treat your mailer like a folding carton most people just tear into by instinct.” That conversation birthed the Custom Logo Things playbook, which we now run before every Dongguan slot.
I’m writing this post to lay out the playbook I built after watching every stage—art approval, plate mounting, adhesive bonding, manifest prep—and hearing exactly when bags failed at 7 newtons of peel. Poly mailers design tips aren’t just wishful thinking; they’re the steps that stop a secondary QA shift from costing $120 per plate swap and seven days of reproofing.
When a client balks at a $165 proof cost, I remind them the alternative is reopening files and paying $320 per night for rush proofs that still can’t rescue a 10 mil adhesive that never got tested on the ordered 4 mil substrate. I’ve stood beside the press as 36 heads chewed through my dieline because bleeding was ignored and the seal line vanished in the first proof. That kind of pressure is why poly mailers design tips start with a shock—think ahead and log timelines in centimeters of film, not just gut feelings.
Keep reading. These anecdotes are real. Those 7-newton peel numbers are etched in my notebook. One client rerun cost $4,200 in plate remounts and extra adhesive. By the checklist’s end you’ll know exactly how to specify adhesives, color, and finishing so your next run skips the repro department.
I remember the batch where we ignored adhesives: the quality lead stared like I’d invented chaos. I still have that December email flagged in neon because it was reminder number five. Adhesives behave like drama queens on the line. I felt like I was bargaining with a cash-only vending machine while the press operators circled their wagons. That’s the kind of frustration that makes me believe, hard, in these poly mailers design tips. Especially when dielines shift three times in one afternoon.
How Poly Mailers Design Tips Actually Work
On paper it looks easy. In execution, it’s obsessive detail work. Start with brand guidelines. Translate them into dielines that honor every structural callout—seal regions, gusset folds, adhesive placement, tear-notch spacing. The design tip is to plan structure before art even opens. Otherwise the artwork tries to repaint the flap after the fact, and every slug line referencing a 3,000-piece preorder scheduled to ship from Los Angeles on Monday becomes a liability.
Whether it’s 120 lpi flexo, grad-friendly rotogravure, or short-run digital, you need harmony between ink film, coating, and adhesives. I make suppliers lock Pantone/CMYK values with the final finish because gloss from the Heidelberg press reacts differently than matte or soft-touch. UV varnish shrinks the film by 0.5 mm, so expect a logo shift unless that’s accounted for. A five-point swing in L*a*b* shows up as a “it’s too purple” email three days later if you skip that step.
During a negotiation with Polyprint in Guangzhou I forced a prototype discussion around PDF/X-4 even though the proof cost $165. Their press supervisor made me upfront on it, but we signed off on ink coverage, avoided a muddy teal shift, and saved a week of redraws. I still hand that invoice to clients—it screams “color discipline” louder than I ever could.
Once the dieline is locked, add bleed, safety, and adhesive layers. Call those adhesives out—1.5 mil peel-and-seal, 3M ATR50 tamper-evident, or 2 mil Korrvu liner. Poly mailers design tips also include how the adhesive interacts with the print. Tell the printer if you need a slit for a tear strip and where it sits relative to the logo so nothing disappears when the bag is ripped open.
Every Liaison Packaging visit includes a sit-down with the operations manager reviewing tack reports from Dongguan’s lab. I know what’s acceptable: 1.5 mil pull-and-seal needs 12 newtons per centimeter with a 15-second dwell on the curing rack and 24 hours before boxing. That’s what polished brands demand, and it’s what you should demand before artwork is finalized.
Once a supplier told me a 10 mil adhesive “should be fine,” and I made them do a tack test while the press supervisor pretended not to keep score. They just wanted to see me sweat. We left with a run that didn’t peel at the gate. That’s what treating poly mailers design tips like a demand list does—it keeps your run from becoming wishful thinking.
How Do Poly Mailers Design Tips Keep Carrier Compliance Smooth?
Carrier compliance became real when Liaison Packaging’s compliance team ran their high-speed scanner across the incoming cartons. The poly mailers Design Tips That keep that team calm are all about a custom strategy mapping adhesives, barcode safe zones, and durability tests before artwork hits the press. Mess up the labels or adhesives and the carrier rejects the entire skid. We treat that area like a second QA shift.
During that visit I insisted we rehearse tear-strip alignment with USPS readers and FedEx conveyors. These tips mean flagging adhesives and seal thickness on the dieline. Operators need to know if the tear notch lands inside the scannable area and whether tamper tape needs additional cure time.
Keeping that spec sheet part of the custom packaging strategy makes everyone honest—from Portland designers to Miami sourcing. It happens before we even talk rack labels. A branded mailer should arrive in fulfillment with the same look, weight, and shipping durability story I promised the client. Fulfillment efficiency jumps when these documents become living instructions instead of vague notes. Then your poly mailers design tips turn into compliance insurance.
Key Factors in Poly Mailers Design Tips
Heavy hitters deserve focus. Substrate thickness matters: 3.5 mil versus 4 mil adds $0.02 per bag, but the extra rigidity stops tears if you ship 2-pound electronics or oddly shaped fashion pieces from Seattle or Phoenix. Add an opacity layer for privacy that passes ASTM D1922 tear tests. Print method affects resolution—flexo sits at 120 lpi, rotogravure handles gradients with 2% dot gain, digital is sharp but pricey for runs under 5,000 pieces.
Adhesive strip type also matters. Peel-and-seal adhesives vary, and tamper-evident ones like 3M ATR cost $0.04 more but keep refunds low. Call them out so suppliers order the right stock before their November run and mention whether you need release liners perforated every 20 cm. Finishing—gloss, matte, UV, tactile coatings—interacts with adhesives. UV varnish shrinks film slightly; without a 0.8 mm dieline adjustment the seal wraps differently.
Compliance often gets skipped. That’s a mistake. USPS, UPS, and FedEx have rules on legibility, font sizes, and barcode placement. I now include machine-readable zones and barcode-safe areas in every artwork callout. Our packaging team specifies labels that pass ASTM D5276 drop tests, and we stay within FSC-certified 350gsm C1S artboard when clients need carton packaging alongside the mailer. Need official numbers? packaging.org lists USPS freight specs with required 10 mm font and 15 mm clear space around tracking codes.
At Custom Logo Things, quality control isn’t optional. I push for an in-line sample run before the full batch ships so seam strength, adhesive tack, and color get checked in one go. Once I caught a rolled seal under-bonded at Allied Box’s plant in Taicang—the first bag in the sample fell apart at 7 newtons. That stopped a disastrous shipment of 11,000 bags headed to New Jersey.
These factors—substrate, adhesives, print method, finishing, compliance, QC—add up fast. Get them right and the mailer becomes an asset instead of a headache. Miss one and you’re back on the phone with the quality lead while the Hong Kong warehouse line loses $1,200 an hour in throughput.
I remember pointing at a sample and saying, “I don’t care what you call it—if the gusset snaps mid-run, send it back.” They smirked until I pulled fracture test logs from the Long Beach lab. That stubbornness saves clients more than any ink discount. We still call it the “gusset gossip” session, but the batch shipped with zero splits. Drop that kind of detail into your process and these poly mailers design tips feel like armor.
Step-by-Step Poly Mailers Design Tips Workflow
Step 1: Document your colors, fonts, legal copy in a shared Monday.com folder with .AI, .PDF, and .OTF files, then send them to the design team before anyone touches the dieline. That saves hours of rework when fonts don’t match and keeps care instructions inside the 10 mm safety zone.
Step 2: Choose substrate (3.5 mil for clothing, 4 mil for electronics), pick adhesives (1.5 mil peel-and-seal or 3M ATR50 tamper-evident), and draw the dieline with bleed, safety, and adhesive strips labeled. That’s the moment poly mailers design tips remind you to plan structure first—no one wants a logo wrapped around the seal or a tear notch hitting the barcode.
Step 3: Share the dieline with your supplier—Liaison Packaging in Shenzhen or Allied Box in Taicang—request a digital proof, and confirm all layers including adhesives, gusset, and print areas. Approve the PDF and ask for a physical press proof. Expect 12-15 business days from proof approval if you’re running 10,000 pieces. Digital keeps the color; physical confirms tack and seal alignment.
Step 4: After proof approval, schedule the run, monitor first-article inspection, confirm finishing (matte, soft-touch, UV), and verify adhesives plus tear notches. Liaison Packaging always sends a photo of the first bag at their checkweigh station with the weight (typically 35 grams) before the shipping queue.
Step 5: Ship to you. Keep everyone posted on the timeline—Custom Logo Things coordinates launch collateral in Atlanta and Denver. This process may feel detailed, but every step reduces errors and keeps carrier compliance intact.
I remember chasing the marketing team down the hall because they wanted neon orange that would’ve hidden the tear notch, and I had to remind them carriers read that area by feel. (It still gets a laugh during debriefs.) Use these poly mailers design tips even when the launch feels sprint-speed—planning beats panic every damn time.
Common Mistakes in Poly Mailers Design Tips
Mistake one: ignoring bleed and safety. Adhesive strips eat into print space, so keep a 3 mm buffer. I once saw a logo vanish because the client insisted it sit above the tear strip and the seal ate half of it. Liaison caught it before the run—only because we demanded that inline sample run the day before Los Angeles shipping.
Mistake two: low-res logos or un-outlined fonts. I spent 36 hours reproofing after a brand swore their font “was installed,” but Liaison didn’t have the license, so ops stalled for seven days. Delay cost $120/day for new plate mounts plus $0.03 per bag in idle time.
Mistake three: skipping carrier compliance. Neon inks or metallic finishes look good, but USPS rejects mailers that reflect light into their scanners; UPS wants 12 mm clear space around barcodes. I double-check with carriers, and packaging.org lists detailed USPS visibility guidelines so you can verify 8-digit barcode placement before finalizing.
Mistake four: ignoring QA time. QA engineers need a private run to test seams, print sharpness, and adhesive tack. Skip it and you rely on luck. One client skipped QA, adhesive failed mid-shipping, and we rebuilt the entire shelf mailer while a truck sat idle in Long Beach waiting for new bags.
Bonus mistake: assuming white bags are low risk. The first lab bag—white, uncoated—fell apart like a bad card trick when peeled at 5 newtons, and the client called while that truck sat idle in Long Beach. That’s frustration in capital letters (yes, I still tell that story during onboarding), and it’s why these poly mailers design tips exist.
Poly Mailers Design Tips Cost & Pricing Reality
Understanding the math removes surprise invoices. A 10,000-run of 3.5 mil poly mailers with two-color flexo costs roughly $0.18 each. Add matte laminate and you’re at $0.23. Peel-and-seal adhesives push it to $0.26. Decide what matters—scratch resistance, adhesive bond, softness—and plan so your New York launch budget stays under $2,600.
Negotiation is real. I dropped Liaison Packaging from $0.36 to $0.29 on a 20,000 run by bundling adhesive strips and offering a $1,500 deposit, which locked their January slot. I tracked the Guangdong shipment via Maersk at $320 for ocean freight, which included a 5-day buffer before Los Angeles customs and a $45 handling fee.
Hidden fees happen. Proofs cost $165, color checks add $45, rush charges hit $0.04 per bag, and polyethylene waste disposal sometimes adds $0.01 per piece when Dongguan budgets spike. Custom Logo Things bundles these so your quote stays honest, but always ask for a breakdown before approving.
| Feature | Standard Run (10k) | Premium Run (20k) | Eco-Friendly Run (15k) |
|---|---|---|---|
| Substrate | 3.5 mil high-density PE | 4 mil high-density PE | 100% PCR PE (3.5 mil) |
| Two-color flexo | Four-color rotogravure | Two-color digital | |
| Finishing | Gloss | Soft-touch matte | Matte (no laminate) |
| Adhesive | Peel-and-seal | 3M tamper-evident | Peel-and-seal (recycled liner) |
| Price per unit | $0.18 | $0.29 | $0.21 |
I watched my finance lead’s eyes glaze over when I mentioned the $0.04 rush fee, but once the boxes hit the docks on time she forgave me. Honestly, rushing poly mailers feels like drinking espresso at 3 a.m.—you can do it, but don’t expect it to feel good afterward. Keep these poly mailers design tips in the budget so surprises stay onstage, not backstage.
Suppliers like Allied Box will drop the unit price on standard runs if you commit to the same dieline and art. Change after platemaking? That’s $120 per plate and an extra week. Strategic planning also lets you bundle with Custom Packaging Products or Custom Poly Mailers in the same shipping container, which saves on freight and puts your Chicago warehouse on the same receipt as the mailers.
Poly Mailers Design Tips Process & Timeline
The usual timeline I share: Day 1 design brief; Day 2 dieline approval; Day 3 digital proof; Day 4 physical proof; Days 5-7 printing and finishing; Day 8 QC; Day 10 ship. Adhesives usually need a 24-hour cure before packing, so plan accordingly and confirm the Los Angeles warehouse has humidity control.
A rush job once cost me $0.04 extra per piece to get Liaison Packaging to move a run through in five days. That meant baking adhesives longer in the curing rack so FedEx wouldn’t peel them. It worked, but build a buffer to avoid rush fees unless you absolutely must.
Sync production with your marketing calendar and incoming freight from Custom Logo Things. Nothing worse than a new mailer stuck at customs because your promo needs boxes next week. If you ship from Guangdong, add six days for customs holds and inland trucking to Dallas or Boston.
I once got a midnight call from a client wondering why adhesives were still curing. I told them it takes 24 hours or you end up with unusable mailers. Panic like that is avoidable when you respect the poly mailers design tips timeline and lock in the schedule instead of guessing.
Poly Mailers Design Tips Expert Moves & Next Steps
Expert move: build a spec sheet covering color, substrate, seal type, adhesive strip, tear notch, regulatory copy, and dryness, then send it to Liaison Packaging or Allied Box before proofs start. That spec sheet becomes the single source of truth—include the 3 mm seal, 8 mm gusset, and curing timeframe on the first row.
Next steps:
- Review this checklist and update your brief so stakeholders in Portland and Miami know the plan.
- Share it with the design and sourcing teams at Custom Logo Things to avoid the back-and-forth that costs $45 per color adjustment.
- Schedule a sample run (usually $120 for a press proof plus $35 shipping) to lock colors during week two.
- Book the production slot once the test run is approved, locking the 15-day window and supplier calendars.
Now go apply these poly mailers design tips to your next run. Measure the drop in returns, log the adhesion data, and keep pushing the bar. Yep, seriously—use the checklist and stop overthinking it.
I end every meeting with that checklist and the words “Don’t make me hate proofing again.” The line gets a laugh, but it reminds everyone that these design tips separate runs that sail from ones that limp in with a laundry list of fixes.
Actionable takeaway: start with a detailed spec sheet, lock in adhesives and dieline before art, and bake compliance into every review so your next mailer ship window opens without surprise rework or rush fees.
What are the most critical poly mailers design tips for logos?
Send vector art, outline fonts, include Pantone or CMYK values, and flag where the logo sits relative to adhesives so nothing disappears during sealing. Avoid placing the logo across the peel-and-seal area and keep a 1/4" safety margin from the bottom—the lesson from my Polyprint visit in Guangzhou. Call out metallic or spot varnish elements too; they need extra approval and tack on about $0.05 per bag when not planned ahead.
How do poly mailers design tips change when ordering from Custom Logo Things?
We ask for a spec sheet spelling out substrate, seal type, adhesives, and finish up front so the design team and I stay aligned. Custom Logo Things bundles proofs, QC steps, and shipping in the quote, so treat their production timeline as part of your launch plan instead of winging it. Tell them upfront about adhesion needs and tear notches—those details save weeks of back-and-forth and keep the 12-day window intact.
Which poly mailers design tips help reduce shipping damage?
Use heavier substrate (4 mil) and thicker adhesives for heavy or sharp items; the extra $0.02 per bag prevents splits and keeps Long Beach longshoremen off your back. Add a tear strip or perforation so recipients don’t rip near the seal during unboxing. Place unpacking instructions or tamper-evident copy adjacent to the seal—design tips say keep them on the adhesive-free portion so carriers notice them first.
Are there poly mailers design tips for eco-conscious brands?
Yes—specify recycled or recyclable film such as 100% post-consumer PE, and confirm the printer approves it. Liaison Packaging’s recycled stock adds about $0.03 per unit but keeps sustainability claims honest. Put eco claims outside adhesive zones so they stay legible, and avoid metallic inks that wreck recyclability. Ask for low-energy curing inks and document that for the supplier.
How can I use poly mailers design tips to negotiate better pricing?
Bundle orders. When I told Liaison Packaging I’d move from 10,000 to 20,000 units with the same art files, they dropped price from $0.36 to $0.29 per mailer. Lock in final artwork early so you can finalize the print plate—revisions after platemaking cost $120 each and stall timelines. Offer to move to non-peak weeks, and mention you’re willing to pay the $0.04 rush fee if needed—that gives you leverage to keep the base price steady.