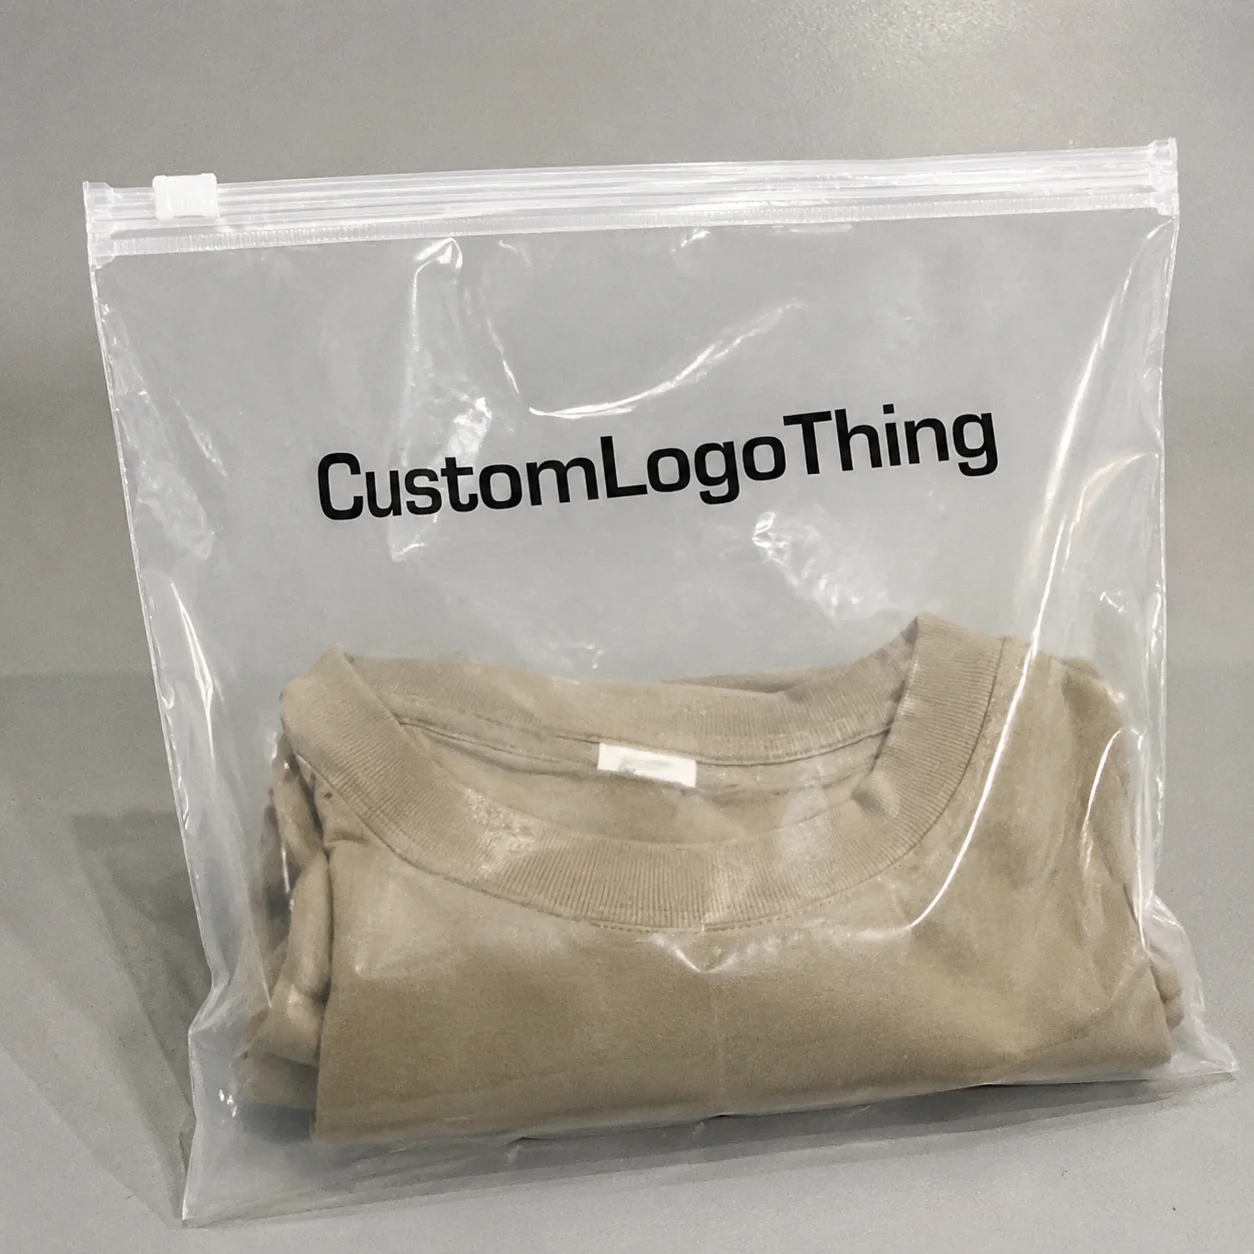
Custom Slider Lock Bags for apparel inserts keep cards, notes, small accessories, and folded items organized, clean, and easy to handle. For apparel brands, they improve packout efficiency and make the opening experience look intentional instead of improvised.
The buyer value is straightforward: a bag that fits the insert bundle well can reduce damage, improve presentation, and simplify fulfillment. If your inserts are arriving loose, bent, or scuffed, the packaging format needs to do more work.
These bags also help with repeat access. Staff can load them during fulfillment, retail teams can check contents if needed, and customers can reuse them after opening. That combination matters when the package is part of the product experience, not just a shipping afterthought.
What custom slider lock bags do for apparel inserts
A slider lock bag is a resealable plastic bag with a locking track and a small slider that opens and closes the top without tearing the film. For apparel inserts, that means folded cards, care notes, size guides, and small extras can travel as one tidy unit.
This format is useful because it solves three common problems at once: contents stay flat, pieces stay together, and the package looks more finished. That makes it a practical fit for retail packaging, e-commerce kits, promo mailers, and launch sets.
Brands typically choose this style for:
- Presentation: inserts look organized and more premium.
- Protection: paper pieces and small accessories stay clean and flat.
- Reuse: customers can reopen and reclose the bag.
- Efficiency: fulfillment teams can bundle contents quickly.
- Consistency: every pack leaves the line with the same structure.
Common uses include folded inserts, care cards, socks, scarves, belts, sample sets, and bundled promotional materials. The key point is simple: if the insert stack needs to stay neat, this format is worth comparing before you spend on more complex packaging.
Practical rule: if the insert bundle needs to stay flat, stay clean, and look intentional, a slider lock format is usually worth evaluating first.
How the slider lock mechanism works on retail packaging
A slider bag has four basic parts: the film body, sealed side edges, a closure track, and the slider itself. The film is usually LDPE or a similar flexible plastic. The slider moves across the track to close the opening and reverses to reopen it. It is simple mechanical packaging, and that simplicity is part of the appeal.
The user experience is better than many basic closures because the bag opens and closes without tearing or fighting the seal. That matters when the bag will be handled more than once, especially in apparel packaging where inserts may be checked, repacked, or reused.
Compared with other common closures, the tradeoffs are clear:
- Zip lock: lower cost and widely available, but often less premium.
- Adhesive flap: useful for one-time mailers, but not ideal for repeat access.
- Heat seal: secure and tamper-evident, but not reusable without opening the bag.
- Slider lock: easier to use repeatedly, stronger presentation, higher cost than basic options.
For apparel inserts, the closure quality matters because the contents may be handled multiple times. Fulfillment staff load them. Retail staff may inspect them. Customers may store them after opening. A closure that works smoothly on first use and repeated use is a real advantage.
Finish and visibility options also affect how the bag performs:
- Clear: best for visibility and quick content checks.
- Frosted: softer look and often a more premium feel.
- Tinted: helpful for privacy or brand color.
- Printed: supports branding, instructions, or product IDs.
- Hang-hole variants: useful for retail display.
One operational detail matters here: slider bags are bulkier than simple flat bags, so carton sizing and pack-out testing should account for that. If shipping limits are tight, test the finished pack before you commit to a full run.
Key specs that affect fit, durability, and shelf appeal
The first spec to get right is size. Measure the full insert bundle, not just the largest piece. You need bag width, usable height, and gusset depth if the stack is thick. Leave enough clearance for easy loading and for the slider to move without catching the contents.
Material choice comes next. Most buyers compare standard LDPE, recycled-content options, and heavier gauges for thicker or sharper-edged items. LDPE is flexible and familiar. Recycled-content films may help sustainability goals, though performance depends on the supplier and resin mix. Heavier film can improve puncture resistance and structure, but it raises cost.
Thickness affects both durability and how the bag feels in use. Light paper inserts may work in thinner film, while bundled cards, folded garments, or accessory sets usually need more structure. There is no universal thickness number because item shape, handling, and storage conditions all affect the right choice.
Decoration changes both cost and shelf appeal. A one-color logo can look clean and restrained. Full-panel print adds more impact but increases setup and print complexity. A transparent window keeps the contents visible. Frosted film can soften the look and hide minor imperfections in the insert stack.
Use the following as a quick comparison:
| Spec choice | Best for | Tradeoff |
|---|---|---|
| Clear film | Visibility and easy content checks | Shows everything inside |
| Frosted film | Premium feel and softer appearance | Less product visibility |
| Light gauge | Flat paper inserts and low handling | Less resistance to puncture |
| Heavier gauge | Bundles, thicker items, warehouse handling | Higher cost and more material |
| Simple logo print | Branding without clutter | Limited decorative impact |
| Full-panel print | Promotional or retail packaging | More setup and higher cost |
Also consider static, scuffing, and moisture resistance. Those issues can matter when the inserts are glossy, the warehouse is humid, or the bag is handled many times before the customer sees it. A bag can look good and still perform poorly if the seal is inconsistent or the film picks up dust.
For teams that want a more disciplined buying process, transit testing habits inspired by ISTA can help catch packing failures before launch. If your sustainability team wants recycled-content claims, ask for exact resin documentation rather than relying on assumptions.
Cost, pricing, MOQ, and what changes your unit cost
Price is driven by size, film thickness, print coverage, slider color, and order quantity. Larger bags, thicker film, more print, and lower volume all push unit cost up. That is the basic math, and it applies across most custom printed packaging.
MOQ exists because the supplier has setup, material planning, and production waste to cover. Smaller runs usually cost more per unit because those fixed costs are spread across fewer bags. If your quantity is low, compare custom printing against a stock bag with a label or insert card. In some cases, the simpler option is the smarter one.
Typical cost drivers include:
- Artwork complexity: single-color logo versus multi-color graphics.
- Film thickness: heavier gauges cost more.
- Slider color: standard colors are usually cheaper than custom-matched sliders.
- Special features: hang holes, tear notches, frosted finishes, and extra pockets.
- Freight: bulky bags can add meaningful shipping cost.
Stock-style plain slider bags are usually the fastest and least expensive option. Custom printed versions cost more because of setup and decoration. For customer-facing packaging, the added cost is often justified. If the bag only lives inside a shipper carton, the spend may not be worth it.
Ask for a quote breakdown that separates material, print method, tooling or setup, freight, and any add-ons. If a quote looks unusually low, the missing cost often appears later in shipping, change fees, or a vague lead time.
For broader packaging planning, compare this component against other Custom Packaging Products so you understand where the bag sits in total brand spend. In some programs, slightly better insert packaging gives more perceived value than spending the same money on the outer carton.
Process and timeline from artwork to production
The buying process should be straightforward: confirm specs, prepare artwork, review proofs, approve a sample if needed, then move into production and shipment. The weak point is usually the buyer side, not the factory side. Unclear dimensions and bad artwork files slow jobs down quickly.
Common delays come from low-resolution logos, incomplete measurements, color changes after proofing, and repeated edits to text or layout. If the artwork started as a screenshot or an old file from an abandoned brand folder, expect problems.
Timeline depends on whether you are ordering a stock-based customization or a fully custom printed bag. Stock formats move faster. Fully custom builds take longer because the supplier needs more setup and approval time. Production time also depends on order complexity and factory capacity, and freight time always needs to be added on top.
Sampling is the best way to reduce risk. A digital mockup is useful for layout, copy placement, and logo position. A physical sample is better for checking fit, closure feel, clarity, and how the bag behaves with your actual insert bundle. For important launches, a sample is worth the extra time.
Good suppliers should give milestones for proof approval, sample dispatch, production start, packing, and shipping. That visibility matters when the bags are part of a launch, seasonal drop, or retail event.
Buyer rule: if the timeline does not include sample review and freight, it is not a timeline. It is a guess.
Common mistakes buyers make with insert packaging
First mistake: buying to the largest item instead of the full stack. That leads to bulging corners, poor slider movement, or a bundle that looks stuffed. Measure the complete insert set.
Second mistake: choosing the lowest thickness because the unit price looks good. Thin film can crease, feel flimsy, or fail during fulfillment. Saving a cent and creating packout issues is not a useful trade.
Third mistake: overprinting. A giant graphic is not always better. In many cases, a clean logo or restrained mark looks more premium than a fully covered bag.
Fourth mistake: ignoring how the closure feels after repeated use. If the slider catches or skips, staff and customers notice. That matters for any retail-facing package.
Fifth mistake: skipping sample checks. You need to verify fit, seal strength, clarity, and ease of opening and closing with the actual inserts inside. Screens do not show real handling behavior.
Sixth mistake: forgetting logistics. Carton pack-out, warehouse humidity, freight compression, and storage handling all affect performance. A bag that works in a sample room may behave differently after shipping and pallet stacking.
The short version: packaging is a system. The bag is one component of that system, not a standalone purchase.
Expert tips for choosing the right bag without overspending
Start with the insert bundle, not the bag catalog. Measure the real stack and add practical clearance. That prevents overspending on oversized bags and helps avoid a poor fit.
Choose the lightest viable gauge that still feels sturdy after handling. Many buyers assume thicker is always safer, but that often just raises cost without adding enough benefit. Test before you commit.
Use print placement strategically. If the contents should stay visible, keep branding minimal and leave a clean window. If the package needs more brand presence, use frosted film or a restrained full-panel design. The right choice depends on whether the bag is for retail display, e-commerce, or a promotion.
If the insert program is seasonal or temporary, keep the spec simpler. Special colors and extra features can create leftover inventory when campaigns change. Cleaner specifications usually give you more flexibility.
Ask the supplier for use-case guidance. The right build for a shelf display is not always the right build for a fulfillment line. A good vendor should be able to explain the difference in practical terms.
If you want one rule that saves money, pay for the detail the customer actually touches. On slider bags, that is usually closure feel, print clarity, and fit.
Next steps for ordering the right insert bags
Build a spec sheet before you request quotes. Include dimensions, insert count, material preference, print needs, and target quantity. If you have artwork, send a usable file, not a blurry screenshot.
Then collect two or three quotes and compare them on unit cost, MOQ, lead time, and sample policy. Do not compare only the base price. A cheaper quote can become more expensive if freight is unclear or approvals drag on.
Ask for a mockup using your actual artwork so you can check readability and logo placement before production. If the bag is customer-facing, make sure the branding works at real viewing distance.
Confirm carton packing, freight method, and storage needs if you are ordering ahead for a launch. Slider bags are easy to store, but they can still be damaged by poor stacking or moisture.
Approve the final proof only after checking fit, closure feel, and branding alignment. Then place the order. That sequence — measure, quote, sample, approve — is the most reliable way to get custom Slider Lock Bags for apparel inserts delivered on time and aligned with the packaging brief.
FAQs
What size custom slider lock bags for apparel inserts should I order?
Measure the full insert stack, not just the largest piece. Add clearance for easy loading and slider movement. If you are bundling multiple cards or folded items, account for thickness, not only width and height.
Are slider lock bags better than zip bags for apparel inserts?
Slider bags are easier to open and close repeatedly, and they usually feel more premium for retail or direct-to-consumer presentation. Zip bags can be cheaper, but sliders are often the better choice when usability matters.
What affects the price of custom slider lock bags the most?
Bag size, film thickness, and print coverage drive most of the cost. Higher quantities usually reduce unit price. Rush timelines, special finishes, and complex artwork can raise the total.
How long does production usually take for custom slider lock bags?
Stock-based orders move faster than fully custom printed bags. Artwork approval and sampling can add time before production starts. Freight time should always be included so the bags arrive before your apparel deadline.
Can I use custom slider lock bags for folded shirts or just inserts?
Yes, but the bag should be sized for the full folded garment, not just the insert. Heavier or thicker items may need a stronger film gauge. If branding and protection both matter, a test sample is worth it before ordering in volume.