Buyer Fit Snapshot
| Best fit | Shipping Bags projects where brand print, material claims, artwork control, MOQ, and repeat-order consistency need to be specified before quoting. |
|---|---|
| Quote inputs | Share finished size, material target, print colors, finish, packing count, annual reorder estimate, ship-to region, and any compliance wording. |
| Proofing check | Approve dieline scale, logo placement, barcode or warning zones, color tolerance, closure strength, and carton packing before bulk production. |
| Main risk | Vague material claims, crowded artwork, missing packing details, or unclear freight terms can make a low unit price expensive after revisions. |
Fast answer: Shipping Bags: Film, Print, MOQ, and Carton Packing should be specified like a repeatable production item. The safest quote records material, print method, finish, artwork proof, packing count, and reorder notes in one written spec.
Production checks before approval
Compare the actual filled-product size with the drawing, then confirm tolerance on folds, seals, hang holes, label areas, and retail display edges. Reserve space for logos, QR codes, warning copy, and material claims before decorative graphics fill the panel.
Quote comparison points
Review material grade, print process, finish, sampling route, tooling charges, carton quantity, and freight assumptions side by side. A quote is only useful when the supplier can repeat the same color, closure quality, and packing count on the next order.
I still remember the moment I realized our shipping bags were eating into profits more than our rent. It was a Tuesday afternoon, and I was standing in our fulfillment warehouse watching my team repack the third damaged item that week. The customer had ordered a silk scarf—a $45 product—and it arrived with a tear through the middle because we'd used a 2mil poly mailer for something that really needed better protection. That single shipping bag decision cost us the product, the customer, and probably $60 in total expenses.
Sound familiar? If you're running an ecommerce business and haven't thought seriously about your shipping bags how to choose strategy, you're probably leaving money on the table. Not just in damaged goods, but in carrier surcharges, customer returns, and lost brand reputation.
In this guide, I'm going to walk you through everything I wish someone had told me when I was scaling my packaging business. We'll cover materials, costs, sizing, and the exact questions to ask suppliers so you can make confident decisions for your operation.
Why Your Shipping Bags Might Be Costing You More Than You Think
Here's what most people don't realize about shipping bags: the unit cost is almost never the biggest expense. Let me give you a real scenario. Say you're buying 10,000 poly mailers at $0.18 each. That's $1,800 upfront. Sounds reasonable, right? But if 3% of those shipments result in damage claims averaging $35 per incident, you're looking at $10,500 in claims. The shipping bag that saved you $0.05 per unit just cost you significantly more.
During a factory visit to a facility in Dongguan three years ago, I watched the quality control process for a major US retailer. Their rejection rate was 2.3%—meaning for every 1,000 bags produced, 23 were visually imperfect. The manufacturer offered them two options: accept the 2.3% defect rate with a $0.14 per unit price, or pay $0.19 per unit for a 0.5% defect rate. That retailer chose the premium option because their internal data showed their damage rate during transit was already 1.8%. They couldn't afford to stack packaging defects on top of shipping risks.
The hidden costs of order fulfillment mistakes compound quickly. Consider these factors:
- Product replacement costs: Direct expense to ship a replacement item plus the original cost of goods
- Customer service time: Average handling time for a damage claim is 15-25 minutes of staff time
- Shipping surcharges: Carrier dimensional weight charges when bags don't match your actual product dimensions
- Customer lifetime value impact: A damaged delivery creates a negative first impression that's hard to overcome
I've seen businesses obsess over getting the cheapest shipping bags how to choose option, then spend more on customer service overhead than they ever saved. The math simply doesn't work in your favor when you under-protect your products.
Understanding Shipping Bags: Types and Materials Explained
Before you can answer the shipping bags how to choose question, you need to understand what you're actually selecting between. Let's break down the main categories.
Poly Mailers vs. Kraft Paper Mailers
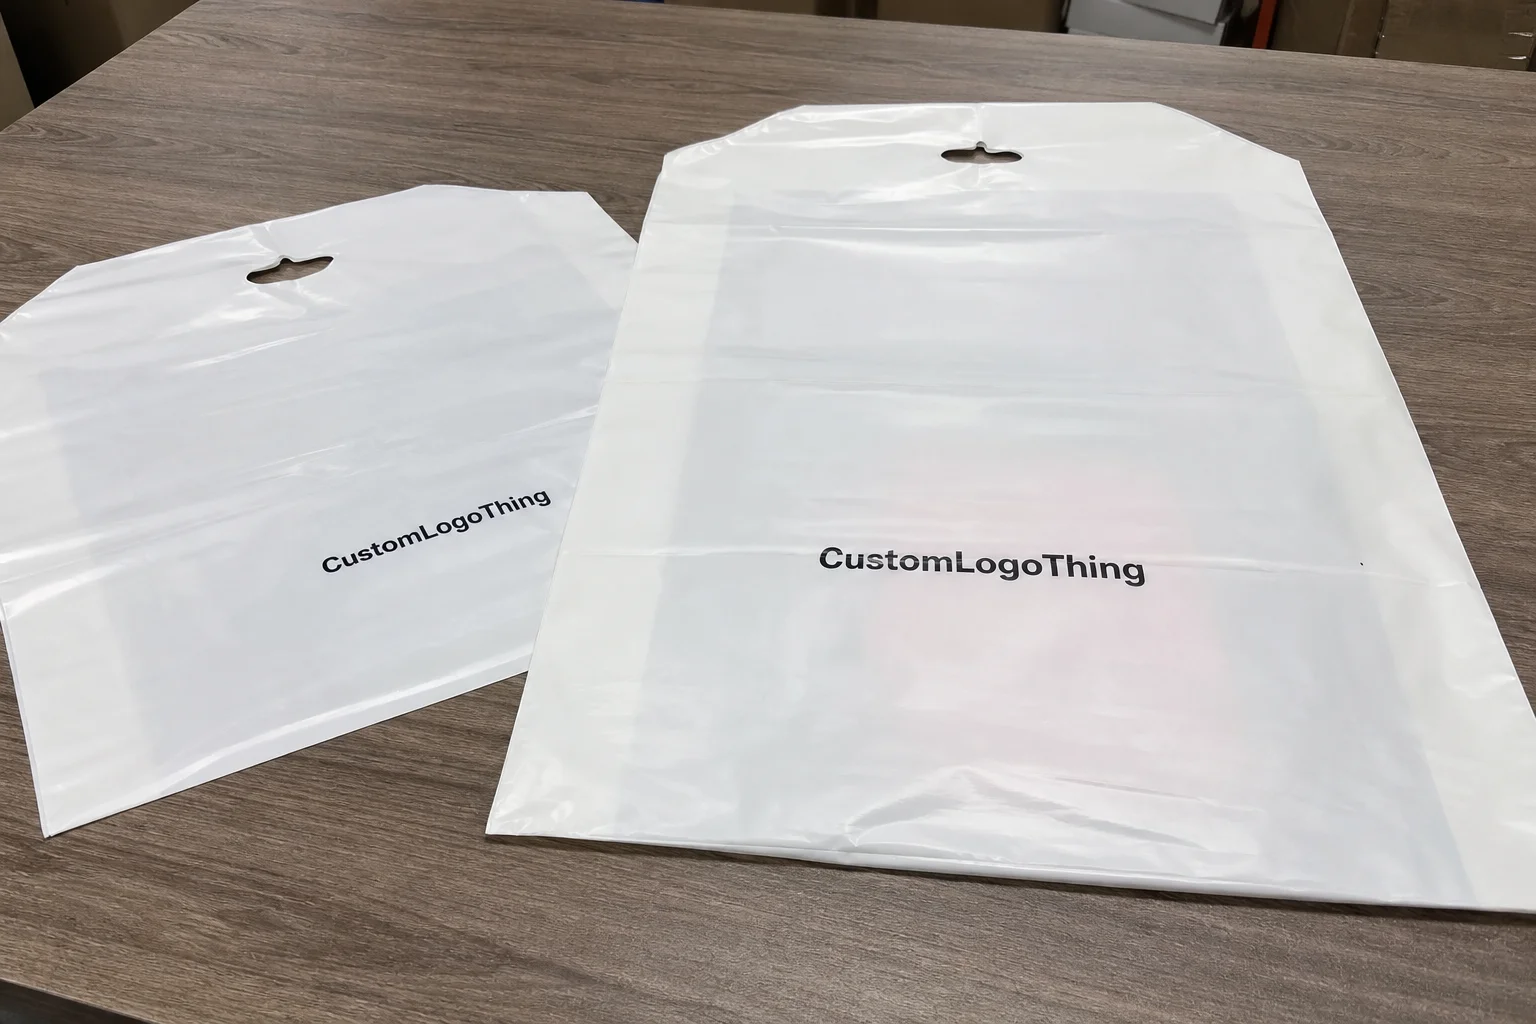
Poly mailers are made from polyethylene—a flexible, water-resistant plastic. They typically come in thicknesses ranging from 1.5mil to 4mil. The 2mil version is the standard workhorse for lightweight apparel and soft goods. I use Custom Poly Mailers for most of my clients who ship clothing, accessories, and non-fragile soft goods.
The advantages are significant: poly mailers are lightweight (which keeps your shipping costs down), water-resistant, and relatively inexpensive. A standard 10"x13" 2mil poly mailer runs about $0.12-$0.18 per unit in quantities of 5,000. The downside is they don't provide much structural protection and can feel cheap to customers expecting a premium unboxing experience.
Kraft Paper Mailers, on the other hand, offer a different set of benefits. Made from recycled paper fibers, they provide better puncture resistance relative to their weight than poly. A 4.5mil kraft paper mailer can handle more abuse than a 2mil poly mailer. They're also more sustainable—important if your brand positioning emphasizes environmental responsibility.
The trade-off is cost and water resistance. Kraft paper mailers typically cost 25-40% more per unit than poly equivalents. They're also not inherently waterproof, though many manufacturers offer a water-resistant coating that adds about $0.03-$0.05 per unit.
Understanding Thickness: Mils, GSM, and What Actually Matters
Thickness gets confusing because the industry uses two different measurement systems. For poly bags, we talk about mils—one mil equals one-thousandth of an inch. So a 2mil bag is 0.002 inches thick. For paper products, we use GSM, which stands for grams per square meter.
Here's the practical breakdown for ecommerce shipping needs:
- 1.5-2mil poly: Suitable for lightweight items under 2 pounds—soft apparel, fabric accessories, paperback books
- 2.5-3mil poly: General purpose for items 2-5 pounds—multiple garments, soft goods bundles, heavier accessories
- 3.5-4mil poly: Heavy-duty for items 5-15 pounds—shoes, electronics, durable goods
- 80-120 GSM kraft: Paper mailer equivalent range for similar weight categories
What actually matters is puncture resistance and tear strength, not just thickness alone. I've tested 2.5mil mailers from different manufacturers where one tore immediately when dragged across a cardboard edge, while another held up fine. Always request samples and do your own handling tests before committing to a supplier.
Biodegradable and Recycled Options
The sustainability question is getting harder to ignore. According to the EPA's guidelines on sustainable packaging, businesses should consider the full lifecycle impact of their packaging choices.
Here's my honest take on shipping materials sustainability: biodegradable and recycled options have improved dramatically in the past five years, but they're not always the right choice for every business.
Biodegradable Poly Mailers made from materials like oxo-biodegradable or PLA (polylactic acid from corn starch) typically cost 20-35% more than standard polyethylene. They work, but they require specific conditions to actually degrade—conditions that don't exist in most landfills. Recycled content mailers range from 30-100% post-consumer recycled material, with pricing scaling accordingly.
If your customers are environmentally conscious and your brand story emphasizes sustainability, the premium might be worth it. I've had clients report that switching to recycled kraft mailers improved their customer feedback scores. But if you're shipping budget-friendly products where margins are tight, the cost increase might not pencil out.
Water-Resistant vs. Water-Repellent: The Difference Matters
I see this conflated constantly, and it matters more than most people realize. Water-resistant means the material can handle brief exposure to moisture without immediate penetration. Water-repellent means the material actively sheds water through surface tension.
For standard poly mailers, you're usually getting water-resistant protection—meaning they'll protect against rain and humidity during normal transit conditions. But if a package sits in standing water for an extended period, expect seepage.
For products where moisture protection is critical—cosmetics, electronics, food items—you'll want to specify a water-repellent treatment or consider poly bag-within-mailer layering. Some manufacturers offer a dual-layer construction with an inner polyethylene liner that's genuinely waterproof, even if the outer mailer layer looks like standard kraft paper.
Key Factors to Consider When Choosing Shipping Bags
Now we're getting into the practical decision framework. When I'm helping a client determine the best shipping bags how to choose approach, we work through five key factors in order.
Size Selection: The Goldilocks Principle for Ecommerce
Too small, and you damage products trying to force them in. Too large, and you waste material, pay dimensional weight penalties, and look unprofessional. The right size is the one that fits your product with 2-3 inches of extra space for easy loading and secure closure.
Here's my sizing methodology: measure your product in three dimensions (length, width, height), then add 2 inches to length and 1.5 inches to width and height. This gives you the minimum bag size. From there, round up to the nearest standard size your supplier offers. Common standard sizes for package protection include:
- Small: 6"x9" – ideal for jewelry, small accessories, individual documents
- Medium: 9"x12" to 10"x13" – fits most apparel items, small soft goods
- Large: 12"x15" to 14"x18" – multiple garments, larger accessories, bundled items
- Extra Large: 15"x19" to 18"x24" – shoes, larger products, multi-item orders
For fragile items that need interior protection, consider using a Custom Shipping Boxes rather than a mailer. The line between bags and boxes should be drawn at your product's fragility level.
Weight Capacity and Product Compatibility
This is where transit packaging decisions get product-specific. A silk blouse has different requirements than a ceramic mug, even if they're the same physical dimensions.
Before finalizing your shipping bag selection, answer these questions:
- What is the maximum weight of your heaviest product including interior packaging?
- Does your product have any sharp edges or corners that could puncture a bag?
- Is your product rigid or does it need structural support during handling?
- Does moisture or static electricity pose any risk?
If you're shipping anything with corners—hardback books, electronics with hard shells, ceramic items—consider reinforced mailers with extra material at corners, or switch to boxes. I learned this the hard way when a client was losing 4% of their ceramic mug shipments due to corner tears. The fix was a simple corner-reinforced mailer that added $0.04 per unit but eliminated the damage entirely.
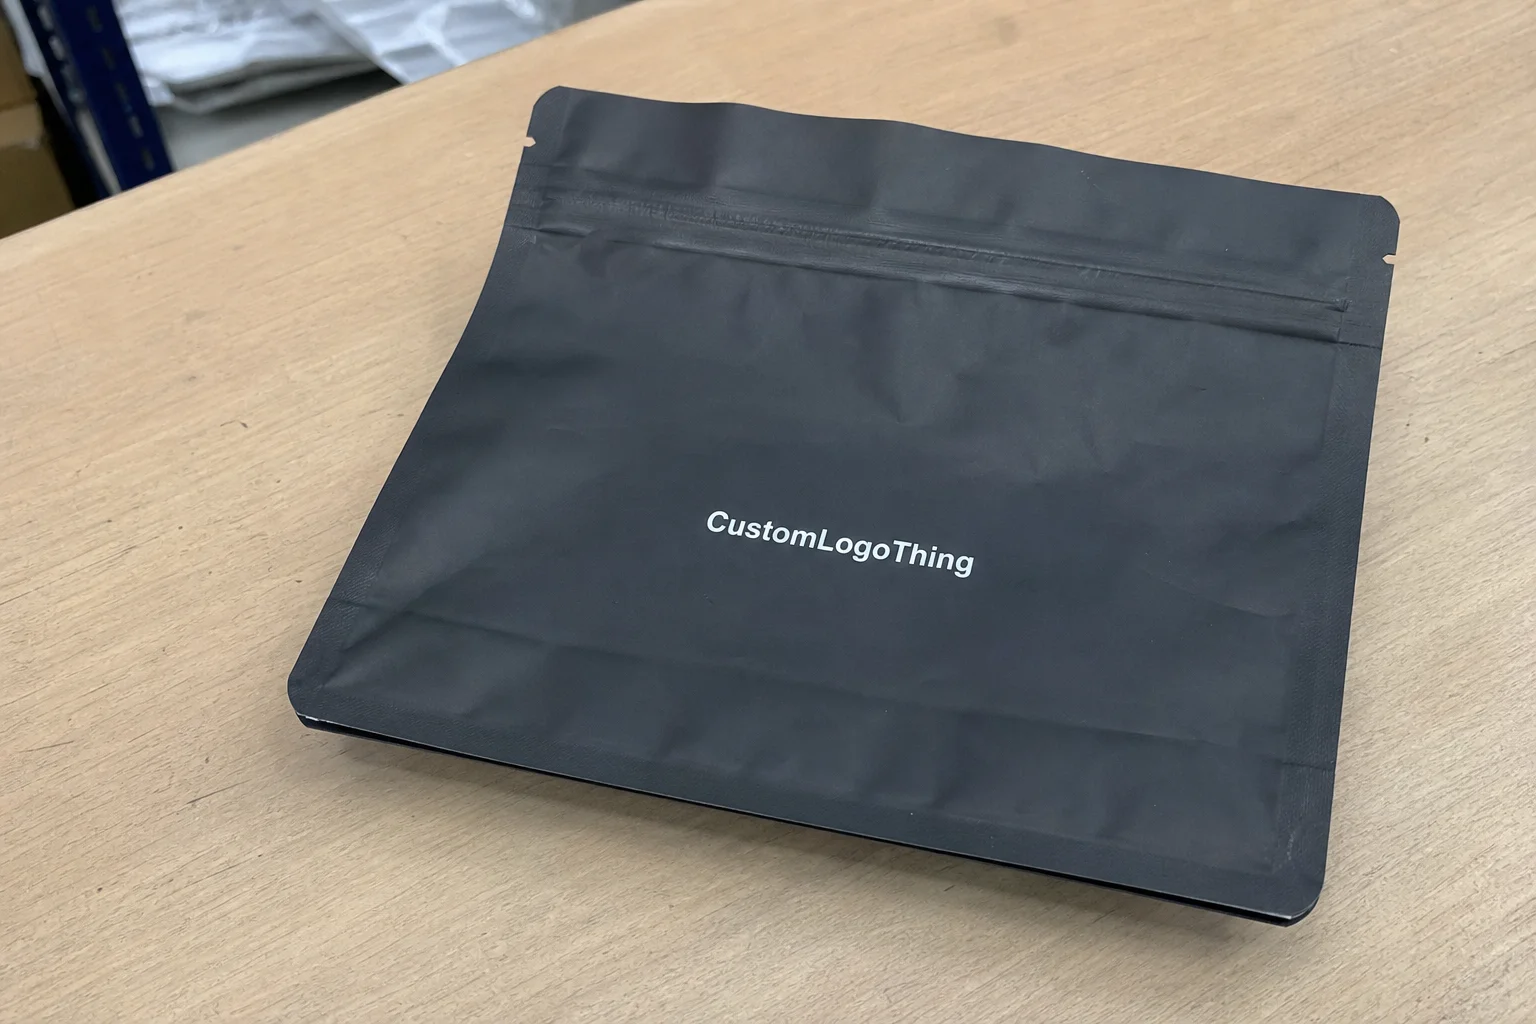
Brand Presentation: Matte, Glossy, or Kraft Natural?
Your shipping bag is often the first physical touchpoint a customer has with your brand. It arrives before they open it, so it sets the tone for the entire experience.
Matte finishes look sophisticated and modern. They photograph well for social media unboxing content and convey a premium feel. Cost-wise, matte lamination adds approximately $0.05-$0.08 per unit on top of base printing costs.
Glossy finishes make colors pop and give products a shiny, vibrant appearance. They're slightly more resistant to scuffs and dirt during shipping. The downside is they show fingerprints and can look cheap if the underlying design isn't high-quality.
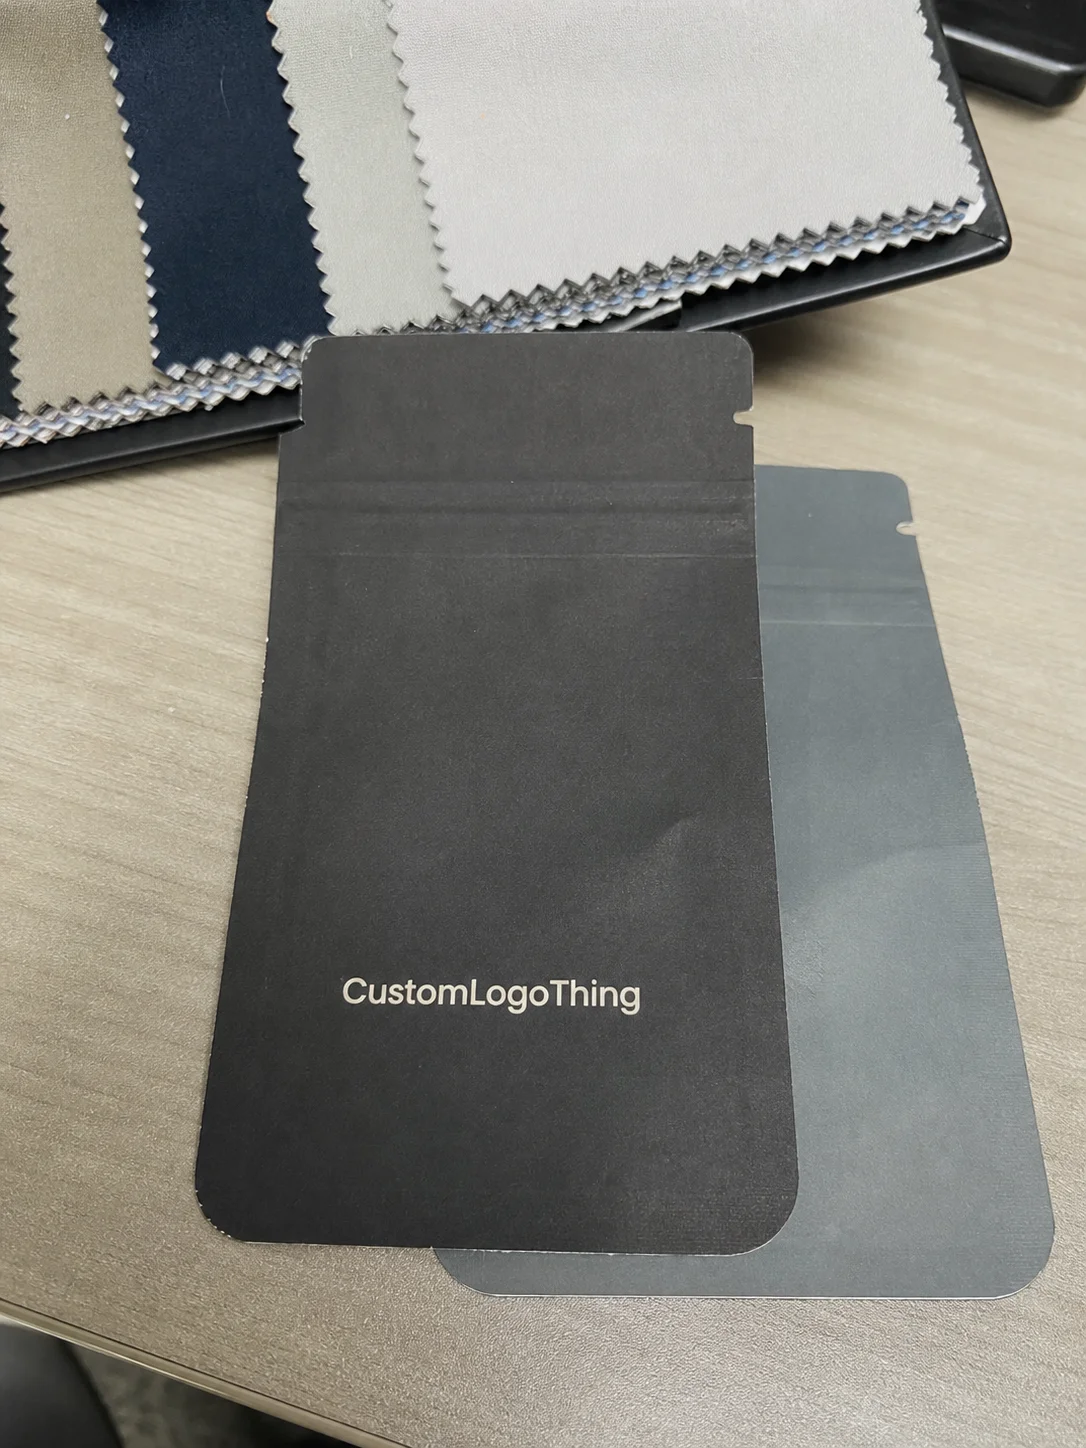
Kraft natural has become incredibly popular for brands positioning around sustainability or authenticity. The brown paper look works well for artisanal, handmade, or eco-conscious products. It's worth noting that printing on kraft requires specific design considerations—light ink colors won't show up well, so your design palette needs to account for the brown base.
Tamper Evidence and Security Features
For high-value items, the tamper evidence features in your shipping bags how to choose decision become critical. Options include:
- Self-adhesive closures: Peel-and-seal strips that leave visible residue if opened and resealed
- Ultrasonic sealing: Heat-free sealing that creates a permanent bond—any attempt to open leaves clear damage
- Void patterns: Patterns printed inside the closure that show "VOID" if tampered with
- Fragile tape integration: Some mailers include built-in fragile tape with tamper-indicating patterns
For items over $50, I recommend at minimum a self-adhesive closure with permanent adhesive. For items over $150, consider the ultrasonic sealing or void pattern options.
Breaking Down the Costs: What to Expect to Pay
Let's talk numbers. The shipping bags how to choose question ultimately has to account for budget, and I want you to have realistic expectations before you start soliciting quotes.
Here's a cost breakdown by material type at various quantity tiers:
| Material Type | 1,000 units | 5,000 units | 10,000+ units |
|---|---|---|---|
| Standard 2mil Poly (white) | $0.18-$0.22 | $0.14-$0.18 | $0.10-$0.14 |
| Kraft Paper 90GSM | $0.22-$0.28 | $0.18-$0.24 | $0.14-$0.20 |
| Biodegradable Poly | $0.24-$0.32 | $0.20-$0.26 | $0.16-$0.22 |
| Recycled Kraft + Water Resistant | $0.28-$0.38 | $0.24-$0.32 | $0.20-$0.28 |
| Custom Printed Poly (2 colors) | $0.45-$0.65 | $0.32-$0.48 | $0.25-$0.38 |
These are indicative ranges—actual pricing varies by supplier, region, and current material costs. The key insight is that dimensional weight calculations often matter more than the unit price of the bag itself. A $0.08 bag that forces you into a higher shipping tier might cost more overall than a $0.14 bag that fits more efficiently in carrier pricing.
Where to Source: Domestic vs. Overseas Suppliers
I've worked with both domestic and overseas manufacturers, and the choice isn't as simple as "cheap overseas vs. quality domestic." Here's my breakdown:
Domestic suppliers (US, Canada, EU) typically offer:
- Lead times of 1-2 weeks for standard products, 3-4 weeks for custom
- Higher per-unit costs but lower minimum order quantities (starting at 500-1,000 units)
- Easier communication and dispute resolution
- More consistent quality control standards
Overseas suppliers (primarily China, Vietnam, India) typically offer:
- Lower per-unit costs at scale, often 40-60% less than domestic
- Minimum orders of 2,500-5,000 units for custom products
- Lead times of 4-6 weeks including shipping for standard, 6-10 weeks for custom
- More complexity in quality control and communication
My recommendation: start with domestic for your first order to work out any quality issues and establish your specifications. Once you have a clear brief and know exactly what you want, switch to overseas suppliers for the cost savings on reorders.
Hidden Costs to Watch For
When you're evaluating shipping bags how to choose from a cost perspective, watch out for these often-hidden expenses:
- Plate or cylinder charges: $200-$800 one-time fee for printing setup
- Design or artwork preparation fees: $50-$200 if your artwork needs prepress work
- Sample costs: $20-$50 per sample for custom products, sometimes refunded on orders
- Shipping and import duties: Can add 15-25% to overseas orders depending on classification
- Payment term premiums: Paying upfront vs. net 30 can affect pricing by 3-5%
Always get a full landed cost quote that includes all of these factors before comparing suppliers.
The Step-by-Step Process for Selecting Your Shipping Bags
Let me walk you through the actual process I use with clients. This isn't theoretical—it's the methodology that's worked for hundreds of packaging selections.
Step 1: Assess Your Products Honestly
Before looking at any catalogs or supplier websites, catalog your actual products. For each product category you ship, document:
- Physical dimensions (length, width, height in inches)
- Weight range (minimum and maximum including packaging)
- Fragility level (1-5 scale)
- Moisture sensitivity
- Value per unit
- Whether items have corners, sharp edges, or irregular shapes
Group your products into shipping categories based on these assessments. You might find you need only two or three bag sizes to cover your entire catalog, or you might discover you have five or six distinct shipping requirements.
Step 2: Request Samples—This Step Is Non-Negotiable
I cannot stress this enough: never place a production order without physical samples in hand. Every supplier should offer samples—typically charging $5-$20 for a set of various sizes and configurations.
When your samples arrive, do these tests:
- Fill test: Actually put your product in the bag and try closing it. Does it fit comfortably? Are there areas of excess stress on the closure?
- Drop test: Fill the bag with your actual product (or a comparable weight), seal it, and drop from 3 feet onto a hard floor. Repeat 5-10 times. Check for seam separation, closure failure, or product damage.
- Water test: Seal the bag with paper inside and submerge in water for 30 seconds. Does moisture penetrate? If so, how much?
- Corner drag test: Drag the sealed bag across a cardboard box edge. Does the material tear or puncture easily?
Pass all four tests, and you have a viable candidate. Fail any of them, and you know where the weaknesses are.
Step 3: Test Protocols for Validity
If you're shipping hundreds or thousands of units per month, invest in more rigorous testing. The International Safe Transit Association (ISTA) publishes testing protocols that simulate real-world shipping conditions.
For most small to medium ecommerce businesses, the tests I described above are sufficient. But if you're shipping fragile or high-value products, consider these additional evaluations:
- Vibration testing: Simulates the vibration during ground transport
- Compression testing: Evaluates how bags perform when stacked during warehouse storage or transit
- Climate testing: Checks performance across temperature and humidity ranges
Step 4: Timeline From Concept to Delivery
Here's a realistic timeline for getting custom shipping bags:
- Week 1-2: Product assessment, supplier research, sample requests
- Week 3-4: Sample testing, finalizing specifications, negotiating pricing
- Week 5: Place order, confirm artwork, pay deposits
- Week 6-9: Production (domestic) or production + shipping (overseas)
- Week 10-12: Quality inspection on arrival, any rework if needed
For standard products without custom printing, timelines compress significantly—often 1-2 weeks for domestic, 3-4 weeks for overseas. For custom printed bags with unique designs, plan for the full timeline above.
Common Mistakes That Will Haunt Your Fulfillment Process
After years of consulting on packaging decisions, I've seen the same mistakes repeat themselves. Here's how to avoid them.
Choosing Bags Too Small
It sounds obvious, but I see this constantly. Teams optimize for minimal material costs and pick bags that fit "just barely." Then in the fulfillment process, workers spend time wrestling products into bags, risking damage and slowing throughput.
Rule of thumb: if your product requires force or folding to fit, the bag is too small. The extra 1-2 inches of material might cost you $0.01 per unit, but the time savings and damage reduction will more than pay for it.
Ignoring Carrier Size Restrictions
USPS, UPS, and FedEx all have dimensional weight pricing tiers. If your bag dimensions push you into a higher pricing tier, you're losing money on every shipment. Most carriers measure the largest of actual weight or dimensional weight, where dimensional weight is calculated as (length × width × height) divided by a dimensional factor.
Check your carrier's current dimensional weight guidelines before finalizing bag sizes. A bag that's technically "too big" for your product might still be the most cost-effective choice if it keeps you in a lower shipping tier.
Skimping on Thickness
The math on thickness seems compelling: 1.5mil costs less than 2mil, so why not use 1.5mil? Because your return rate just might tell you why.
I worked with a subscription box company that switched from 2mil to 1.5mil mailers to save $0.02 per unit. Their monthly volume was 8,000 units. That saved them $160 per month on materials. However, their damage rate increased from 0.8% to 1.4%—an additional 48 damaged shipments per month. At $45 average order value, that was $2,160 in lost product monthly. The "savings" cost them significantly more.
Not Matching Bag Color to Brand
This one surprises people until I show them. A premium skincare brand using bright orange poly mailers looks incongruent. A budget brand using matte black with gold foil mailers looks pretentious.
Your shipping materials should feel like a natural extension of your product packaging and brand identity. If your primary packaging is white and minimal, a white or cream shipping bag reinforces that aesthetic. If your products are colorful and playful, your shipping bags should match that energy.
Expert Tips for Getting the Best Results Every Time
Let me share some negotiation and procurement strategies I've developed over years of working with manufacturers.
Negotiating With Suppliers
Most buyers walk into supplier negotiations focused on one thing: unit price. That's a mistake. Here's what actually matters in negotiations:
- Payment terms: Net 30 vs. net 60 can be worth 2-3% of order value in working capital terms
- Quality guarantees: Written commitment to defect rates below 1% with rework or credit for failures
- Lead time commitments: Written delivery dates with penalty clauses for delays
- Volume commitments: Better pricing for committing to quarterly or annual volume, not just one-time orders
Before negotiating, know your walk-away point. What price would make this deal not worth doing? What improvements beyond price would make you more satisfied with the relationship? You can often get better terms on non-price factors even when price is relatively fixed.
The Sample Strategy
Here's my multi-phase sample approach that has saved thousands in bad orders:
Phase 1: Request standard samples (1-2 of each size) from 3-5 suppliers. Cost: $10-$50 per supplier. Purpose: basic compatibility testing.
Phase 2: For top 2-3 candidates, request 10-20 samples each for wider team testing and handling simulation. Cost: $50-$150 per supplier. Purpose: broader validation before commitment.
Phase 3: For the winning supplier, order 50-100 production samples before the full order. Cost: closer to production pricing. Purpose: confirm production quality matches sample quality.
This approach costs more upfront ($200-$400 total) but prevents the scenario where you receive 10,000 bags that don't perform as expected.
Building Manufacturer Relationships
The best pricing and service goes to customers manufacturers like working with. Here's how to build those relationships:
- Communicate clearly and consistently: Respond to emails within 24 hours, provide complete information in first messages
- Pay on time: If you agree to net 30, pay on day 28, not day 35
- Give feedback: When you test samples, share results—both positive and negative
- Provide growth visibility: Let suppliers know your projected volumes 6-12 months out so they can plan capacity
- Be a reference: Offer to be a reference for other buyers if you're satisfied—this is high-value currency in supplier relationships
Seasonal Timing
Like most industries, packaging suppliers have busy and slow seasons. The slowest period is typically January through March—after Chinese New Year ramp-up and before Q4 pre-orders begin. During this window, suppliers are more motivated to fill production slots and may offer better pricing or faster turnaround.
Conversely, May through August sees increased demand as brands prepare for holiday shipping season. During this period, minimum orders increase, lead times extend, and pricing softens less.
For best pricing, place your orders in February or March for delivery in April or May. You'll beat the rush and often get 5-10% better pricing than orders placed in July or August.
Ready to Choose Your Shipping Bags? Here's Your Action Plan
Let's turn this information into action. Here's what I recommend you do in the next seven days.
Three Concrete Steps to Take This Week
Step 1: Audit your current shipping bag performance. Pull your last 100 damaged shipment reports and categorize the failure modes. Are they tears? Moisture damage? Closure failures? This data will tell you exactly what to prioritize in your next selection.
Step 2: Calculate your dimensional weight exposure. Take your three most-shipped products, find their bag sizes, and calculate what shipping tier each bag placement puts you in. Compare actual shipping costs to theoretical costs if you changed bag sizes. This often reveals immediate savings opportunities.
Step 3: Request samples from three suppliers. Use the multi-phase approach I described. Start with Custom Packaging Products for domestic options with quick turnaround, then expand to overseas suppliers once you have specifications nailed down.
Questions to Ask Potential Suppliers
Before placing any order, get answers to these questions:
- What is your defect rate on similar orders, and how do you define defect?
- What happens if the order arrives and doesn't meet specifications?
- Can I get a production sample before full run approval?
- What are your payment terms, and do they differ based on order size?
- Do you have capacity for rush orders if I need them?
- What certifications do you hold (ISO 9001, FSC, etc.)?
How Do I Choose the Right Shipping Bags for My Business?
Choosing the right shipping bags for your ecommerce operation requires balancing multiple factors: product protection needs, shipping costs, brand presentation, and budget constraints. The most cost-effective approach isn't always the cheapest bag—it's the one that minimizes your total cost of ownership including damage claims, customer service time, and carrier surcharges.
Start by categorizing your products based on weight, fragility, and moisture sensitivity. Then match those categories to appropriate bag materials and thicknesses. Request samples from potential suppliers and conduct your own handling tests before committing to volume orders. Test thoroughly, negotiate for value beyond unit price, and remember that the best suppliers are partners who help you improve your packaging outcomes over time.
If I could make one recommendation that affects your shipping bag economics more than any other, it's this: test thoroughly before committing to volume.
The difference between a $0.14 mailer and a $0.16 mailer on 10,000 units is $200. The difference between a damaged shipment rate of 0.5% vs. 1.5% on 10,000 monthly shipments is $45,000 per year (at $50 average order value). The unit price matters far less than the performance characteristics.
Spend the time on upfront testing, make your selection based on total cost of ownership rather than unit price, and your shipping bags will stop being an expense center and start being a competitive advantage.
What's the difference between 2mil and 4mil poly mailers?
Thickness determines durability and protection level. A 2mil poly mailer is suitable for lightweight, non-fragile items under 2 pounds—perfect for single apparel items, soft accessories, or documents. A 4mil poly mailer provides significantly better tear and puncture resistance for heavier products between 5-15 pounds. The extra thickness adds approximately $0.04-$0.06 per unit but dramatically reduces damage rates for products that need it. Heavier items over 5 pounds typically need reinforced or multi-layered options regardless of thickness.
How do I calculate the right size shipping bag for my products?
Measure your product dimensions (length × width × height) in inches. Then add 2-3 inches to each dimension for proper fill and closure margin. If your product is 8" × 6" × 2", you need at minimum a 10" × 9" bag—but you'd likely want to step up to a 10" × 13" for easier loading. You also need to account for any protective packaging inserts or tissue paper inside the bag, which adds to your dimensional requirements. Finally, consider dimensional weight for carrier shipping cost calculations—sometimes a slightly larger bag that keeps you in a lower shipping tier is more cost-effective than a tight-fitting bag that pushes you into higher pricing.
Are eco-friendly shipping bags worth
Related Articles
Printed Custom Plastic Garment Bags: Boutique Quote
Jun 10, 2026
Buy Slider Lock Clothing Bags: Unit Cost for Jewelry
Jun 10, 2026