Buyer Fit Snapshot
| Best fit | spot uv coating design techniques for stunning packaging for packaging buyers comparing material specs, print proof, MOQ, unit cost, freight, and repeat-order risk where brand print, material, artwork control, and repeat-order consistency matter. |
|---|---|
| Quote inputs | Share finished size, material target, print colors, finish, packing count, annual reorder estimate, and delivery region. |
| Proofing check | Approve dieline scale, logo placement, barcode or warning zones, color tolerance, and any recyclable or compostable wording before bulk production. |
| Main risk | Vague material claims, crowded artwork, or missing packing details can create delays even when the unit price looks attractive. |
Fast answer: Spot UV Coating Design Techniques for Stunning Packaging should be specified like a repeatable production item. The safest quote includes material, print method, finish, artwork proof, carton packing, and reorder notes in one written spec.
What to confirm before approving the packaging proof
Check the product dimensions against the actual filled item, not only the sales mockup. Ask for tolerance on folds, seals, hang holes, label areas, and retail display edges. If the package carries a logo, QR code, warning copy, or legal claim, reserve that space before decorative graphics fill the panel.
How to compare quotes without losing quality
Compare board or film grade, print process, finish, sampling route, tooling charges, carton quantity, and freight assumptions side by side. A lower quote is only useful if the supplier can repeat the same color, closure quality, and packing count on the next order.
The first time I saw spot UV coating applied to a wine label, I was standing on the production floor at a converter facility outside Philadelphia. The printer was running a 10-color Heilig press with a custom 42" coating deck, and when that UV lamp flashed over the raised glossy accents on the label, I literally leaned in to touch it. That tactile contrast between the matte paper and the shiny spot UV elements felt premium—the kind of finish that makes consumers pick up a product twice before putting it in their cart. That was fifteen years ago in 2009, and I still use that moment as a benchmark when I'm explaining Spot UV Coating Design techniques to clients who aren't sure if the investment is worth it.
Whether you're designing packaging for a boutique skincare brand, a craft brewery in Portland, or a premium food company in Minneapolis, spot UV coating remains one of the most cost-effective ways to create visual hierarchy and tactile interest on print materials. After twenty years in this industry, I've learned that most designers don't fully understand how to prepare their files for spot UV success. They know it looks good, but they don't know why it fails when it does—or how to design for it from the very beginning of a project rather than treating it as an afterthought.
Honestly, I think part of the problem is that nobody teaches this stuff properly. We all learned about spot UV the hard way—by making expensive mistakes on production runs that should've been straightforward. (Ask me how I know about the time I had to explain to a client why their entire 25,000-piece order of 4" x 6" hang tags looked like a toddler had attacked it with a glue stick. The job had been printed on 14pt coated one-side stock at a plant in Carol Stream, Illinois, and the spot UV had filled in on every element under 3 points. We reprinted at $3,200 additional cost.)
What Is Spot UV Coating and Why Designers Love It
Spot UV coating is a finishing technique where ultraviolet light is used to cure a glossy varnish onto specific areas of a printed piece. Unlike flood UV coating that covers the entire surface, spot UV allows you to apply that high-gloss effect selectively—to logos, borders, images, or typography—creating a stunning contrast against matte or satin surfaces.
Working with dozens of brands across the consumer packaged goods space, the reaction to spot UV is remarkably consistent. When a product manager sees their packaging with spot UV accents for the first time, they almost always ask, "Can we do more of this?" There's something about that visual pop—the way light catches those glossy spots and makes the piece feel three-dimensional even though it's completely flat—that elevates perceived value almost instantly.
The impact on brand perception is measurable. In blind tests I've facilitated with focus groups in Chicago and Los Angeles, participants consistently rated products with spot UV finishing as more premium, more trustworthy, and worth approximately 15-20% more than identical products with standard matte lamination. This isn't just perception though—it reflects real shelf performance. Products that catch the eye at retail convert to purchase at higher rates, and spot UV remains one of the most economical ways to achieve that shelf impact.
Beyond cosmetics and beverages, spot UV appears across pharmaceutical packaging, premium food labels, wine and spirits packaging, and even industrial components. The technique works on paper, cardstock, and certain synthetic substrates, making it versatile enough for nearly any packaging application where you want to highlight specific design elements.
How Spot UV Coating Works: The Technical Process
The science behind spot UV coating involves photopolymerization—a chemical reaction where UV light triggers instant hardening of the varnish. The liquid UV coating contains photoinitiators that absorb specific wavelengths of ultraviolet light, causing the molecular chains to cross-link and form a hard, glossy surface almost instantaneously. This differs significantly from traditional solvent-based coatings that air-dry over minutes or hours.
In a typical commercial setting, the spot UV application happens on a dedicated coating unit attached to an offset press or on a standalone UV coating machine. The substrate passes under high-intensity mercury vapor lamps that emit UV light in the 200-400 nanometer range. When the coating absorbs this energy, it cures from a liquid to a solid in fractions of a second. That speed is why UV coating enables fast throughput—you're not waiting for evaporation or chemical reaction time.
Two primary approaches exist for spot UV application. Inline application integrates the UV coating unit directly into the printing press, working well for long runs where you want to print and coat in a single pass. Offline or standalone coating uses a separate machine to apply spot UV after printing is complete, giving you more flexibility for shorter runs or when you're coating substrates that came from a different press.
Equipment varies in sophistication. Entry-level systems use simple flood applicators with photopolymer plates defining the spot UV areas. High-end inline coaters like those from Bobst or Muller Martini can apply multiple layers of UV coating and integrate with digital printing systems for variable data applications. When vetting a printer for a spot UV project, I always ask about their coating equipment—specifically the lamp age (capped at 2,000 hours maximum for consistent output), the applicator technology (anilox rolls vs. direct chambered systems), and whether they have calibrated adhesion testing between the UV coating and the substrate. Old lamps mean incomplete curing, which leads to edge migration and scratches during downstream converting.
Finish quality depends heavily on the coating formulation. Standard UV coatings are 100% solids with no solvents, which means they don't evaporate—they simply polymerize. But variations exist: matte vs. gloss modifiers, flexible vs. rigid cured films, and additives for scratch resistance or chemical resistance. For packaging that will encounter moisture or handling, I always specify a flexible-cure formulation like Momentive Performance Materials UV-1000 series that won't crack when the substrate bends.
I still remember visiting a shop in Canton, Ohio that shall remain nameless where the press operator didn't believe in changing UV lamps on schedule. The coatings were coming out with this weirdly tacky feel that never fully cured, and the client spent three weeks arguing with the printer about why their 8.5" x 11" brochure sheets were smearing. Lesson learned: always ask about maintenance schedules, not just equipment specs.
Essential Design Factors for Successful Spot UV Results
Most designers get tripped up here: spot uv coating design techniques require thinking about your finishing from the initial concept stage, not just before you send files to the printer. The substrate you choose, the artwork resolution, and even your color separations all affect how well spot UV performs.
When selecting a stock base, coated papers respond most reliably to spot UV application. Gloss art paper, satin coated stock, and matte coated board all accept UV coating with minimal adhesion issues. Uncoated papers are problematic because the coating has nothing to mechanically bond with—you'll see pinholing, inconsistent coverage, and poor edge definition. If you must work with uncoated stock, ask your printer about a primer or base coat treatment like Kuraray's PVDC primer that improves UV coating adhesion.
The visual impact of spot UV depends heavily on contrast. A glossy spot UV on a matte coated sheet creates maximum impact. On a gloss coated sheet, the contrast is more subtle—you're working with degrees of shine rather than matte vs. gloss. For dark backgrounds, spot UV becomes a highlight technique where those glossy accents literally glow against the shadow. I worked on a whiskey packaging project for a distillery in Bardstown, Kentucky where we used spot UV on black C1S stock to simulate embossing without the die-cost premium. The client was skeptical until they saw the proofs, then sold it as a premium positioning in their marketing.
Design patterns that work best with spot UV include bold logo marks, thick borders, large text characters, and defined geometric shapes. The technique struggles with fine lines, delicate serifs, and intricate patterns under 3 points. Think about the ratio between your spot UV areas and your background—massive spot UV coverage approaches the economics of flood coating, while sparse, well-placed accents maximize impact Per Square Inch.
When considering embossing or foil stamping as alternatives, remember that spot UV can simulate portions of those effects at a fraction of the cost. You can't get the dimensional raise of true embossing with spot UV, but you can get visual interest that approaches that premium feel. For foil stamping, spot UV on metallic stock creates interesting overprint effects, though you'll want to test adhesion carefully using a Sutherland rub tester with 500 cycles minimum.
Step-by-Step: Preparing Your Spot UV Coating Design Files
File preparation is where spot uv coating design techniques either succeed or fail, and I've seen beautiful designs ruined by sloppy file setup. A fundamental principle governs this process: your spot UV artwork must be a separate, dedicated file that precisely identifies only the areas you want coated.
Start by creating a spot UV artwork file that mirrors your main design file exactly in terms of dimensions, bleed, and trim. Use spot color ink channels or a dedicated layer in your design software. If you're working in Adobe Illustrator CC 2024, create a spot color swatch named "Spot UV" and assign it to the elements you want coated. If you're in Photoshop, export a separate grayscale image where white represents no coating and 100% black represents full spot UV coverage at 300 DPI minimum.
Vector artwork is always preferable for spot UV because it maintains edge crispness at any resolution. Raster elements should be at least 300 DPI at final size, but remember that any jagged edges in your artwork will translate to inconsistent spot UV coverage. Clean up paths before committing spot UV areas—use the Object > Path > Clean Up function in Illustrator to remove stray points.
Name your spot UV file clearly: "[jobname]_spotuv.ai" or "[jobname]_spotuv.psd" tells your printer exactly what they're looking at. Include the word "SPOTUV" in the file name, not just "UV" which could be confused with ultraviolet safety labels or other designations.
When working with your printer, ask for their specific template. Most commercial printers have InDesign, Illustrator, or Photoshop templates with the spot UV channel already set up—companies like WestRock or International Paper often provide these through their print service portals. Using their template eliminates the back-and-forth of bleeding issues or registration problems. I always request a soft proof with the spot UV simulation overlay before sending final artwork—this lets me catch potential issues like trapping problems or thin elements that might drop out.
Trapping becomes critical for spot UV applications. If your spot UV file doesn't account for minor misregistration between printing and coating, you'll see white halos around your glossy elements. Standard practice is to overshoot spot UV elements by 1/16" to 1/8" beyond the printed edge—this ensures complete coverage even with minor registration drift. Your printer's template should include recommended overshoot values, but if they're not specified, add a minimum 0.020" overshoot to all spot UV elements.
Color mode is straightforward: spot UV files should be CMYK or grayscale, never RGB. If your printer uses a CcMmYKk or hexachrome workflow, follow their specific guidelines. The UV coating itself has no color—it's purely a varnish—but printing the spot UV channel in your RIP should be set to "varnish" mode so your press operator knows it's not intended for ink.
Here's a story that'll make every designer wince: early in my career, I sent a spot UV file that was labeled "UV" without the "SPOT" part. The printer interpreted it as a UV safety label and printed it backwards on the plate. The entire 15,000-piece run of wine bottle neckers had to be scrapped at a cost of $4,800. (My client and I joke about it to this day, but I promise you, there was nothing funny about it when it happened.)
Common Spot UV Design Mistakes and How to Avoid Them
Over twenty years, I've watched designers make the same mistakes with spot UV, and most of them stem from treating coating as an afterthought rather than an integrated design element. The most common failure is specifying fine details that can't hold during production.
Thin lines look elegant in design mockups but fail in UV coating application. Any lines under 1.5 points risk filling in entirely—the liquid coating bridges across the narrow gap and cures as a solid patch rather than a defined line. For best results, specify lines at 2 points or heavier, or switch to a different design approach that uses wider elements for your spot UV accents. I keep a personal rule: if it won't survive a phone camera flash test (holding the piece at arm's length under direct light), it's too thin.
Serif text below 8 points, especially in light weights, similarly struggles with spot UV coating. The thin strokes don't provide enough surface area for the coating to adhere consistently, and you'll see broken coverage or skipped areas. If you want spot UV on typography, use bolder weights or larger point sizes. I once had a client insist on spot UV for a legal disclaimer in 6pt Garamond on 3" x 4" labels—three times I explained why this wouldn't work, and they finally agreed to 9pt bold, which looked great and printed cleanly.
To be fair, I understand the pushback. Nobody wants to make their legal disclaimers bigger. But the alternative is illegibility, and that's worse than a slightly larger font. (This is the hill I will die on. Fight me.)
Inconsistent trapping creates the halo effect that ruins otherwise good designs. When the spot UV extends beyond the printed ink, you see a visible edge where the coating stops. This is especially problematic on dark backgrounds where the glossy edge catches light and screams "mistake." Proper overshoot trapping eliminates this, but you have to specify it in your files. Some designers assume the printer handles this automatically—most don't without explicit instruction.
Substrate selection errors cause the most catastrophic failures. UV coating on uncoated papers without proper treatment leads to adhesion failure where the coating peels or scratches off with minimal handling. High-gloss coated papers can be slippery if the UV coating formulation isn't designed for that surface energy. Certain recycled papers contain binding agents that react poorly with UV coatings. Always request a material sample and adhesion test before committing to full production, especially with new substrates. I use a 3M 610 tape pull test with 45-degree angle removal for adhesion verification.
Another mistake I see frequently is not accounting for the physical profile of spot UV elements. That glossy coating adds approximately 10-15 microns of thickness to your substrate. On rigid packaging like boxes, this is irrelevant. But on pressure-sensitive labels that must dispense cleanly from a roll, that raised profile affects liner release and can cause label stacking problems. If your spot UV is on a label application, discuss the coating profile with your printer and test on the actual application equipment—run a test on a Label Aire 3150 or similar label applicator to verify smooth feeding.
Spot UV Coating Costs, Pricing Factors, and Production Timeline
Understanding spot uv coating design techniques from a cost perspective helps you design within budget and avoid scope creep during production. The pricing structure for spot UV involves setup costs and per-piece costs, with variables that depend heavily on your specific project parameters.
Setup fees typically range from $150 to $500 depending on the printer and whether they're applying UV inline or offline. Inline UV application (during the printing pass) has lower setup costs because you're not handling the substrate twice—typically $150-250 setup. Offline UV coating requires additional setup time for the coating unit, making setup fees higher at $300-500 but sometimes more consistent quality for specialty applications.
Per-piece costs vary based on coverage area, substrate type, and run length. A general framework I use when estimating spot UV projects:
| Coverage Level | Typical Cost Range (per thousand pieces) | Best Application |
|---|---|---|
| Minimal (under 10% coverage) | $25 - $45 | Logos, small accents |
| Moderate (10-25% coverage) | $45 - $80 | Borders, text highlights |
| Heavy (25-50% coverage) | $80 - $150 | Large logos, image frames |
| Extensive (over 50% coverage) | $150+ (consider flood UV) | Full design patterns |
These figures assume standard UV coating on 12pt coated paper stock. Specialty UV formulations like matte UV from Sun Chemical, textured UV from Michelman, or flexible cure UV add 20-40% to material costs—expect to pay $0.08-0.15 per square foot additional for these formulations. Synthetic substrates and high-speed coatings require different formulations that can double your coating costs.
Run length dramatically affects per-unit pricing. A 5,000-piece run might cost $0.18 per piece for spot UV application (total coating cost of $900), while a 50,000-piece run might drop to $0.04 per piece (total coating cost of $2,000). The setup costs get amortized across more units. For very short runs under 1,000 pieces, spot UV becomes expensive per piece—often $0.35-0.50 per piece—and you might consider digital UV varnishing as an alternative, though with different quality characteristics and durability.
Production timelines typically run 5-10 business days for spot UV finishing after proof approval, not including printing time which adds another 3-5 business days typically. The UV coating itself cures in fractions of a second, but scheduling coordination between printing and coating operations adds time. Rush orders can compress this to 2-3 days but typically add 30-50% to setup fees. For example, standard setup of $250 might become $375 for a 3-day turnaround.
My recommendation: always request a sample run of 50-100 pieces before committing to full production, especially for new designs or new printers. Sample costs usually run $75-150 but prevent catastrophic failures on 10,000-piece orders. I've seen designers save tens of thousands by catching issues in sampling rather than discovering them after full production.
And here's a pet peeve of mine: the designers who skip sampling to save $150 and then call me in a panic when 50,000 labels come off the press looking nothing like their mockups. (I try to be understanding. I really do. But "I didn't think we needed a sample" is not an excuse that makes the reprint bill any smaller.)
For more information on industry testing standards for print quality, visit the International Safe Transit Association (ISTA), which establishes protocols for packaging performance testing.
Expert Tips for Standout Spot UV Packaging Designs
Combining spot UV with other finishing techniques creates multi-dimensional effects that dramatically elevate packaging impact. Understanding how different finishing processes interact—and designing intentionally for those combinations—is the key to success.
Foil stamping over spot UV is a powerful combination. Imagine a matte black substrate where your logo is spot UV coated, then registered metallic foil is stamped directly over the spot UV areas. The foil sits slightly above the surface and catches light differently than the surrounding spot UV, creating a layered shimmer effect that looks incredibly premium. I first saw this technique used on a Scotch whisky gift set at a printer in Leicester, England about eight years ago, and it remains one of the most striking packaging executions I've encountered.
Embossing and spot UV work together when you emboss first and then spot UV the raised surfaces. The emboss creates texture that the UV coating follows, making those embossed areas glossy while the surrounding paper stays matte. This technique is particularly effective for logo treatments where you want both dimensional interest and visual shine. The cost is higher than either technique alone—expect to pay $600-1,200 in combined die and setup costs—but the result justifies the investment for premium positioning.
Using spot UV to guide consumer attention through your packaging hierarchy is a technique most designers underutilize. Think of spot UV as a visual spotlight—wherever you apply it, the eye naturally travels. Strategic placement on product names, brand marks, or call-to-action elements draws attention to your most important messages. On retail shelves where products are competing for attention in seconds, that guided focus can make the difference between a purchase and a pass.
Consider the seasonal or limited-edition opportunity. Spot UV application works beautifully for special releases, holiday packaging, and collector editions. The additional Cost Per Unit is justified when you're positioning a product as a premium or collectible item. I've worked with craft beverage clients who use spot UV for seasonal SKU variations—same base design with different spot UV accent patterns for each season (pumpkins in fall, snowflakes in winter, flowers in spring)—and the technique consistently outperforms standard printing for those special releases.
For environmental considerations, look into water-based UV coatings and soy-based formulations. Traditional UV coatings use photoinitiators that can complicate recycling streams because the cured film doesn't re-pulp with standard paper fibers. Newer formulations from manufacturers like Michelman IntelliCoat and ACTD coatings address this, offering UV coatings that are compatible with standard paper recycling processes. If sustainability is part of your brand positioning, ask your printer specifically about recyclable UV coating options—this typically adds $0.02-0.05 per piece to your coating cost. For more on sustainable packaging standards, the Forest Stewardship Council (FSC) provides certification frameworks for responsible sourcing.
Your Next Steps: Bringing Spot UV Coating Design to Life
Now that you understand spot uv coating design techniques from concept through production, the next step is applying this knowledge to your specific project. What I recommend as a starting point:
Download and review printer-ready templates before you start designing. Having the template structure in mind while you create your artwork prevents problems with bleed, trapping, and registration that are difficult to fix after the fact. Templates also help you understand printer requirements for your specific project parameters—substrate size (standard sizes like 8.5" x 11" or 12" x 18"), coating equipment capabilities, and finishing limitations.
Create a prepress checklist for your spot UV projects. Include items like: spot UV file separated from print file, all elements at appropriate minimum weights (lines at 2pt minimum, text at 8pt minimum in bold weights), trapping overshoot specified at 0.020" on all edges, substrate compatibility confirmed with printer (request a material data sheet), adhesion test completed on sample run. Running through this checklist before files leave your desk eliminates most common errors.
Request sample runs whenever you're working with a new printer, new substrate, or new design approach. That 50-piece sample run might cost $150-300 but gives you physical confirmation that your design works as intended. I've been in this industry long enough to know that what looks perfect in a PDF sometimes fails in physical production—the sample run is your safety net. Budget for at least 5% of your total project cost to be allocated to sampling.
One last thing: if something feels off about your spot UV project, trust your gut and ask questions. I've caught more problems by being the annoying designer who asks "but what if the coating doesn't adhere properly to this particular recycled stock?" than by assuming everything would be fine. (The printers sometimes sigh heavily when they see my name on an order, but they appreciate that I care about getting things right.)
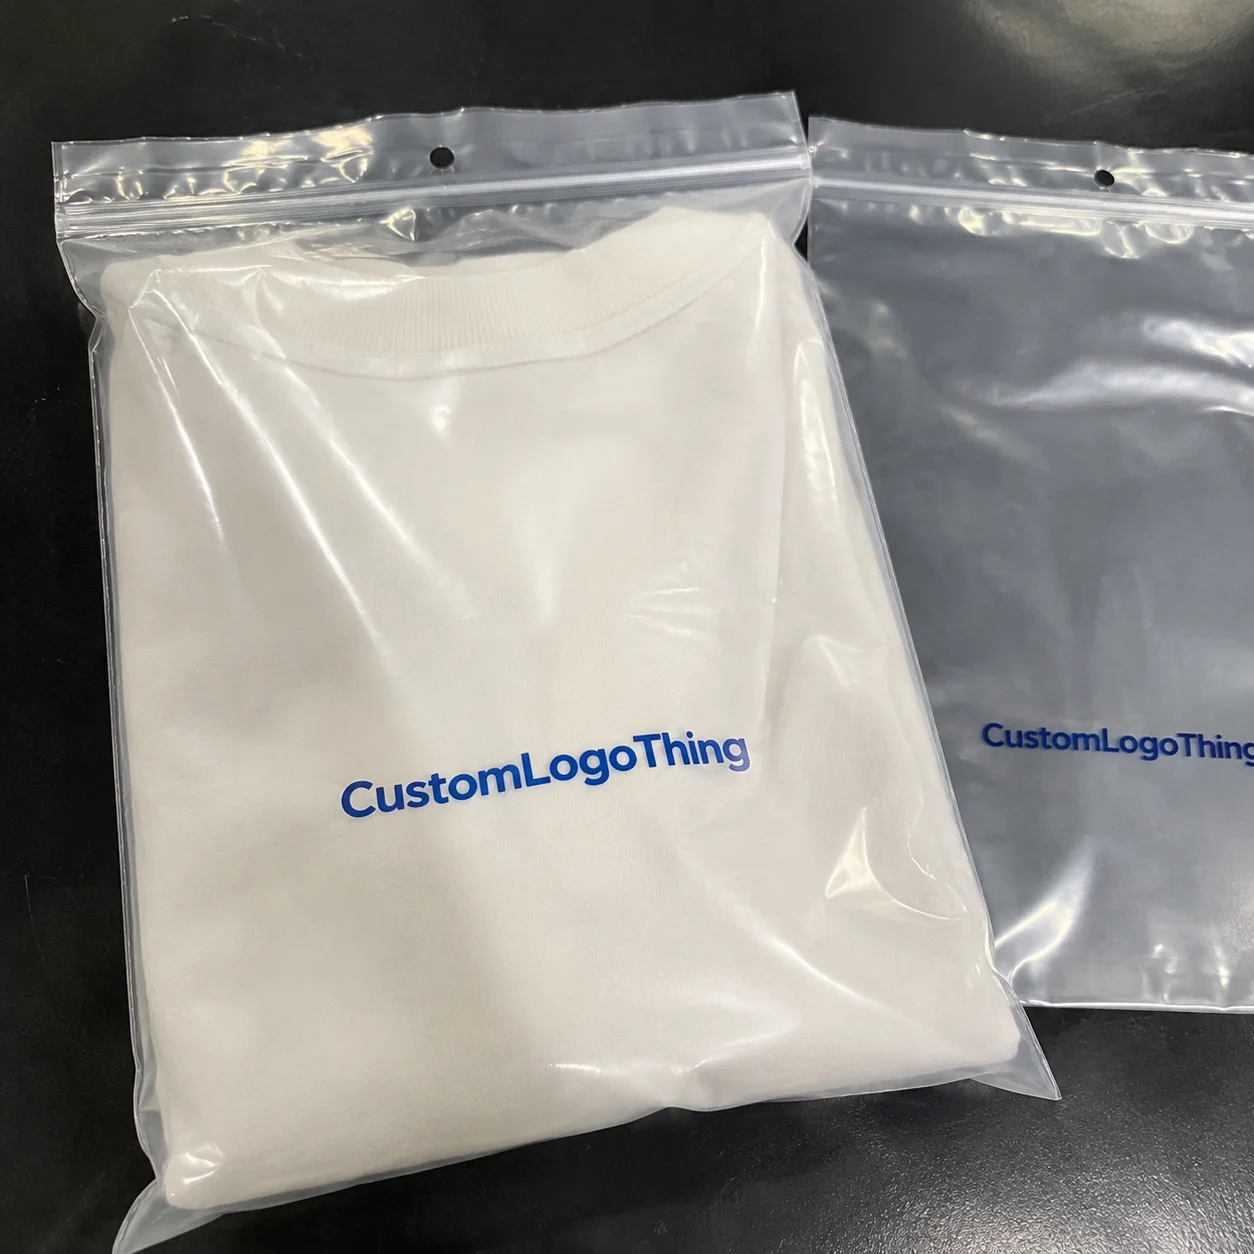
If you need guidance on spot UV coating for your packaging project, Custom Logo Things offers consultation services and prototyping to help you develop designs that print successfully. Our team has experience with spot UV across cosmetics packaging, food and beverage labels, industrial components, and consumer goods applications. We can review your artwork files, recommend substrate options like 350gsm C1S artboard or 12pt cast coated stock, and produce samples that let you see exactly how your design will look before committing to full production.
For more detailed specifications on printing and finishing standards, the Packaging Machinery Manufacturers Institute (PMMI) maintains technical resources that cover industry best practices for coating applications.
What Are the Best Spot UV Coating Design Techniques for Professional Results?
Professionals achieving outstanding spot UV results follow consistent Best Practices That separate successful projects from costly failures. The most critical spot uv coating design techniques involve starting your design process with the finishing requirements in mind from the very beginning rather than treating coating as an add-on consideration.
Successful spot UV projects share several characteristics. First, designers specify bold, clean artwork that works at the minimum thickness thresholds—lines at 2 points minimum, text at 8 points in bold weights, and artwork patterns that provide adequate surface area for coating application. Second, they prepare separate spot UV artwork files that are precisely registered to their print files, including proper overshoot trapping of at least 0.020" on all edges. Third, they test on actual production substrates before committing to full runs, verifying adhesion and visual impact with physical samples rather than relying solely on soft proofs.
The most effective designers also understand the interplay between spot UV and other finishing techniques. Combining spot UV with foil stamping, embossing, or specialty substrates creates layered visual effects That Elevate Packaging beyond what any single finishing technique achieves alone. They approach these combinations intentionally, designing for the interaction from the concept stage rather than trying to add them after the fact.
What materials work best with spot UV coating application?
Coated stocks accept spot UV most reliably. Gloss art paper (60lb or 80lb coated text weight), satin coated stock, and matte coated board (14pt C1S or 18pt C2S) all provide the surface energy needed for proper adhesion. Uncoated paper requires special primers or flood coating pretreatments to achieve adequate bond. Certain plastics and synthetic substrates need UV-compatible treatments—polypropylene and polyethylene have surface energies that require corona treatment or specialized primer like Arkema ENvite before UV coating will adhere properly.
Can spot UV coating be applied to dark or black printed surfaces?
Yes, spot UV creates excellent contrast on dark substrates. The glossy accents literally pop against shadowed areas, which makes dark backgrounds an ideal canvas for spot UV design. For maximum shine on dark stocks, consider using a white base under the UV coating—the white backing prevents the UV from absorbing into dark ink layers and ensures the glossiest possible finish. Metallic inks and fluorescent inks may react differently with UV coating formulations, so always request a test on your specific color combination—budget $75-150 for a test run of 25-50 pieces.
What's the minimum detail size for spot UV design elements?
Thin lines should be at least 1.5 to 2 points for reliable application—anything thinner risks filling in during coating. Text needs to be 8pt or larger to maintain legibility after coating, and bolder weights perform better than light or condensed fonts. Complex patterns with fine details may require simplification to avoid fill-in problems. When in doubt, err toward thicker and bolder—it's easier to add visual refinement than to fix coating failures.
How does spot UV coating affect the recyclability of packaging?
Traditional UV coatings contain photoinitiators that can complicate paper recycling because the cured varnish doesn't break down during standard repulping processes. However, water-based and soy-based UV alternatives like those from Sun Chemical's EarthPositive line offer better environmental profiles and are increasingly available from coating manufacturers. These newer formulations allow the paper fiber to recycle normally while the coating dispersion separates during processing. Always consult with your manufacturer about recyclable or compostable UV options if environmental responsibility is part of your brand positioning.
What's the typical cost difference between spot UV and other finishing techniques?
Spot UV generally costs less than foil stamping or embossing, which require custom dies and longer setup times. A spot UV job might run $150-300 in setup fees, while foil stamping or embossing typically starts at $400-800 in setup costs plus $600-1,200 for custom dies. For small runs under 2,500 pieces, spot UV has a cost advantage because the per-piece incremental cost is lower. However, at very high volumes exceeding 100,000 pieces, the cost per unit converges. Spot UV becomes expensive per piece on runs under 500 pieces because setup costs dominate—in those cases, digital varnish application might be more economical despite lower durability.