Buyer Fit Snapshot
| Best fit | minimalist brand logo positioning for packaging buyers comparing material specs, print proof, MOQ, unit cost, freight, and repeat-order risk where brand print, material, artwork control, and repeat-order consistency matter. |
|---|---|
| Quote inputs | Share finished size, material target, print colors, finish, packing count, annual reorder estimate, and delivery region. |
| Proofing check | Approve dieline scale, logo placement, barcode or warning zones, color tolerance, and any recyclable or compostable wording before bulk production. |
| Main risk | Vague material claims, crowded artwork, or missing packing details can create delays even when the unit price looks attractive. |
Fast answer: Minimalist Brand Logo Positioning: Dieline, Finish, Proof, and Buyer Review should be specified like a repeatable production item. The safest quote includes material, print method, finish, artwork proof, carton packing, and reorder notes in one written spec.
What to confirm before approving the packaging proof
Check the product dimensions against the actual filled item, not only the sales mockup. Ask for tolerance on folds, seals, hang holes, label areas, and retail display edges. If the package carries a logo, QR code, warning copy, or legal claim, reserve that space before decorative graphics fill the panel.
How to compare quotes without losing quality
Compare board or film grade, print process, finish, sampling route, tooling charges, carton quantity, and freight assumptions side by side. A lower quote is only useful if the supplier can repeat the same color, closure quality, and packing count on the next order.
I remember the first time I saw the top minimalist brand logo positioning tips matter in a real way. It was on a rigid mailer run in our Shenzhen facility, and we shifted a 22 mm foil mark from dead center to 14 mm above the lower third. The client swore the box suddenly looked “$4 more expensive” without changing paper stock, print color, or finish. That’s packaging for you. Tiny move, big ego.
If you’re chasing the top minimalist brand logo positioning tips, here’s the blunt version: minimalist logos fail when they’re centered by habit instead of placed for hierarchy, whitespace, and the shape of the package. I’ve watched a $0.18/unit carton look cheap because the logo floated in the wrong spot, and I’ve seen a $0.62 rigid box feel premium because the mark sat exactly where the eye paused. Same logo. Different perception.
In my experience, the best placement depends on the surface, viewing distance, print method, and whether you need shelf pop or quiet sophistication. The top minimalist brand logo positioning tips are not about decoration. They’re about control. Top-left usually signals trust. Center reads luxury. Bottom-right feels modern and a little kinetic. Edge-aligned placement gives you restraint, which is catnip for premium brands that don’t want to shout (and yes, I just used the word catnip in a packaging article; I stand by it).
What I’ll cover here is practical, not theoretical. I’ll compare common placements, break down real costs, talk timelines, and show you how to Choose a Logo position without wasting money on revisions that should’ve been obvious in proof stage. I’ve had clients approve a “clean” centered logo, then panic when the folding carton folded through the mark. That’s not a design problem. That’s a planning problem, and it’s the sort of thing that makes me want to stare at a die line for a while and question humanity.
Quick Answer: The Top Minimalist Brand Logo Positioning Tips
The fastest answer: the top minimalist brand logo positioning tips usually start with the package itself, not the logo. I know, shocking. A logo that looks elegant on a mood board can look clumsy on a 90 x 140 mm mailer, especially if the panel has a seam, tuck flap, or gloss lamination that changes how light hits it.
Here’s the core rule I keep repeating to clients: minimalist logos fail when they’re centered by default instead of positioned for hierarchy, whitespace, and package shape. If the layout ignores how the customer opens the box, turns the mailer, or scans the shelf, the brand looks underthought. The logo is supposed to guide the eye, not just exist.
For most brands, the top minimalist brand logo positioning tips break down like this:
- Top-left: Best for trust, editorial clean lines, and brand recognition.
- Centered: Best for luxury, ceremony, and strong symmetry.
- Bottom-right: Best for modern motion and a slightly unexpected feel.
- Edge placement: Best for premium restraint, especially on rigid boxes and envelopes.
And yes, the best choice depends on more than taste. I’ve had a fragrance client choose center placement because it felt “beautiful,” then move to a slightly off-center position after we printed two mockups on 350gsm C1S artboard with soft-touch lamination. The centered version was pretty. The shifted version sold the story. That’s the difference the top minimalist brand logo positioning tips make when they’re done properly.
One more thing: if you’re only designing for a screen, you’re already behind. On a physical package, the eye reads safe zones, fold lines, and finish changes long before it reads typography. A minimalist mark can look expensive with almost no ink coverage if the placement is right. If the placement is wrong, you can spend another $1.20/unit on embossing and still end up with a tired-looking box. Ask me how I know. I’ve lived through that particular brand of disappointment.
“The logo didn’t need redesigning. It needed a better seat on the box.” That’s what I told a client after the third proof looked flat even with foil. We moved the mark 8 mm, and the whole package breathed better.
So if you’re looking for the top minimalist brand logo positioning tips in one sentence: place the logo where the package naturally wants the eye to land, not where your first instinct says it should go.
Top Minimalist Brand Logo Positioning Tips Compared
Let’s compare the main options, because “minimalist” doesn’t mean “everything in the middle and hope for the best.” The top minimalist brand logo positioning tips are different depending on whether you’re working on folding cartons, labels, tissue paper, mailers, or digital headers. The same placement can feel elegant on one format and lazy on another.
Top-left positioning is my default recommendation for brands that want trust and clarity. It works well on ecommerce mailers, shipping inserts, and labels where the customer’s eye starts near the top edge. It’s also a nice fit for visual branding that wants a hint of editorial polish. The downside? If the rest of the box is too plain, top-left can feel like an office memo instead of a brand moment.
Centered positioning is the classic choice for luxury packaging. A centered logo gives balance, especially on square panels and rigid boxes. It’s clean. It’s calm. It’s also overused. That’s one of the top minimalist brand logo positioning tips people ignore: center placement only works if the rest of the structure supports it. On an awkward rectangle, centering can look stiff or generic.
Bottom-right positioning is more contemporary. I use it for brands that want motion, a little surprise, or a subtle nod to design-forward packaging. On a matte black carton with a 16 mm hot stamp, bottom-right can feel expensive and restrained at the same time. But if the logo is too small or the panel too busy, it disappears fast. Minimalism is not magic. It still needs contrast.
Corner micro-branding is the most understated choice. It’s useful when the packaging itself is already doing a lot of work, such as embossed patterns, textured paper, or a branded die-cut window. I’ve seen this work beautifully on premium tissue paper and outer sleeves. I’ve also seen it fail when the logo was reduced to 6 mm and nobody could read it without squinting. That’s not restraint. That’s hiding.
Here’s a practical comparison I use with clients who want the top minimalist brand logo positioning tips without guessing.
| Placement | Best For | Perceived Feel | Common Risk | Typical Production Ease |
|---|---|---|---|---|
| Top-left | Mailers, inserts, labels | Trustworthy, editorial | Looks corporate if overdone | Easy |
| Centered | Rigid boxes, luxury cartons | Balanced, premium | Generic if too familiar | Easy to moderate |
| Bottom-right | Modern ecommerce packaging | Dynamic, design-led | Can feel visually lost | Moderate |
| Corner micro-branding | Luxury sleeves, tissue, inserts | Quiet, restrained | Too small to read | Moderate to hard |
Common mistakes? Plenty. One client placed a logo 3 mm from a fold line on a folding carton. Cute on screen. A disaster in production. Another used a tiny mark with no breathing room on a kraft mailer, then wondered why the brand looked cheap next to a competitor’s 1-color print. I’ve also seen people ignore the dieline and center the logo on the artwork instead of the finished panel. That mistake costs real money. Usually $150 to $450 in new proofs, plus the emotional damage, which frankly deserves its own line item.
The simplest decision framework I use is this: choose placement based on message, material, and viewing distance. Not personal taste. Not what your competitor did last week. If the package is seen from 2 feet away on a shelf, that placement needs different hierarchy than a mailer opened at 18 inches on a kitchen counter. The top minimalist brand logo positioning tips are about matching the physical reality of the package.
And here’s the honest truth: a centered logo feels most premium when the material supports it. A corner logo feels most modern when the rest of the design is quiet enough to let it breathe. There’s no universal winner. Anyone selling one is trying to sell you a template.
Detailed Review: Minimalist Brand Logo Positioning Tips by Format
The top minimalist brand logo positioning tips change dramatically by format. A rigid box behaves like a small stage. A label behaves like a sticker with deadlines. Tissue paper behaves like a whisper. And a web header? That’s a separate fight entirely, one I have no desire to pretend is easy.
Boxes and folding cartons
For boxes, I usually look at the opening action first. If the customer lifts a lid, I want the logo to appear before the product does. That means top-center or slightly above center works well on luxury cartons. On folding cartons, I’m more cautious. The glue flap, tuck flap, and side seam can wreck symmetry if you ignore them. The top minimalist brand logo positioning tips that matter most here are safe zone, bleed, and fold-aware alignment.
One perfume client wanted a centered foil mark on a 110 x 160 mm carton. The first proof looked perfect. The second, after die adjustments, shifted 4 mm left because the board relaxed under pressure. That’s why I always check the actual press-ready dieline, not the sales PDF. I learned that after a very expensive hour standing beside a Komori press with a supplier who kept saying, “It’s only 4 mm.” Four millimeters is a lot when your brand identity depends on precision, and yes, I was muttering under my breath by the end of that conversation.
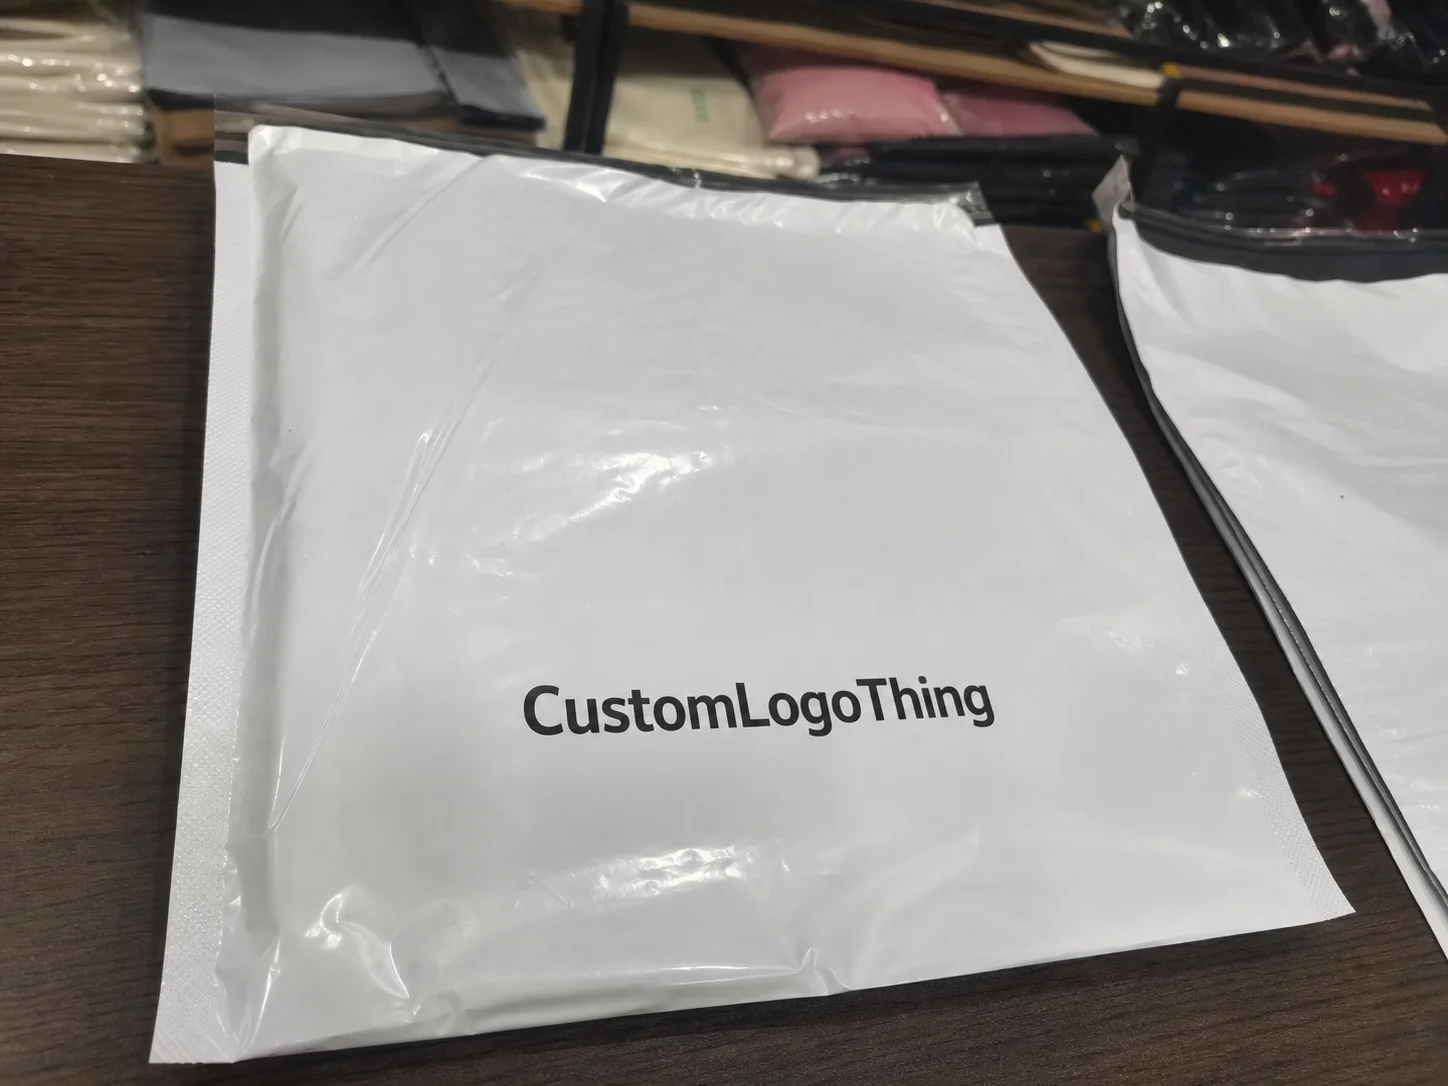
Mailers and shipping boxes
Mailers are where the top minimalist brand logo positioning tips can really save a brand. Most ecommerce brands put the mark dead center and call it a day. Fine. Predictable. If you want a cleaner look, try top-left or a low center placement with strong whitespace. On a 275gsm corrugated mailer, a single-color logo in black or deep navy can look better than a full-color treatment because shipping boxes get scuffed. Less ink, less drama.
I’ve seen a lot of customer perception shift here. A plain kraft mailer with a carefully placed 18 mm logo and one line of copy can feel more premium than a busy illustrated box. It’s not because the design is “better.” It’s because the positioning respects the structure of the package. That’s one of the top minimalist brand logo positioning tips people miss when they’re focused on art and ignoring layout.
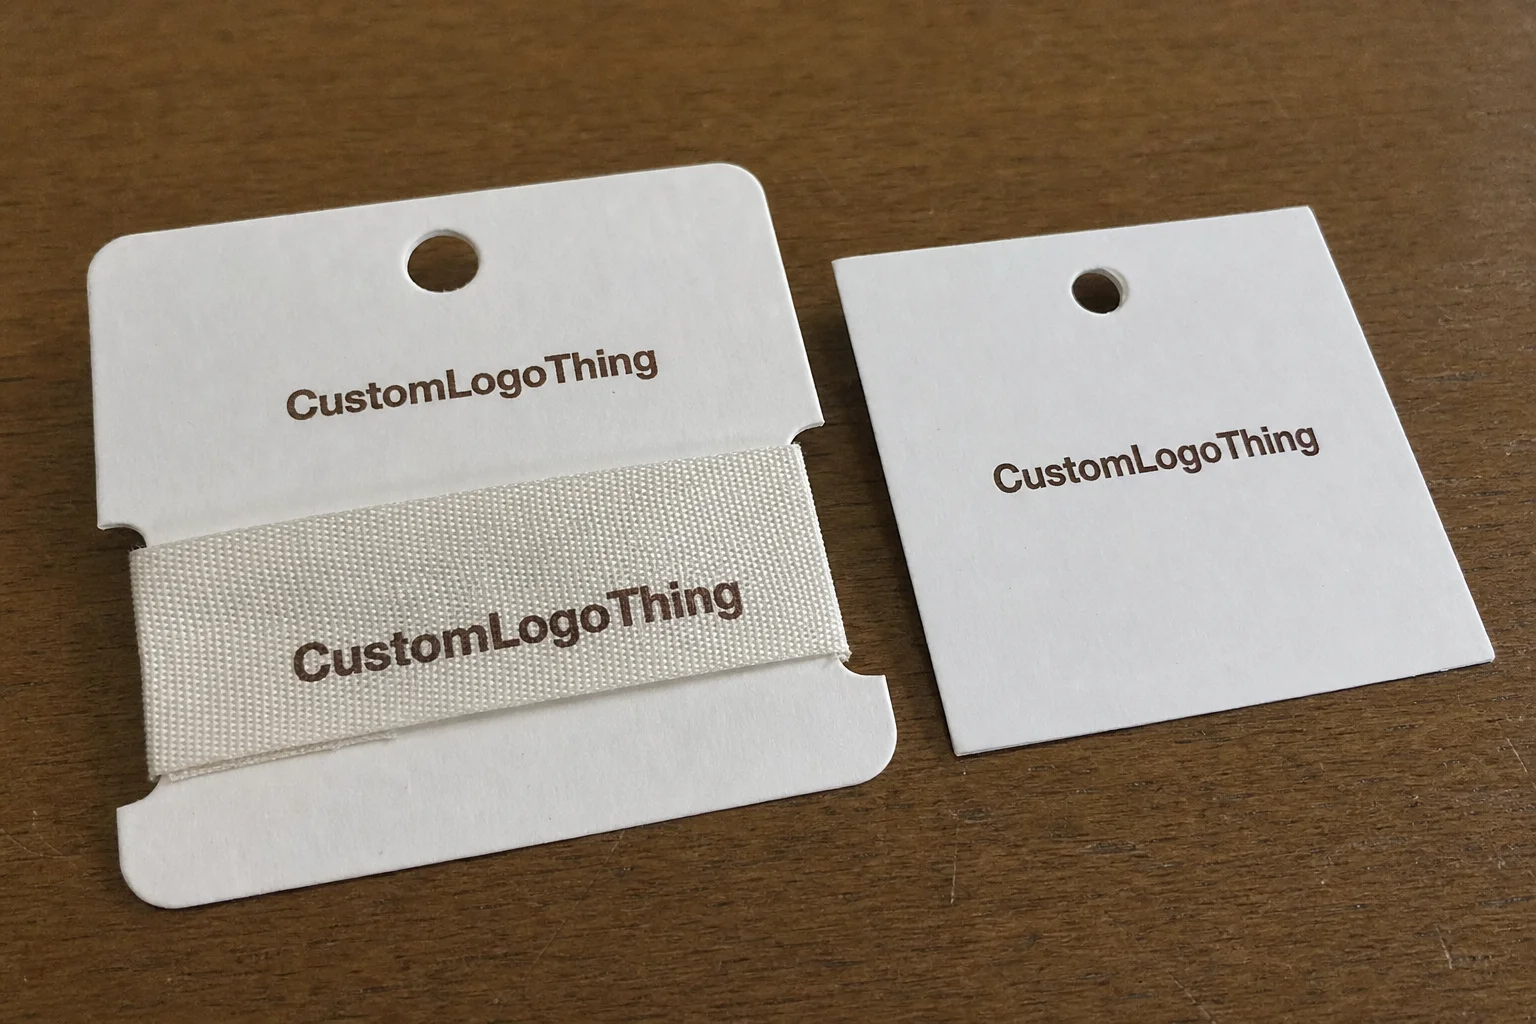
Labels and stickers
Labels are unforgiving. The print area is tiny, and the human eye notices imbalance immediately. For jars, bottles, and pouches, I usually recommend a top-center or center-left position depending on the neck height and product visibility. If the product inside is colorful, the logo should sit in a quiet zone with enough negative space to avoid visual clutter. This is one of the top minimalist brand logo positioning tips that improves brand consistency across SKUs without forcing every label to look identical.
A skincare client I worked with used a 35 mm circular label on a 50 ml bottle. Their first version placed the logo dead center with two lines of descriptor text below. It looked like a pharmacy label, not a premium serum. We moved the logo 6 mm upward, cut one text line, and the whole thing felt cleaner. Same plate cost. Better customer perception. Funny how that works.
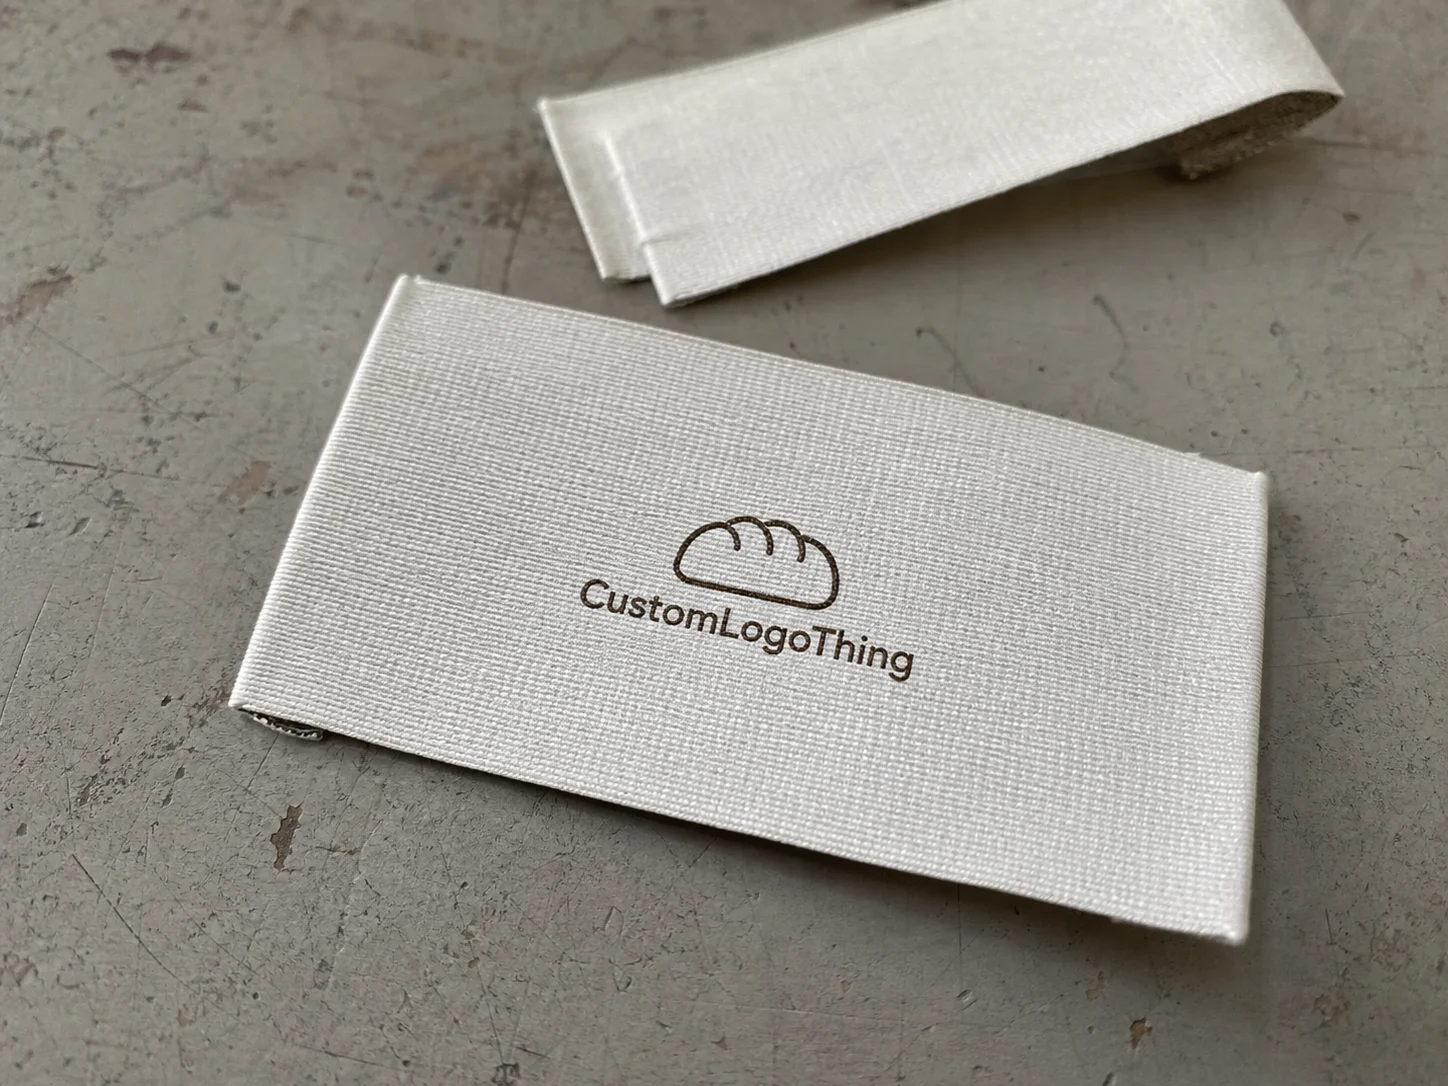
Inserts and tissue paper
Inserts are where restraint shines. A micro logo in one corner of an insert can feel expensive if the paper stock is nice and the whitespace is generous. Tissue paper can handle repeated marks in a grid, but if you want a more premium unboxing experience, I’d usually use one logo in a corner or centered very lightly in a 1-color tint. On 17gsm tissue, too much ink can bleed and wrinkle the sheet. Nice look. Bad hand-feel. Not worth it.
The top minimalist brand logo positioning tips for inserts are simple: don’t overfill, don’t overprint, and don’t force symmetry where the fold destroys it. If the insert is meant to carry a thank-you note, let the note breathe and place the logo where it supports the message rather than competing with it.
Digital headers and social graphics
Digital assets are different, but the same logic holds. Brand recognition improves when logo placement is consistent, but not rigid. I like top-left for website headers because users expect it and because navigation naturally follows. On social graphics, centered can work if the image is content-light. On a story template, bottom placement often leaves room for text overlays and avoids crowding the upper area.
If you’re serious about brand consistency, your packaging and digital layout should share the same spatial logic. Not identical placement every time. Just the same thinking. The best minimalist brands feel coherent across a mailer, a product page, and a retail insert. The logo should behave like it belongs to the same family, not the same robot.
What I’d do: for most packaging, I’d test two versions first. One centered. One slightly offset. Then I’d print both at real size, tape them to the actual substrate, and view them under store lighting and daylight. Screen mockups lie. Paper and board do not.
For more packaging examples, I often point clients to our Case Studies page because real production photos beat mood boards every time. If you want to understand how a logo actually behaves on a finished box, that’s where the useful stuff lives.
Price Comparison: What Minimalist Logo Positioning Actually Costs
The funny part about the top minimalist brand logo positioning tips is that “minimal” does not always mean cheap. A clean one-color print can be cheap. A clean one-color print with foil, emboss, tight registration, and three proof revisions? That’s where the invoices start smoking.
Here’s the breakdown I give clients when they ask why a minimalist package suddenly costs more than a busy one. Precise placement raises the stakes. A logo sitting 2 mm off can be obvious on a simple layout, and that means more proofing, better operators, and sometimes better finishing. Specialty work isn’t bad. It just has a shorter tolerance window.
| Option | Approx. Cost Impact | Best Use | Notes |
|---|---|---|---|
| 1-color print placement | $0.03 to $0.12/unit | Mailers, inserts, simple cartons | Lowest risk, easiest to approve |
| Foil stamping | $0.10 to $0.40/unit | Luxury boxes, premium sleeves | Needs tight registration and good artwork spacing |
| Emboss/deboss | $0.12 to $0.55/unit | Minimalist luxury branding | Depth and placement matter more than ink color |
| Custom dieline adjustment | $80 to $350 setup | Non-standard packaging | Often required when logo position follows structure |
| Multi-pass finishing | $0.25 to $0.90/unit | High-end retail packaging | More risk, more proof rounds, more labor |
For small-batch packaging, I’ve seen pricing land around $0.42 to $1.35/unit depending on stock and finish, with setup fees of $120 to $450. Mid-volume runs can drop dramatically, often to $0.18 to $0.62/unit for simpler structures if the artwork is clean and the placement is locked early. Premium custom production can climb above $1.50/unit fast, especially if you’re combining soft-touch lamination, foil, and embossing on a rigid setup. That’s not marketing fluff. That’s how print math works.
Hidden costs are where people get annoyed. Extra proof rounds can add $35 to $120 each. Revised artwork because the logo is too close to a fold can cost $60 to $200 if the designer charges by revision. Plate charges may be $40 to $180 depending on the method. And if the placement is wrong enough to force a rerun, congratulations, you just paid for education.
I had a client in Hong Kong who tried to save $90 by skipping a sample run on a rigid mailer. Their logo landed 7 mm lower than intended because the carton panel flexed under pressure. We fixed it, but the replacement run cost them an extra $680 in freight and rework. That’s why the top minimalist brand logo positioning tips always include sampling. Cheap planning is expensive later.
If you need to save money, save on decorative excess first. Don’t cheap out on placement precision. A clean 1-color print in the right spot often looks more premium than a complicated finish in the wrong spot. That’s the part people hate hearing because it makes aesthetic judgment sound like manufacturing discipline. Which it is.
One authority I trust for shipping and transit testing is ISTA, and their standards are worth a read if your packaging will be mailed or stacked: ISTA. If you’re designing for material sourcing and responsible paper choices, FSC is another solid reference: FSC. Those are not design blogs. They’re standards and certification bodies. Very different species.
How to Choose the Right Minimalist Brand Logo Positioning
Choosing placement shouldn’t feel mystical. The top minimalist brand logo positioning tips become much easier when you work through a checklist instead of chasing a feeling. I’ve sat through too many meetings where a founder said, “I just want it to feel balanced,” and nobody defined what balanced meant on a physical package. That’s how revisions breed.
Start with the surface. Is it flat, curved, folded, rigid, glossy, matte, textured, or flexible? Then define the viewing angle. Will the customer see the front panel first, the top lid first, or the edge first? After that, decide the hierarchy. Is the logo the lead element, or is the product name supposed to own the visual space? The top minimalist brand logo positioning tips are much clearer once those three questions are answered.
- Audit the surface. Measure the panel, fold, seam, and safe zone in millimeters.
- Define the viewing angle. Shelf, mailer drop, unboxing, or handheld use.
- Test hierarchy. Decide whether the logo, brand name, or product claim leads.
- Review proof files. Check dielines, not just flat artwork.
- Approve a mockup. Print at real size and inspect under bright light.
I also recommend tape mockups. Nothing fancy. Print the logo on plain paper, cut it out, and tape it onto a carton blank or pouch. Then stand 6 feet away, then 18 inches away. The difference is often embarrassing. But useful. One beverage client realized their bottom-right mark looked stylish on screen and invisible in a retail fridge. They changed it before production. Saved themselves from a brand consistency headache and a reprint.
Timeline matters too. Concepting may take 2 to 5 days if the logo already exists. Proofing usually takes 3 to 7 business days depending on supplier responsiveness. Revisions can add another 2 to 4 days if someone decides the logo needs to move “just a little.” Production is often 10 to 18 business days from proof approval for simpler items, and 18 to 30 business days for custom or finished cartons. Rushed approvals create costly mistakes. Every time. No exceptions, just different invoice sizes.
When working with a packaging supplier or designer, ask for these specifics:
- Final dieline in editable format
- Safe zone measurements in mm
- Print method and finish specs
- Proof turnaround and revision limit
- Photos of a real sample, not only a rendering
Honestly, I think the best top minimalist brand logo positioning tips come down to discipline. If you define the surface and the viewing logic first, the logo position usually becomes obvious. If you skip that step, you end up “designing” by committee, which is how a clean box becomes a crowded one.
And if you’re trying to maintain brand identity across a full product line, don’t force one placement onto every format. A rigid box, a mailer, and a label are not the same canvas. Consistency should be strategic, not robotic.
Our Recommendation on the Best Minimalist Logo Placement
If you want my straight answer after twelve years in custom printing, the most versatile choice among the top minimalist brand logo positioning tips is slightly offset top-center or top-left on most packaging. Not because it’s trendy. Because it works on more surfaces, handles more materials, and survives more real-world conditions than a perfectly centered logo on a perfect mockup.
Here’s how I’d rank the main options by effectiveness for minimalist brands:
- Top-left / slightly offset top-center — best balance of clarity, restraint, and production reliability.
- Centered — strongest for luxury and ceremony when the format supports symmetry.
- Bottom-right — best for modern brands that want visual motion.
- Corner micro-branding — best for ultra-quiet packaging, but risky if the logo gets too small.
For ecommerce packaging, I’d pick top-left or low-center depending on where the tape, labels, or seal live. For retail shelf impact, centered can work brilliantly if the box is rigid and the typography is minimal. For luxury unboxing, a centered or upper-third position usually feels the most deliberate. That said, the centered look is overused. People copy it because it’s easy, not because it’s always right.
A subtle corner mark, when handled correctly, can look smarter than a huge center logo. I’ve seen premium candle brands use a tiny foil mark in the lower corner and create more tension and elegance than a giant logo stamped in the middle. The trick is spacing. If the logo is small, the whitespace has to be generous enough to make the smallness feel intentional.
So my recommendation is simple: measure your packaging panel, choose two placement options, request mockups, and compare them in real light. Not on a laptop. In hand. On the table. Near a window. Under fluorescent store lighting if you can manage it. The top minimalist brand logo positioning tips only become useful when they survive real conditions.
And yes, if I had to pick one placement for most minimalist brands, I’d choose slightly offset top-center on a physical package and top-left on digital assets. That keeps brand recognition high without making every surface look like a template.
FAQ: Top Minimalist Brand Logo Positioning Tips
What are the top minimalist brand logo positioning tips for small packaging?
Use a placement that respects the safe zone and leaves enough whitespace so the logo does not feel cramped. Top-left or centered placements usually work best, depending on the box shape and how the customer first sees the package. Test the logo at actual size, because what looks balanced on a screen can look awkward on a tiny label or flap.
Should minimalist brands position their logo in the center or corner?
Centering feels balanced and premium, but it can also look generic if every competitor does the same thing. Corner placement feels more editorial and modern, especially when the rest of the packaging is extremely clean. Choose based on the brand message, not habit.
How do top minimalist brand logo positioning tips change for luxury packaging?
Luxury packaging usually benefits from more restraint, stronger whitespace, and precise alignment with the packaging structure. Foil, emboss, and deboss finishes can make a simple placement feel expensive if the logo sits in the right spot. Avoid crowding the logo with too many other design elements.
What is the most cost-effective logo positioning option for minimalist branding?
A simple one-color print in a clean, well-planned position is usually the cheapest and easiest to produce. Avoid unnecessary specialty finishes unless they clearly support the brand story. Good positioning can make a basic print look more expensive without adding much cost.
How many logo placement rounds should I test before approving production?
At least two rounds: one digital proof and one physical mockup or sample if the packaging is important to brand perception. If the logo sits near folds, seams, or closures, test more than once because tiny shifts can ruin the layout. Approve only after checking the mockup in real lighting and at real viewing distance.
If you remember one thing from the top minimalist brand logo positioning tips, make it this: placement is not decoration. It’s strategy. I’ve seen a 4 mm shift change customer perception more than a full redesign, and I’ve watched brands waste hundreds of dollars fixing a problem that a taped-up mockup would have caught in ten minutes. Keep it simple. Keep it measured. And stop centering everything just because it feels safe.