Band Custom Stickers: Order Smarter Merch Labels Fast
Band Custom Stickers Are Tiny Merch With Weirdly Big Reach
Band Custom Stickers travel farther than most merch because fans put them on laptops, water bottles, guitar cases, cars, coolers, notebooks, merch bins, bathroom mirrors, and plenty of surfaces they may or may not have permission to decorate. A T-shirt gets worn, washed, and buried in a drawer. A sticker can sit on a road case for three years.
That is why stickers are not filler merch. They are low-cost brand carriers. A fan might not have hoodie money after paying cover, buying a drink, and pretending parking was reasonable. But a $2 to $5 sticker? Easy. A free promo sticker tucked into an album order? Even easier.
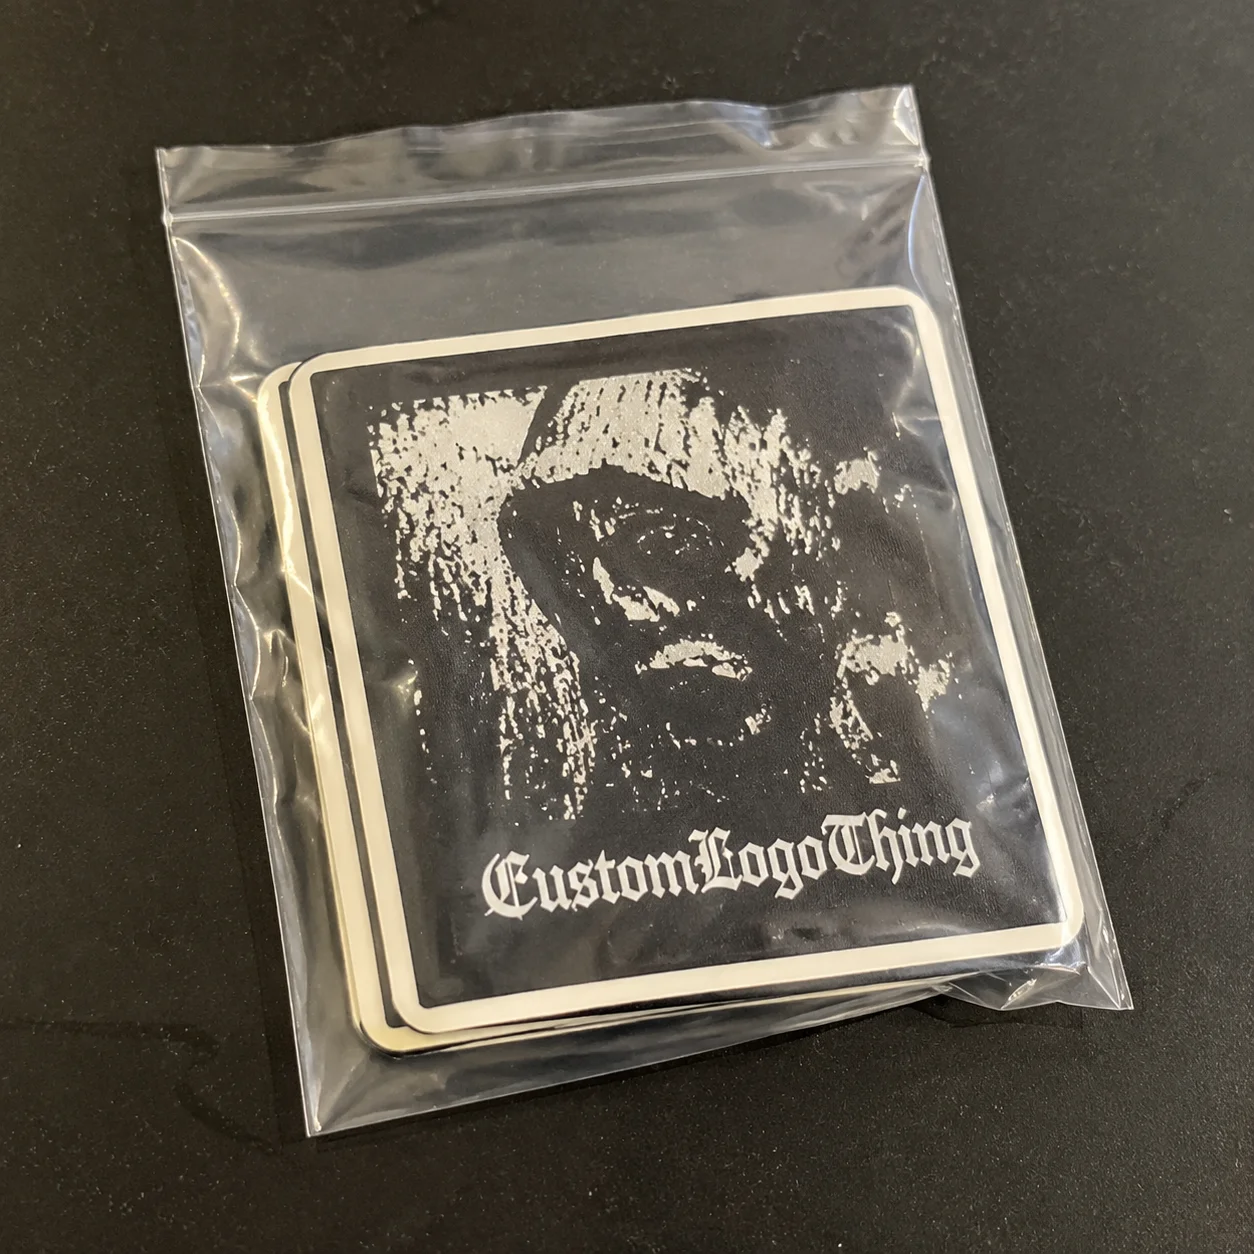
Band custom stickers are printed adhesive pieces built around a band logo, album art, lyric, tour name, mascot, QR code, limited release graphic, or inside-joke artwork your fans actually recognize. The job is matching the sticker spec to the use. One generic pile of “stickers” is how bands end up with weak paper labels on water bottles. That goes about as well as you think.
- Promotional stickers: lower-cost handouts for shows, street teams, mailers, album inserts, and online orders.
- Merch stickers: stronger material, cleaner cuts, better adhesive, and finishes fans are willing to pay for.
- Packaging stickers: labels for vinyl mailers, CD sleeves, cassette wraps, product bundles, and retail packaging.
- Event or VIP labels: short-term use for passes, backstage gear, table signs, wristband packs, and tour stop identification.
Blunt truth: a great design printed on cheap paper stock can still look cheap. Fans notice ragged cuts, weak adhesive, fuzzy print, and ink that scratches off after two rides in a backpack. Small does not mean invisible.
Good sticker merch does three jobs. It looks like the band. It survives normal fan abuse. It gives the merch table one more easy add-on sale. If it also makes a boring laptop look less corporate, great. That is useful advertising you do not have to keep paying for.
How Custom Band Stickers Move From Art File to Finished Sheet
Sticker production looks simple from the outside. Send art. Get stickers. Cute theory.
Real production has checkpoints, and the boring ones are usually where money gets saved. Clean art, clear specs, and a decent proof prevent most of the “why does this look different?” conversations nobody wants.
- Artwork review: the printer checks file type, resolution, bleed, cut line, fonts, and color setup.
- Proofing: a digital proof shows size, shape, bleed, safe zone, and cut placement.
- Material selection: paper, vinyl, clear film, holographic stock, BOPP, or specialty adhesive stock.
- Printing: usually digital for short runs and mixed designs; flexographic or offset for larger repeat orders.
- Protection: varnish or lamination may be added for scuff, moisture, and UV resistance.
- Cutting: die-cut, kiss-cut, sheeted, or roll finished.
- Quality check and packing: count, cut, color, adhesion, and visible defects get checked before shipping.
Format matters. Singles are best for merch tables because fans can grab one cleanly. Kiss-cut sheets work well for multi-design sticker packs or album bundles. Rolls make sense for mailer sealing, product packaging, or any workflow where someone applies hundreds by hand or machine. Multi-design packs can sell well in subscription boxes, VIP bundles, and limited drops, but they need tighter inventory control. A missing design in a five-piece pack turns a simple item into a customer service problem.
Printing method affects cost and flexibility. Digital printing is usually the best fit for 100 to 2,000 pieces, especially if you want several designs, fast setup, or variable artwork. Flexographic printing can lower unit cost at higher volume, often 5,000 pieces and up, but setup costs are less friendly for tiny orders. Offset can make sense for premium sheets or paper-based designs where color control and surface finish matter more than speed.
Shape changes the quote too. Circles, squares, and rectangles are cheaper and faster because cutting is predictable. Die-cut stickers look more custom and more band-specific. A jagged bat-wing mascot with 42 tiny points? Cool. Also slower to cut, easier to tear, and more likely to peel badly if the points are too thin.
Finish changes the feel. Matte looks closer to an art print and hides fingerprints better. Gloss makes colors pop. Holographic stock screams merch table energy, which can be perfect for punk, metal, pop, EDM, or any band with loud artwork. Clear vinyl works nicely for windows, instrument cases, and layered effects, but white ink support may be needed so the art does not disappear on dark surfaces.
Practical rule: do not approve production without a proof showing cut line, bleed, safe zone, final size, and color expectations. If the printer skips proofing, enjoy your surprise confetti. Not recommended.
Sticker production is smooth only when the artwork is clean. Low-resolution logos, tiny text, missing fonts, no bleed, and unclear cut lines slow the order. Vector artwork is the adult choice. Raster art can work, but it needs to be 300 dpi at final print size. For a 3-inch sticker, the art should be at least 900 pixels wide before scaling. Stretching a small JPEG from a social media post is not design. It is a crime with a progress bar.
Materials, Adhesive, and Finish Specs That Matter
The material should match where the sticker will live. Not the mockup. Not the Instagram post. The actual surface.
Paper stickers are fine for indoor giveaways, album packaging, envelope seals, and short-term promo use. They are cheap, print cleanly, and work well for branded packaging touches like CD inserts, cassette wraps, and thank-you cards. But paper does not love moisture, rubbing, sunlight, or beer spills. Shocking, I know.
Vinyl stickers are better for water bottles, laptops, guitar cases, cars, coolers, skateboards, and outdoor use. White vinyl is the standard merch workhorse. Clear vinyl gives a cleaner “printed on the surface” look. Holographic vinyl costs more but can make simple logo art feel collectible.
BOPP film shows up often in packaging labels. It is a synthetic film used for water-resistant product labels, roll labels, and high-volume packaging jobs. It can be a good choice for bottles, pouches, and mailers, but not every BOPP construction is meant for long-term outdoor use. Ask before assuming.
Adhesive matters as much as face stock. Permanent adhesive works for most merch. Removable adhesive is better for temporary promotions, event labeling, or retail packaging where residue is a problem. Specialty adhesives exist for windows, textured plastic, freezer exposure, or cold application. They are not magic. If someone sticks a label to a dusty amp case, adhesive science can only do so much.
Lamination adds protection and feel. A film laminate, usually gloss or matte, helps resist rubbing, water, and scratches. UV varnish can protect ink at lower cost, but it usually does not match the durability of film lamination. For paid merch, vinyl plus laminate is often the safest spec.
| Sticker Spec | Best Use | Typical Strength | Buyer Note |
|---|---|---|---|
| Matte paper | Album inserts, mailers, packaging seals | Indoor, light handling | Cheap and attractive, but not built for bottles or cars |
| Gloss paper | Promo handouts, flyer packs, envelopes | Indoor, short-term use | Good color pop, weak against moisture |
| White vinyl with laminate | Merch table singles, laptops, bottles, cases | Outdoor and heavy handling | Best all-around spec for paid sticker merch |
| Clear vinyl with white ink | Windows, clear packaging, layered graphics | Moderate to strong | Ask how white ink is handled before approving |
| Holographic vinyl | Limited drops, VIP packs, bold logo designs | Strong with laminate | Costs more, but feels more collectible |
For durability, ask for specs instead of vague promises. “Waterproof sticker” can mean many things, and some of them are nonsense. Better questions: Is it vinyl or BOPP? Is it laminated? What adhesive system is used? Has the construction been tested for rub, moisture, or outdoor exposure? ASTM D3330 is commonly used for peel adhesion testing, and ASTM D5264 can be relevant for abrasion resistance. You do not need to become a lab technician, but knowing the language keeps the conversation honest.
Packaging buyers should also ask about liner, unwind direction, and roll core size if stickers are being applied by machine. For hand application, liner type still matters. A split-back liner or easy-peel tab can speed up booth sales and fulfillment. Nobody wants a fan standing at the merch table picking at a sticker edge for 40 seconds while the next band starts.
Cost, MOQ, and Unit Cost: What Changes the Sticker Quote
Sticker pricing moves with quantity, size, material, finishing, shape, and packing. The same 3-inch logo can be a cheap promo label or a premium vinyl die-cut sticker depending on how you spec it.
Small custom sticker orders often start around 50 to 100 pieces. Serious merch runs usually make more sense at 250, 500, 1,000, or 2,500 pieces. Larger orders lower the unit cost because setup time, proofing, file handling, and cutting prep get spread over more units. Groundbreaking economics? No. Still ignored constantly.
| Quantity | Basic Paper Sticker | Vinyl Die-Cut Sticker | Premium/Holographic Sticker |
|---|---|---|---|
| 100 pieces | $0.35-$0.75 each | $0.80-$1.50 each | $1.20-$2.20 each |
| 500 pieces | $0.12-$0.35 each | $0.35-$0.85 each | $0.65-$1.35 each |
| 1,000 pieces | $0.08-$0.22 each | $0.22-$0.60 each | $0.45-$1.00 each |
| 5,000 pieces | $0.03-$0.12 each | $0.10-$0.32 each | $0.25-$0.70 each |
Those ranges are realistic starting points, not universal law. A 2-inch circle costs less than a 5-inch die-cut creature with tight contour cuts. Full-bleed artwork, white ink layers, individual bagging, backing card insertion, barcode labels, split-back liners, and rush production all add cost.
Price the sticker based on its role. If it is a free giveaway, protect your cash. A paper or standard vinyl promo sticker may be enough. If it is sold as merch, do not save five cents and make it feel disposable. A $0.45 vinyl sticker that sells for $3 has better economics than a $0.16 paper sticker nobody wants to buy.
Bundling helps too. Three stickers for $8 often feels better than one sticker for $4, even if your cost only rises by a dollar or less. For touring bands, sticker packs also reduce small cash handling and speed up the merch line. That matters when the venue wants you out fast and the bassist has already misplaced the tape gun.
For retail packaging, unit cost should be weighed against presentation and labor. A roll label that costs $0.06 but applies cleanly may beat a $0.04 label that slows packing, wrinkles at the edge, or causes returns because the adhesive lifts. Cheap is only cheap if it behaves.
Process and Timeline: From Proof Approval to Merch Table
A normal sticker order is not painfully slow, but it is not instant either. Plan like an adult. Your release show does not care that someone forgot to upload the final logo.
For a standard digital sticker order, expect 1 to 3 business days for file review and proofing, then 5 to 10 business days for production after proof approval. Shipping can add 2 to 7 business days depending on carrier, distance, and service level. In practical terms, many orders land in the 10 to 18 business day range from clean artwork to delivery.
Rush orders can happen. They also cost more and leave less room for fixing dumb file problems. If you need stickers for a tour, approve art at least three weeks before departure. For complex packs, holographic material, large rolls, or kitted merch bundles, give yourself four to six weeks. Nobody likes that answer. It is still the answer.
Proof approval is the line in the sand. Before approval, changes are usually simple. After approval, changes may trigger new setup fees, production delays, or a full reprint. Check these details carefully:
- Size: confirm width and height in inches or millimeters, not just “about palm size.”
- Cut line: check that thin points, tiny gaps, and internal shapes are practical.
- Bleed: use at least 0.0625 inch; 0.125 inch is safer for many formats.
- Safe zone: keep text and key art at least 0.0625 to 0.125 inch inside the cut.
- Color: compare against brand files, not a phone screen at midnight.
- Material: confirm face stock, adhesive, finish, and packaging format.
For packaging or shipping-related use, ask whether the finished sticker format supports your workflow. If stickers need to seal mailers, test peel strength on the mailer material. If they go on recycled kraft boxes, test on that exact surface. Corrugated board can shed fibers, coatings can reject adhesive, and cold warehouses can make borderline labels fail.
ISTA transit testing is more common for full packaging systems than small stickers, but the thinking still applies: test the thing under real handling conditions before you bet a launch on it.
Step-by-Step Ordering Guide for Sticker Merch That Sells
Ordering band custom stickers gets easier when you stop shopping by vibe and start shopping by spec. Pretty mockups are useful. They are not a purchase order.
- Pick the job first. Decide whether the sticker is a giveaway, paid merch item, packaging label, tour insert, or limited collectible.
- Choose the size. Common merch sizes run from 2 to 4 inches. Smaller works for logos and QR codes. Larger works for album art, mascots, and detailed illustrations.
- Choose the format. Singles for merch tables, sheets for packs, rolls for packaging, and kiss-cut sheets for bundles or multi-art drops.
- Select the material. Use paper for indoor promo and packaging. Use laminated vinyl for merch that should survive real life.
- Prepare the artwork. Send AI, EPS, SVG, or print-ready PDF files when possible. If using raster art, provide 300 dpi at final size.
- Define the cut. Ask for a contour cut only where it improves the design. Tiny spikes, hairline gaps, and fragile corners are not your friends.
- Approve a detailed proof. Check size, bleed, safe zone, material, finish, quantity, and shipping address.
- Order samples if stakes are high. For retail, outdoor use, or premium drops, test before the full run.
Need a simple starter spec? Try a 3-inch white vinyl die-cut sticker with permanent adhesive, full-color digital print, and matte or gloss laminate. Order 250 to 500 pieces for a first paid merch run. If the design sells through quickly, reorder 1,000 or more and improve your margin.
For a budget promo spec, use a 2.5-inch round paper or standard vinyl sticker, full-color print, supplied on sheets or singles. Order 500 to 1,000 pieces. Put them in album shipments, hand them out at shows, add them to online orders, and give a small stack to the person who is clearly going to put them everywhere. Every scene has that person. Respect the distribution network.
For a premium sticker pack, use three to five designs on laminated vinyl or holographic vinyl, packed with a branded backing card. Keep the art system consistent: one logo, one album art detail, one lyric or icon, one tour graphic. Random leftovers thrown into a bag feel like leftovers thrown into a bag. Funny how that works.
Common Sticker Mistakes Bands Make Before the First Show
Most bad sticker orders are not caused by printers being evil. Some are, sure, but many problems start with unclear specs and rushed artwork. The quote says “custom sticker,” the buyer assumes “durable merch sticker,” and the supplier prints “paper label.” Everyone gets to be annoyed.
Mistake one: ordering the wrong material. Paper stickers are not bottle stickers. If fans are likely to put them on water bottles, laptops, cars, cases, helmets, coolers, or outdoor surfaces, use vinyl or a comparable synthetic film with laminate.
Mistake two: making the sticker too detailed. Album covers with tiny text, small faces, dark backgrounds, and 17 visual layers can turn into mud at 2 inches. Simplify. Use contrast. Make the band name readable from arm’s length.
Mistake three: ignoring the edge. Die-cut stickers need enough border to look intentional and peel cleanly. A thin white outline around a dark logo often improves the final piece. It also hides tiny cut tolerance shifts, which happen even on good equipment.
Mistake four: trusting screen color. RGB art on a glowing phone does not equal printed CMYK ink on vinyl. Bright neons, deep blues, and rich blacks can shift. If color is critical, ask for a printed proof or use Pantone references where the printer supports them.
Mistake five: ordering too late. Rush shipping is not a production plan. If the first show is Friday and you approve art Tuesday, you are not “being scrappy.” You are gambling with carrier scans.
Mistake six: forgetting packaging. Loose singles are fine in a merch bin, but sticker packs may need backing cards, header cards, bags, barcode labels, or hang holes for retail. If you plan to sell through record stores, boutiques, or pop-up shops, ask about retail-ready packing before production.
Mistake seven: skipping test application. Stick one to a bottle. Wash the bottle. Stick one to a laptop. Toss it in a backpack. Try one on a guitar case. For packaging stickers, apply them to the real mailer, pouch, box, or sleeve and leave them for a few days. If edges lift in your own room, they will not magically improve on tour.
Also, do not overbuy just because the unit price drops. If your band changes logos every three months, 5,000 stickers are not inventory. They are future clutter. Start with a controlled run, learn what sells, then reorder the winner.
Build a Sticker Spec Before You Ask for Samples
Before requesting quotes for band custom stickers, write down a basic spec. Suppliers quote faster, proofs are cleaner, and you avoid comparing one premium vinyl quote against one mystery paper quote like they are the same product. They are not.
Use this quick spec format:
- Use: paid merch, free promo, packaging seal, album insert, retail sticker pack, or event label.
- Size: final width and height, such as 3 inches wide or 76 mm wide.
- Shape: circle, square, rectangle, oval, kiss-cut, or custom die-cut.
- Material: matte paper, gloss paper, white vinyl, clear vinyl, holographic vinyl, BOPP, or another film.
- Adhesive: permanent, removable, freezer-grade, window-facing, or specialty surface adhesive.
- Finish: matte laminate, gloss laminate, UV varnish, no coating, or specialty effect.
- Quantity: quote 250, 500, and 1,000 pieces if you are unsure where the price break lands.
- Delivery date: give the real deadline, not the “would be nice” date.
Ask for a sample pack before a large run. Not just photos. Actual material samples. Bend them, scratch them, peel them, stick them to the surfaces your fans use. For packaging labels, confirm FSC paper options if sustainability claims matter, and be careful with vague eco language. Recycled paper, FSC-certified stock, compostable facestock, and recyclable liner programs are different things. Marketing likes to blur them. Buyers should not.
If you want the safest all-purpose merch route, choose laminated white vinyl, a clean die-cut or circle shape, and artwork that reads at small size. If you want the cheapest handout, choose a simple paper or standard vinyl promo sticker and accept that it is not built for abuse. If you want a premium drop, use holographic or clear vinyl with a controlled design and sell it as a limited pack.
The real win is not buying the fanciest sticker. The win is buying the sticker your fans Will Actually Use, keep, and show off.
FAQ
What size should band stickers be?
Most band stickers work best between 2 and 4 inches. A 2-inch sticker is good for small logos, helmets, phone cases, and packaging inserts. A 3-inch sticker is the standard merch-table sweet spot. A 4-inch sticker gives album art and mascots more room, but costs more and may be too large for some surfaces.
Are vinyl stickers worth it for bands?
Yes, for paid merch. Vinyl stickers usually last longer, resist moisture better, and feel more substantial than paper stickers. For giveaways, paper can be fine. For anything fans pay for or put on water bottles, laptops, cases, or cars, vinyl with laminate is the better call.
How much should a band sell stickers for?
Single stickers commonly sell for $2 to $5 depending on size, finish, and audience. Sticker packs often sell for $6 to $12. Keep the math simple: if your landed cost is $0.35 to $0.80 each, a $3 to $4 retail price gives decent margin without making the merch table feel ridiculous.
Should I order die-cut or kiss-cut stickers?
Use die-cut stickers for single merch pieces because they look finished and custom. Use kiss-cut stickers for sheets, packs, or designs with delicate outlines. Kiss-cut backing makes peeling easier and protects thin design areas from tearing.
What artwork file is best for custom band stickers?
Vector files are best: AI, EPS, SVG, or print-ready PDF. They scale cleanly and make cut lines easier. High-resolution PNG or TIFF files can work if they are 300 dpi at final print size. Avoid screenshots, tiny JPEGs, and flattened social media graphics unless disappointment is the goal.
How long do custom stickers take to produce?
Many standard orders take 10 to 18 business days from clean artwork to delivery, including proofing, production, and shipping. Rush jobs may be faster, but material choice, quantity, proof changes, and carrier timing all affect the schedule.
Can stickers be used on merch packaging too?
Absolutely. Custom band stickers can seal tissue paper, brand vinyl mailers, upgrade plain boxes, label cassette bundles, or identify limited editions. Test adhesion on the actual packaging material first. Kraft paper, coated mailers, and textured boxes can behave differently.
What is the best starter order for a small band?
Start with 250 to 500 laminated vinyl stickers in one strong design, usually around 3 inches. Add 500 to 1,000 cheaper promo stickers only if you have a real plan to distribute them. Buying band custom stickers is easy. Buying the right ones is the part that saves money.

