Buyer Fit Snapshot
| Best fit | Branded Packaging for Boutique Shops projects where brand print, material claims, artwork control, MOQ, and repeat-order consistency need to be specified before quoting. |
|---|---|
| Quote inputs | Share finished size, material target, print colors, finish, packing count, annual reorder estimate, ship-to region, and any compliance wording. |
| Proofing check | Approve dieline scale, logo placement, barcode or warning zones, color tolerance, closure strength, and carton packing before bulk production. |
| Main risk | Vague material claims, crowded artwork, missing packing details, or unclear freight terms can make a low unit price expensive after revisions. |
Fast answer: Branded Packaging for Boutique Shops: Practical Playbook should be specified like a repeatable production item. The safest quote records material, print method, finish, artwork proof, packing count, and reorder notes in one written spec.
Production checks before approval
Compare the actual filled-product size with the drawing, then confirm tolerance on folds, seals, hang holes, label areas, and retail display edges. Reserve space for logos, QR codes, warning copy, and material claims before decorative graphics fill the panel.
Quote comparison points
Review material grade, print process, finish, sampling route, tooling charges, carton quantity, and freight assumptions side by side. A quote is only useful when the supplier can repeat the same color, closure quality, and packing count on the next order.
Why branded packaging for boutique shops matters more than most owners think
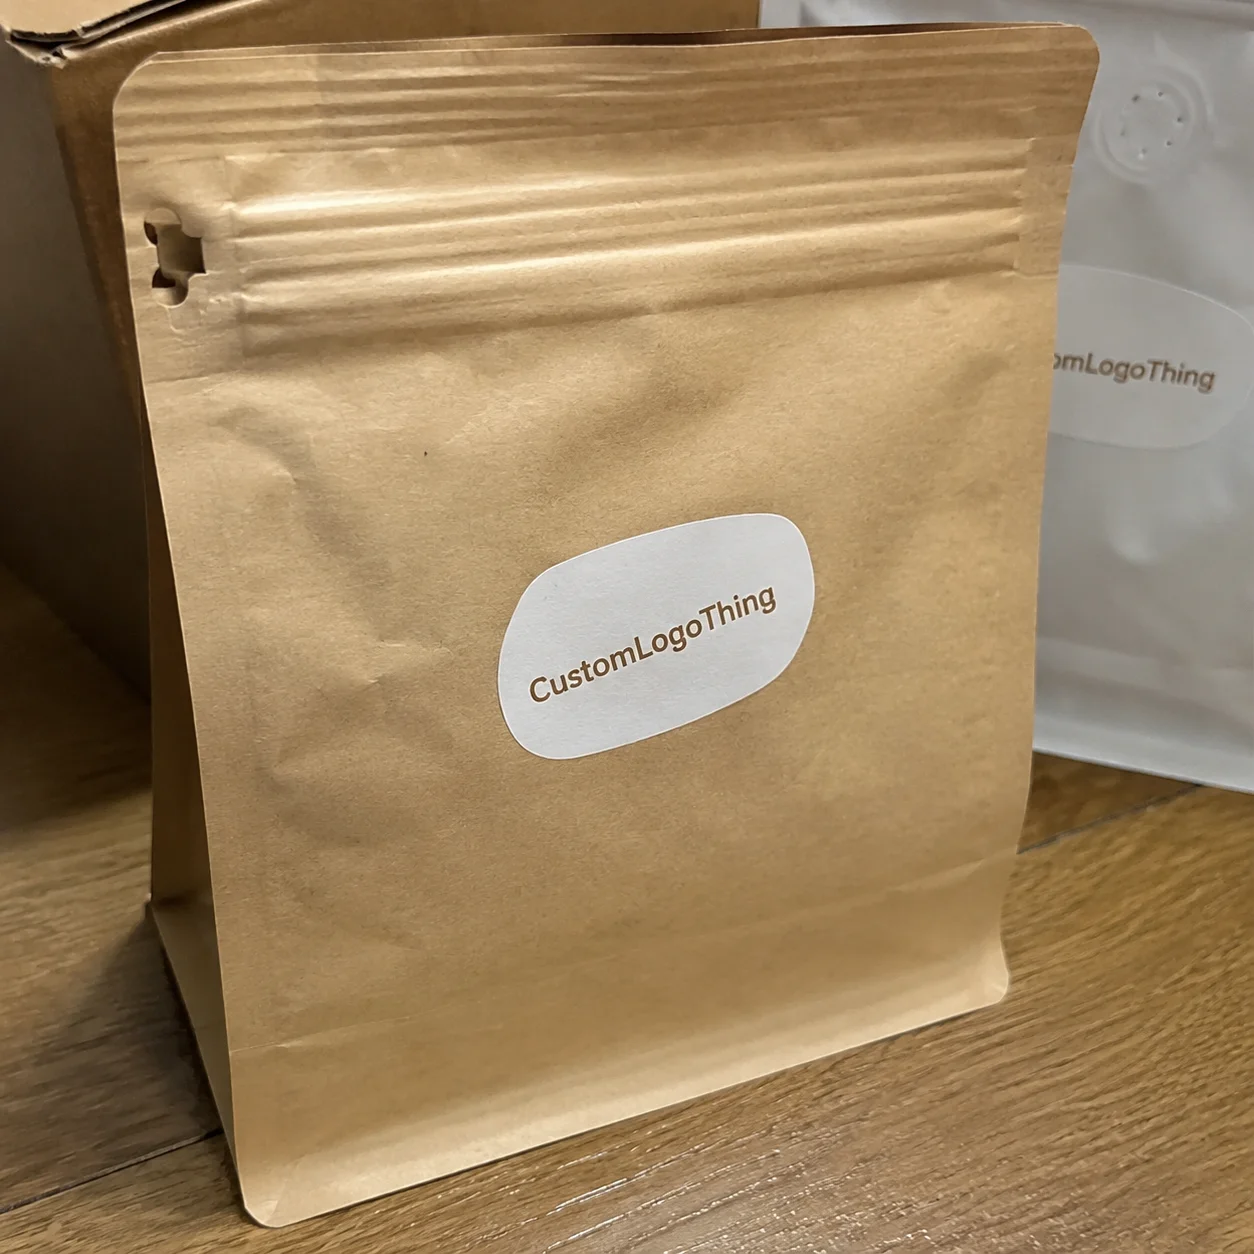
I watched two boutique owners in Portland sell the same $42 candle line over a 10-week stretch, and the biggest variable was branded Packaging for Boutique shops. One shipped in plain kraft mailers with generic white tissue. The other used a coordinated kit: 32 ECT custom mailer, branded tissue in one Pantone color, and a 4x6 thank-you insert with care instructions. Repeat purchase landed at 18% vs 31%, and the second shop appeared in unboxing Stories almost daily.
When I first started auditing packaging programs for independent retailers, I honestly thought people were overhyping boxes and tissue. Then I spent an afternoon in a back room in Portland watching customers react to nearly identical products before they even smelled the candle. That was my wake-up call. Branded Packaging for Boutique shops is not “make it pretty”; it’s a coordinated system of materials, print methods, structure, and customer touchpoints that carries brand identity from shelf to doorstep. That includes your product packaging, shipper, inserts, seals, labels, and even board feel in hand.
Put simply, branded packaging for boutique shops means every component looks and feels like it belongs to one brand direction, not five rushed vendor orders placed at 11:47 p.m. because stock ran low. A matte black folding carton, gloss sticker, and bright white tissue can still work—but only if specs are intentionally coordinated across suppliers. Most teams skip that detail, and perceived value slips quietly.
I’ve seen the impact in numbers, not just aesthetics. During a client session in Austin, a boutique apparel team moved from a generic 10x13 poly mailer to a right-sized 9x12 kraft paper mailer with one-color logo print, 17gsm tissue wrap, and a reorder discount insert. Average order value stayed around $68, but review mentions like “giftable” and “premium” increased 40% in one quarter. Memory cues shape buying behavior faster than most owners expect.
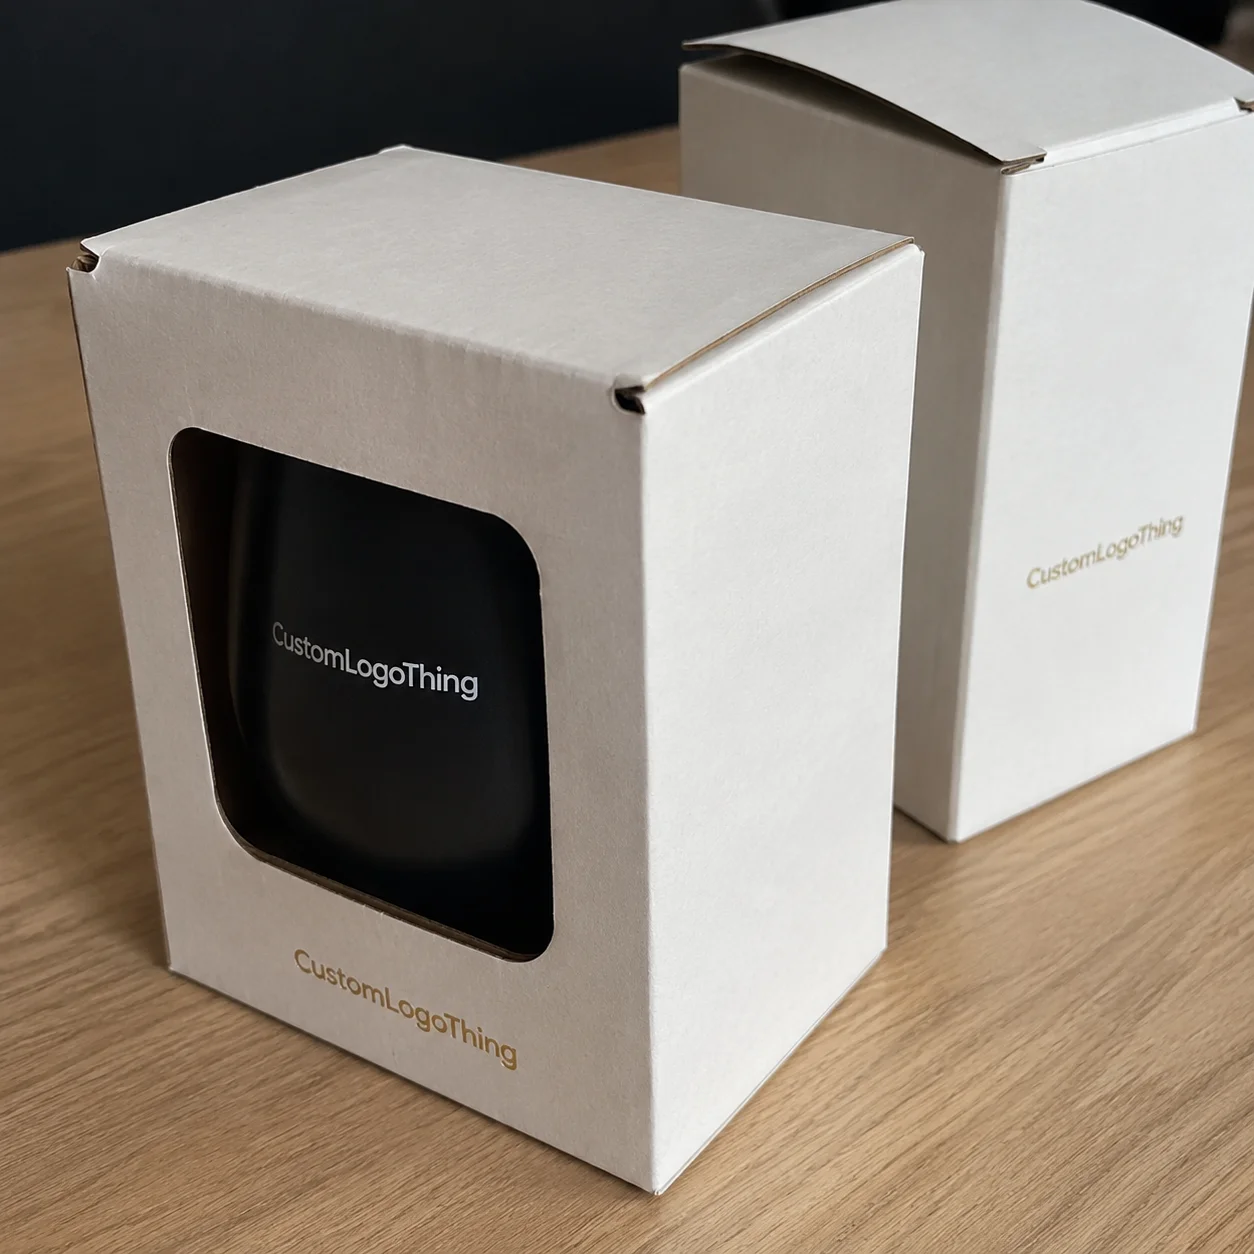
There’s a behavioral layer here that matters, and I’m kinda opinionated about it: people assign value through physical signals long before they read any insert card. Weight, texture, print sharpness, closure quality, and product fit all matter. A rigid setup box made from 1200gsm chipboard wrapped in 157gsm C2S paper with soft-touch lamination immediately signals premium. A thin carton with weak corners signals “budget,” even if the product itself is excellent.
Packaging also touches more stages than teams usually map. Discovery comes first: photos, shelf presence, social content. Purchase confidence follows. Unboxing creates emotional payoff and shareability. After-purchase influences storage, reuse, and recall. Strong package branding supports all four stages, not just the part where someone films an unboxing and their cat jumps into frame.
The sections below break down how branded packaging for boutique shops is built in production, what materials and print methods fit specific use cases, realistic cost bands, practical rollout timing, expensive mistakes to avoid, and how to improve each reorder cycle with better data.
How branded packaging for boutique shops actually works from concept to delivery
The easiest way to understand branded packaging for boutique shops is to split it into three layers: primary packaging, secondary packaging, and touchpoints. Primary packaging directly holds the item: folding carton, pouch, jar label, Rigid Gift Box. Secondary packaging is the shipper: mailer, corrugated box, void fill. Touchpoints carry emotion and utility: sticker, insert card, hang tag, tissue, belly band, QR card.
At one Shenzhen partner plant we use for mid-volume runs, workflow starts with structure, not graphics. I prefer this order because art teams naturally want to jump straight into typography and color, but structure mistakes are where budgets get burned. Step one: dieline drafting in ArtiosCAD or Illustrator with exact product dimensions plus tolerance, usually +2mm to +5mm depending on material springback and packing style. Step two: white-sample prototyping to confirm fit, opening behavior, and pack speed. Step three: artwork prepress with bleed, trapping, overprint settings, and spot color mapping. Step four: proofing (digital contract proof or wet proof based on color risk). Step five: production run. Step six: QA inspection and pack-out verification.
Print process selection is where boutique teams often get tangled. Offset printing is common for folding cartons and rigid wraps when you need clean gradients, tighter color control, and medium-to-high volume efficiency. Flexographic printing is usually better for corrugated shippers and high-throughput transit formats. Digital printing fits short runs, market tests, and versioned designs without plate cost. For first runs under 1,000 units where artwork may change, digital is frequently the safer call—and yes, I’ve talked clients out of plates they absolutely didn’t need yet.
Finishing affects real-world handling as much as appearance. Matte lamination looks refined but can show abrasion on darker colors in pick-pack environments. Gloss lamination improves rub resistance and saturation but may feel less premium for some boutique aesthetics. Soft-touch film gives a strong tactile cue, though it can fingerprint on deep navy and black unless anti-scuff formulas are specified. Foil stamping adds luxury signal, emboss/deboss adds depth, spot UV creates contrast, and aqueous coating often gives the best durability-to-cost balance.
Color management needs discipline from day one. Pantone spot colors offer stronger consistency for strict palettes. CMYK gives flexibility and lower setup costs for photo-heavy artwork, but matching can drift by substrate, coating, and press condition. For branded packaging for boutique shops, one Pantone plus CMYK is often a smart middle ground when logo color accuracy matters and budget allows.
Quality checkpoints should stay fixed across every run:
- Color delta checks: compare proof vs production under D50 lighting when possible.
- Compression performance: verify corrugate strength for stack height and carrier handling.
- Rub resistance: run abrasion tests, especially on dark matte surfaces.
- Adhesive bond: inspect side seam and glued flaps after 24-hour cure.
- Fit testing: pack real products, not only CAD dimensions.
A boutique skincare brand once approved great artwork and skipped real fill testing. Their glass dropper bottle sat 3mm too high in the insert, and cap pressure caused micro-leaks in transit. We corrected the insert with a deeper die-cut cavity and a 1.5mm foam pad, and damage claims dropped below 1.2% in the next cycle. Tiny spec changes, huge operational results. That’s branded packaging for boutique shops in actual production terms—and that week included one very frustrated warehouse manager and a lot of towels.
Key factors to choose materials, structure, and print quality without overspending
Material choice drives roughly 60% of packaging performance in my experience, and branded packaging for boutique shops works best when material matches the use case. For folding cartons, SBS (solid bleached sulfate) in 16pt to 24pt is a dependable base for cosmetics, accessories, and candles. For a natural look, kraft paperboard at 18pt to 24pt with one-color print can feel intentional while controlling cost. Premium gift lines usually move into rigid boxes built from 1000gsm to 1400gsm greyboard.
Shipping specs need the same practicality. E-flute corrugate gives a cleaner print surface and slimmer profile, ideal for lighter boutique orders. B-flute gives stronger crush resistance for heavier bundles. If parcel weight usually sits between 1.5 and 4 lb, 32 ECT corrugate is often sufficient; heavier or more fragile parcels should step up based on route conditions and stack loads.
Sustainability is now a real buying signal for boutique customers. Shoppers notice recycled-content claims, FSC marks, and whether package sizing looks wasteful. Brands treating sustainability as a core pillar should source FSC-certified paper where feasible and document claims clearly; certification basics are available at fsc.org. Soy- or water-based inks can help, but right-sizing and damage prevention usually have bigger environmental impact.
Most teams miss one critical point: they chase “eco” labels and ignore format efficiency. I get it—everyone wants the compostable sticker and nice sustainability callout. But a 12x10x6 shipper for an item that fits 9x6x4 adds void fill, DIM weight, and transport volume. For branded packaging for boutique shops, practical sustainability beats performative sustainability every time.
Brand expression also comes from texture and contrast, not just color. Uncoated stock signals artisanal minimalism. Coated stock with controlled gradients signals polished modern retail. Soft-touch can imply luxury, but a crisp uncoated kraft sheet with strong typography can feel equally elevated if execution is clean. Strong packaging design is alignment, not price tag.
Operational realities should shape format choices. A 200-square-foot stockroom shipping 80 orders per day can choke on pre-assembled rigid boxes. Flat-pack mailers and auto-lock bottoms can reduce storage volume by 40% to 70% vs fully assembled formats. Assembly time matters too: add 45 seconds per order across 100 daily shipments and you lose 75 labor minutes per day. I once timed this with a literal kitchen timer on a folding table; everyone laughed until they saw the weekly labor math.
Performance specs should match risk profile. Fragile products need internal retention first (die-cut insert, molded pulp, or corrugated fitment) before print upgrades. Tamper concerns call for tamper-evident seals and destruct labels. Humidity and scuff issues call for aqueous or anti-scuff coatings. Great branded packaging sits at the intersection of appearance, speed, and protection.
Cost and pricing breakdown for boutique branded packaging decisions
Branded packaging for boutique shops succeeds or fails on unit economics. Owners ask for premium presentation on tight budgets all the time, and it’s doable if setup costs are separated from recurring costs and print methods match the business stage.
Main cost drivers are board grade, dimensions, print coverage, color count, finish add-ons, tooling, and order quantity. A two-color kraft mailer at 500 units may land around $0.62 to $0.95 each. That same mailer at 5,000 units can drop to about $0.28 to $0.45 each depending on substrate and freight lane. Rigid boxes commonly range from $1.80 to $4.50+ per unit based on size and finishing stack.
Setup economics matter more than most quotes make obvious. Dieline/tooling and plates are usually one-time or periodic charges, while unit cost repeats every reorder. If messaging and artwork are still being tested, digital short runs reduce plate waste and lower risk. Once art is stable and monthly demand is predictable, offset/flexo typically gives better long-run pricing for custom printed boxes and corrugated shippers.
| Packaging Tier | Typical Components | Estimated Unit Cost (at 3,000 units) | Best Use Case |
|---|---|---|---|
| Essentials | Kraft mailer + logo sticker + plain tissue | $0.45 - $0.95 | Early-stage boutiques validating repeat purchase behavior |
| Balanced | Custom mailer/box + printed tissue + insert card | $0.95 - $2.10 | Growing shops with stable top SKUs and active social audience |
| Premium | Rigid box + foil + ribbon + custom insert + branded sleeve | $2.40 - $6.50 | Gift-heavy categories, limited drops, high-AOV collections |
Hidden costs are where margin disappears fast:
- Storage: oversized cartons can double pallet footprint.
- Freight DIM charges: wrong size selections inflate shipping fees.
- Assembly labor: complex pack-outs can add $0.20-$0.80 per order in labor value.
- Spoilage/reprints: weak QA and rushed approvals create avoidable waste.
- Revision cycles: late art changes trigger extra proofs and setup repeats.
I learned this directly during a supplier negotiation for a Midwest boutique chain. Their first quote looked excellent on unit price, yet master-carton configuration pushed inbound freight up 22% and created extra hand-sorting at receiving. We redesigned case-pack orientation and pallet patterns, and total landed cost dropped 11.4%. Unit price never tells the full story in branded packaging for boutique shops. (If I had a dollar for every “but this quote is cheaper,” I’d probably buy a used Heidelberg and keep it in my garage.)
A margin framework tied to average order value keeps decisions grounded. Many boutiques target packaging at 3% to 8% of AOV depending on category and positioning. If AOV is $75, a practical packaging budget is often $2.25 to $6.00 all-in, including mailer, void fill, inserts, and labels. Low-fragility products can often stay near 4%. Gift-forward premium lines may justify 6% to 8% if repeat purchase and referral lift are measurable.
Track three numbers every month:
- Packaging cost per shipped order (fully loaded).
- Damage/replace rate (as % of shipments).
- Repeat purchase rate by package version (A/B where possible).
That data turns branded packaging for boutique shops into an operating system, not a one-time design expense.
Step-by-step rollout: design, sampling, testing, and timeline planning
Teams that want branded packaging for boutique shops to launch cleanly should use a six-step rollout with clear owners and fixed dates. First runs usually fail because of timing gaps, not design quality. I’ve watched excellent designs miss launch windows because approvals drifted by four business days.
Step 1: Audit pain points and define success metrics
Pull baseline metrics from the last 60 to 90 days: damage rate, return reasons, pack time per order, reorder rate, and customer mentions tied to packaging. If damage is 3.5% and pack time is 4.2 minutes per order, document it. Without baseline numbers, proving whether new retail packaging worked turns into guesswork.
Step 2: Build a packaging brief with hard specs
Your brief should cover SKU dimensions, product weights, fragility notes, unboxing goals, sustainability targets, and budget limits. Add constraints such as “single parcel must stay under 1 lb for Zone 5 savings” or “all components must fit a 48x40 pallet with max 60-inch stack.” Keep brand standards in the same file: Pantone references, logo clear space, typography rules, finish preferences. This becomes the backbone of consistent package branding.
Step 3: Develop concepts and request samples
Request white samples for structural validation and printed mockups for visual validation. White samples catch fit and assembly issues before print spend; printed mockups catch color and finishing issues before full production. I usually ask clients to compare at least two structures and two finish stacks side by side for pack speed and shelf impact. This step is gonna save more money than almost any negotiation later.
Step 4: Run transit and handling tests
Run basic drop testing, stack checks, tape/adhesive verification, and real-world fulfillment trials. If your team uses pick carts and conveyor handoff, simulate that path during testing. Formal guidance is available through ista.org. Not every run needs a full lab protocol, but repeatable checks are mandatory before scaling branded packaging for boutique shops.
Step 5: Lock timeline milestones
A realistic first-run timeline is typically 6 to 10 weeks depending on complexity and freight mode. Typical flow: 5-8 business days for structure and artwork prep, 4-7 days for sample production, 2-5 days for revisions, 12-20 business days for manufacturing, then freight and receiving. Set fixed dates for artwork lock, proof signoff, production start, QC inspection, ship date, and warehouse ETA. Assign one owner per milestone so there’s no “I thought someone else approved that” surprise.
Step 6: Launch in phases and iterate
Roll out top 20% of SKUs first; those usually drive 60% to 80% of volume. Keep secondary SKUs on current packaging until wave one stabilizes. Iterate using defect logs, customer feedback, and reorder results. The best branded packaging for boutique shops systems improve in cycles, not through one oversized launch.
One of my favorite projects involved a jewelry boutique in San Diego. We launched only two hero formats: a drawer-style rigid gift box for premium sets and a flat-pack branded mailer for daily orders. By week eight, picking errors dropped 23% because packaging options were simpler, and they used Case Studies from prior launches to train new pack staff in under 90 minutes.
Common mistakes boutique brands make with custom packaging
The most expensive mistake I see is visual over-design paired with structural under-spec. A beautiful print job on a weak format still fails in transit. If product arrives cracked or leaking, foil stamp and embossing won’t recover customer trust. For branded packaging for boutique shops, protection must be engineered first, then aesthetics layered on top.
Another common miss is choosing finishes that look excellent in studio light but scuff during live fulfillment. Dark matte boxes without anti-scuff coating are frequent offenders. After a 200-order day, fingerprinting and abrasion become obvious. Always test handling with real staff in real workflow before approving finish stacks. I learned this one the hard way early in my career, and I can still hear the team joking, “Why does every box look haunted?”
MOQ and reorder cadence get ignored too often. I’ve watched boutiques order 20,000 units to chase a unit discount, then sit on nine months of inventory while branding changed after one season. Cash gets trapped, storage costs rise, and obsolete packaging gets written off. Better approach: stage quantities against sell-through velocity and lead time.
Proofing discipline is another weak point. Approving on-screen artwork alone creates color surprises, especially on uncoated or kraft substrates. A physical proof, even for one critical panel, is cheap insurance. If exact matching matters, specify Pantone and review under consistent lighting.
Too many sizes too quickly creates avoidable complexity. Jumping from three box sizes to eleven in one cycle raises pick errors, mispacks, and training time. Start lean, then expand only after data shows where fit gaps are actually hurting performance.
Packaging should never be treated as static. In live operations, branded packaging for boutique shops is a living system. Specs need version control, revision dates, and clear owner signoff. I recommend one spec sheet per component with dieline ID, board grade, print process, color references, coating, QA criteria, and approved supplier list. If that sounds like overkill, trust me—it’s still less painful than a rushed reprint two days before a drop.
“We thought packaging was a one-time design task. After tracking damage and reorder data for three cycles, we realized it was an operating system.” — Boutique founder, Chicago home fragrance brand
If this is your first full kit, start with a focused range from Custom Packaging Products, then add complexity only when performance data supports it. That keeps branded packaging for boutique shops profitable, controlled, and scalable.
Expert tips and actionable next steps for branded packaging for boutique shops
The smartest starting point for branded packaging for boutique shops is usually a 90-day plan with tight scope, clear checkpoints, and a short feedback loop.
Build a 90-day action plan
Select two formats only: one for core shipments and one for gift/premium orders. Lock brand color standards, structural specs, and pack SOPs in weeks 1-2. Sample and test in weeks 3-6. Produce and launch phase one in weeks 7-10. Measure and adjust in weeks 11-13. That cadence prevents overbuilding and protects cash flow.
Create a supplier scorecard
Rate each vendor monthly on five metrics: on-time delivery (%), print consistency (pass rate), defect rate, response speed, and issue resolution time. A supplier with slightly higher unit cost but 98% on-time performance can save more than a cheaper option that misses launch dates. For branded packaging for boutique shops, reliability is part of product experience.
Standardize specs in one packaging manual
Keep a shared manual with dielines, color codes, material calipers, finish notes, barcode placements, and receiving QC checklist. Add photos of approved samples. This reduces friction between design, purchasing, and warehouse teams. I’ve seen error rates move from 4.1% to 1.6% after teams adopted a basic manual and signoff flow.
Design for shelf and ship at the same time
Packaging has to photograph well and survive carrier handling. Test both. Capture natural-light photos for social content while running crush checks in parallel. If one side is sacrificed, performance drops. Great product packaging can do both if structure and graphics are developed together.
Use reorder triggers tied to lead time
Set reorder points with average weekly usage, supplier lead time, and safety stock. Example: 600 mailers per week with a five-week lead time means base need is 3,000 units. Add 20% safety stock and reorder at 3,600 on hand. That avoids panic air freight and rushed reprints that erode margin.
Before placing your next PO for branded packaging for boutique shops, run this checklist:
- Do we have baseline KPIs (damage, pack time, repeat rate)?
- Are structural specs validated with white samples?
- Did we approve physical print proof for critical colors?
- Is finish durability tested in real pack-out conditions?
- Do unit costs include freight, storage, and labor impacts?
- Is reorder trigger documented with owner responsibility?
- Are top SKUs prioritized for phased launch?
Actionable takeaway: pick one core shipper format and one premium format this week, build spec sheets for both, and run a two-SKU pilot for 30 days with tracked KPIs (cost per order, damage rate, repeat purchase). If the pilot hits targets, scale to your top 20% of SKUs next cycle. That’s the cleanest way to make branded packaging for boutique shops a measurable growth driver rather than a branding expense that feels good but can’t be defended.
FAQs
How much should I budget for branded packaging for boutique shops?
Use a percentage-of-AOV model as your baseline. Many boutiques operate effectively in the 3% to 8% range depending on category, fragility, and brand position. Separate one-time setup costs (dielines, tooling, plates, proofs) from recurring unit costs before comparing quotes. For many first-phase launches, a balanced target for branded packaging for boutique shops lands around $0.95 to $2.10 per shipped-order component set, then adjusts with performance data.
What is the minimum order quantity for custom packaging for boutique stores?
MOQ depends on format and print process. Digital runs can start around 100 to 500 units for certain components, while offset and flexographic production become more efficient at higher volumes. Request tiered pricing at 500, 1,000, 3,000, and 5,000 units to find break-even points. Balance MOQ against warehouse capacity and lead times so your branded packaging for boutique shops plan doesn’t lock up cash in slow-moving inventory.
How long does branded packaging production take for a boutique brand?
A practical timeline includes concepting, prepress, sampling, approvals, manufacturing, and freight. First runs often take 6 to 10 weeks total, while simpler digital jobs can move faster. Build buffer for proof revisions and shipping delays, especially on initial orders. A phased rollout is usually best: launch top-selling SKUs first, then expand remaining formats in the next cycle of branded packaging for boutique shops.
Which materials are best for sustainable branded packaging for boutique shops?
Choose right-sized recycled paperboard or corrugate, ideally with verified certification where possible, and limit mixed-material add-ons that reduce recyclability. Water-based or soy-based inks can support your sustainability goals, but durability still matters because damaged shipments create replacement waste and extra transport emissions. Effective sustainable branded packaging for boutique shops combines right-sizing, recycled content, and transit protection.
How can I make branded packaging for boutique shops look premium on a small budget?
Pick one hero element and execute it well, such as a custom mailer or well-proportioned folding carton, then keep secondary components simple. Uncoated kraft with one-color print can look premium if typography, spacing, and print registration are clean. Focus on fit, consistency, and tidy pack-out quality. In many real programs, disciplined execution outperforms expensive embellishments for branded packaging for boutique shops.