Branded Kraft Inserts With Logo: The Small Piece That Controls the Bag Experience
A shopper reaches into a kraft paper bag, lifts away tissue, and finds a folded support card holding a candle upright, a care card sitting cleanly on top, or a die-cut panel keeping two small products from knocking together. That small piece is doing more work than most people notice. Branded kraft inserts with logo are custom printed paper-based components placed inside paper bags for structure, separation, messaging, product presentation, or a mix of all four.
They are not just flyers. A kraft insert might be a flat thank-you card, a product backing board, a bottle neck support, a folded tray, a sleeve panel, a coupon, a care instruction piece, a divider, or a reinforcement board that helps a flexible bag behave more like a controlled package. The right style depends on product weight, bag shape, packing speed, and the first impression the brand needs to create.
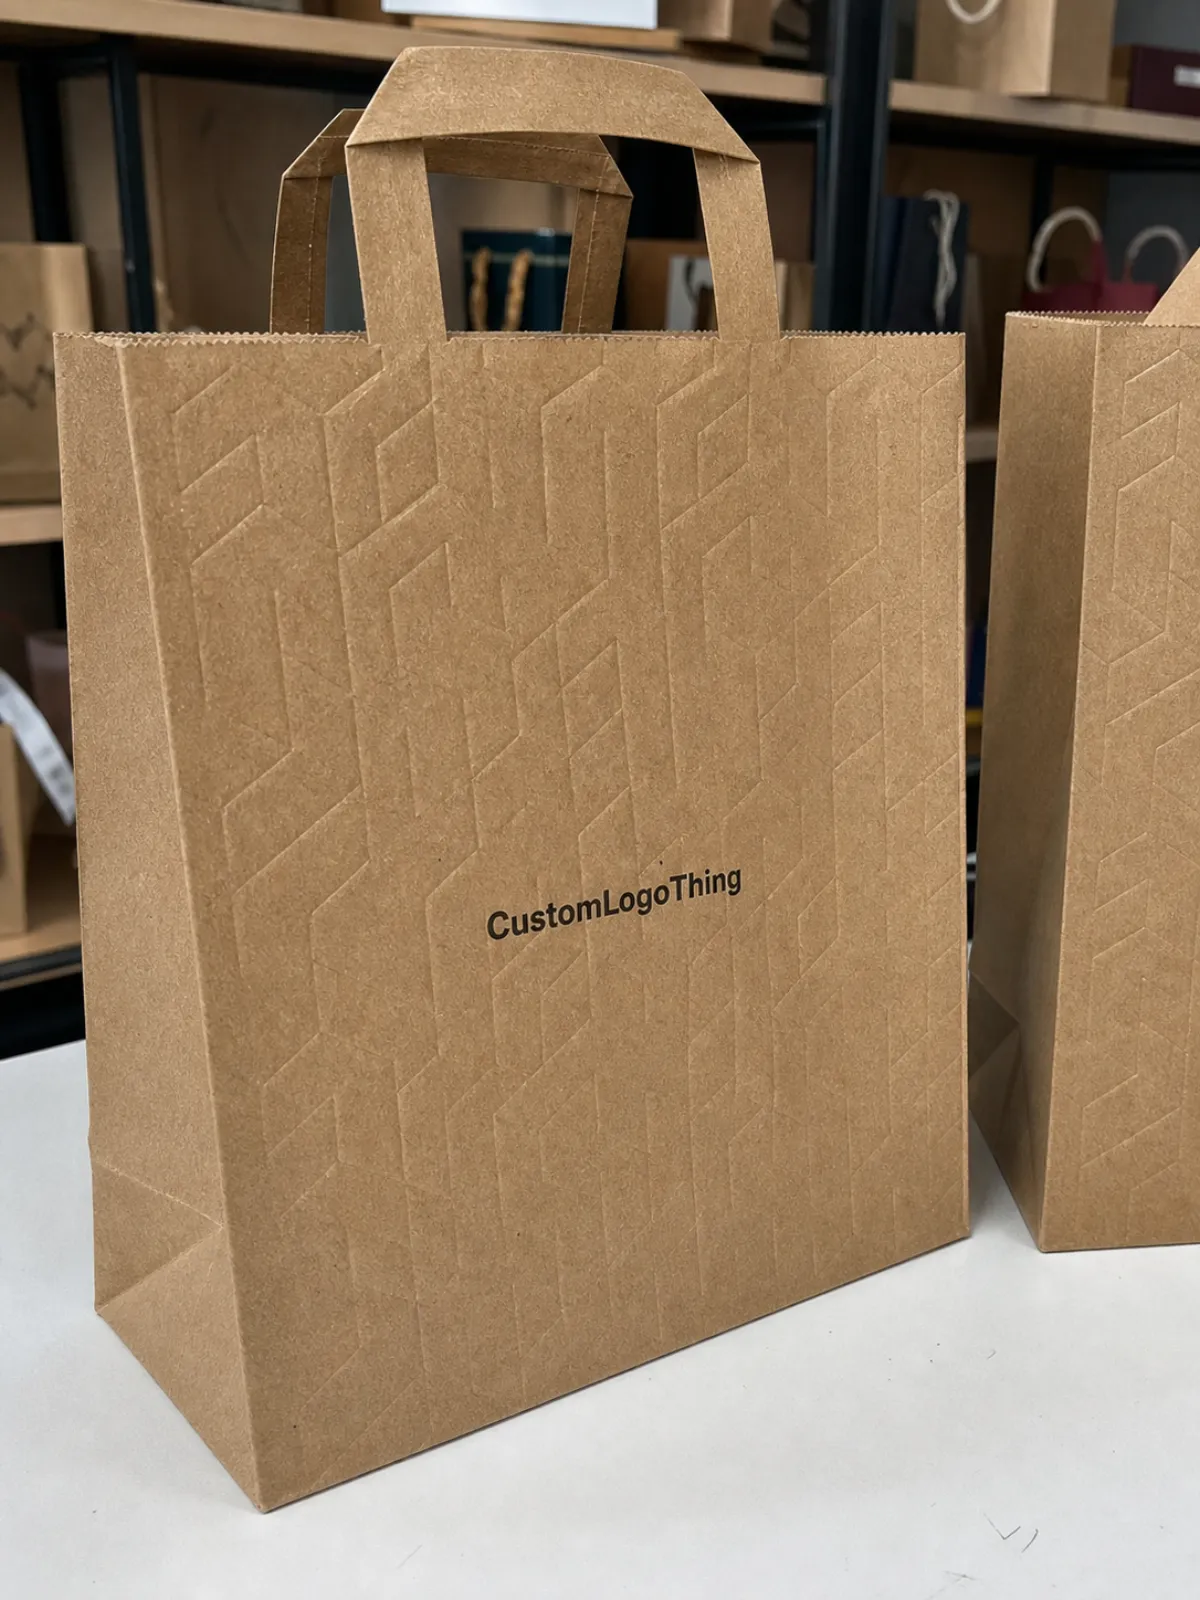
Kraft has a material personality that is difficult to fake. The brown tone, visible fiber, recycled-paper character, and slightly absorbent surface give a package a warm, practical, handmade, or premium-natural look without adding a glossy layer that may feel overbuilt. Black ink on 300gsm kraft can look confident and restrained. A deep green logo can feel grounded. A cream pattern can soften the insert without hiding the paper texture.
Paper bags are flexible by design. That flexibility helps with retail handling, event merchandise, apparel accessories, food-safe secondary packaging, cosmetics, candles, and gift sets, but it also means the product inside can slide, lean, rub, or disappear under tissue. A kraft insert gives the bag a little discipline. From a packaging buyer’s point of view, that is often the difference between a pleasant bag and a finished brand experience.
How Kraft Bag Inserts Work Inside the Package
The bag is the outer carrier. The insert manages what happens inside. It can control product movement, organize several items, raise a small product closer to the bag opening, add instructions, or create a reveal moment before the customer handles the item itself. For paper bags with rope handles, die-cut handles, or gusseted bottoms, that inner control becomes especially useful because the bag can flex during transport.
Most projects fall into two broad families: flat printed inserts and structural inserts. Flat inserts communicate. They carry a logo, warranty note, QR code, care instruction, discount code, ingredient message, return note, or short brand story. Structural inserts physically guide or hold the product. These pieces may be scored, folded, slotted, notched, die-cut, or lightly glued to create pockets, trays, dividers, and supports.
In production language, scoring compresses the board so it folds cleanly instead of cracking. Die-cutting uses tooling to cut a repeatable shape, slot, notch, or window. Perforation creates a controlled tear line for coupons or return cards. Spot gluing attaches panels when a single flat sheet cannot create the needed structure. None of those steps are unusual, but each one affects cost, lead time, tooling, and tolerance.
Logo application changes the final feel. One-color flexographic printing is often practical for simple marks and larger runs. Offset printing gives sharper detail and better control for fine type or multi-color artwork. Digital printing suits lower-volume runs, variable messages, and early testing. Foil stamping can add a premium accent, while blind debossing gives texture without heavy ink coverage. For branded kraft inserts with logo, the best print method is usually the one that respects the fiber surface instead of trying to make kraft behave like white coated paper.
Kraft stock absorbs ink differently. Colors print warmer, darker, and more muted because the brown base influences transparent inks. That is not a defect; it is a material reality. If a brand needs a crisp white logo, white ink or foil may be required, since standard CMYK does not produce opaque white in the usual print process. This is one of the most common artwork surprises buyers run into on kraft.
Material, Size, and Print Factors That Change the Result
Start with board weight. Lighter kraft sheets, around 120gsm to 200gsm, can work well for message cards, coupons, and instruction pieces. Medium stock, roughly 250gsm to 350gsm, is a better fit for backing cards, bag stiffeners, and presentation panels. Heavier board, often 400gsm and above or laminated kraft board constructions, is better for dividers, bottle supports, and products with corners that can press into the bag wall.
Size should be based on the usable inside space of the bag, not only the published outside size. A bag listed as 8 x 4 x 10 inches may not give you a full 8 inches of clean interior width after side gussets, seam folds, handle attachments, tissue, and product bulk are accounted for. Measure the bag open, then measure it again with the product inside. The second measurement is usually more honest.
Grain direction deserves attention, particularly on folded parts. Paperboard bends more cleanly with the grain than against it. If thick kraft board is folded against the grain without a proper score, it can crack, bow, spring open, or resist staying flat. Recycled kraft sheets can be less predictable because fiber mix and caliper variation influence folding behavior. A production-ready dieline should show fold lines clearly and allow the converter to plan grain direction where possible.
Print coverage is another quiet decision with real consequences. Large solid ink areas can fight the natural kraft look, increase drying concerns, and make fiber variation more visible. Simple line art, bold logos, black ink, dark green, rust, navy, cream, and small repeat patterns often look more intentional. Heavy full-bleed artwork may still be possible, but it should be priced and proofed with realistic expectations.
| Insert Type | Typical Material Range | Best Use | Common Cost Driver |
|---|---|---|---|
| Flat logo card | 160gsm-300gsm kraft | Thank-you note, QR code, coupon, care instructions | Print colors and quantity |
| Backing board | 300gsm-450gsm kraft board | Stiffening apparel accessories, stationery, small gift items | Board thickness and sheet size |
| Die-cut divider | 350gsm-600gsm board or laminated kraft | Separating candles, jars, cosmetics, or small kits | Tooling complexity and waste |
| Folded tray or support | 350gsm+ scored kraft board | Holding bottles, boxed goods, or fragile items in position | Scoring, gluing, packing labor |
| Foil-stamped insert | 250gsm-450gsm kraft board | Premium gift bags, launch kits, retail presentation | Stamping die, foil area, setup |
Sustainability language should be careful and specific. Kraft inserts can support a lower-plastic packaging system, especially when replacing foam, PVC trays, or plastic dividers, but claims need to match the actual specification. Recycled content, uncoated paper, water-based or soy-based inks where available, and curbside recyclability where applicable are stronger claims than vague “eco-friendly” language. For broader packaging recovery guidance, the EPA recycling resources are a useful reference point, though local rules still apply.
Process and Timeline From Dieline to Finished Inserts
A clean project starts with the bag and product, not the artwork. Define the paper bag style, measure the interior space, confirm how many products go inside, choose the insert function, then create or adjust the dieline. After that, artwork can be placed, proofed, sampled if needed, printed, cut, packed, and shipped.
A dieline is the flat engineering drawing of the insert before it becomes a physical part. It shows trim lines, fold lines, glue areas, slots, notches, bleed, and safe print zones. If the insert is structural, the dieline is not just a design file; it is the map for tooling and assembly. A 2 mm slot change can affect whether a small bottle sits straight or leans. A fold panel that is 5 mm too tall can interfere with the bag closure.
Timelines vary by construction. Simple flat inserts may move through proofing and production quickly, especially with digital printing and standard stock. Folded, glued, foil-stamped, or multi-slot designs take longer because tooling, sampling, drying, make-ready, and hand-packing may be involved. A practical range for many custom paper insert jobs is often 8-15 business days after proof approval for simple work, with more complex structural pieces adding several days or more. Shipping distance and seasonal capacity can change that range.
Proof types are not interchangeable. A digital proof checks layout, logo placement, spelling, bleed, and general artwork position. A physical blank checks fit using the actual or similar stock without final print. A printed production sample confirms material, print, fold, die-cut accuracy, and handling. If the product is heavy, fragile, irregular, or packed with tissue and hangtags, a blank fit sample is usually worth the extra step.
Many delays begin before the job reaches production. Missing bag dimensions, unconfirmed product count, low-resolution logos, late copy changes, and unclear color expectations can slow an order more than cutting or printing. Sending vector logo files, interior bag measurements, product dimensions, and photos of the packed bag saves time. If you want to see how other packaging components are evaluated, the Custom Logo Things Case Studies page can help frame the kind of details that matter before production starts.
Cost, MOQ, and Quote Factors Buyers Should Understand
Pricing for branded kraft inserts with logo is driven by material, size, print method, color count, finishing, die complexity, labor, packing requirements, and order quantity. The lowest unit cost usually comes from a design that prints efficiently, nests well on the sheet, avoids unnecessary handwork, and uses a board grade that is strong enough without being over-specified.
For a simple flat kraft card at a few thousand pieces, a buyer might see rough unit ranges such as $0.08-$0.22 depending on size, stock, print coverage, and packing. A medium-weight backing insert may land closer to $0.18-$0.45. A folded or die-cut structural insert can move from $0.35 to well over $1.00 per unit if it needs custom tooling, gluing, special board, or tight packing. These are planning ranges, not guaranteed pricing, because freight, quantity, market paper costs, and finishing choices can shift the quote.
Minimum order quantity follows the same logic. Very small runs may be possible with digital printing or simplified flat inserts. Structural inserts, foil stamping, custom dies, and specialty board usually make more sense at higher quantities because setup costs are spread across more pieces. If a die costs $150-$400 to prepare, a 250-piece order carries that cost very differently than a 5,000-piece run.
Size affects cost twice. First, larger pieces use more paper. Second, awkward shapes may waste more sheet area during die-cutting, even if the finished piece looks simple. A rounded panel with long tabs may produce more trim waste than a compact rectangle. Good nesting can reduce waste, but the dieline has to allow it.
Artwork choices matter too. One-color printing is usually economical on kraft and often looks sharp. Multiple ink colors require more setup and tighter registration. Full-bleed designs may need extra drying time or a different production approach. Foil stamping adds tooling and press time, while debossing needs enough board thickness to show texture cleanly.
A quote request should include bag size, interior dimensions if available, product dimensions, product weight, estimated quantity, desired print colors, insert function, shipping destination, and any special requirements such as food-contact separation, recycled content, individual packing, or FSC-certified material. For forest-based material claims, buyers can review the Forest Stewardship Council to understand certification language before putting marks or claims on packaging.
Common Mistakes That Make Kraft Inserts Feel Cheap or Hard to Use
The most common mistake is designing the insert as artwork first and a physical part second. A beautiful graphic can still buckle, slide, block the product, or slow the packing table if the structure is wrong. Packaging has to be handled by real people, often hundreds or thousands of times, and a 3-second packing delay becomes meaningful across a full run.
Copy overload is another issue. Kraft rewards restraint. A short line of brand language, a clear logo, a care note, and a QR code may work better than five small paragraphs printed in low-contrast brown ink. Give the logo breathing room. Leave enough margin near folds and die-cut edges. Type smaller than 6 pt can become hard to read on textured stock, especially if ink spread is not tightly controlled.
Do not assume white artwork will print bright white on kraft unless white ink, foil, or a white label layer is specified. Standard process inks are transparent enough that the brown base changes the final color. Pale pink, light yellow, and soft gray can nearly disappear. Dark, simple marks are often safer for logo-printed kraft inserts unless the project budget allows careful proofing and specialty print treatment.
Poor fit testing causes frustration. An insert may look correct on screen but be too wide for the bag opening, too tall for a fold-over closure, or too rigid once the product, tissue, ribbon, hangtag, and receipt are inside. Paper bags are not rigid cartons. The side gussets move. The bottom panel flexes. Handles can pull inward. Fit should be checked under real packing conditions, not only on a flat desk.
Handling details also matter. Some recycled boards shed fibers more than others, which can be a problem near cosmetics, dark fabric, jewelry, or food-safe secondary packaging. Heavy ink coverage can scuff. A decorative die-cut corner can catch on tissue paper. A slot that is too tight can damage a printed product box during insertion. Small annoyances like these make an insert feel cheap even when the material itself is respectable.
Practical rule: if the insert has to hold a product, test it blank before judging the printed design. Print can make a good structure look better, but it cannot rescue a part that fights the bag, the product, or the packing process.
For distribution testing on packed goods, especially if paper bags are part of a larger shipper or kit, standards from organizations such as ISTA can help teams think about drops, vibration, compression, and handling. Not every retail bag insert needs formal transit testing, but the mindset is useful: test the package as it will actually travel.
Build a Spec Sheet Before You Request Samples
Before requesting samples, gather the basics in one short spec sheet. Include the paper bag size, interior opening, bottom gusset depth, product dimensions, product weight, number of items per bag, logo files, color expectations, and whether the insert needs to inform, protect, divide, display, or reinforce. A simple sketch is better than a long email with missing measurements.
Sketch the bag opening and product placement before asking for final artwork. Function should lead the design. If the insert needs to keep two jars apart, the divider geometry comes first and the logo follows. If the piece is mostly a message card, the graphic hierarchy can lead. If it needs to stiffen the bag bottom, board weight and panel size deserve priority.
Choose one main goal for the first sample round. Best presentation, fastest packing speed, strongest product protection, lowest unit cost, or highest recycled-content material are all valid goals, but trying to maximize everything at once can blur the decision. Packaging is full of tradeoffs. Heavier board may protect better but cost more and reduce recyclability claims if coatings or laminations are added. A clever fold may look premium but slow fulfillment.
For structural inserts, request a blank fit sample before approving print. That is especially useful for candles, glass jars, bottles, fragile gift items, irregular accessories, and anything packed with tissue, ribbon, hangtags, or branded paper bag components. Test the sample with the actual product, not a substitute that is “about the same size.” A few millimeters can matter.
If your team is comparing options across several packaging pieces, keep photos, sample notes, and pricing assumptions together. The packaging examples in the Case Studies section can help buyers think through how structure, print, and presentation work as a system rather than as separate line items.
Good specifications reduce surprises. When the specs, artwork, bag size, and product fit are clear, branded kraft inserts with logo become a controlled packaging component instead of a last-minute printed card.
FAQ
What are branded kraft bag inserts with a logo used for?
They are used to organize products inside paper bags, add brand messaging, reduce shifting, support product presentation, and create a more finished opening experience. Depending on the bag and product, they can be simple logo cards, instruction inserts, divider panels, folded trays, bottle supports, backing boards, coupon inserts, or shaped pieces made for a specific item.
Can branded kraft inserts with logo be printed in full color?
Yes, but kraft paper naturally warms and darkens printed colors, so full-color artwork will not match the same artwork on white coated paper. For the cleanest result, many brands use black, dark green, deep red, navy, cream, or one- to two-color artwork that works with the brown fiber tone instead of fighting it.
What information is needed to quote custom kraft inserts for paper bags?
A useful quote request includes bag size, product size and weight, quantity, insert style, board thickness preference, logo files, print colors, finishing needs, packing method, and shipping destination. If the insert must hold or separate products, photos or drawings of the packed bag help the manufacturer recommend the right structure.
How long do custom logo kraft inserts usually take to produce?
Timing depends on design complexity, proofing needs, tooling, print method, order volume, finishing, and shipping distance. Flat printed inserts are usually faster than folded, glued, foil-stamped, or heavily die-cut structural inserts, especially if a physical sample is required before production.
Are kraft paper inserts recyclable with paper bags?
Uncoated kraft inserts with standard paper-based construction are often recyclable in paper streams, but local recycling rules and added finishes can change that. Foil, lamination, plastic windows, heavy coatings, adhesives, or mixed materials may reduce recyclability, so sustainability claims should be confirmed during material selection.


