Custom Alcohol Bottle Labels: A Buyer’s Guide to Specs, Cost, and Production
Custom Alcohol Bottle Labels do more than identify the liquid inside. On a crowded shelf, the first impression is usually shape, contrast, finish, and readability, not tasting notes or origin stories. That makes label selection part design decision, part production planning, and part quality control, especially for spirits, wine, ready-to-drink cocktails, and small-batch liqueurs.
A bottle can meet the legal requirements and still look underdeveloped if the label wrinkles on the glass shoulder, disappears under bar lighting, or fails the first time it sits in a cooler. The label is not separate from the product experience. It is part of the package, part of the brand signal, and, in many cases, part of the operational risk.
For brands building out retail packaging or a broader branded packaging system, the label is only one piece of the package branding story. It is one of the most visible pieces, though, and it can make a bottle look disciplined, premium, or improvised in a matter of seconds.
What Custom Alcohol Bottle Labels Actually Solve
Custom alcohol bottle labels solve three practical problems at once: identification, shelf performance, and perception. A bottle can carry all the required information and still look weak if the label stock fights the shape of the glass, the finish vanishes under retail lighting, or the typography becomes unreadable from a normal viewing distance. That is where the label stops being decoration and starts acting like a manufacturing component.
Across spirits, wine, RTD cocktails, and liqueurs, the label often does more than one job. A front label carries the brand promise. A back label may handle ingredients, alcohol content, volume, and required disclosures. A neck label can signal a limited release, while a tax or regulatory label may need its own panel and a different print method. If you are ordering Custom Labels & Tags, it helps to think in roles rather than treating every panel as the same thing.
From a packaging buyer’s point of view, label selection is part design decision, part manufacturing decision. A matte paper label can look restrained and polished on a still wine bottle, while a coated synthetic stock is usually the safer call for a chilled cocktail bottle that sees condensation, ice buckets, and repeated handling. The best-looking concept is not always the best-performing spec.
There is also a real shelf effect that gets underestimated. Label finish and shape can change how a bottle reads under harsh store lighting or in a dim bar. A matte face stock softens glare. A gloss finish can sharpen color and contrast. A textured uncoated paper can suggest craft and restraint. Those choices are not abstract. They influence how quickly a shopper understands the brand and whether the bottle feels expensive before the liquid is even tasted.
“If the bottle gets picked up in dim light, the finish has to do half the selling.”
For teams managing Custom Printed Boxes alongside bottles, the label should not fight the carton. The strongest product packaging systems carry the same visual logic from case to shelf to bottle without making every surface identical. Consistency matters. So does restraint.
How the Labeling Process Works From File to Bottle
The workflow for custom alcohol bottle labels is straightforward in theory and full of small traps in practice. It usually starts with artwork setup, then moves through material selection, proofing, printing, finishing, inspection, and shipment or application. Each step has a different failure mode, which is why rushed label orders often cost more than they should.
Artwork, Dielines, and Bottle Fit
The first technical task is the dieline. That template defines the label shape, trim, bleed, and safe zones. For curved bottles, the label panel should be sized to the usable flat area, not the bottle’s widest point. If the artwork wraps too far around a shoulder or seam, the result is often edge lift, wrinkles, or a crooked look that no finish can hide.
Most printers will ask for artwork built with bleed and a clear margin around critical text. A common starting point is 0.125 inch bleed and at least 0.0625 to 0.125 inch of safe space, but the exact number depends on the printer and the die. The point is simple: leave room for variation. Bottles are glass, not vectors.
Print Method and Application Method
Pressure-sensitive labels are the most common choice for many spirits and beverage applications because they are efficient to print, die-cut, and apply. Wet-glue labels can be cost-effective for certain volume runs, but they are usually more sensitive to line conditions and bottle shape. Shrink sleeves can cover more surface area and deliver dramatic graphics, yet they add setup complexity and compatibility requirements for the filling line.
Application also matters. A label that looks perfect on screen can fail if the bottle line moves faster than the applicator can handle, or if the adhesive is not tuned for the temperature and humidity where the bottles are stored. On a production floor, the question is never just “Does it print?” It is “Does it stay put, read cleanly, and survive handling?”
For teams comparing label systems with broader Custom Packaging Products, the best move is to map the label format to the bottling setup before placing the order. A label that slows the line can erase any savings from a lower unit price.
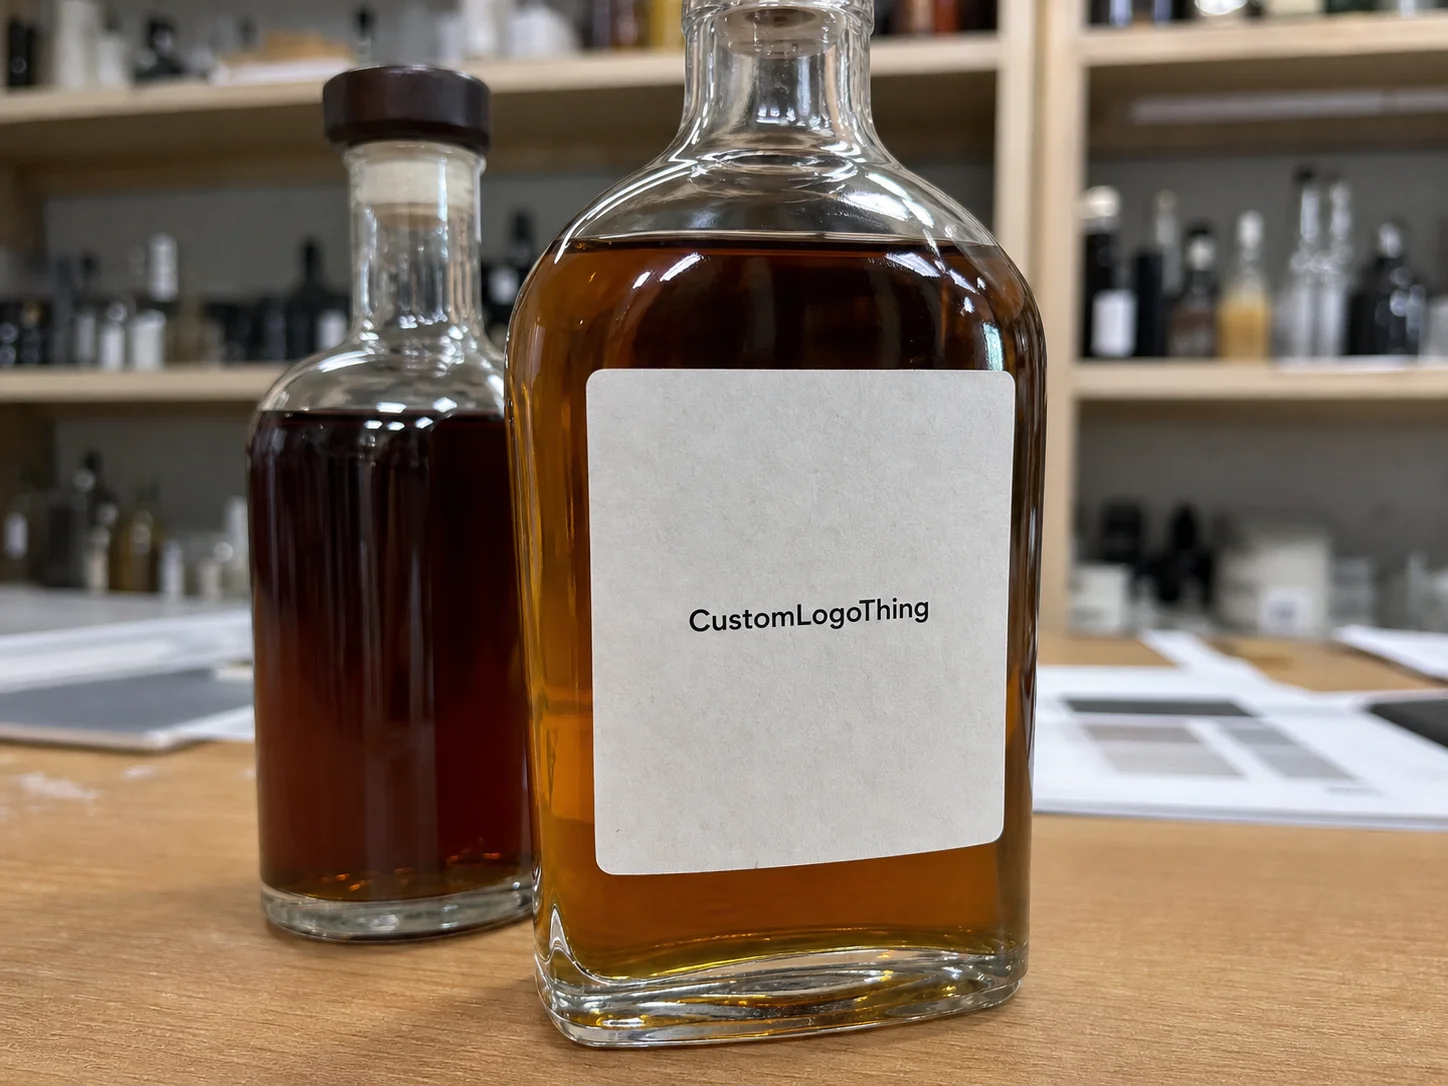
Quality checks should happen before anything ships. That usually means verifying trim, registration, color, adhesion, and barcode readability. If the order includes regulated copy, the proof should also be checked for spelling, legal text placement, and bottle-specific dimensions. A bottle mockup is useful here, even if it is only a sample on a desk.
For brands that want to compare material durability, shipping behavior, and recycled content claims against a recognized framework, the trade guidance from the International Safe Transit Association is a useful reference point. It is not label-specific, but it helps teams think clearly about transit stress and packaging testing.
Material, Finish, and Adhesive Factors That Change Performance
Material choice shapes both price and performance. Standard paper stocks still have a place, especially for dry storage and lower-cost runs. BOPP, polyester, and other synthetic stocks are common when moisture resistance matters. Textured uncoated papers can create a premium, tactile feel, while coated stocks tend to hold sharper graphics and richer solids.
Finish is just as strategic. Matte usually softens glare and gives a more restrained look. Gloss can make color pop and increase contrast. Soft-touch creates a velvety feel that many premium brands like, though it can show handling marks depending on the coating. Foil, embossing, and spot varnish can add hierarchy, but only when they support the design rather than crowd it.
There is a simple rule that holds up well in practice: spend on finishes that carry the brand message, not on finishes that only look expensive in a mockup. A bottle on a shelf, in a cooler, or in a warehouse does not care how good the label looked in a PDF.
Adhesive selection is where many buyers get surprised. A standard adhesive can work fine on a dry shelf, then fail the moment the bottle sees condensation. Cold storage, refrigerated displays, frequent hand contact, oily surfaces, and curved glass all push adhesive behavior in different directions. For chilled liquor bottles and RTD cocktails, a moisture-resistant adhesive is often worth the extra cost.
Sustainability should be handled honestly. A recyclable paper face stock may be the right answer for some programs, yet a synthetic label might reduce waste if it prevents relabeling, rework, and damaged inventory. The best environmental choice is not always the thinnest spec. It is the one that fits the use case without overbuilding the pack. If recycled content or chain-of-custody matters, the Forest Stewardship Council is a useful reference point for certified paper sourcing.
One more practical note: alcohol bottles get handled a lot. On-premise, off-premise, gift sets, tasting rooms, and shipping all create wear. A label that survives a warehouse shelf may still scuff when it moves through a busy bar. That is why sample testing matters.
Cost, Pricing, MOQ, and Unit Cost Basics
Label pricing is driven by a few variables: substrate, size, color count, print method, finish, die shape, quantity, and any extra converting steps. If you want a clean quote, you need to know which of those are fixed and which are open to adjustment. Otherwise, vendors end up pricing different assumptions, and the numbers are not really comparable.
Minimum order quantity matters because setup costs have to be spread across the run. That is why smaller orders usually carry a higher unit cost. A 1,000-piece order might cost more per label than a 10,000-piece run even when the materials are identical. The press setup, die charge, and proofing effort do not scale down as quickly as the quantity does.
| Label Build | Typical Use | Typical Unit Cost | Notes |
|---|---|---|---|
| Economy paper pressure-sensitive | Dry storage, short runs, simpler branding | $0.10-$0.20 at 5,000 pieces | Good for straightforward retail packaging when moisture is limited |
| Mid-range BOPP or coated stock | Condensation, moderate handling, sharper graphics | $0.16-$0.32 at 5,000 pieces | Common balance of durability and cost for alcohol bottle labels |
| Premium textured, foil, or specialty finish | Premium spirits, gifting, and brand-forward launches | $0.30-$0.70 at 5,000 pieces | Higher impact, but extra setup and converting can raise the bill |
Those ranges are not universal. They shift with size, coverage, and whether the order includes custom die-cutting, multiple label panels, or specialty adhesives. Still, they give buyers a more useful frame than vague “low cost” language.
Hidden pricing variables are where budgets get derailed. Custom shapes may require a new die. Foil can trigger extra passes. Proofing can add time and cost if artwork is not final. Rush production often carries a surcharge. If the label has to be split across front, back, and neck panels, the converting complexity climbs again. The cheapest quote is not always the cheapest program.
As a rough planning guide, buyers often choose between three spec tiers: a simple label for speed and volume control, a middle spec for broad shelf performance, or a premium build for launch bottles and flagship SKUs. The right choice depends on whether the brand is trying to win a shelf contest, protect margin, or get to market quickly without overcommitting cash.
Production Steps and Lead Time
Production lead time usually breaks into a predictable sequence: file review, proof approval, print production, finishing, inspection, and shipping. The schedule is easy to understand, but it is fragile. One late artwork revision can push the whole job past a launch date, especially when the bottling run is tied to distributor deadlines or seasonal windows.
For simple orders, production may move in about 5 to 10 business days after proof approval. More complex work, including custom shapes, foil, specialty adhesives, or multiple label panels, can stretch that to 10 to 15 business days or longer. Shipping time is separate. If the labels need to arrive before a bottling run, leave buffer. A lot of missed launches are really missed coordination windows.
Proof delays are the most common cause of schedule problems. Teams often wait on final alcohol content, UPC updates, legal text, or a last-minute design tweak. That is normal. It is also expensive if the bottling date is fixed. A complete file package up front saves more time than any rush order can buy back later.
There is also a coordination issue many buyers overlook: label receipt should line up with line readiness. If labels arrive too early, they occupy storage and can be damaged. If they arrive too late, the filler sits idle. The cleanest approach is to work backward from the bottling date and place the order with enough room for proofing, rework, and transit.
Seasonal releases deserve a bigger buffer than core SKUs. So do launch programs that depend on multiple vendors. If you are also ordering cartons, inserts, or display packaging, the label schedule should be tied to the broader production calendar, not handled in isolation. That is where simple project discipline matters more than fancy packaging language.
Common Mistakes That Make Labels Look Cheap or Fail Early
The fastest way to make custom alcohol bottle labels look weak is to ignore the bottle first and the artwork second. A strong layout can still fail if the label is too wide for the panel, sits too close to a seam, or crosses a shoulder that causes wrinkles. Bottle geometry is not optional.
Readable copy matters more than many brands admit. If the font is too small, the contrast is too low, or the label is crowded with seals and icons, the bottle looks busy instead of premium. Buyers should check the design at actual viewing distance, not just on a monitor. What reads well at 300 percent zoom may disappear on shelf.
Moisture is another common miss. Labels that are never tested in cold or wet conditions can peel, curl, or smear after a few hours in a cooler. That problem is especially common with alcohol bottles that are handled in bars or stored in ice buckets. If the spec does not account for condensation, the label is underdesigned for the use case.
There is a tendency to choose finishes that look expensive in mockups but behave badly in production. A high-gloss surface can scratch. A delicate paper stock can scuff. A metallic effect can dominate the brand hierarchy. Premium should feel deliberate, not fragile.
Compliance errors are even more serious. Missing required text, barcode placement issues, and inconsistent bottle-set branding can create avoidable rework. It is not enough for the label to look good in a deck. It has to pass the real checklist the first time.
The label that fails early usually did not fail in production. It failed in planning.
Expert Tips for Better Shelf Impact and Smoother Ordering
Buyers get better results when they order with the bottle in mind, not just the brand concept. That sounds obvious, but many label problems come from designing graphics before confirming the usable label panel. Measure the bottle, confirm the curvature, and then build the artwork around those constraints.
Order physical samples or proofs before committing to a full run. A desk proof will not catch everything, but it will show contrast, texture, finish, and how the label behaves in hand. For premium launches, that step is usually worth the time.
Standardizing label sizes across a product line can reduce cost and simplify inventory. If the core SKU and a seasonal SKU can share the same front panel size, you avoid extra die charges and make reordering easier. That matters when a portfolio grows faster than the packaging system.
Test under real conditions. Put the label in cold storage. Touch it with wet hands. Let it sit in a cooler. See whether the edges lift or the ink smears. It is a simple test, but it tells you more than a static mockup ever will.
A clean submission checklist also helps. Include bottle dimensions, label size, artwork files, required copy, finish preference, quantity, application method, and deadline targets. If you are buying a larger package program, such as Custom Printed Boxes plus bottle labels, keep all specs in one place so the whole line stays coherent.
- Confirm bottle measurements before art is finalized.
- Decide whether premium look or moisture resistance matters more.
- Ask for sample materials when the bottle will be chilled or handled often.
- Keep the SKU family visually related without forcing one template onto every bottle.
- Use the same spec sheet for quoting, proofing, and reorder tracking.
Next Steps: Build Your Spec Sheet Before Requesting Quotes
Before you ask for pricing on custom alcohol bottle labels, write the job down as a spec sheet. That document should list bottle dimensions, label dimensions, substrate, finish, quantity, application method, and any compliance text that must appear on the final print. If a supplier has to guess at those details, the quote will be less useful.
Decide what matters most: premium appearance, cost control, durability, or speed. You can optimize for more than one of those, but not all four at once. A brand launching a flagship spirit may spend more on foil and textured stock. A high-volume RTD program may prioritize application speed and moisture resistance. The right spec is the one that matches the business goal.
Gather final artwork, barcode files, and regulatory copy before proofing starts. Revisions are normal. Rebuilding a label from scattered files is not. If you are quoting multiple quantities, ask for at least two scenarios so the unit-cost curve is visible. That makes it easier to compare options honestly.
Once the spec sheet is set, use it to compare vendors apples-to-apples. The best quote is the one that fits the bottle, the line, the shelf, and the launch date. That is how custom alcohol bottle labels stop being a vague purchase and become a controlled part of the packaging program.
Frequently Asked Questions
What are custom alcohol bottle labels made of?
They are commonly made from paper, BOPP, polyester, or other synthetic stocks depending on durability needs. For chilled or wet environments, moisture-resistant materials and adhesives are usually better than standard paper. Premium brands may add foil, embossing, or textured finishes for stronger shelf impact.
How much do custom alcohol bottle labels cost per label?
Unit cost depends on quantity, size, material, finish, and whether the shape is standard or custom die-cut. Smaller runs usually cost more per label because setup costs are spread across fewer pieces. Special features like foil, specialty adhesive, or multiple label panels can raise pricing.
How long does it take to produce custom alcohol bottle labels?
Turnaround depends on proof approval speed, label complexity, and production capacity. Simple labels can move faster than custom shapes, premium finishes, or specialty adhesives. The fastest way to keep timing on track is to approve artwork quickly and send complete bottle specs up front.
Do alcohol labels need to withstand condensation and refrigeration?
Yes, many liquor and cocktail bottles are handled in cold, wet conditions that can weaken low-grade labels. Choosing the right adhesive and substrate helps prevent peeling, curling, and smudging. Testing a sample in real storage conditions is the safest way to confirm performance.
What information should I prepare before ordering custom alcohol bottle labels?
Have bottle dimensions, label size, quantity, artwork files, finish preferences, and application method ready. If the label must include regulated text, barcodes, or required disclosures, confirm that copy before proofing. A complete spec sheet helps vendors quote accurately and reduces delays during production. It also makes custom alcohol bottle labels easier to compare across suppliers without mixing up specs, pricing, or lead time.


