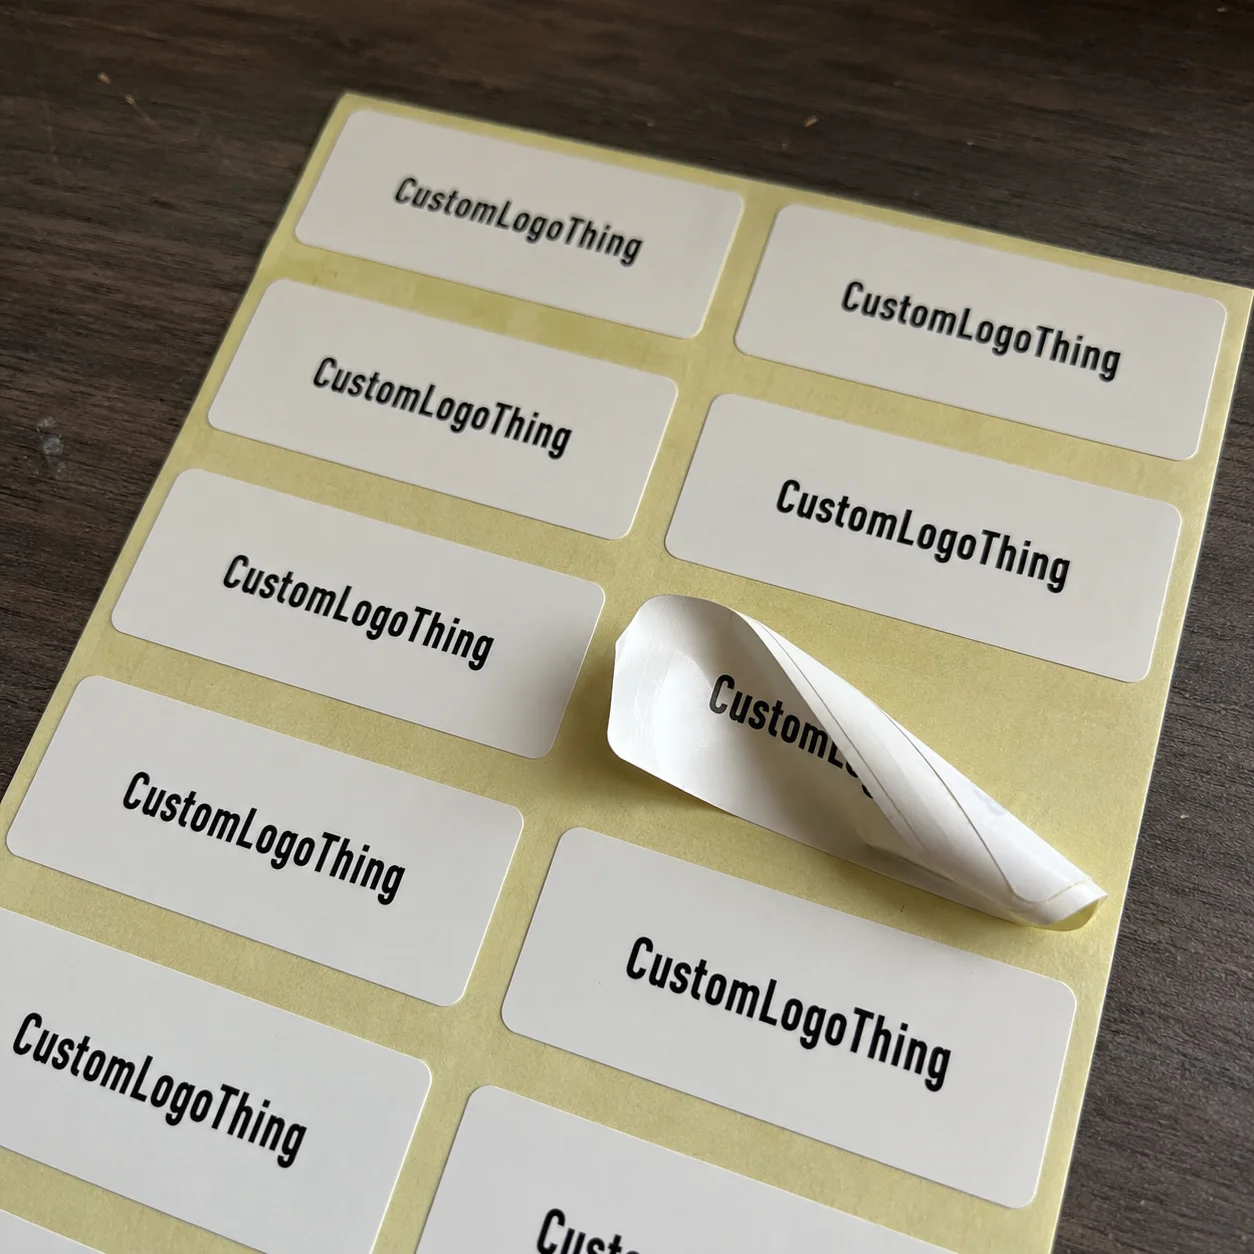
Custom Asset Stickers Are Small Labels With Big Consequences
A company buys 2,000 laptops, tools, warehouse bins, rental units, or calibrated instruments. Someone says, “We’ll track them in a spreadsheet.” Cute. Three months later, half the items have handwritten tags, two departments are using different naming rules, and nobody knows whether asset A-1047 is in accounting, on a truck, or hiding under someone’s desk. Custom Asset Stickers are printed labels used to identify, track, secure, or brand physical items with serial numbers, barcodes, QR codes, logos, location IDs, or tamper-evident features.
These are not decorative logo stickers wearing a tie. They are part inventory control, part loss prevention, and part operational sanity. A good asset label helps a team scan equipment quickly, reconcile records, reduce “missing” inventory, and avoid a five-person debate over the same battered toolbox.
The use cases are ordinary and everywhere: IT equipment, manufacturing tools, medical devices, event gear, warehouse bins, school property, office furniture, rental kits, and field service assets. If an item moves between people, rooms, job sites, classrooms, storage cages, or customers, it probably needs a label that can survive more than one enthusiastic cleaning wipe.
The nasty little truth: a cheap label failing at the wrong time can cost more than the label order itself. Naturally. The smallest item always finds a way to create the largest headache. If a $0.09 paper label falls off a $1,400 scanner, nobody is congratulating purchasing for saving six cents.
The buying decision is not complicated, but it does need structure. Choose the Right material, adhesive, print method, finish, data format, and production setup before ordering. The target is simple: Durable Asset Labels that fit the item, scan correctly, stick to the surface, and hold up under real use. Not showroom use. Real use, where people drag bins, toss laptops into bags, clean equipment with whatever is nearby, and treat labels like they personally offended them.
How Asset Labels Work: Materials, Adhesives, Codes, and Finishes
Most asset labels are built from five parts: face stock, adhesive, printed information, protective coating, and sometimes a security layer. Face stock is the visible material. Adhesive determines whether the label actually stays put. Printed information includes logos, serial numbers, barcodes, QR codes, and human-readable text. The protective coating handles abrasion, moisture, chemicals, and sunlight. Security layers can show tampering or break apart during removal.
Material choice drives both durability and cost. Paper works for short-term indoor identification, such as temporary bin labels or internal samples that live in dry offices. Vinyl is flexible and useful on curved surfaces, cables, cases, and equipment with slight movement. Polyester is usually the stronger default for long-term asset tracking because it resists tearing, moisture, and handling better than paper. Polypropylene can work well for moisture-resistant applications where the label does not need extreme abrasion resistance.
Then come security materials. Destructible vinyl breaks into pieces if someone tries to remove it. Void materials leave a visible “VOID” pattern on the asset or label face. These are useful for electronics, rental equipment, controlled tools, calibration devices, school tablets, and anything that tends to wander off with suspicious confidence.
Adhesive is where many buyers get burned. Removable adhesive is for temporary use, not lifetime tracking. Permanent adhesive suits smooth metal, glass, and many painted surfaces. High-tack adhesive grabs faster and works better on slightly textured surfaces. Freezer-grade adhesive is designed for cold application or cold storage. High-temperature adhesive may be needed near machinery, engines, appliances, or process equipment. Low-surface-energy adhesive is often required for plastics such as polypropylene or polyethylene, which are famously annoying to label. Aggressive adhesive is the better choice for textured, powder-coated, or rough surfaces.
Data formats matter too. Asset labels can include sequential numbering, static barcodes, QR codes, department codes, location IDs, prefixes, suffixes, and readable serial numbers. Code 128 is common for compact alphanumeric barcode data. QR codes are useful when the scan needs to open a URL, equipment record, maintenance form, or warranty page.
Keep quiet zones around codes. If the barcode is jammed against a logo or border, scanner reliability drops. Fancy design does not win against physics.
Finish affects scanning and wear. Matte finishes reduce glare and often improve barcode readability under overhead lights. Gloss finishes make colors pop and can support stronger branding, but they may reflect too much light for some scanners. Lamination adds better abrasion resistance than a light coating and is usually worth it for tools, laptops, bins, and handheld equipment. UV coating provides light-duty protection; it is not a substitute for a heavy-duty laminate.
Practical rule: if the label will be scanned daily, rubbed by hands, cleaned with chemicals, or used outdoors, do not treat the finish as decoration. It is part of the label’s survival plan.
Shape and size need restraint. Tiny labels save space, but scanning becomes less reliable when barcodes or QR codes are too small. Oversized labels look clumsy on small devices and peel more easily on curved equipment. Balance matters. This is not a bumper sticker contest.
Key Specs to Decide Before You Request a Label Quote
Before asking for a quote, define the basics: label size, shape, material, adhesive, print colors, finish, quantity, numbering format, barcode type, roll or sheet format, and application surface. A printer can price a clear spec quickly. A vague request like “durable stickers with numbers” starts the email scavenger hunt, and nobody enjoys that sport.
The application surface matters more than most buyers expect. Smooth metal is usually friendly. Glass is easy if it is clean. ABS plastic can be fine, depending on texture and surface energy. Painted wood varies because coatings differ. Powder-coated steel can be difficult because the surface texture reduces adhesive contact. Textured equipment, rubberized grips, oily machinery, and low-surface-energy plastics need testing before rollout.
Environmental exposure should be listed honestly. Indoor office labels have a soft life compared with warehouse, field, medical, or industrial labels. Mention moisture, sunlight, cleaning chemicals, oil, abrasion, cold storage, heat, and handling frequency. If the asset gets wiped with alcohol twice a day, say that. If it sits on outdoor equipment in sun and rain, say that too. The printer is not psychic, despite what some quote forms seem to imply.
Think in durability tiers. Short-term identification can use paper or basic film. Standard office tracking often works well with polyester or polypropylene and permanent adhesive. Industrial tracking may need laminated polyester, aggressive adhesive, and stronger abrasion resistance. Security or tamper-resistant labeling calls for destructible, void, or specialty security stock.
| Use Case | Typical Material | Adhesive Direction | Finish | Good Fit |
|---|---|---|---|---|
| Office laptops and monitors | Polyester | Permanent | Matte laminate | Long-term indoor tracking with frequent handling |
| Warehouse bins | Vinyl or polypropylene | High-tack | Matte or gloss laminate | Moisture resistance and light abrasion |
| Outdoor tools | Outdoor-rated polyester or vinyl | Aggressive | UV-resistant laminate | Weather, sunlight, and rough handling |
| Security-sensitive equipment | Void or destructible stock | Permanent security adhesive | Matte security finish | Tamper evidence and loss prevention |
Artwork needs discipline. Use vector logos when possible, usually AI, EPS, or production-ready PDF. Keep text readable at final size. Leave quiet zones around barcodes and QR codes. Use strong contrast, such as black code on a white or light background. Avoid microscopic type that nobody can scan or read unless they borrowed eyes from a hawk.
For expensive assets, rough surfaces, outdoor use, or exposure to cleaners, ask for a material sample or adhesive test. A few test labels can save thousands of bad labels. If your team also buys Custom Labels & Tags for product packaging, do not assume the same material works for asset tracking. Retail packaging and asset labeling have different jobs. One sells the product. The other survives the product’s messy operational life.
Cost and Pricing Factors for Asset Sticker Orders
Pricing for custom asset stickers is usually driven by quantity, size, material, adhesive type, finish, print method, variable data, security features, and packaging format. Roll labels often make sense for machine application or fast hand application. Sheets can work for small office projects or controlled distribution. Individually cut labels cost more because handling costs more. Shocking, I know: labor still exists.
Simple paper or basic film labels cost less. Durable polyester, laminated labels, specialty adhesives, tamper-evident stock, and sequential barcode labels cost more. For a small run of 500 basic film asset labels, pricing might land around $0.18 to $0.45 per label depending on size, colors, and finish. At 2,500 units, a standard polyester barcode label might fall around $0.08 to $0.22 each. At 10,000 units, straightforward roll labels can drop further, often into the $0.04 to $0.12 range. Security materials, harsh-environment adhesives, and heavy laminates can push those numbers higher.
Those ranges are not universal. A 0.75-inch by 1.5-inch black-only polyester label is a different animal from a 2-inch by 4-inch full-color laminated tamper-evident label with variable QR codes. If someone gives one magic price without asking about surface, environment, and data, they are guessing with confidence. Very common. Still guessing.
Quantity matters because setup time gets spread across more labels. Per-label cost usually drops as volume increases. But ordering 20,000 labels you will never use is not savings. It is storage with a guilt problem. Asset tags often include numbering sequences, department codes, or location structures that can change. If your system may change in six months, order a practical quantity and request price breaks at 500, 1,000, 2,500, and 5,000 units.
Setup costs can include artwork cleanup, die-cut tooling for unusual shapes, barcode database setup, variable data proofing, and color matching. Digital printing often supports smaller runs and variable data efficiently. Flexographic printing can be cost-effective at higher volumes, especially for repeat orders, but plates and setup may add upfront cost. Specialty security materials may have higher minimum order quantities because suppliers do not stock every odd label construction in tiny rolls. Would be nice. Not reality.
Provide the quote details up front: exact size, quantity breaks, material preference, use environment, application surface, barcode format, numbering sequence, roll direction, core size, and delivery deadline. If brand color matters, include a Pantone reference or approved brand guide. That matters less for black-and-white asset tags, but more when asset labels also support package branding or a polished equipment program.
Pay more when the label protects high-value assets, compliance records, or mobile equipment. A $0.19 laminated polyester tag on a $900 tool is not expensive. A failed label that breaks your audit trail is expensive. For broader packaging needs beyond labels, it can also help to coordinate with Custom Packaging Products so product packaging, custom printed boxes, and asset identification do not look like they came from five unrelated planets.
Process and Timeline: From Artwork to Finished Rolls
The production process is straightforward when the spec is clean. First, define the label size, material, adhesive, finish, quantity, and data format. Next, submit artwork and the data file. Then the supplier quotes the job, prepares a proof, prints a sample if needed, produces the full order, inspects quality, packages the rolls or sheets, and ships.
The proofing stage deserves real attention. Check logo placement, spelling, numbering sequence, barcode readability, QR destination, color, size, and roll orientation. If labels will be applied from a dispenser, roll direction matters. Left-edge leading, right-edge leading, top-first, bottom-first: those details sound boring until the labels feed backward and someone in operations starts inventing new swear words.
Variable data needs clean files. Use one row per label. Keep serial numbers consistent. Remove duplicates. Avoid hidden spreadsheet formatting that turns “000123” into “123.” If prefixes matter, such as IT-0001 or WH-BIN-0520, define the exact structure before proofing. For QR codes, test the destination and make sure the code scans at final printed size, not just on a giant monitor where everything looks heroic.
Lead times depend on complexity. Simple digitally printed asset labels may produce in 3 to 7 business days after proof approval. Laminated polyester labels, custom materials, specialty adhesives, or larger variable-data orders often run 7 to 12 business days. Tamper-evident materials, outdoor-rated constructions, custom die shapes, or large rollouts may take 10 to 20 business days, especially if material has to be sourced.
Rush jobs are easier when artwork is clean, numbering rules are clear, and the spec is already decided. The usual delays are incomplete artwork, missing barcode specs, unclear numbering rules, late proof approval, unavailable specialty material, and surprise rush requests. Printers love surprises the way forklifts love wet floors.
Request samples before large rollouts, unusual surfaces, mission-critical scanning, or exposure to weather, cleaners, abrasion, or heat. Apply samples to real assets. Scan them under normal lighting. Wipe around them using your actual cleaning process. Wait at least 24 to 72 hours before judging adhesion, because many pressure-sensitive adhesives build strength after application.
For formal shipping, packaging, or transport testing programs, standards from organizations such as ISTA can be relevant to the full package system. For paper-based sourcing claims on labels, liners, or related packaging design materials, FSC certification may matter. Asset labels are small, but they often sit inside a bigger product packaging and compliance picture.
Common Ordering Mistakes That Make Asset Labels Fail
The biggest mistake is choosing only by unit price. A low-cost label is fine if the environment is easy. It is a bad plan if the label goes on textured plastic, outdoor equipment, oily tools, or assets cleaned with disinfectants. Surface, adhesive, and durability requirements should lead the decision. Price follows.
Glossy finishes can also cause trouble. Some scanners struggle with glare from gloss laminate under bright overhead lighting or sunlight. Matte finishes often improve barcode readability. If scanning speed matters, test the finish with the actual scanners or phones your team uses. Do not approve based only on how shiny the proof looks on a screen.
Size mistakes are common. Labels can be too small for readable numbers, too large for curved equipment, or too crowded with a logo, barcode, QR code, phone number, department name, website, and every manager’s wish list. A good 1-inch by 2-inch label can carry a logo, barcode, and readable number. It cannot carry your entire brand manifesto. Save that for retail packaging, where drama has more room.
Data mistakes are worse because they travel through the whole order. Duplicate numbers, skipped sequences, mismatched barcode values, incorrect prefixes, and spreadsheet formatting issues can create expensive reprints. Always proof a sample range and confirm the barcode value matches the human-readable number. If the printed text says A-1007 but the barcode scans A-1070, your inventory system will have a very stupid day.
Placement planning gets ignored until application starts. Avoid seams, vents, screw heads, curved corners, textured grips, heated surfaces, and areas constantly touched by hands, tools, or cleaners. On laptops, avoid high-rub palm zones. On bins, avoid corners that scrape racks. On tools, avoid handles unless the adhesive and overlaminate are built for abuse.
Application mistakes can ruin good labels. Surfaces should be clean, dry, and free of dust, oil, silicone, and cleaner residue. Application temperature matters; many pressure-sensitive adhesives prefer roughly 50°F to 90°F during application, though specialty adhesives can vary. Apply firm pressure across the whole label. Give adhesive time to cure. Do not peel labels back to reposition them. Adhesive is not magic. It needs basic respect.
For large asset tagging projects, build a simple internal application guide. Include surface cleaning steps, approved placement photos, minimum temperature, cure time, scanner check instructions, and what to do with damaged labels. A one-page guide can prevent hundreds of crooked, poorly placed, half-stuck labels. Glamorous? No. Useful? Very.
Build a Sticker Spec That a Printer Can Actually Quote
Before requesting pricing, gather the details a printer needs. You do not need a 40-page procurement packet. You need a clear spec with enough practical information to avoid guessing. Start with asset type, surface material, exposure conditions, size range, quantity, data format, barcode type, logo file, finish, adhesive need, packaging format, and deadline.
- Asset type: laptop, tool, bin, medical device, furniture, rental unit, field equipment, or product sample.
- Surface: smooth metal, ABS plastic, glass, painted wood, powder-coated steel, textured plastic, or rubberized coating.
- Exposure: indoor, outdoor, moisture, sunlight, cleaners, oil, heat, cold, abrasion, or frequent handling.
- Data: sequential number, barcode, QR code, prefix, department code, location ID, or fixed text.
- Format: rolls, sheets, core size, roll direction, individual cuts, or grouped sets.
- Deadline: target delivery date, rollout date, and whether samples are needed first.
Group assets by environment instead of forcing one label to do everything. Office laptops, warehouse bins, outdoor equipment, and tamper-sensitive tools may need different materials. One universal label sounds efficient until it fails in the hardest environment or looks ridiculous on the smallest item.
Test before scaling. Order samples or a short pilot run. Apply the labels to real assets, not a clean conference table. Scan them under normal lighting. Clean around them. Let them sit for a few days. Check edges, abrasion, readability, and adhesion. If a label starts lifting during testing, it will not become braver after you order 5,000.
Prepare the data file cleanly. Use one row per label, with serial numbers in one column and barcode or QR values in another if they differ. Keep prefixes consistent. Remove duplicate codes. Preserve leading zeros. Add clear notes for barcode generation, QR URLs, and human-readable text. If the label connects to an asset management platform, export a test file and confirm field names before production.
Ask for quantity breaks. Pricing at 500, 1,000, 2,500, and 5,000 units can change the buying decision quickly. Also ask whether repeat orders can use the same die, artwork, and data structure to reduce setup cost later. If your company uses coordinated packaging design, custom printed boxes, or other product packaging, matching the visual system can make the entire operation feel intentional without turning an asset tag into a fashion project.
If you know the surface, environment, quantity, data format, and deadline, ordering custom asset stickers becomes a straightforward print job instead of a slow email scavenger hunt. Decide the spec, test the material, proof the data, and buy the durability your assets actually need. Cheap is fine when the job is easy. For everything else, buy the label that will still be there when someone finally needs to scan it.
FAQ
What are custom asset stickers used for?
Custom asset stickers are used to identify, track, and manage physical items such as laptops, tools, equipment, bins, furniture, rental gear, and field assets. They can include serial numbers, barcodes, QR codes, company logos, department names, location IDs, or tamper-evident features. They are most useful when assets move between people, locations, job sites, classrooms, warehouses, or service teams.
What material is best for durable asset tracking labels?
Polyester is a strong default for long-term indoor asset labels because it resists tearing, moisture, and handling better than paper. Vinyl works well on curved surfaces and flexible items, while polypropylene can be useful for moisture-resistant applications. For security-sensitive assets, destructible vinyl or void-pattern tamper-evident materials are better choices.
How much do custom barcode asset stickers cost?
Cost depends on quantity, size, material, adhesive, finish, variable data, barcode type, and whether tamper-evident features are needed. Basic film labels cost less, while laminated polyester, specialty adhesives, outdoor-rated materials, and serialized barcode labels cost more. Ask for quantity breaks so you can compare unit cost at several volumes before choosing an order size.
How long does production take for custom asset labels?
Simple digitally printed labels may be produced in 3 to 7 business days after proof approval. Laminated polyester, specialty adhesive, large variable-data, outdoor-rated, or tamper-evident orders often take longer. Proof approval, barcode testing, material availability, and order size all affect turnaround.
Can custom asset stickers include sequential numbers and QR codes?
Yes. They can include sequential numbers, barcodes, QR codes, asset IDs, location codes, and human-readable text. The data file should be clean, consistent, and checked for duplicate or missing values before production. QR codes should be tested at the final printed size to make sure phones can scan them easily.


