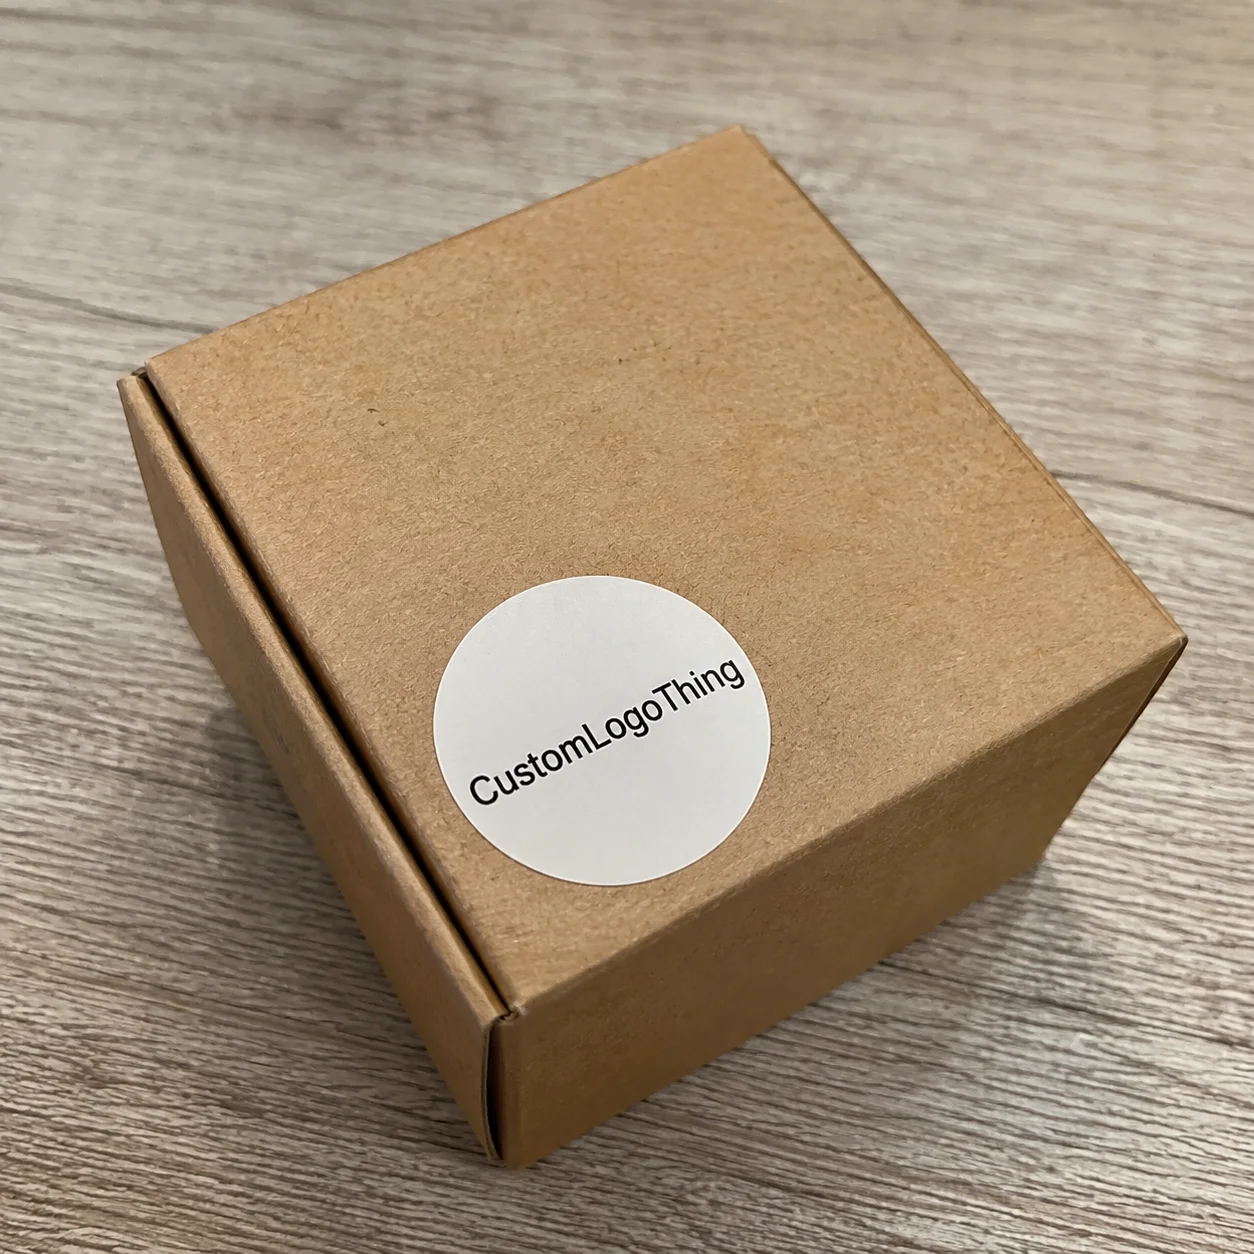
A round sticker can make a plain kraft box, pouch, jar, mailer, or tissue-wrapped bundle feel finished in seconds. Custom circular stickers do that job best when the diameter, adhesive, finish, and artwork are matched to the surface they will touch, not just to how polished the design looks on a screen.
That distinction matters. A 2-inch circle on a candle jar behaves differently from the same 2-inch circle used to seal tissue paper, close a bakery box, or carry a QR code on a coffee bag. The shape is simple. The production choices behind it are not.
Material, adhesive, print method, coating, and packing format all affect whether the sticker applies cleanly, stays flat, reads well, and supports the rest of the packaging. Buyers usually notice those details only after something goes wrong. Edge lift. Muddy color. A QR code that refuses to scan. A label that looked premium online and cheap in hand. Annoying, but preventable.
What Custom Circular Stickers Are Best For
Custom circular stickers are round printed adhesive pieces made to a specified diameter, material, finish, and quantity. Most are used for branding, sealing, labeling, promotions, event packaging, product identification, or small-batch retail packaging. They can be supplied on rolls, sheets, or as individually cut singles depending on how they will be applied and distributed.
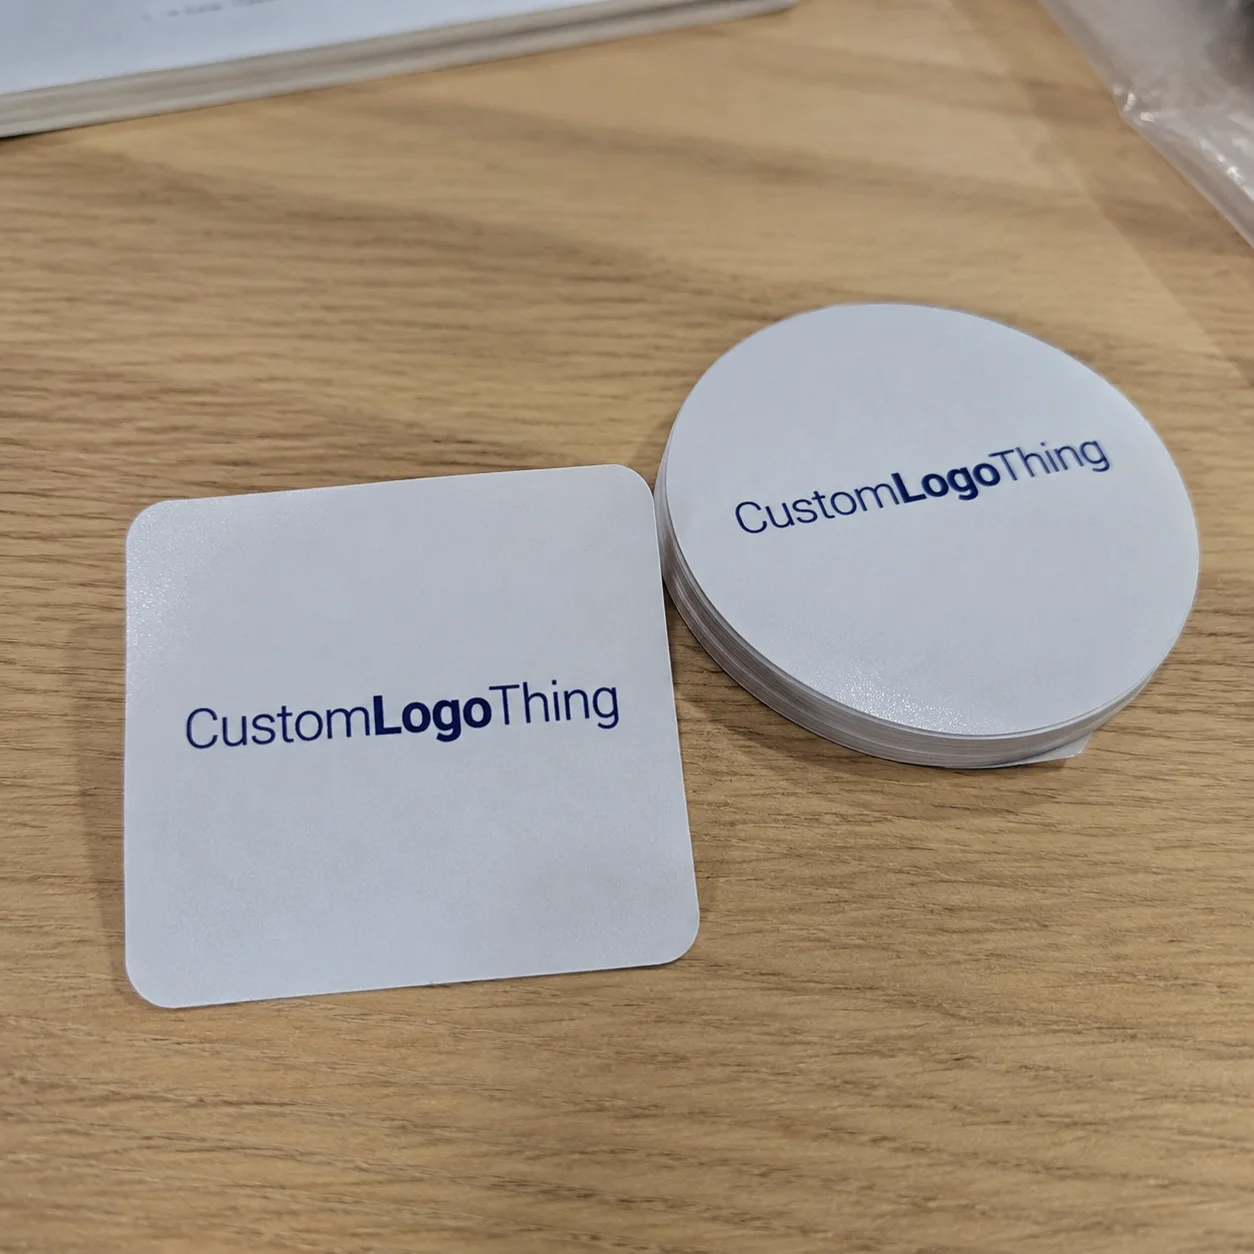
The circular shape works because the eye reads it quickly. Logos often sit naturally in the center, and a circle avoids the harder visual corners of a rectangle when used as a closure seal or accent label. On branded packaging, that softer shape can help a plain box or pouch feel intentional without adding a fully printed carton, sleeve, or belly band.
Not every round sticker has the same job. A decorative sticker may only need to look attractive for a short campaign. A product label may need crisp type, barcode readability, moisture resistance, and repeat color consistency. A closure seal needs adhesive strength and enough flexibility to hold across a fold. A QR-code sticker needs contrast, quiet space, and enough diameter for a reliable scan. A compliance or ingredient label may require legible text at a minimum size, depending on the product category and market.
Common packaging uses include sealing bakery boxes, closing tissue paper, labeling candle jars, branding coffee bags, decorating shipping cartons, and adding batch, scent, roast date, flavor, or limited-edition information to small goods. They are also useful when a brand wants to test packaging before committing to printed boxes or large label inventories.
Practical packaging rule: decide whether the sticker is sealing, labeling, decorating, or surviving handling before choosing the material. Appearance matters, but performance comes first.
From a packaging buyer’s point of view, the cleanest orders start with the real use case. A sticker placed on a dry paperboard gift box can be simple and cost-effective. A sticker applied to a chilled glass bottle needs a different face stock and adhesive system. The more accurately you define the job, the fewer surprises you will see after production.
How Round Sticker Printing and Cutting Actually Works
The production flow is fairly direct. Artwork is prepared, checked, and imposed for the print layout. The design is printed on roll or sheet material, then coated or laminated if needed. After that, the sticker face is die-cut or digitally cut into circles, weeded where excess material must be removed, inspected, packed, and shipped.
For shorter runs, digital printing is common because it handles full-color graphics, small quantities, and multiple design versions without the same plate setup required by flexographic production. For larger quantities, flexographic or offset-style production can deliver better unit costs and strong repeat consistency, especially when the same label is reordered regularly. The right method depends on quantity, artwork complexity, material, finish, and tolerance expectations.
Die-cutting is the step that gives the sticker its circle. In most label production, the blade cuts through the printable face material and adhesive layer while leaving the backing liner intact. That is called a kiss cut. It lets the user peel the sticker cleanly from the liner without fighting a loose backing piece.
Format matters more than people expect. Kiss-cut sheets are easy for office use, small batches, event kits, or promotional inserts. Roll labels are better for fast hand application, dispensers, and machine labeling. Individually cut singles work well for giveaways, retail inserts, and branded merch packs, but they require more handling and usually cost more per piece than roll or sheet formats.
Material options start with paper and move into films. Standard white paper is a good fit for dry indoor packaging, mailer inserts, and simple closures. BOPP and vinyl-style films are better for moisture exposure, oils, condensation, and bathroom or kitchen products. Clear film creates a no-label look on glass or smooth plastic, but it usually needs thoughtful ink coverage, white ink backing, or strong contrast to stay readable. Textured and specialty stocks can add a premium feel, though they should be tested for print sharpness and adhesive behavior.
Finishes change both appearance and durability. Gloss makes colors pop on retail shelves. Matte cuts glare and often suits premium product packaging. Soft-touch lamination gives a smooth, velvety hand feel, but it can show oils or fingerprints on dark colors. Holographic film, foil, spot UV, and metallic effects create visual punch. They also add setup, cost, and sometimes production days. Nothing magical about that. More finishing means more steps.
A chilled beverage label, for example, needs a moisture-resistant face stock and adhesive that can handle condensation. A sticker sealing tissue inside a mailer may only need standard paper with a permanent adhesive. Same shape. Very different build.
Key Specs That Decide Size, Adhesion, and Finish
Diameter is the first practical choice. A 1-inch circle works for small seals, bottle caps, and tiny accent marks. A 1.5-inch circle gives a little more logo presence while still staying compact. A 2-inch sticker is one of the most flexible sizes for jars, mailers, tissue, and small boxes. Sizes around 2.5 inches to 3 inches give more room for QR codes, product names, scent details, or short promotional copy.
Surface choice comes next. Smooth glass accepts adhesive differently from uncoated kraft paper. Coated paperboard, plastic jars, flexible pouches, and corrugated cartons each have different surface energy, texture, dust level, and flex. In practice, a sticker that lays beautifully on a smooth candle jar may lift at the edge on a rough kraft mailer if the adhesive is too mild.
Adhesive selection should match the environment. Permanent adhesive is common for branding, shipping, and retail packaging. Removable adhesive fits temporary promotions or reusable containers, though removability varies by surface and dwell time. Freezer-grade adhesive helps with cold storage and frozen goods. Stronger adhesives may be needed for textured paper, low-energy plastics such as some polyethylene pouches, or cartons that see abrasion during transit.
Temperature matters too. Labels applied in a cold room, warehouse, or refrigerated packing area may not bond the same way they would at room temperature. Pressure during application also matters. A sticker lightly tapped onto a dusty carton is not getting a fair chance. Press the full surface, especially the edges.
Finish should match handling conditions. Gloss can make product photos and bright colors feel more vivid. Matte looks calmer and reduces glare under store lighting. Lamination improves scuff resistance, which is useful for e-commerce shipments, stacked cartons, and labels handled during fulfillment. Uncoated paper feels natural and works well for rustic packaging design, but it is less forgiving around moisture, oils, and dirty hands.
Artwork needs discipline on round labels. Build in bleed beyond the cut line, usually about 0.0625 inch to 0.125 inch depending on supplier requirements. Keep important logos, text, and icons inside a safe zone, commonly at least 0.0625 inch from the cut edge and more for small labels. Use high-resolution files, ideally vector art for logos, and set files in CMYK for print rather than RGB screen color.
- Thin borders: avoid narrow circular rules near the edge because small cutting tolerances can make them look uneven.
- Small type: keep text large enough to read after printing, especially below 2 inches in diameter.
- QR codes: test scan distance and contrast before placing codes on 1-inch or 1.5-inch stickers.
- Curved text: use it sparingly; too much arched copy can make a small sticker feel crowded.
Food, cosmetics, supplements, and regulated goods may need required text, lot codes, ingredient details, warnings, or net contents. That is not legal advice, obviously, but it is a real production concern. If a round label is too small for required information, use it as a front branding mark and let another label carry the detailed panel.
Cost, Pricing, and Unit Cost Factors
Sticker pricing is not based on diameter alone. Quantity, material, print method, number of colors, finish, adhesive type, cutting method, roll or sheet format, and packing requirements all influence the final quote. Two custom circular stickers can be the same size and still price differently if one uses standard paper and the other uses waterproof film with foil and a specialty adhesive.
The basic pricing logic is simple: setup and prepress work are spread across the order. Unit cost usually drops as quantity increases, especially once the run moves beyond very small batches. A small test run may be smart for a new design, but ongoing packaging programs often benefit from ordering in production-efficient quantities.
Standard white paper with full-color print is typically the economical choice. Waterproof BOPP, clear film, foil stamping, spot UV, metallic stocks, textured paper, custom cores, and special roll directions add cost. Larger circles also use more material and can create more trim waste depending on how efficiently the circles nest across the sheet or roll width.
| Option | Best Use | Typical Cost Level | Practical Notes |
|---|---|---|---|
| White paper, matte or gloss | Dry boxes, tissue seals, mailer inserts | Lowest | Good for indoor use; limited moisture resistance |
| BOPP film | Jars, bottles, pouches, bath products | Medium | Better moisture and oil resistance than paper |
| Clear film | Glass jars, clear bottles, premium labels | Medium to high | May need white ink backing for readability |
| Foil, holographic, or spot UV | Retail packaging, gift sets, launches | High | Adds visual impact, setup cost, and production time |
As a general market range, simple paper circle stickers may land around $0.03 to $0.12 each at higher quantities, while smaller runs can be much higher per unit because setup is spread over fewer pieces. Film labels, special finishes, or multiple artwork versions can move into the $0.12 to $0.40-plus range depending on size, run length, and finishing. Treat those as planning ranges, not fixed quotes. Supplier equipment, material availability, freight, and packing requirements all move the number.
Minimum order quantity deserves attention. Low minimums are useful for testing a new scent, flavor, design, or event campaign. For ongoing retail packaging, quoting 500, 1,000, and 5,000 pieces often gives a clearer picture of total spend versus unit cost. Sometimes the jump from 1,000 to 2,500 pieces is modest enough to make the larger run sensible. Sometimes storage space or design uncertainty says no. Both can be true.
Buyers often miss the quiet cost drivers: artwork revisions, expedited production, split designs, multiple roll directions, barcode verification, custom core sizes, special packing, and exact label orientation for applicators. If you are also sourcing Custom Labels & Tags or coordinating stickers with bags, cartons, or inserts, ask for the quote to show each component clearly.
A useful quote request includes diameter, quantity, material, finish, adhesive needs, application surface, roll or sheet preference, shipping destination, and deadline. If the sticker will be part of a broader packaging program, include photos or dimensions of the package as well.
Process and Timeline From Artwork to Delivery
The usual order sequence is predictable: define the use case, choose size and material, submit artwork, receive a proof, approve the proof, print, finish, cut, inspect, pack, and ship. The steps sound basic because they are. Most delays happen before production starts.
Proofing deserves careful attention. A digital proof checks layout, size, bleed, spelling, safe zone, and general color expectations. It is not always a perfect screen-to-print color match because monitors vary, paper and film absorb or reflect ink differently, and finishes can shift the final look. Matte can mute color slightly. Gloss can make it appear more saturated.
A physical sample or press proof may be worth the extra time for premium finishes, clear materials, metallic effects, color-critical branding, or high-volume recurring orders. It may not be necessary for a simple 2-inch paper seal, but it can save money on a large run where color, adhesive, or finish must be dialed in before full production.
Simple digital sticker orders can often move faster, sometimes in roughly 5 to 10 business days after proof approval depending on workload and material stock. Custom dies, specialty materials, foil, lamination, multiple versions, or large quantities may add days or even a couple of weeks. Transit time is separate, and that difference catches people. A ship date is not an in-hand date.
Buyer responsiveness affects turnaround more than people like to admit. Delays usually happen when artwork is missing bleed, text is too small, files are low resolution, brand colors are unclear, or proof approval sits unanswered. If a launch date is firm, assign one person to approve proofs and answer production questions quickly.
Shipping format also matters. Roll labels may be heavier but efficient for production and application. Sheets pack flat and are easy to store in small offices. Individually cut stickers require more handling, counting, and packing, which can affect both cost and timeline. For machine application, confirm core size, roll direction, outside diameter, gap between labels, and unwind orientation before approval.
The planning rule is simple: build in a cushion for proofing, revisions, production, quality control, and transit. If stickers need to arrive before a product launch, photo shoot, trade show, or fulfillment window, add a few extra business days wherever possible. Nobody enjoys paying rush fees because a proof sat in an inbox.
For broader planning across boxes, labels, inserts, and mailers, review related Custom Packaging Products at the same time so artwork, color, and lead times do not fight each other later.
Common Mistakes That Make Circle Stickers Look Off
The thin-border problem is the classic one. A perfect circular border looks clean on a digital file, but even tiny cutting movement can make one side appear heavier than the other. The cut may still be within normal tolerance, yet the eye notices the imbalance immediately because circles make uneven spacing obvious.
Crowding the edge is another frequent issue. Logos, icons, curved text, and decorative marks should not sit too close to the cut line. A little breathing room makes the final sticker look more professional and protects the design from normal production variation.
The wrong adhesive can turn a good design into a bad packaging experience. Standard paper adhesive may struggle on cold bottles, dusty corrugated cartons, flexible pouches, textured kraft, or certain low-energy plastics. Adhesion depends on surface texture, temperature, pressure during application, and how long the label has to bond before handling.
Material mismatch shows up quickly. Paper labels can wrinkle, stain, or soften in damp environments. Glossy film may look too slick for natural soaps, handmade goods, or rustic retail packaging. Clear labels can disappear nicely on glass, but only if the printed art has enough contrast against the product behind it.
Small round stickers get overloaded easily. Ingredients, social handles, taglines, QR codes, certifications, product names, and decorative graphics all compete for space. If the diameter is under 2 inches, choose the main message and let the rest live on a back label, insert card, or carton panel.
Color surprises are common when RGB artwork is converted to CMYK. Bright blues, greens, oranges, and neon-like colors can shift. If brand color consistency matters, provide CMYK values, Pantone references where relevant, or a previously printed sample. Industry groups such as the Packaging Machinery Manufacturers Institute and testing bodies like ISTA are useful references for broader packaging and distribution considerations, especially if labels are part of a shipping program.
Do not judge only the front-facing design. Test peelability, application speed, carton stacking, refrigeration, scuff resistance, and edge lifting where relevant. A sticker that looks great in a mockup still has to survive real handling.
Next Steps Before You Place an Order
Start with measurement. Check the application area with a ruler or caliper, then cut plain paper circles in the sizes you are considering: 1 inch, 1.5 inches, 2 inches, 2.5 inches, and 3 inches. Tape them onto the actual box, jar, pouch, tin, mailer, or bottle cap. Scale can be deceptive, especially on curved surfaces.
Decide what the sticker must do. Is it a seal? A front label? A decorative mark? A QR-code carrier? A moisture-resistant product label? That answer will guide the material and adhesive better than appearance alone. A beautiful finish will not help if the sticker lifts, smears, wrinkles, or fails during shipping.
Prepare artwork cleanly. Add bleed, keep important content inside the safe zone, use vector logos when available, outline fonts if the printer requests it, set colors properly, and name the file clearly with size and version. Something like “brand-round-label-2in-matte-v3.pdf” is easier to manage than “final_final_new.pdf.” We have all seen that file. It is never final.
- Measure the real application surface before choosing the diameter.
- Test paper mockups on curved jars, small tins, bottle caps, mailers, and boxes.
- Choose material by environment first and finish second.
- Request quote options at two or three quantities to compare total spend and unit cost.
- Confirm roll direction, sheet size, core size, packing method, proof details, timeline, shipping method, and in-hand date.
Most sticker problems are preventable before the press ever runs. Custom circular stickers work best when design, material, adhesive, and ordering details are planned together before production starts. That is how you get labels That Look Sharp, apply cleanly, and hold up on real packaging.
FAQ
What size custom round stickers should I order for packaging?
Choose the size based on the job. A 1-inch to 1.5-inch circle works well for small seals, bottle caps, and subtle accents. A 2-inch sticker is a versatile branding size for jars, mailers, boxes, and pouches. Sizes from 2.5 inches to 3 inches give more room for logos, QR codes, product names, or short product details. Test the diameter on the actual package before ordering because round stickers often look larger on small packaging and smaller on wide front panels.
Are circular product stickers better on rolls or sheets?
Rolls are usually better for fast hand application, dispensers, or labeling machines. Sheets are convenient for small batches, office use, event kits, and mixed promotional stickers. If you are labeling hundreds or thousands of units, roll format usually saves handling time and keeps the workflow cleaner. For machine application, confirm roll direction, core size, label gap, and unwind orientation before approving the proof.
How much do custom circle labels cost?
Cost depends on diameter, quantity, material, adhesive, finish, print method, and whether the stickers are supplied on rolls, sheets, or as singles. Standard paper stickers in higher quantities usually have the lowest unit cost. Waterproof film, foil, spot UV, specialty adhesive, clear stock, or multiple artwork versions increase pricing because they add material, setup, and finishing requirements.
What material is best for waterproof circular stickers?
Film materials such as BOPP or vinyl-style stocks are better for moisture exposure than standard paper, especially on bottles, jars, chilled products, and bathroom items. For wet or cold use, pair the face stock with the correct adhesive and consider lamination or coating for added scuff and moisture resistance.
How do I set up artwork for custom circular stickers?
Use a high-resolution or vector file, add bleed beyond the cut line, keep important text and logos inside the safe zone, and avoid thin circular borders near the edge. Convert colors properly, outline fonts if requested, and review the proof carefully for spelling, scale, centering, and QR-code readability before approving production.