If you are comparing Custom Clear Label Stickers for a product launch, the real question is not whether they look clean on a mockup. It is whether they still look clean after the package is filled, chilled, stacked, shipped, and handled more than once. Transparent labels are unforgiving in that way. They reward good material choices, careful artwork, and realistic testing, and they make shortcuts obvious very quickly.
That is part of the appeal. A clear label lets the container do some of the visual work, so glass, PET, coated cartons, or matte jars can stay visible instead of being buried under a heavy block of ink. For retail packaging, that lighter touch often reads as more refined. It can make a product feel more deliberate, especially in categories where restraint is part of the brand language: cosmetics, candles, specialty foods, supplements, and craft beverages.
Used well, transparent labels support package branding without crowding the front panel. Used poorly, they expose every weak decision in the file. Thin type, low contrast, the wrong adhesive, or a label that was never checked on the actual container can turn a premium idea into a problem that shows up on shelf. The sections below focus on the practical side: what drives appearance, what affects cost, and where quality control usually catches the issues.
Why custom clear labels change packaging first impressions
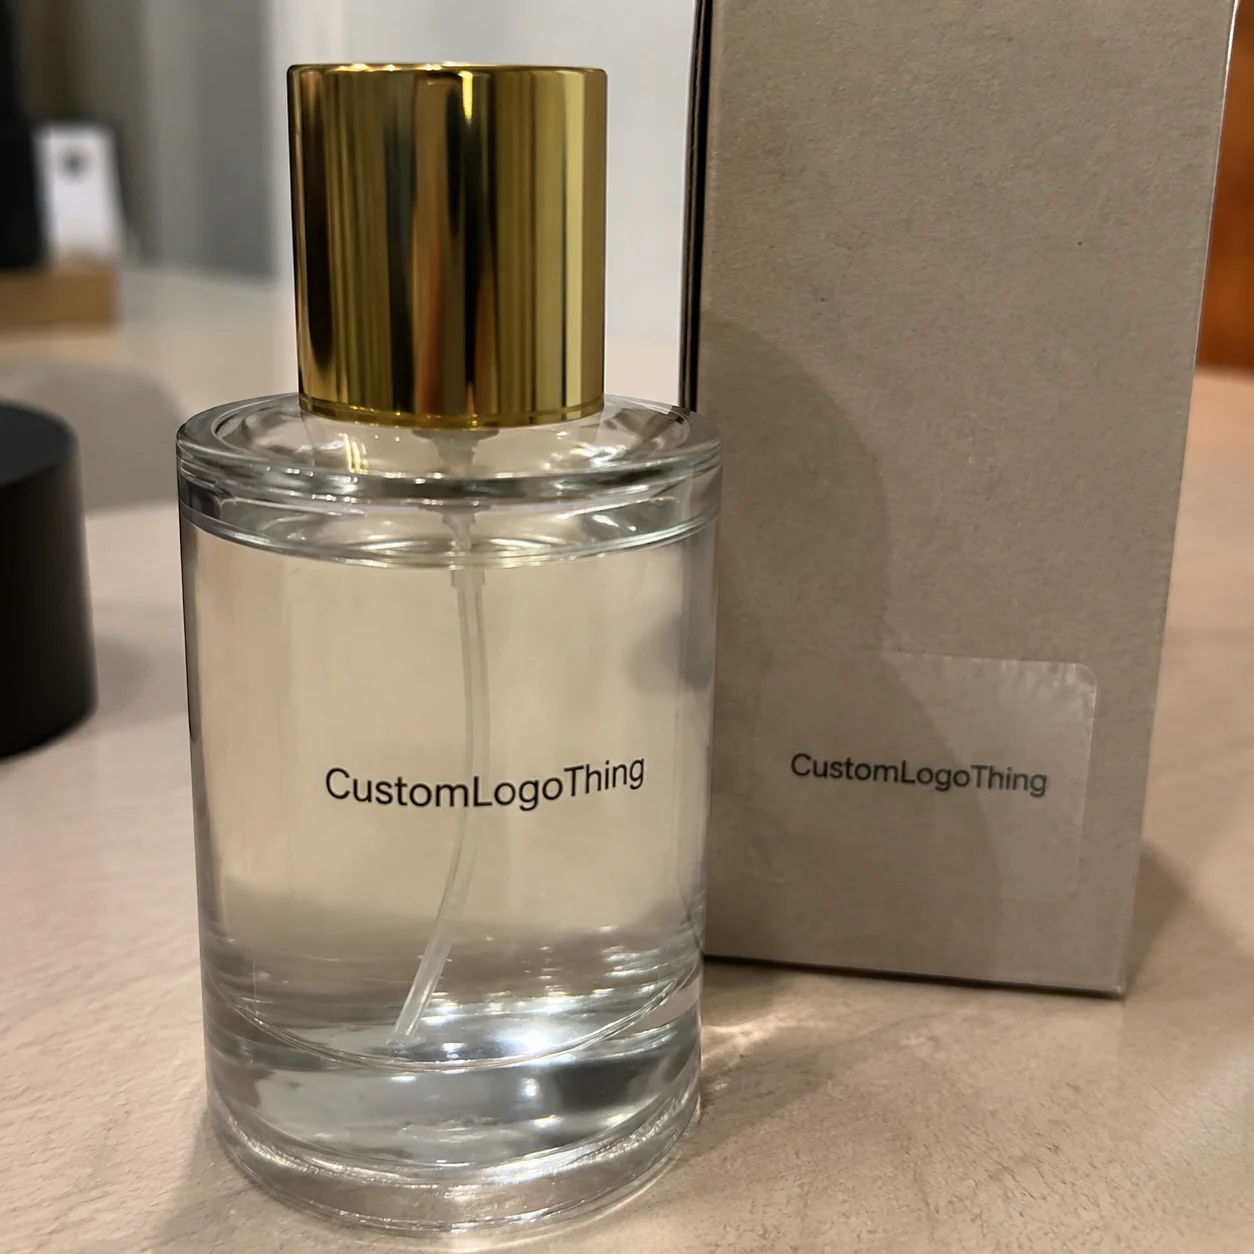
Clear labels solve a specific packaging problem: how do you show the product, the container, and the branding at the same time? On shelf, that usually means the package feels less blocked off. A jar of honey still looks like honey. A serum bottle still looks like a serum bottle. The label carries the required information without taking over the whole front face.
That restraint is why custom clear label stickers show up so often in premium product packaging. Opaque labels can absolutely work, but they are louder by nature. They hide the surface underneath and often make the pack feel more like a poster than a container. Transparent labels do the opposite. They let the substrate stay part of the presentation, which can create a more expensive feel when the bottle or jar itself is attractive.
Think about the categories where the package material is part of the sale: glass jars for jams, amber bottles for tinctures, matte candle vessels, and cosmetics in frosted or colored plastic. The label is not just carrying data in those cases. It is framing the object. A well-made clear label can make the whole pack feel engineered instead of simply decorated.
Transparency is not the design. It is the test. If the label only looks right in a flat file, the spec is incomplete.
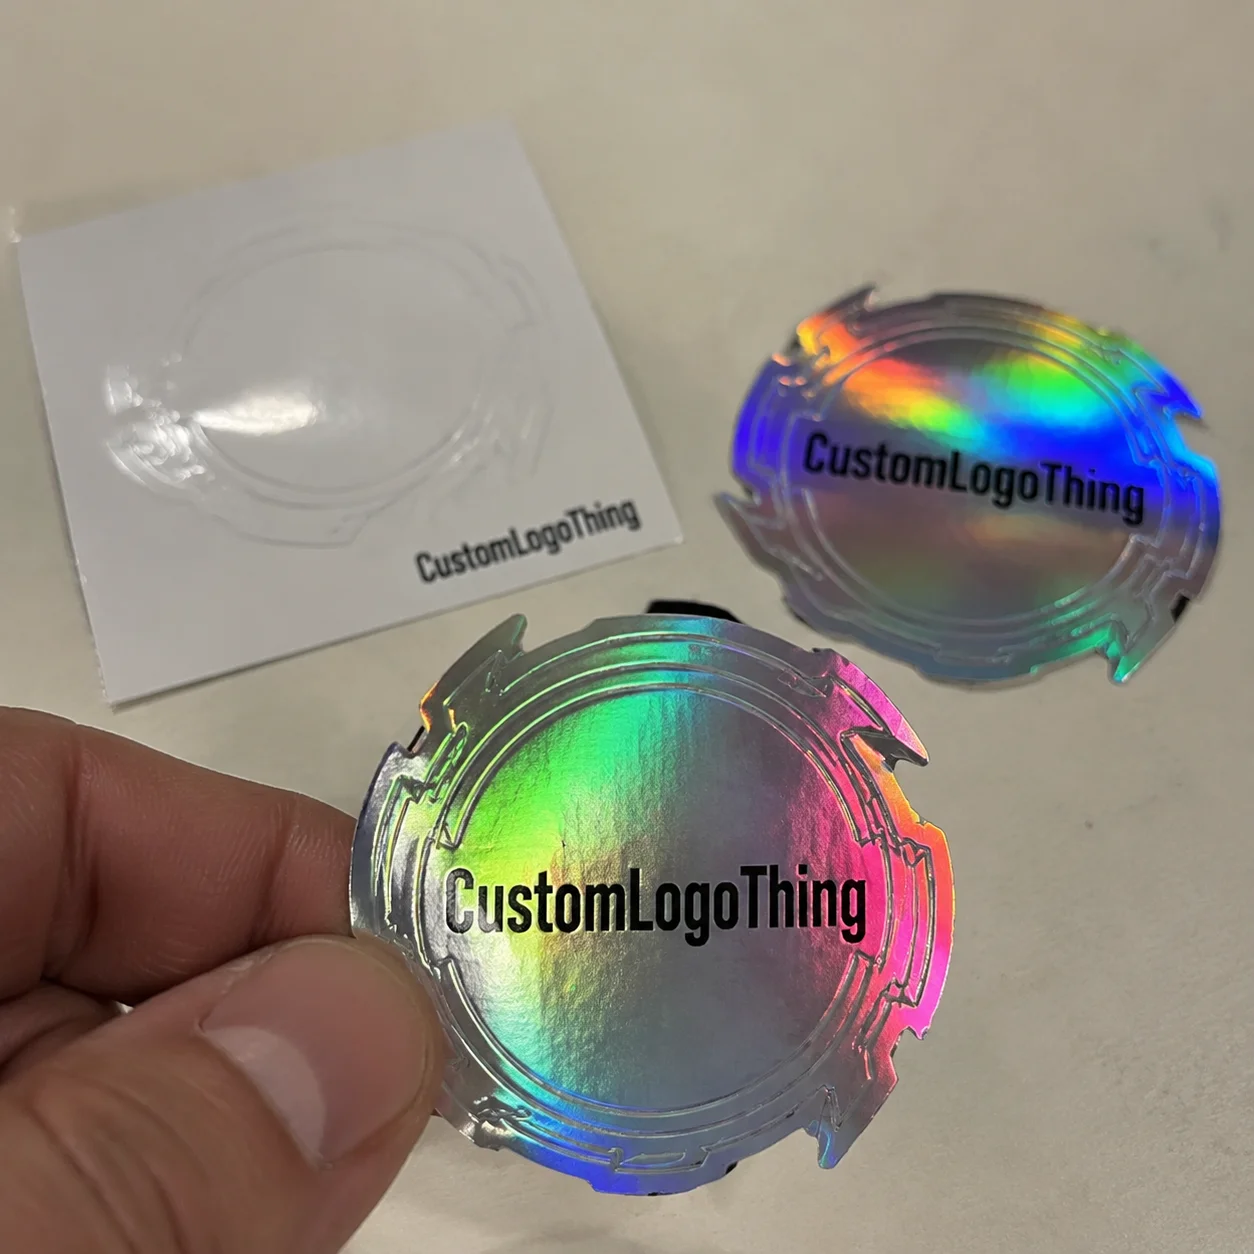
Clear does not mean invisible. It means every design choice becomes more visible. Ink density, white underprint, edge quality, and placement accuracy all show up faster on transparent stock than on an opaque face material. That is why these labels reward disciplined packaging design more than generic artwork with a logo dropped onto a blank shape.
- Best fit: products where the container is attractive enough to show
- Strong use cases: cosmetics, candles, jars, supplements, beverages
- Watchout: low-contrast artwork on tinted, dark, or patterned surfaces
- Buyer takeaway: transparency amplifies both strengths and flaws
If you are still deciding between clear, white, or textured stocks, compare them against the whole package system, not just one label render. A choice that looks elegant on one bottle may fight with the rest of the line. That is one reason brands often coordinate labels with Custom Labels & Tags and broader Custom Packaging Products at the same time.
How the material, adhesive, and finish work together
A clear label is really a stack of decisions. You start with a clear film face stock, usually polypropylene or polyester in many packaging runs, then add printed inks, choose an adhesive, and finish with a varnish or laminate if the application needs it. Each layer changes how the label looks and how it performs after production.
On transparent material, white ink often matters as much as the artwork itself. Without it, CMYK can look washed out or nearly vanish against a dark liquid, a colored bottle, or a patterned carton. With controlled white underprint, the same design becomes legible and far more consistent across containers. That matters in product lines where the fill color varies from batch to batch.
Adhesive choice is another place where buyers sometimes guess instead of specify. Permanent adhesive is the standard for many retail packages because it stays put on glass, coated plastic, and many cartons. Removable adhesive makes more sense for short-run promotions, temporary bundles, or products where the label needs to come off cleanly. Neither is better in a vacuum. The right option depends on the substrate, the product life cycle, and whether the label has to survive refrigeration, condensation, or regular handling.
| Option | Best for | Typical impact on cost | Performance note |
|---|---|---|---|
| Clear film with no white ink | Minimal designs, light substrates, decorative branding | Lower | Can disappear into dark or busy backgrounds |
| Clear film with selective white ink | Most premium retail packaging | Moderate | Improves readability and contrast |
| Clear film with full white underprint | Maximum legibility on tinted or dark containers | Higher | Looks less transparent, but more reliable |
| Clear film plus laminate | Cold chain, abrasion-prone handling, higher-end presentation | Higher | Better scratch resistance and moisture durability |
Surface conditions matter more than many first-time buyers expect. Curved bottles, condensation, oily cosmetic surfaces, and refrigerator temperatures all influence adhesion. A label that looks perfect on a flat sample sheet may edge-lift on a chilled bottle after a few days. That is why a realistic spec should include the actual container and its environment, not just the artwork file.
Transparency also changes how light behaves. A clear label on a white container can nearly disappear. The same label on a dark green bottle may turn into a weak gray shape unless the ink system was built for that background. That is not a defect in the label stock. It is the physics of the substrate showing up on the shelf.
Cost and pricing factors that move the quote
Pricing for custom clear label stickers usually comes down to six variables: size, shape, quantity, material, ink coverage, and finish. Size and shape affect how much film is used and how complex the die-cutting becomes. Quantity determines whether you are in short-run economics or volume economics. Material, ink coverage, and finish influence the number of print steps and the amount of prepress attention needed.
For smaller runs, a clear label with selective white ink may land roughly in the range of $0.18 to $0.45 per unit depending on size and coverage. Larger quantities can move the unit price lower once setup is spread across more labels. That is a broad market range, not a quote. A small round seal is priced very differently from a tall wrap label with heavy white ink and a specialty shape, even if both are “clear labels.”
White ink raises cost because it adds a separate print layer and more inspection. Specialty dies increase setup labor. Complex finishes can add another pass. If the quantity is very small, those extras are spread across fewer labels, so the per-unit jump is more noticeable. At higher volumes, total spend rises, but the economics often improve enough that the better-looking label is easier to justify as part of the shelf strategy.
Price should also be read against what the label is doing for the package. If a cleaner transparent label improves shelf presence, reduces relabeling, or avoids rework because the first print looked too faint, the “cheaper” option may actually be the expensive one. That is especially true in branded packaging, where the label often carries more of the visual weight than the carton or shipper.
To get a useful quote without a lot of back-and-forth, send exact dimensions, the number of versions, the application surface, print coverage, and whether you need matte, gloss, or a protective coating. If you already know the environment — refrigerated, freezer, shelf-stable, hand-wash, or humidity-exposed — include that too. The adhesive recommendation can change immediately.
It also helps to separate cost into two layers:
- Sticker cost: unit price and setup charges.
- Packaging cost: the value of better shelf presence, fewer application issues, and less design compromise.
That second layer is easy to miss. In real packaging programs, it is usually what decides whether the label feels like a smart investment or just another line item.
Production steps and turnaround: what happens after you approve artwork
Once artwork is approved, the production path is usually straightforward: file review, proofing, printing, cutting, finishing, and packing. Straightforward does not mean automatic. Transparent labels need tighter prepress checks because white ink placement, trap, and transparency interactions can create problems that are easy to miss on screen.
Most delays happen before printing starts. Missing bleed, low-resolution logos, unclear white-ink instructions, or an incomplete die line can all push the proof cycle out. A design that looks finished in a PDF may still need changes so the output reads cleanly on the actual container. That is especially true if the label has text running close to the edge or small reverse type over clear film.
Typical turnaround depends on whether the artwork is ready and whether the job needs specialty steps. Simple runs can move faster than jobs that require layered white ink, custom contours, or extra finishing. In practice, many transparent label orders need more prepress attention than standard opaque stickers. A realistic planning window is often 12 to 15 business days from proof approval for many custom print runs, with shipping added on top. Complex jobs may take longer.
That distinction matters. Production time is not shipping time. If your launch is tied to a trade show, seasonal promotion, or retail reset, you need both numbers before you lock the internal deadline. A label delivered on time for production but late for freight is still late.
If the artwork is built around a transparent substrate, approve the proof on something close to the actual container. Screen previews can hide contrast issues that appear immediately under retail lighting.
Another practical point: the more transparent the label, the more inspection becomes part of the process. Any haze, registration shift, or poor edge finish is easier to spot. That usually leads to better output overall, but it also means the print partner has less room to hide sloppy execution.
Step-by-step spec guide for better artwork and fit
Start with the container. That sounds obvious, but it is the fastest way to avoid an expensive reprint. Measure the flat panel, the curvature, and the placement zone where the label will actually sit. A cylindrical bottle and a faceted jar are not interchangeable, even if they look similar in a drawing. Curves shorten the visible panel and change how the adhesive settles at the edges.
Next, decide what kind of transparency you actually want. There are three common approaches. One is a fully clear label with minimal ink coverage, which works best on light backgrounds. Another is a design with selective white ink under text and key graphics. The third is a hybrid layout where some elements stay clear while other areas are intentionally backed with white to create contrast. The best option depends on the product color, not just the design style.
Finish is not only a cosmetic decision. Gloss can help the label stand out under bright retail lights. Matte can create a softer, more restrained premium feel. A protective coating or laminate helps with abrasion resistance and moisture exposure. If the package is going into a chilled display, or if handling is frequent, it is smarter to think about durability first and appearance second. You want both, but not every finish supports both equally well.
Build the artwork around the background
Transparent labeling should never be designed in a vacuum. The same file can look strong on white, muddy on amber, and nearly unreadable on black. Build the design with the final background in mind. That means checking the label over light, dark, and colored contents before sign-off. It also means adjusting text size and line weight so the package still reads at arm’s length.
- Use bleed correctly so trim tolerance does not expose unintended edges
- Keep essential copy inside safe zones
- Test small type for contrast at shelf distance
- Confirm whether white should sit under the full design or only select elements
- Ask for a print proof on the actual substrate whenever possible
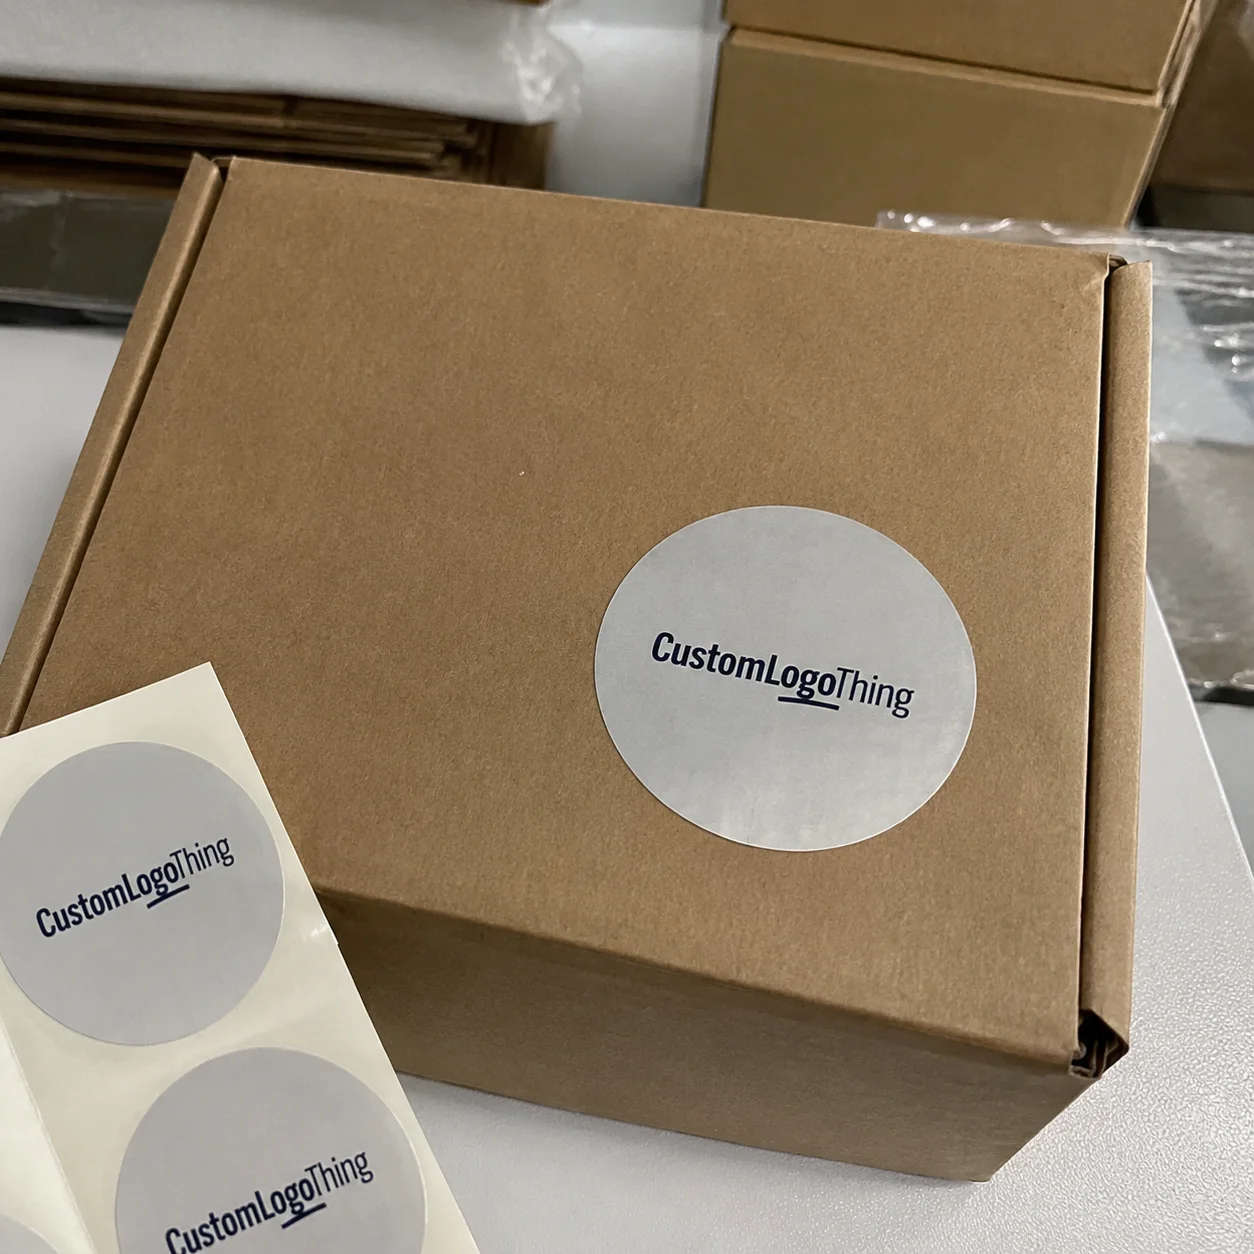
For brands ordering custom printed boxes alongside labels, the label should feel like part of the same system. Matching typography, material mood, and hierarchy creates a more coherent launch. A transparent label can be elegant on its own, but it works harder when the surrounding packaging is coordinated instead of improvised.
Finally, review the proof on a filled container, not just on screen. This is where buyer confidence usually rises or falls fast. The label should read clearly, hold its edges, and support the overall brand story under the same light your customer will see in a store or on a shelf. If it does that, you are not just buying a sticker. You are strengthening the packaging system.
Common mistakes that make transparent labels look cheap
The most common issue is weak contrast. Designers often assume clarity will equal elegance, so they use light gray copy, thin fonts, or delicate line art. On a tinted bottle or colorful fill, that can disappear quickly. A transparent label still needs hierarchy. Without it, the label looks unfinished rather than premium.
Another mistake is ignoring surface conditions. Condensation, oil residue, dust, and tight curves all affect adhesion. In refrigerated or freezer environments, the wrong adhesive can lead to edge lift or bubbling. If the product is handled in kitchens or bathrooms, that risk goes up. A label that starts peeling looks less like a design choice and more like a quality problem.
Skipping a proof on the actual container is another expensive habit. Flat proofs are useful, but they are not enough on their own. The label must be checked where it will live, because the background color and lighting determine what the customer actually sees. Good artwork can still look weak if nobody checked it on a filled bottle before launch.
There is also a misconception that clear labels should disappear completely. They should not. Good transparent packaging stays visible enough to communicate the brand, the product name, and the required details while still letting the vessel remain part of the story. When that balance is off, the pack loses structure.
The short version: cheap-looking clear labels are usually not a material problem. They are a contrast problem, a fit problem, or a proofing problem.
Expert tips and next steps for a cleaner order
If you are ordering custom clear label stickers for a launch or seasonal release, start with a sample or proof set before you commit to the full run. That matters most when the label needs white ink, when the substrate is tinted, or when the package will sit under strong retail lighting. A small proof cost is cheap compared with a box of labels that misses the mark.
Define the container, quantity, finish, and white-ink needs before you request quotes. Those four details clear up a surprising amount of confusion. Then create two artwork versions if the product line may live on different backgrounds: one optimized for light containers and one for dark or tinted containers. That small step saves a lot of back-and-forth later.
Review the finished label on a filled container, not just on screen. This is where the buyer’s confidence goes up or down very quickly. The label should read cleanly, hold its edges, and support the overall brand story under the same light your customer will see in a store or on a shelf.
For teams building a broader packaging program, keep the label aligned with the rest of the lineup: cartons, inserts, shipping components, and any secondary packaging. That consistency improves package branding and keeps the product looking intentional across channels. If the container, label, and outer pack all speak the same visual language, the product feels more credible before anyone opens it.
Useful standards and references can help too. For shipment and handling expectations, review guidance from the ISTA network. For fiber-based components in the broader pack, the FSC system remains a common reference point. Even if the clear label itself is film-based, the surrounding packaging often is not, and sustainability claims should rest on real documentation rather than assumption.
If you want the short version: measure carefully, specify the adhesive, decide on white ink early, and test the label on the actual product. That is the cleanest path to better results with custom clear label stickers and fewer surprises when the order arrives.
Frequently asked questions
What are custom clear label stickers best used for?
They work best when the container or product should stay visible through the label. They are common for cosmetics, candles, beverages, jars, and Premium Retail Packaging. They help create a minimalist, modern look without covering the package itself.
Do custom clear label stickers need white ink?
Often yes, if you want text or graphics to stay readable on transparent film. White ink can act as a base layer under artwork or highlight specific design elements. Without it, colors may look muted or disappear against certain backgrounds.
How much do custom clear label stickers cost?
Pricing depends on size, quantity, shape, material, and print complexity. White ink, special cuts, and finishes can increase the quote. Higher quantities usually lower the per-label cost.
How long does production usually take?
Turnaround depends on artwork readiness, proof approval, and the complexity of the label. Simple runs move faster than designs that require white ink or specialty finishing. Shipping time should be added separately to total launch planning.
What should I send when requesting a quote for clear labels?
Include exact dimensions, quantity, container type, and intended application environment. Share artwork files, finish preference, and whether white ink is required. Mention your target launch date so turnaround can be checked against your schedule.