What custom drink labels really do for your product
On a crowded shelf, custom drink labels often do more selling than the bottle itself. For water, juice, cold brew, kombucha, RTD cocktails, and spirits, the label has to identify the product, support the brand, satisfy regulatory copy, and still look intentional at a glance.
From a buyer's perspective, the label is both a branding surface and a functional package component. It needs room for ingredients, nutrition facts or alcohol warnings when required, barcode placement, lot code space, and enough visual hierarchy for shoppers to find the flavor and size quickly.
Drink labels also face harsher conditions than many other label types. Bottles sweat in coolers, ice buckets soak edges, and condensation cycles can weaken adhesion over time. That means material, adhesive, and finish matter as much as artwork.
Before design starts, three questions usually narrow the spec fast: where will the product be stored, how long does the label need to hold up, and what should the package feel like in hand? Those answers help determine whether the label should lean premium, durable, or cost-efficient.
For brands with multiple SKUs, the label can also create consistency across a line. A shared design system makes flavors and sizes easier to recognize while leaving room for small changes. If you are comparing label formats with broader packaging options, see Custom Labels & Tags or review related packaging components in Custom Packaging Products.
How the label construction and print process works
Most beverage labels are pressure-sensitive, meaning the face stock, adhesive, and liner arrive as one construction. That format works for hand application and automated lines, and it gives buyers a wide range of materials and finishes without a separate glue step.
A standard construction has three parts: the face stock carries the print, the adhesive bonds the label to the container, and the liner protects the adhesive until application. Each layer affects performance, especially in cold storage or high-humidity use.
Print method depends on quantity and artwork stability. Digital printing is common for shorter runs, multiple versions, and faster turnaround. Flexographic printing is usually better for larger orders where repeatability and lower unit cost matter more. Some brands use digital for launches and flexo for steady reorders.
Finishing changes both appearance and wear resistance. Gloss can sharpen color, matte can soften the look, and coatings or lamination can improve scuff resistance. Foil, spot gloss, and textured effects may work well on premium drinks, but only if the container, budget, and run size justify the added steps.
Die cutting matters more than many buyers expect. Some bottles use a single wraparound label, while others need front, back, or neck labels. Curved or tapered containers may need rounded corners or a smaller panel to avoid lift, wrinkles, or seam issues.
In practice, the best construction is the one that fits the real use case. A clear film label can look refined on glass, but it may need white underprint for legibility. A paper stock may match a craft position, but it may not survive a wet cooler without the right adhesive and finish.
Key material and design factors that change performance
Material choice drives durability, print quality, feel, and cost. Common options include coated paper, BOPP film, clear film, textured paper, and specialty stocks. The right choice depends on whether the bottle is refrigerated, chilled on ice, or handled repeatedly.
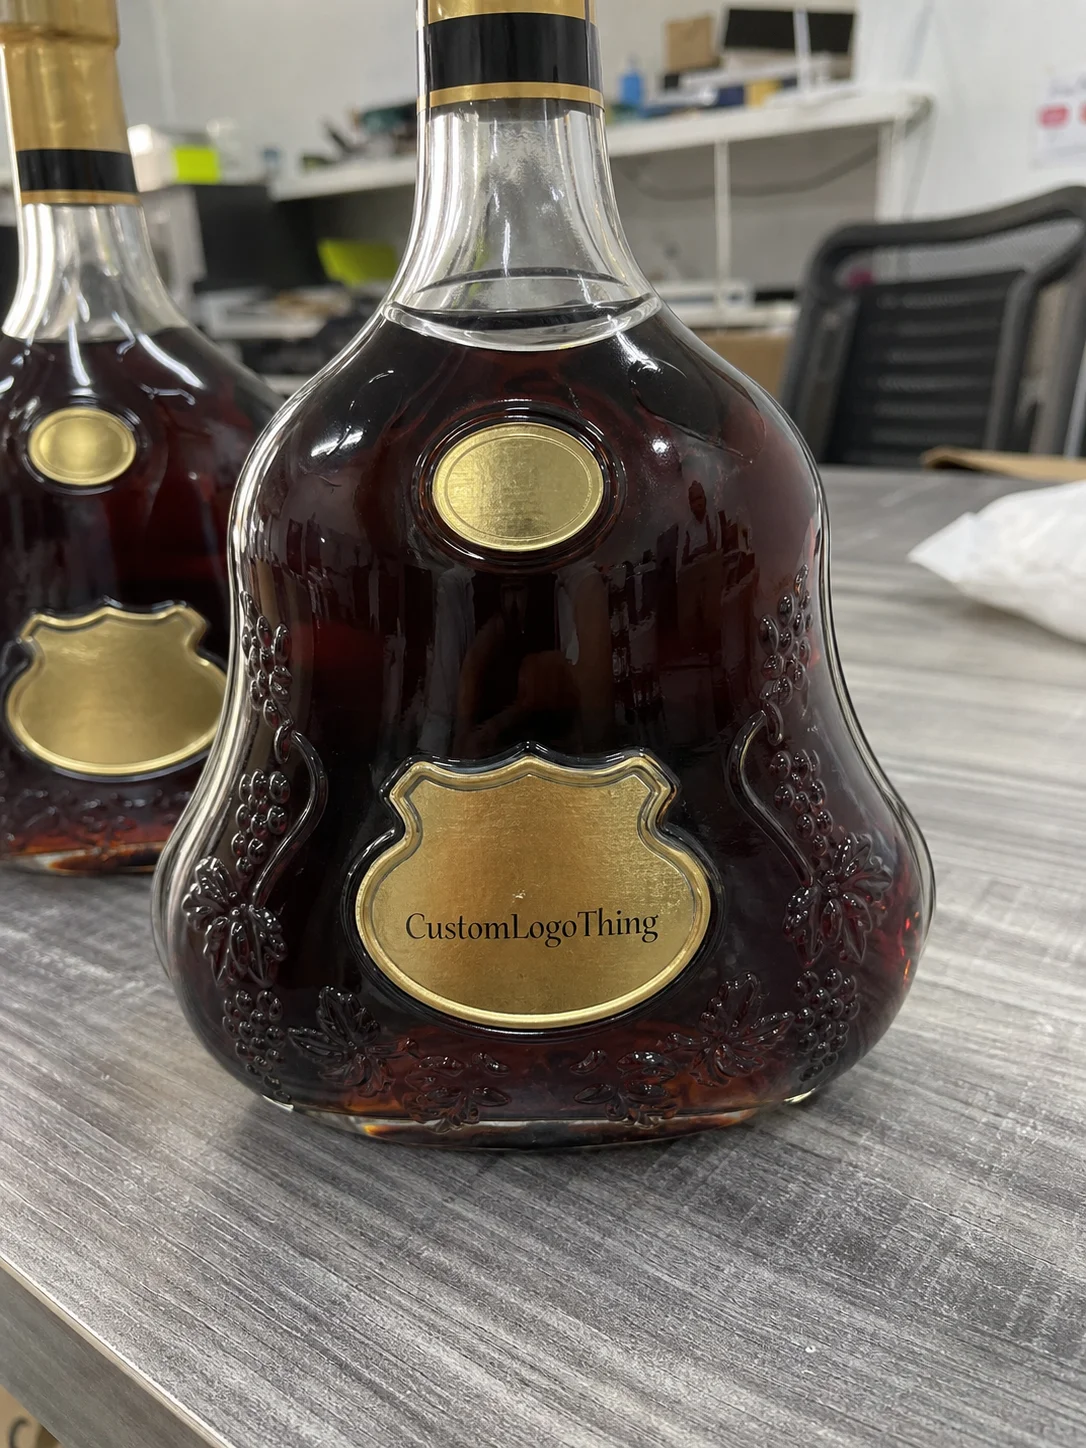
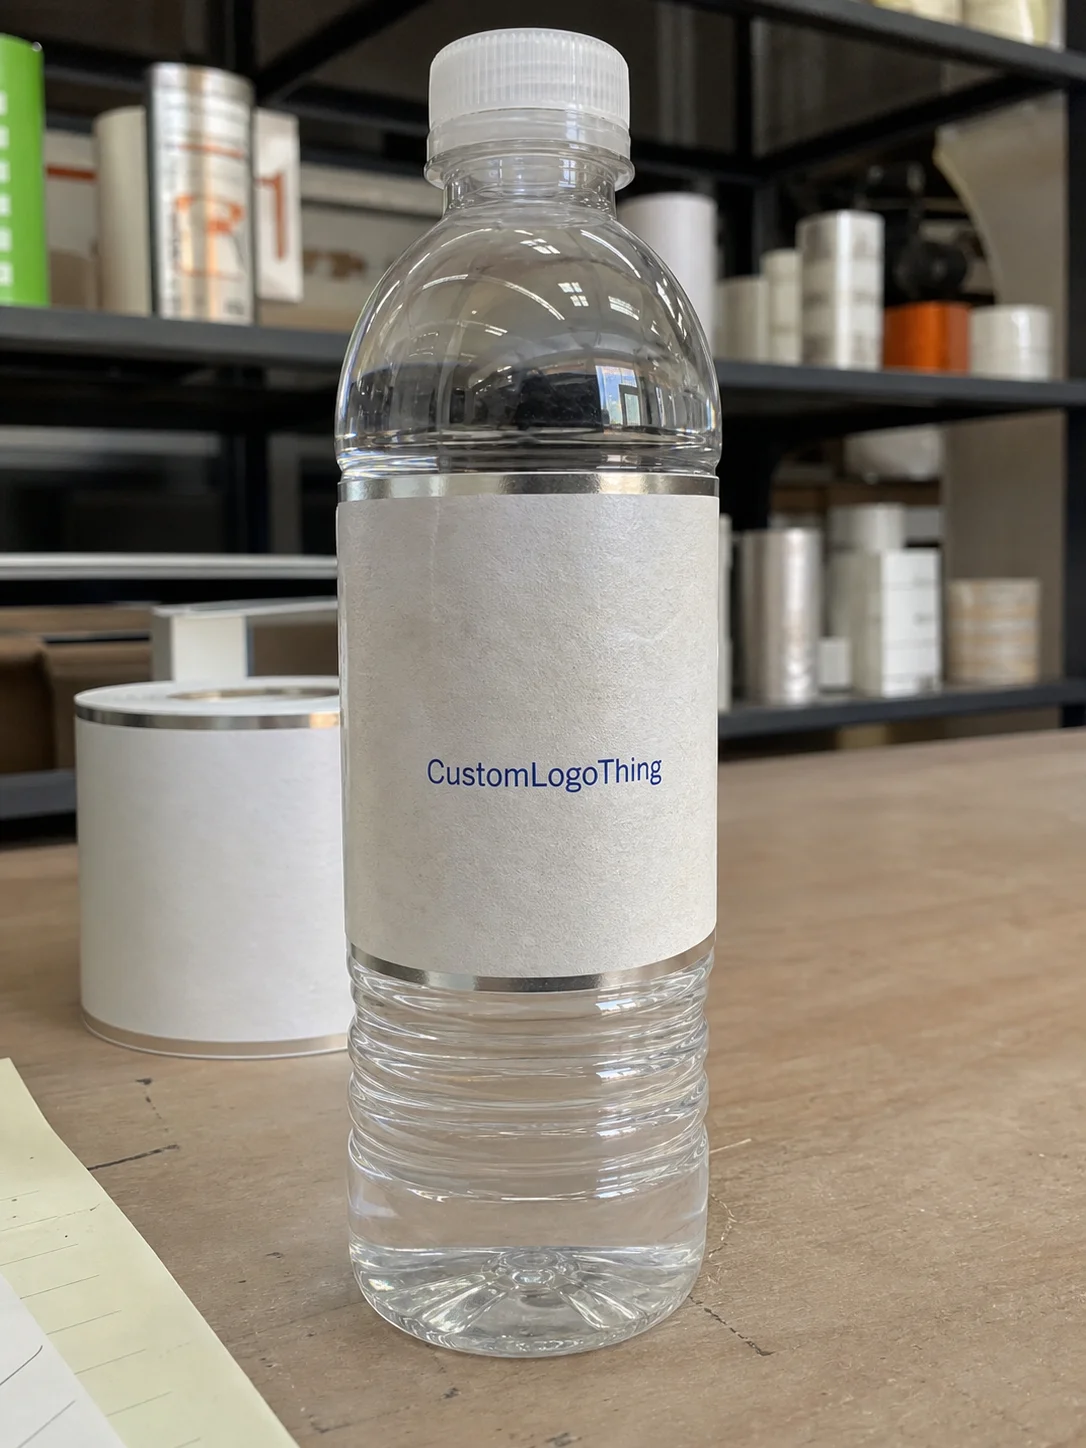
BOPP film is a common beverage choice because it resists moisture better than paper. White BOPP supports strong contrast and bright color. Clear BOPP can create a no-label effect, but the design usually needs opacity planning so the artwork stays readable against the liquid.
Paper can still be the right answer for dry conditions or a more natural look. It is often less expensive up front, but it may not be the lowest-risk choice if condensation, cold storage, or wet handling is part of the product's life cycle.
Adhesive selection is just as important as face stock. Permanent adhesives are common for retail beverages because the label needs to stay on for the life of the product. Cold-temperature or freezer-grade adhesives are better when bottles are chilled, shipped cold, or packed with ice.
Design also affects performance. Large solid areas can show print variation more easily, fine type can fail on curved surfaces, and barcodes or compliance copy need enough quiet space to remain scannable. On clear labels, white ink or an opaque block may be necessary behind critical text.
Container shape is another factor. Straight-sided bottles are easier to label than tapered or heavily contoured containers. If the bottle has curves or shoulders, label width, corner radius, and flexibility need to be set with application and adhesion in mind.
Application method matters too. Hand-applied labels can tolerate some variation, but they still need to align easily. Automated lines require consistent roll direction, core size, and gap spacing. If the order may run on different equipment, confirm that early.
Regulatory copy should be planned before artwork is final. Depending on the beverage and market, the label may need ingredients, nutrition facts, allergens, warnings, UPC placement, or lot-code space. The best design leaves room for required information without crowding the brand message.
Custom drink labels process and timeline: from file to bottle
The process usually starts with a technical review. A vendor will want the bottle material, container shape, label dimensions, fill conditions, storage environment, quantity, and application method before confirming a spec. Those details determine whether paper or film is appropriate, what adhesive to use, and whether the order should be supplied on rolls or sheets.
Artwork comes next. The cleanest files use the correct dieline, final sizing, bleed, and safe zones. Preventable problems usually come from low-resolution images, missing bleed, or copy placed too close to the trim edge. For beverage packaging, it is worth checking readability at the final physical size, not just on screen.
Proofing should catch layout and production issues before print. A digital proof verifies content and placement. A physical sample or press proof is more useful when color, material behavior, or bottle curvature matters. If the label wraps a narrow or tapered surface, a mockup can reveal seam, height, or panel-fit problems that a PDF will miss.
Timelines vary by quantity and complexity. Simple digital orders can move quickly after proof approval, while larger or more complex flexographic jobs usually take longer because of setup and finishing. A realistic schedule should include proof review, production, inspection, and shipping. Rush service may be available, but it depends on stock, press time, and the number of SKUs.
Inspection should happen during and after production. Buyers should confirm color, registration, die-cut accuracy, count, and adhesive behavior. Packaging for shipment also matters: poor roll tension, damaged edges, or contamination can create problems even when the print itself is correct.
If you are coordinating labels with bottles, cartons, or secondary packaging, align the timing early. That reduces mismatch risk and avoids a common failure mode: a label approved in isolation that does not fit the final packaging plan.
Cost and pricing: what drives unit cost for beverage labels
Pricing is usually driven by quantity, material, print method, finishing, size, and the number of versions in the order. The same design can price very differently at 500 pieces versus 50,000 because setup cost is spread across more units.
Material choice has a direct impact on cost. Paper stock is often cheaper than specialty film, but that saving can disappear if the label fails in cold or wet conditions. In those cases, a more durable material may actually lower total cost by reducing waste, relabeling, or customer-visible defects.
Print method also changes economics. Digital printing is often the better fit for short runs, frequent changes, or multiple SKUs because tooling needs are lighter. Flexographic printing usually becomes more efficient at scale, especially for stable artwork that will be reordered.
Finishing adds cost as well as value. Lamination, spot varnish, foil, embossing, and specialty textures all increase production steps. The right question is whether the finish improves shelf impact enough to justify the spend for the brand's price point and turnover rate.
Artwork complexity can raise the price too. Multiple label versions, variable data, or repeated proof revisions add handling time. Standardizing dimensions and design elements across flavors or formats can keep the order simpler and more efficient.
Buyers should also account for minimum order quantities and application efficiency. A low-priced label that is hard to apply or causes rejects can cost more in labor and waste than a slightly more expensive spec that runs cleanly. The best quote is the one that balances unit price with practical performance.
Step-by-step guide to ordering the right label spec
A better order starts with the container, not the artwork. If you want the label to fit and perform well, gather the bottle sample, dimensions, and production conditions first, then build the spec around them.
- Confirm the container material and shape. Glass, PET, aluminum, and coated paperboard each behave differently.
- Define storage and display conditions. Chilled, frozen, and ambient products place different demands on adhesive and stock.
- Choose the format. Decide whether you need a front label, wraparound label, neck label, or a multi-panel set.
- Set the durability target. Determine whether the label must survive condensation, refrigeration, or repeated handling.
- Review regulatory copy early. Reserve space for ingredients, warnings, barcode, lot code, and required language.
- Prepare artwork at final size with bleed and safe zones. This reduces surprises when the dieline is imposed.
- Request a proof or sample. A proof is the fastest way to catch layout and content issues before print.
- Test the first approved labels on the actual bottle. Real-world application usually exposes fit or adhesion issues quickly.
If your beverage line uses other packaging components, map the label spec alongside them. Keeping labels, cartons, and tags in one plan helps avoid mismatch and rework. Many teams compare label choices against broader packaging options in Custom Packaging Products.
For repeat orders, documentation matters. Record the material, adhesive, finish, roll direction, application method, approved file version, and any handling notes. That makes reorders easier and reduces production drift later.
Common mistakes buyers make with custom drink labels
One common mistake is choosing a stock for appearance alone. A paper label may look right in a mockup but fail in a cooler. A film label may be durable, but if the brand wants a tactile or craft look, the finish may fight the positioning.
Another frequent miss is underestimating condensation. Beverage labels often need to survive cold-chain transport, cooler display, and repeated handling. If the adhesive is not meant for refrigerated conditions, the edges can curl or the label can slide.
Clear labels create another risk: low opacity. Without white ink or a strong backing strategy, text and graphics can disappear against the fill color. That is especially important for darker beverages and products viewed under store lighting.
Buyers also leave too little room for barcode, legal text, or date code. The front panel may look polished, but production still needs functional space on the back or side panel. If that space is squeezed, the label can become harder to scan and harder to approve.
Approving artwork before checking the bottle is another avoidable problem. A flat proof can hide issues that show up on a tapered or curved container, including wrap, seam placement, and panel height.
Finally, some teams treat the label as a one-time print job instead of a repeatable packaging system. If reorders are likely, keep the spec documented and consistent so the next run matches the first.
Expert tips and next steps before you request a quote
Before requesting pricing, gather the details that matter most: bottle dimensions, filling temperature, storage environment, shelf life, number of SKUs, and application method. With that information, a supplier can recommend the right construction and quote more accurately.
It also helps to think in failure modes. Ask what is most likely to go wrong: edge lift, scuffing, barcode failure, color drift, or unreadable text. Once the main risk is clear, the label can be designed around it instead of overbuilding every feature.
If you plan multiple beverages, standardization usually pays off. Keeping the same core size, finish, and base construction across SKUs makes reorders easier and can lower setup time. The brand can still vary by flavor or variant without forcing a new spec every time.
Decide whether the project is a launch spec or a long-term production spec. A launch may prioritize speed and lower upfront cost. A long-term line may justify more durable materials and tighter finishing. That distinction makes quotes easier to compare.
When you are ready, send the bottle sample, artwork file, and packaging requirements together. That gives the print team enough context to check fit, recommend a construction, and reduce back-and-forth during approval.
FAQs
What are custom drink labels usually made of?
They are often made from pressure-sensitive paper or film. BOPP is common for cold or wet beverages because it resists moisture better than many paper stocks.
Do custom drink labels work for cold bottles?
Yes, if the adhesive and face stock are chosen for refrigerated use. Cold, wet, or condensation-heavy conditions usually require a more durable construction.
What is the difference between roll and sheet labels?
Roll labels are often used for automated applicators or faster hand application. Sheet labels are usually easier for small manual runs.
How long do beverage labels take to produce?
Timing depends on quantity, print method, finishing, and proof approval. Simple digital jobs can move quickly, while larger or more complex runs take longer.
Can I use one label design across different bottle sizes?
Sometimes, but the dieline usually needs to change for each container. The branding can stay consistent even if the actual label dimensions do not.