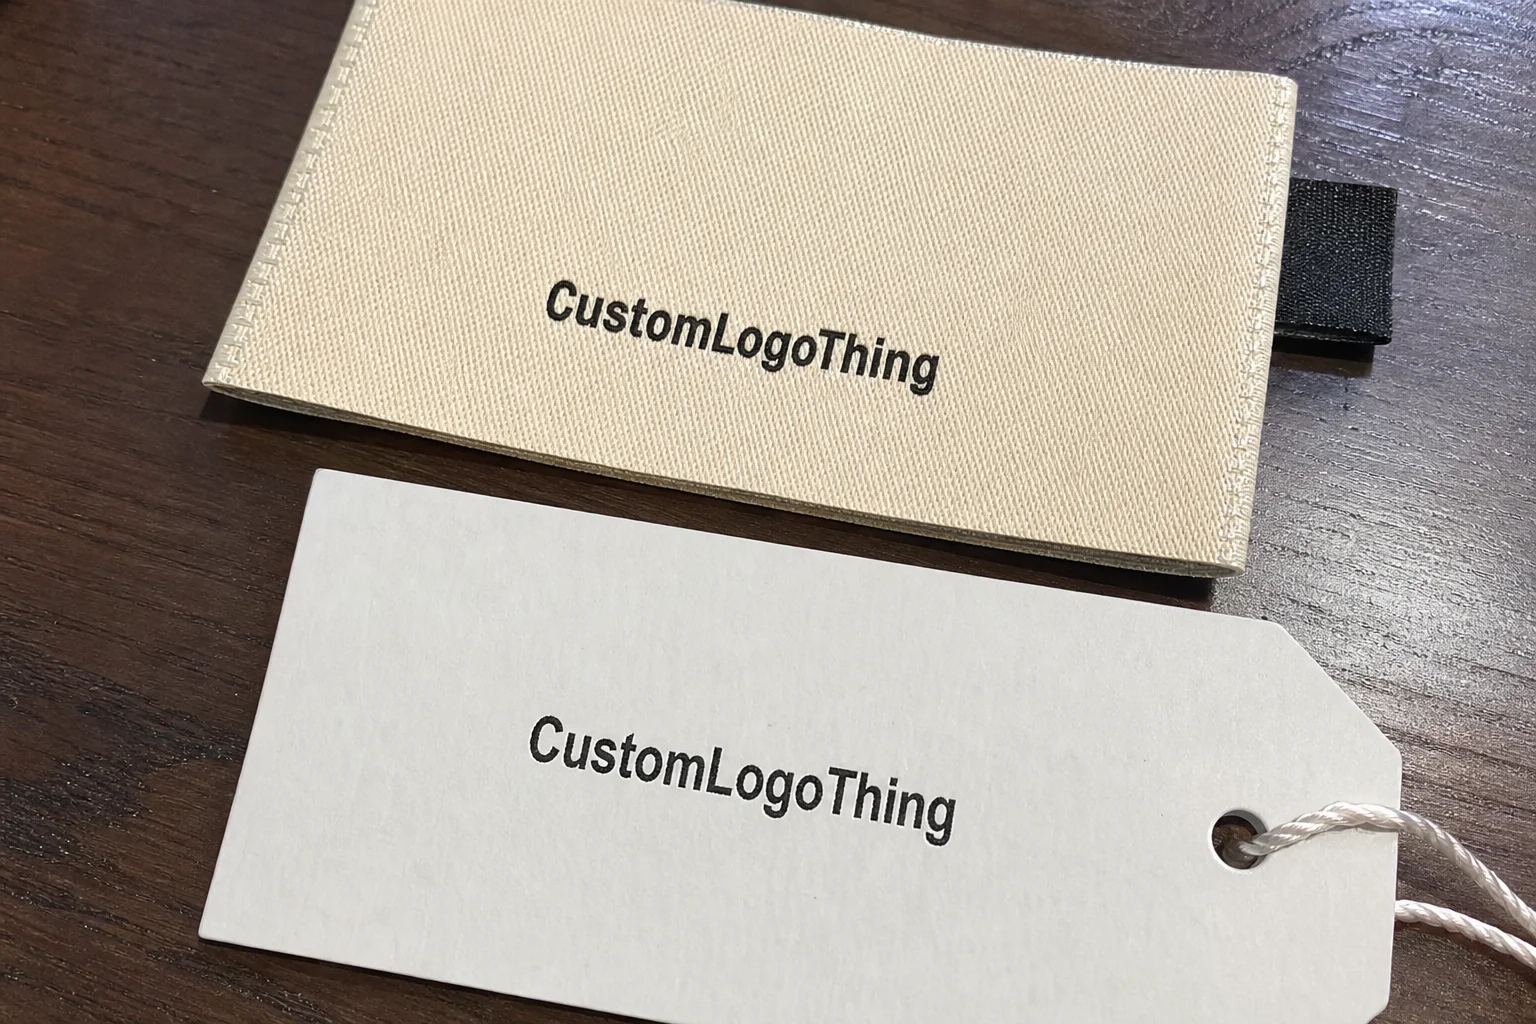
Custom equipment labels: materials, pricing, and ordering details that matter
A label can make a garment feel finished or make it feel generic in a second. Custom equipment labels do that work quietly, which is why buyers usually notice them only after something feels off: the print fades, the edge scratches, the fold looks bulky, or the color lands a shade away from the rest of the line.
The label is carrying more than a logo. It may hold care instructions, sizing, compliance text, inventory data, and brand identification at the same time. It also sits inside a much larger presentation system, alongside custom packaging, inserts, hang tags, and retail boxes. If those pieces do not match in tone or finish, the product can feel assembled rather than designed.
The part that gets overlooked most often is performance. A label has to survive washing, heat, friction, storage, shipping, and skin contact, sometimes all in the same product lifecycle. A design that looks clean on a proof can still fail on the garment if the material, attachment method, or print process is wrong for the use case.
What equipment labels actually do in clothing
People often think of labels as decoration. That framing misses the point. A good label identifies the product, carries the right information, supports the sale, and helps the item feel intentional instead of generic. On a crowded rack or inside a retail box, that small strip of material is part of the product experience.
The use case should drive the spec. A neck label that touches skin needs different softness and edge behavior than a care label sewn into a side seam. A premium sweatshirt label should not be built like a temporary warehouse tag, and a tag used mainly for inventory tracking does not need the same finish quality as a brand-facing garment label.
The first question should be simple: what must this label survive? If the answer is repeated laundering, choose a process that holds up under wash and abrasion. If the answer is presentation, focus more on texture, color accuracy, and clean edges. If the label has to carry compliance copy or care symbols, legibility matters more than decorative detail.
That is also why custom equipment labels should be considered part of the packaging system, not a separate afterthought. They can reinforce the look of Custom Labels & Tags, support Custom Packaging Products, and keep the garment, box, and insert card working as one story instead of three disconnected pieces.
If the label touches skin, softness usually matters more than a clever finish. A label that looks premium but scratches the neck is still the wrong label.
For apparel brands, that means label choice sits at the intersection of branding, production, and customer comfort. Ignore any one of those, and the fix usually shows up after the line has already shipped, which is always more expensive than specifying it correctly in the first place.
How the process and timeline work from proof to delivery
The cleanest orders begin with clean inputs. Before asking for pricing, define artwork, size, attachment method, quantity, and the performance requirement that matters most, whether that is wash resistance, heat tolerance, skin comfort, or abrasion resistance. If those inputs are vague, the supplier has to guess, and guesswork is where delays start.
The normal production flow is straightforward: request, spec review, digital proof, revision if needed, sample or pre-production approval, then production. Each handoff is a chance to catch problems early, and the fastest jobs are usually not the simplest artwork files. They are the jobs with the least ambiguity.
Timeline depends on complexity. A basic printed label can move faster than a woven label with multiple colors, a special fold, or a custom finish. Add time if you need a physical sample, if the art is still changing, or if the labels need to arrive before a launch date. A little buffer is practical, because a single round of proof changes can consume a day or two without much effort.
For a typical run, many buyers should expect proofing to take a few business days and production to take roughly one to two weeks after approval, with woven labels and special finishes leaning toward the longer end. Rush jobs can happen, but they usually cost more and leave less room for correction if something in the file is off.
Here is the production rhythm most buyers can use as a baseline:
- Request and spec check - the supplier confirms size, material, quantity, and print method.
- Digital proof - you check layout, text, colors, and placement.
- Revision or approval - small fixes happen here, not after production starts.
- Sample or pre-production approval - useful for new products or higher-risk launches.
- Production and packing - the labels are made, packed, and prepared for shipment.
That sequence is boring in the best possible way. Predictability is what protects a launch calendar. If your line also includes product packaging, the label schedule should match the same timeline as branded boxes, inserts, and any other package branding assets so one piece is not arriving polished while another is still being revised.
For transit-sensitive orders, ask how the finished labels are packed. Edge scuffing, curl, crushed folds, and adhesive contamination are all avoidable if the shipping format is chosen carefully. A supplier that thinks clearly about packing usually thinks clearly about the product itself as well.
Cost, pricing, and MOQ: what really changes the quote
Pricing is driven less by the phrase custom equipment labels and more by the details underneath it. Material choice, size, print complexity, finish, attachment method, and quantity all move the number. Quantity matters because setup work gets spread across more pieces as the run gets larger.
MOQ exists for a practical reason. There is prep, proofing, machine setup, and sometimes tooling or plate work before the first usable label comes off the line. If you want lower unit cost, higher quantity usually helps. If you want flexibility, expect to pay more per piece. That is not a penalty. It is just production math.
For many label programs, the small surprises are not in the unit price but in the extras: sampling, artwork fixes, special backing, custom fold styles, color matching, and shipping. A quote that looks cheap on the first line can become expensive once those items are added back in. Comparing quotes without matching assumptions leads to bad decisions fast.
Working ranges are useful, as long as they are treated as ranges and not promises. These are common market estimates for medium-volume runs:
| Label type | Best use | Typical unit price at 5,000 pcs | Durability and feel |
|---|---|---|---|
| Woven damask | Premium brand labels, neck labels, long-wear applications | $0.08-$0.22 | Soft, detailed, strong wear resistance |
| Printed satin or polyester | Care labels, size labels, internal brand labels | $0.04-$0.14 | Clear print, cost-effective, depends on finish |
| Heat transfer | Tagless branding, high-comfort apparel | $0.10-$0.28 | Smooth handfeel, good for skin contact |
| Adhesive-backed inventory label | Warehouse, SKU, and short-term identification | $0.03-$0.10 | Practical, not meant for repeated wash cycles |
The spread is real because these are not interchangeable products. A woven neck label, a care label, and an adhesive inventory label solve different problems. If one supplier quotes a price that looks too low, compare the spec line by line: same size, same finish, same quantity, same delivery terms, same approval stage. Otherwise the cheaper option is often just a different product with a smaller headline number.
There is another reason to care about durability. Replacing a failed run is rarely just a matter of reordering labels. It also means rework labor, potential returns, customer complaints, and time spent explaining why a product feels unfinished. Paying a bit more for a label that survives use is usually cheaper than replacing a cheap one that does not.
If the label package includes inserts, cards, or related paper components, it is reasonable to ask whether any board stock can be sourced with FSC certification through FSC. That does not matter for every job, but it is a useful check when the whole presentation needs to feel coherent and responsibly sourced.
Material choices that decide durability, look, and feel
The real decision is not only printed versus woven. It is how the label has to behave on the finished product. Woven labels usually give a more premium texture and strong long-term wear. Printed labels can show finer detail and move through production faster. Heat Transfer Labels work differently because they remove the physical tag feel altogether, which is helpful when comfort matters more than a tactile label.
Finish matters more than many buyers expect. Soft handfeel, matte versus sheen, edge treatment, backing, and fold style all change how the label sits against the fabric. A label can look flawless in the artwork file and still feel scratchy once it touches skin. That is not a design problem. It is a material mismatch.
Here is a practical way to read the options:
- Woven - best for premium apparel, logos with good detail, and long wear.
- Printed satin or polyester - best for care text, smaller budgets, and readable information.
- Heat transfer - best for tagless comfort and minimal bulk.
- Adhesive or removable - best for temporary identification, not for wash-heavy garments.
If the item is washed often or handled roughly, durability testing should outrank color count. If the label is mostly brand-facing and low-contact, appearance can carry more weight. The right choice depends on where the label lives, what it touches, and how long it needs to stay readable.
For garment programs with high abrasion or frequent laundering, ask how the supplier tests the material. Good vendors can speak in concrete terms about wash cycles, rub resistance, or heat performance, and they can tell you what usually fails first. If the answer stays vague, treat that as a warning sign.
Labels also have to fit the fabric they are sewn or applied to. A soft knit, a coated garment, and a heavy woven jacket do not behave the same way. The same label spec can be excellent on one and awkward on another. Test fitting matters before scaling production, especially when the item will be handled, folded, and boxed with other branded materials.
A label that survives the mockup but fails in the wash is not a win. It is a delayed mistake.
One more practical point: if your product line includes custom printed boxes and other retail packaging assets, keep the label palette and the box palette aligned. Customers may not name the inconsistency, but they feel it immediately when the product looks assembled from unrelated parts instead of built from one system.
Step-by-step ordering checklist that cuts revision loops
Step 1: define the job. Write down where the label goes, what it must survive, what information has to fit, and how visible it will be. That one brief prevents the classic mistake of designing a label before the use case is clear.
Step 2: gather the technical spec. Confirm size, fold, placement, color count, material, finish, quantity, and compliance text if needed. If even one of those fields is missing, the proof usually comes back with assumptions attached. Assumptions are how delays start.
Step 3: clean the artwork before requesting final pricing. Tiny typography, weak contrast, and cramped logo spacing are where otherwise good labels become unreadable. If the label carries care information or SKU data, make sure the smallest text is legible at actual size, not just on a zoomed file.
Step 4: align the label with the rest of the program. If there is already branded packaging, product packaging, or a package branding system in place, the label should feel like part of that family. That does not mean every piece must match exactly. It means the color logic, tone, and finish should make sense together.
Step 5: approve the proof, request a sample if needed, then move to production. Decide in advance which details are flexible and which are not. That is how revision loops stop before they become a timeline problem.
If the label will be sewn into a garment that gets washed, ask for a sample when the run is new, the material is new, or the art is unusually small. A sample costs time. A bad full production run costs far more.
A useful rule is to use one comparison sheet for every supplier. Keep the quantity, dimensions, attachment method, delivery window, and approval stage identical. Matching assumptions expose weak pricing quickly and remove a lot of back-and-forth. There is no reason to debate three different quotes if two of them are actually for different products.
Common mistakes that make labels fail early
The fastest way to waste money is to buy on price alone. Cheap specs are only cheap if they survive the job. A label that looks acceptable for one week and embarrassing after three washes is not a bargain. It is a rework.
The second mistake is overstuffing the label. Too much copy, too-small type, and weak contrast make a label technically printed but functionally useless. If the care text cannot be read without squinting, the buyer is already losing value.
Another failure point is ignoring the attachment method. A beautiful label that is stitched, heat-applied, or adhesive-backed the wrong way will fail no matter how strong the artwork is. The attachment method has to match fabric weight, stretch, coating, and the washing routine.
For example, a soft knit, a coated garment, and a heavy woven jacket do not behave the same way. The same label spec can feel fine on one and fail on another. That is why test fitting matters before scaling production. If the item is moving through retail packaging and transit, ask whether the label can handle movement inside the box without scuffing, curling, or peeling.
Another mistake is skipping realistic durability checks. If you need wash resistance, abrasion resistance, or heat resistance, say so early and ask how it is verified. A supplier should be able to explain the test method clearly, not just say the label was tested. Good answers sound precise. Vague answers tend to cost money later.
Finally, do not skip the garment check. A label can be technically correct and still wrong once it is sewn into the real product. If the edge scratches, the contrast is too low, or the fold creates bulk in the wrong place, the customer will feel it immediately. That is a product problem as much as a label problem.
Expert tips for ordering custom equipment labels
Send one spec sheet and send the same one to every supplier. If you want a cleaner quote, remove ambiguity before asking for pricing. Strong buyers do not ask for “a label quote.” They ask for a defined part with size, quantity, finish, and performance expectations already written down.
Ask for a sample or proof that matches the actual use case, not a generic display version. A label can look excellent in isolation and still fail on the garment it will live on. If you are comparing two materials, start with the one that matches the harshest real condition first, whether that is wash, heat, abrasion, or moisture. It is usually easier to over-spec slightly than to explain a failure after launch.
For brands building broader product packaging systems, keep the label decision connected to the rest of the line. The same color discipline that helps custom printed boxes look intentional should also guide label contrast and finish. That is how you get a tighter branded packaging story without adding avoidable complexity.
If you are buying multiple items at once, do not split the packaging logic into separate silos. The label, hang tag, insert card, and box should support the same retail packaging story. That does not mean every piece needs the same material. It means the customer should feel one coherent brand system rather than four unrelated purchases.
Watch for where suppliers hide the real cost. Color matching, special folds, backing, and final packing can all shift the quote. Ask whether the proof stage is digital only or whether a physical sample is included, and confirm what happens if the artwork needs one more revision before sign-off. Those are the small points that decide whether a program stays on schedule.
A practical approach is simple: build a one-page spec sheet, Request a Quote with matching assumptions, confirm the production window before approving art, and make sure the supplier understands how the labels will be used. That is the cleanest way to buy custom equipment labels without paying for avoidable revisions.
FAQ
What are custom equipment labels used for on clothing items?
They identify the product, support branding, and can carry care, compliance, or inventory information. The right label also has to survive the way the item is actually used, washed, handled, and stored.
How long does it take to make custom equipment labels?
Timing depends on proofing, sample approval, material choice, and quantity. Simple orders move faster; woven labels, special folds, and new artwork usually need more lead time. A common planning window is a few business days for proofing and about one to two weeks for production after approval, with shipping added on top.
What affects the price of custom equipment labels the most?
Material, size, print complexity, finish, attachment method, and quantity are the biggest cost drivers. Higher volume usually lowers unit cost because setup is spread across more pieces, while samples, revisions, and special packing can add to the total.
Which material is best for durable custom equipment labels?
Woven options usually hold up well and feel more premium, while printed options can be better for fine detail. The best choice depends on abrasion, washing, heat, and where the label will sit on the product.
How can I reduce MOQ or quote risk when ordering custom equipment labels?
Submit a precise spec sheet with the same assumptions to every supplier. If you want lower risk, request a sample or proof before approving full production, and make sure the garment type and attachment method are part of the discussion.

