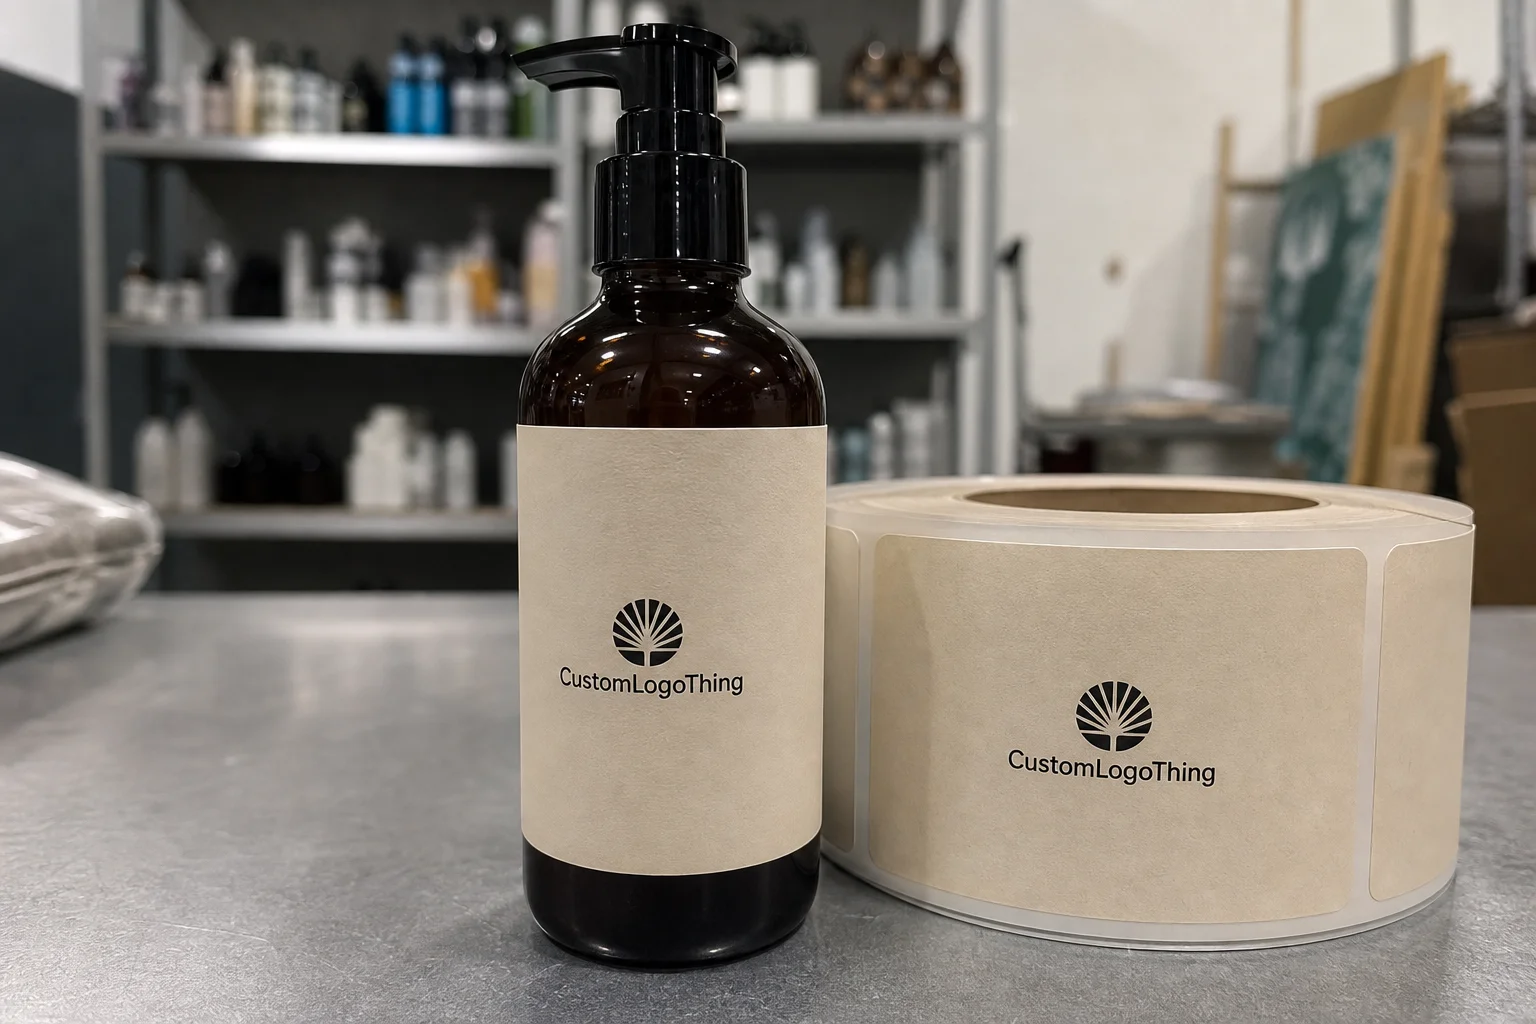
Custom made sticky labels are a practical way to add branding, size information, batch IDs, or package decoration without sewing anything into the garment. The catch is that the wrong stock or adhesive can peel in transit, leave residue on polybags, or curl on folded tees. The useful label is the one that matches the packaging surface and handling pattern.
For apparel operations, these labels do more than decorate. They keep packs organized, support retail presentation, mark bundles, and help warehouse teams move faster without mixing sizes or colorways. They are also easy to overbuy: a label that looks fine in a mockup can still fail if the stock is wrong for the carton, bag, or tissue wrap it lands on.
What They Are and Where They Fit
In apparel, sticky labels are adhesive labels used on packaging or temporary product surfaces. They are not the same as woven sew-in labels, heat transfer labels, or hang tags. Buyers sometimes treat them as interchangeable, then discover the difference after the first run, usually as a durability problem or an unnecessary cost.
The practical use cases are straightforward. They work on folded tees, polybags, garment bags, tissue wraps, insert cards, shipping cartons, and retail sleeves. They also work well for internal sorting tasks such as bundling by size, separating color runs, or identifying stock by season. That flexibility is useful when artwork or SKU details change often.
The limits matter just as much. A sticky label is usually a packaging solution, not a substitute for a permanent care label. If the application has to survive abrasion, repeated washing, or direct skin contact, you are in a different category and should look at sew-in or transfer labels instead. Confusing those categories leads to reprints.
Surface type is the first technical question to answer. A coated mailer behaves differently from recycled paperboard, and a glossy polybag is different again. Even labels with the same artwork can perform differently depending on texture, dust, oil, or moisture on the target surface. The label is part of a system, not a standalone item.
A label that fits the packaging system is worth more than a more decorative one that peels early.
For buyers thinking about sourcing and materials, the stock should be decided before artwork is finalized. Paper-based labels are often easier to align with responsible sourcing goals, while synthetic films offer better resistance to scuffing and moisture. If sustainability matters, build it into the spec before the quote stage.
How They Are Made and Applied
The production process is simple on paper: artwork is printed on label stock, cut to size or die-cut into shape, backed with adhesive, and supplied on rolls or sheets. The hard part is matching the build to the actual packing environment. A label that is fine in a proof may still fail if the application surface or handling conditions are different from what was assumed.
Application speed matters, but so does cleanliness. A dusty carton, a textured recycled sleeve, or a polybag with handling residue can reduce adhesion immediately. That kind of failure is usually a process issue, not a print defect. If the line is moving fast, someone still needs to check the surface before labels go on.
Storage conditions also affect performance before the labels reach the line. Heat, humidity, and stacking pressure can change how the adhesive behaves. If labels are stored near a heat source or in a damp room, edges can lift earlier than expected or the adhesive can become inconsistent. Keep them sealed until use and confirm shelf life if the order will sit for a while.
For apparel brands, the benefit is flexibility. A single label system can cover size IDs, seasonal branding, retail presentation, and shipping packaging. That keeps the package coordinated without forcing every change through a sewn label or a new hang-tag run, and it reduces dead inventory when artwork changes midseason.
Materials, Adhesives, and Finishes
This is the part that determines whether the order works in real life. Material, adhesive strength, finish, and cut style all affect how custom made sticky labels perform once they leave the proof stage. A label can look clean on screen and still be wrong for the packing line.
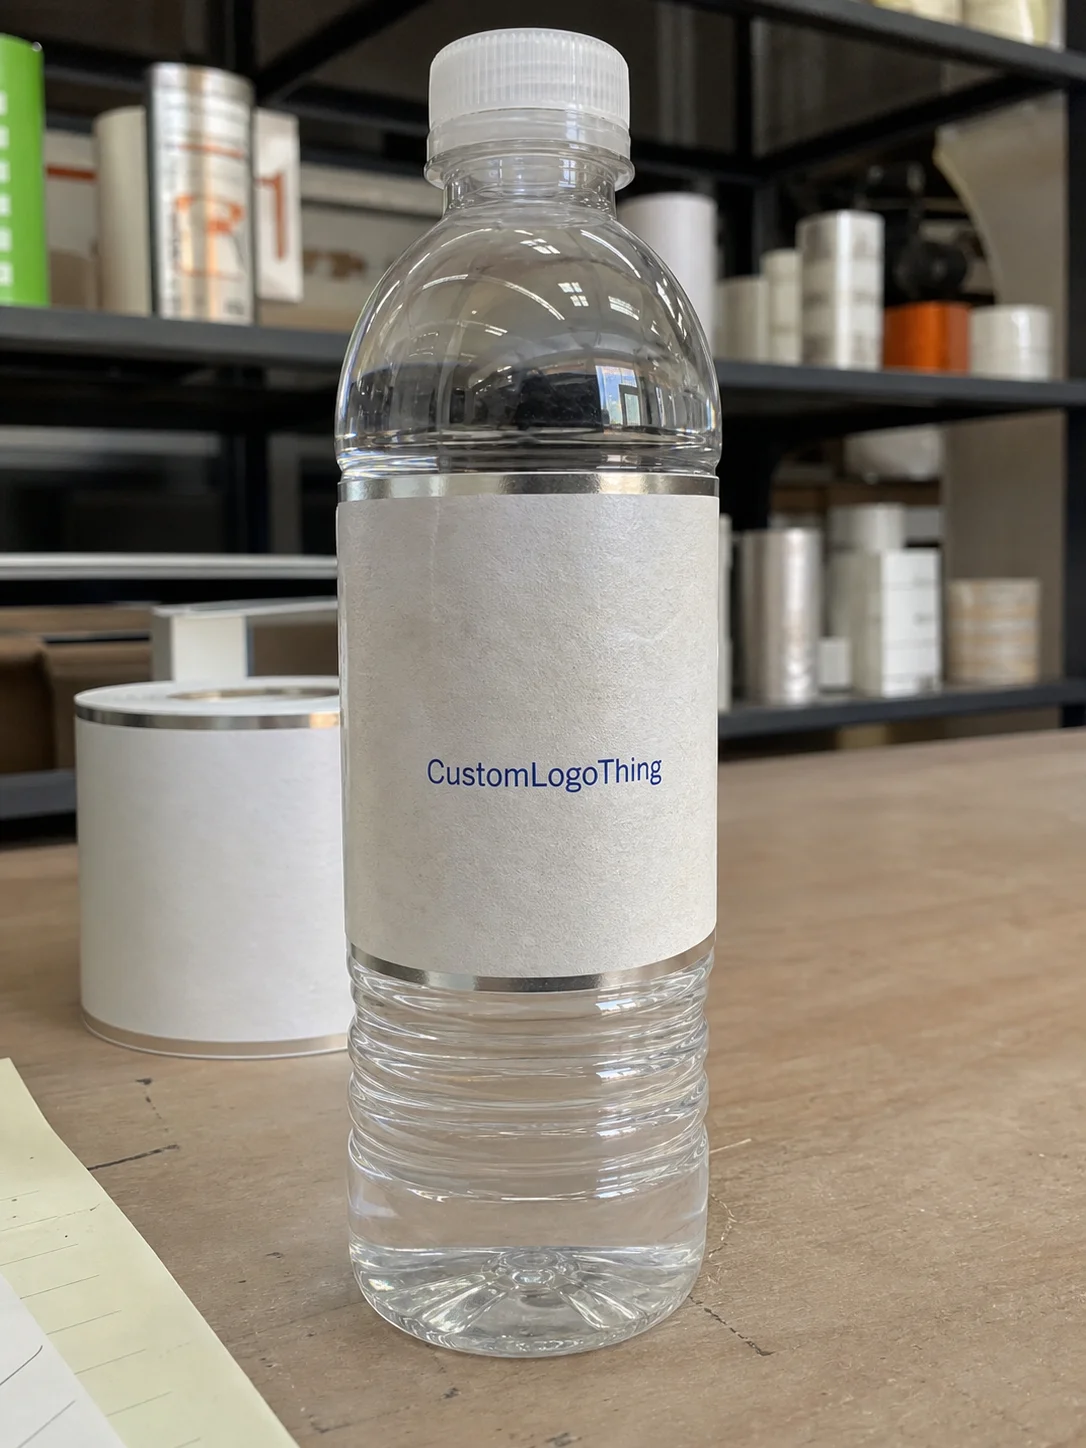
Paper stocks are usually the lowest-cost option and are best for dry indoor use, short hold times, and light handling. They print clearly and keep unit cost down. Synthetic films such as polypropylene or polyester handle moisture, abrasion, and transit better, which makes them a better choice for shipping packs, chilled storage, or products that will be handled often.
Adhesives generally fall into three practical buckets: removable, semi-permanent, and permanent. Too weak, and the label lifts or curls early. Too strong, and it can leave residue or damage delicate packaging. For coated paperboard and many polybags, stronger adhesive usually makes sense. For delicate or temporary surfaces, test carefully.
Finish affects both appearance and behavior. Matte tends to reduce glare and reads well under store lighting and on camera. Gloss can look sharper, but it can also scuff more visibly and sometimes makes barcode readability more sensitive to glare. If the label carries barcodes, small type, or fine icons, finish choice should be treated as functional, not cosmetic.
Shape and size matter too. A label that is too large for a folded tee can lift on the edges. A label with awkward corners can catch during handling. Clean die-cuts usually perform better than novelty shapes, especially when the label needs to sit across a fold, a seam-like edge in packaging, or a curved surface on a bag.
For teams ordering packaging components together, the label should be treated as one piece of the whole system. It needs to work with the carton, tissue, insert, and outer bag. If those pieces fight each other visually or physically, the package reads as disjointed even if each item was made well.
Pricing and Order Size
Pricing comes down to size, material, adhesive, finish, print colors, quantity, and whether the order needs die-cutting or variable data. None of that is mysterious. The quote changes when one more requirement is added, especially when the job moves from a standard paper label to a specialty shape or finish with tighter registration.
Quantity has a direct effect on unit price. Small runs carry more setup cost per label because proofing, waste, and machine setup are spread across fewer pieces. Larger runs bring unit cost down, but only if the brand will use that volume before the artwork changes. Ordering far more labels than you can use is not a saving; it is inventory risk.
Common cost traps include rush fees, multiple artwork revisions, specialty adhesives, unusual die lines, and variable data like batch codes or serial numbers. None of these are wrong, but they should be named early so the quote reflects the real job. A low starting price can change quickly once the production details are fully defined.
| Label Type | Typical Use | Typical Unit Cost | Notes |
|---|---|---|---|
| Paper, removable adhesive | Short-run internal sorting, light-duty packaging | $0.05-$0.09 | Best for dry indoor use and low handling |
| Paper, permanent adhesive | Standard retail packaging and folded apparel | $0.07-$0.12 | Good balance of price and hold |
| Synthetic film, permanent adhesive | Shipping packs, polybags, higher scuff risk | $0.09-$0.16 | Better moisture resistance and durability |
| Custom die-cut, specialty finish | Premium branded packaging and retail display | $0.14-$0.24 | Higher setup cost, stronger visual impact |
Those ranges are directional, not a replacement for a real spec. A 2 x 3 inch paper label with simple artwork is not the same as a foil-accented shape with tight tolerance and extra handling. If you want a quote that reflects reality, give the exact packaging surface, expected handling, target quantity, and whether the label has to last through shipping or only through packing.
The best pricing question is not “what is the cheapest version?” It is “what level of performance does this application actually need?” If the label is only an internal marker, keep it simple. If it has to support shelf presentation, shipping, and repeated handling, spend accordingly.
Proofing, Turnaround, and Quality Control
The production sequence should be boring: brief, artwork review, material recommendation, digital proof, approval, print, finish, pack, ship. That order exists because skipping a step creates avoidable errors. Most label problems start when someone assumes the file is ready because it looks fine on a laptop.
Turnaround depends on complexity. Standard sizes and common adhesives can move quickly. Custom shapes, specialty finishes, and detailed proofing add time. If the labels need to align with a launch date, build a buffer. Clothing schedules have a habit of moving earlier while packaging schedules stay fixed.
Proofing catches the expensive problems: missing bleed, text too close to the edge, artwork too small, and barcodes that will not scan cleanly. If the design includes fine type or dense logos, ask to see it at actual size. A clean-looking file on screen can become crowded once it is reduced to label dimensions.
Quality control should include more than visual inspection. Check color consistency, cut accuracy, edge condition, and adhesive behavior on the intended surface. If the label is supposed to go on tissue wrap, test it on tissue. If it is for a polybag, test the same bag stock. Testing on printer paper is a shortcut to false confidence.
Transit-sensitive packaging deserves a realistic stress check. Compression, vibration, and temperature changes can affect both the label and the package. Standards published by organizations such as ISTA are useful when a label has to survive actual shipping conditions rather than just look good in a sample pack.
Mistakes That Cause Early Failure
The first mistake is choosing the wrong adhesive for the surface. Coated board, recycled paper, glossy film, and fabric behave differently. A label that sticks perfectly to one may fail on another. That is why the spec has to be tied to the packaging material, not just to an artwork file.
The second mistake is ignoring storage. Heat, humidity, and stacking pressure can weaken performance before the labels are used. Curling edges are often blamed on print or cut quality, when the real issue was a warm storeroom or a box left open in damp conditions. The label was not defective; the handling was.
The third mistake is artwork that is technically printable but not practical. Low-resolution logos, missing bleed, reversed type that is too thin, and text sitting too close to the trim line are common problems. Small labels are unforgiving, and fine details that look elegant in a file can disappear or blur once printed at actual size.
The fourth mistake is choosing finish by appearance alone. Gloss can look polished in mockups, but it may scuff in transit or create glare under retail lighting. Matte often reads more clearly and hides handling marks better. The right answer depends on the surface, lighting, and handling pattern, not on whichever sample looked best in a presentation.
There is also a mismatch problem that gets overlooked. A premium carton with a flimsy-looking sticker feels off. An oversized label on a neatly folded garment makes the whole pack look clumsy. Package design works by fit and restraint as much as by decoration, and one weak piece can drag the rest down.
Label failure usually comes from a mismatch between stock, adhesive, storage, and surface, not from the artwork alone.
Launch Checklist and Practical Advice
Start with a small test matrix. Try two materials, two adhesive strengths, and one backup size on the actual garment packaging you plan to use. That gives a real read on fit and hold without locking the brand into a full production run. Three test variations are cheaper than rerunning a bad order.
Ask for a printed proof or a pilot batch before volume. That catches color drift, peeling, edge lift, and trim problems while the order is still flexible. If the labels are part of a wider packaging refresh, the pilot run becomes even more valuable because it shows how the whole set works together.
Document the spec once it works. Include dimensions, material, adhesive, finish, quantity break, approved artwork version, and any handling notes. Reorders go faster when the important details are already written down, and that record saves time when the next season arrives.
After launch, pay attention to what the line and the warehouse tell you. Did the edge lift after packing? Did the finish scuff? Did the barcode scan cleanly at distance? Did the labels slow down application? Those observations are more useful than a generic satisfaction score because they show how the label behaved under real conditions.
If you are preparing a quote request, keep it practical: garment type, packaging surface, target quantity, label size, finish preference, and whether the label needs to survive shipping or only act as a display element. That is enough information for a supplier to recommend the right construction instead of assuming the cheapest option will do.
Bottom line: custom made sticky labels work best when they are treated as part of the packaging system, not as an afterthought. Match the adhesive, substrate, and finish to the real surface and the real handling pattern, and the label supports the clothing order instead of creating rework.
Are custom made sticky labels safe to use on clothing packaging and garment bags?
Yes, if the adhesive matches the surface. Smooth paperboard and many polybags work well, while textured or recycled materials may need a stronger stock. For direct fabric contact, test first. In many apparel workflows, the better use is on tissue, sleeves, cartons, or bag surfaces rather than on the garment itself.
How long do custom made sticky labels stay on apparel packaging?
That depends on adhesive strength, storage conditions, and handling. A good label should stay in place through packing, shipping, and shelf display. If labels fail early, the usual causes are weak adhesive, dusty or oily surfaces, or storage in heat or humidity.
What is the minimum order quantity for custom made sticky labels?
MOQ varies by size, shape, material, and print method. Standard shapes usually support lower quantities than custom die-cut labels. It helps to ask for pricing at two or three volume levels so the break point is visible. The lowest unit price is often at a higher quantity than buyers expect.
Can custom made sticky labels be made water-resistant for clothing shipments?
Yes. Synthetic stocks and more resistant finishes improve moisture and scuff performance. If the labels may face condensation, chilled storage, or long transit, state that up front so the stock and adhesive are specified correctly.
What files do I need to order custom made sticky labels?
Provide print-ready artwork, preferred dimensions, shape, quantity, and any brand rules such as logo placement or color requirements. If dimensions are still uncertain, share the garment or packaging measurements. Guessing usually creates avoidable proof changes and rework.