Custom Mailbox Stickers: Choose, Price, and Order Smart
What Custom Mailbox Stickers Are Really Solving
One unreadable mailbox label can send a rent check, replacement bank card, legal notice, or small parcel into the wrong slot. That sounds minor until it happens in a 180-unit building during lease turnover. Custom Mailbox Stickers are not decoration first. They are low-cost wayfinding tools for mail carriers, residents, property managers, leasing teams, delivery drivers, and visitors trying to make the right decision quickly.
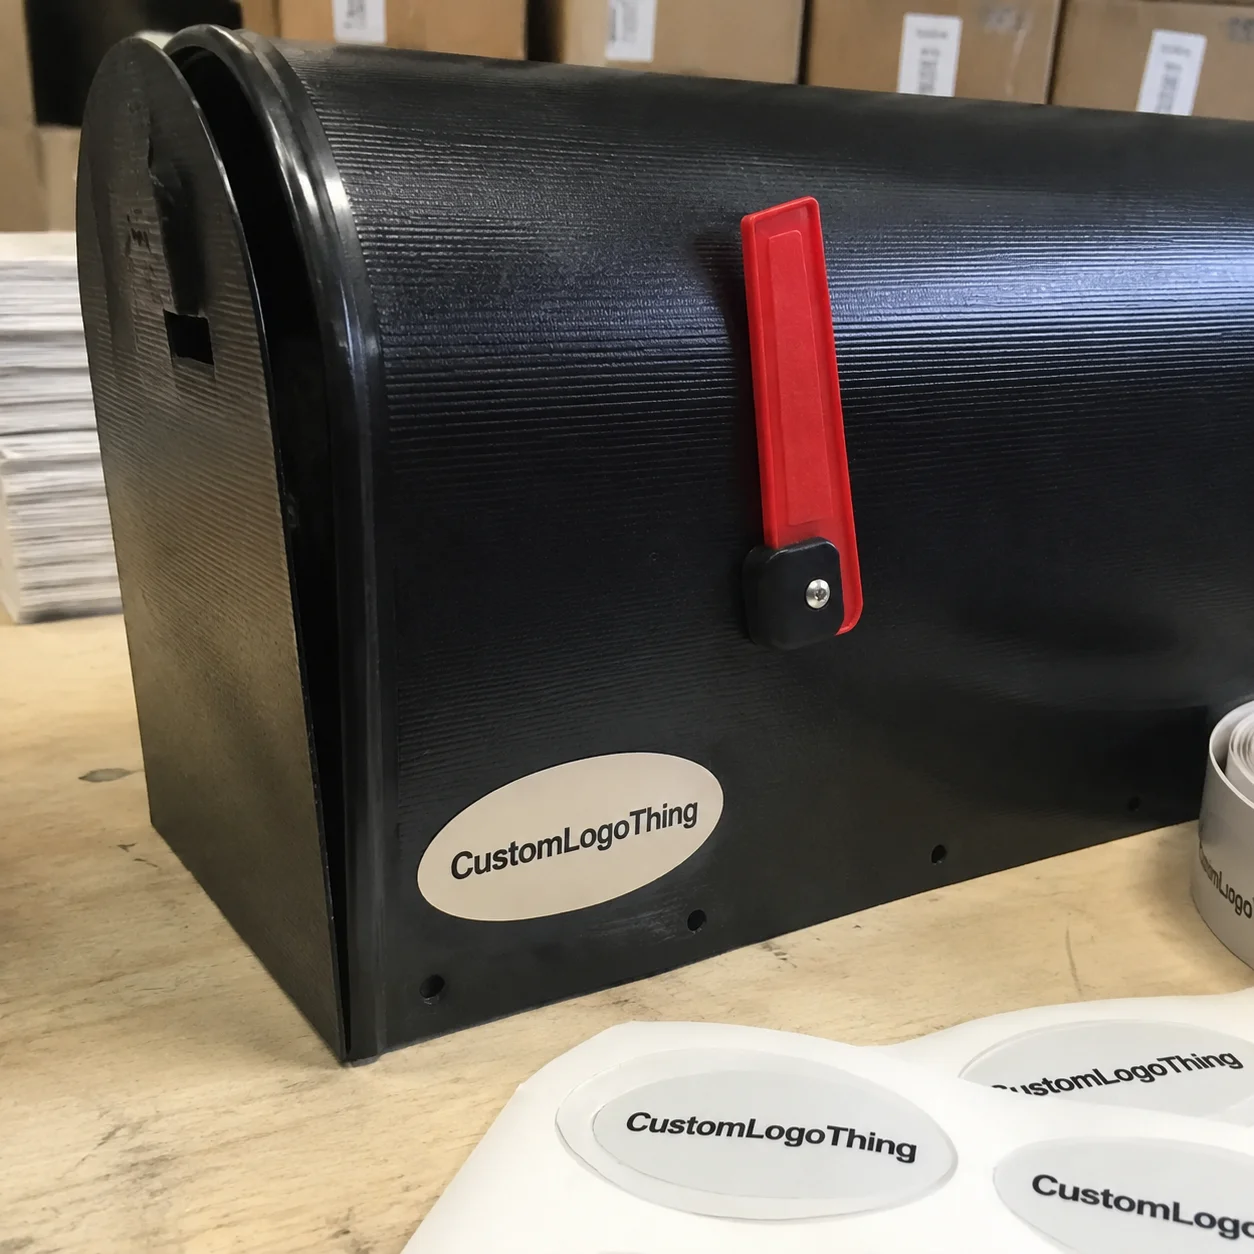
The product is simple: adhesive labels, decals, or printed stickers applied to mailbox doors, parcel lockers, mailroom panels, curbside boxes, office suite boxes, or apartment slot doors. A small sticker may carry only “214.” A larger one may include a unit number, resident name, building zone, company logo, QR code, or directional marker.
The buyer-facing distinction is where people get sloppy. Generic number decals solve one problem, and only if the size, color, and font happen to fit the property. Custom options let you specify the size, typeface, color, finish, substrate, adhesive, cut style, and weather resistance. That matters. A matte black vinyl label on brushed metal behaves very differently from a paper label on an outdoor plastic cluster box.
Mailbox labeling is an operations issue disguised as a design detail. A bad label creates a little friction. Repeated daily across 200 boxes, that friction becomes missed deliveries, tenant complaints, maintenance tickets, and staff time spent decoding mailroom chaos. The sticker may cost less than a cup of coffee. The confusion it prevents can cost a lot more.
Common use cases include apartment unit numbers, resident names, office suite labels, HOA mailbox banks, rental property branding, temporary occupancy changes, seasonal property updates, and branded mailroom panels for managed buildings. The same logic applies to Custom Labels & Tags used across retail packaging or office operations: the label is small, but it carries the burden of identification.
How Mailbox Decals Work on Metal, Plastic, and Outdoor Surfaces
A typical mailbox decal has five functional layers, even if it looks like one thin piece. There is a printed face stock, an ink or toner layer, sometimes a protective laminate, a pressure-sensitive adhesive, and a release liner that gets peeled away before installation. Each layer affects performance.
Surface type is the first technical variable. Powder-coated metal is common in apartment mailbox banks. Painted steel and aluminum show up on curbside boxes. Plastic mailbox doors and composite parcel lockers add another challenge because some plastics have lower surface energy, which is packaging-speak for “adhesive does not naturally want to grab it.” Glass mailroom panels are smoother, but they show bubbles, fingerprints, and trapped dust with zero mercy.
Surface energy sounds like lab jargon. The plain version is useful: some materials accept adhesive easily, and others fight it. Textured, dusty, oily, rusty, or low-energy plastic surfaces often need stronger adhesive, better cleaning, or a test sample before a full order. ASTM adhesive test methods are used across the broader labels and tapes sector to compare peel strength and adhesion. Still, a real mailbox with old cleaner residue can surprise you. Annoying, but true.
Indoor and outdoor labels fail in different ways. Indoor mailroom labels face fingerprints, key scratches, carts, and cleaning chemicals. Outdoor mailbox stickers face UV exposure, rain, freeze-thaw cycles, heat, dust, and abrasion from hands or mail bundles. A basic unlaminated paper label may look fine for an indoor temporary note. Put it outside for six weeks in sun and rain, and the compromise gets obvious fast.
Finish changes readability. Matte reduces glare and usually looks more professional in lobbies. Gloss can make colors pop, especially for logos and branded packaging-style graphics. Clear labels can look clean on glass or painted metal, but they are unforgiving; dust, bubbles, and uneven surfaces show through. For many properties, a white or opaque vinyl label with high-contrast print is the safer choice.
Adhesive choice matters too. Removable adhesive works for rotating staff, temporary tenants, model units, or short-term leasing changes. Permanent adhesive is better for exterior numbering and long-term mailbox identification. The trade-off is real: permanent adhesive is harder to remove later, while removable adhesive may not survive harsh outdoor exposure as well.
Practical rule: readability and adhesion beat decoration. A clean, high-contrast sticker placed consistently across every mailbox will outperform a prettier design that peels, glares, or makes the carrier squint.
Key Design Specs That Make Mailbox Labels Readable
A mailbox sticker succeeds if someone carrying mail can understand it while standing at an angle, working under poor light, or moving down a row of boxes. That is the design test. Not whether it looks elegant at 200% zoom on a laptop.
Start with size. Measure the available flat area, not the full mailbox door. Leave at least 1/8 inch to 1/4 inch of margin from hinges, locks, handles, seams, curves, and edges. For apartment doors with a small flat panel, a common label might be around 1 inch by 2 inches or 1.5 inches by 3 inches. For curbside boxes or HOA cluster units, 2 inches by 4 inches may be easier to read from a few feet away.
Typography is where many designs quietly fail. Sans serif fonts such as Helvetica-style, Arial-style, or Montserrat-style letterforms generally read faster than ornate scripts. Medium-to-bold weights help. So does spacing. A unit number like “1188” needs enough breathing room that it does not become a block of vertical lines.
Contrast is the cheapest upgrade available. Black on white, white on dark blue, charcoal on light gray, or navy on white will usually outperform low-contrast metallic effects, pale gray on silver, or tone-on-tone branding. Packaging teams deal with the same issue on retail shelves: if the eye cannot separate the message from the background quickly, the design is asking the user to work too hard.
Numbering systems deserve more attention than they usually get. Keep apartment numbers consistent. Avoid confusing prefixes unless they are truly needed. If a property has buildings A, B, and C, decide whether the sticker should read “A-204,” “Bldg A / 204,” or simply “204” with building zones handled elsewhere. The wrong convention can create errors even when the sticker is beautifully printed. Gorgeous and wrong is still wrong.
Branding should serve the information, not compete with it. A small HOA mark, office logo, or property icon can help tie the mailroom into the broader visual system of the building. But the unit number remains the visual priority. I would usually allocate at least 60% to 70% of the label’s visual weight to the identifying number or name.
Proof at actual size. Print a paper mockup, cut it roughly, and tape it to one mailbox. Stand back. Walk past it. View it from the side. A design that feels balanced on screen can become cramped when reduced to a two-inch sticker. That five-minute test catches more problems than another round of email opinions.
Cost and Pricing Factors for Mailbox Sticker Orders
Pricing for custom mailbox stickers usually depends on quantity, sticker size, material, finish, adhesive type, cut style, color coverage, and whether each piece needs unique data. The cheapest quote is not always the cheapest outcome, especially once replacement labor enters the picture.
Quantity changes the math. A single sheet of labels still carries setup time, file handling, proofing, and machine preparation. Larger apartment or office runs spread those costs across more units. That is why 25 stickers may feel expensive per piece, while 500 stickers can look surprisingly reasonable.
For rough planning, simple indoor vinyl mailbox labels may land around $0.20 to $0.60 per piece at several hundred units, depending on size and finish. Outdoor laminated vinyl or polyester labels often range from $0.45 to $1.25 per piece in mid-sized orders. Small custom runs can be several dollars per piece because setup is doing most of the work. These are planning ranges, not a universal price list; artwork condition, shipping, finishing, and turnaround can shift the quote.
| Option | Typical Use | Durability Profile | Planning Price Range |
|---|---|---|---|
| Paper label | Temporary indoor notes | Low resistance to moisture, abrasion, and cleaning | $0.05-$0.20 each in quantity |
| Unlaminated vinyl | Indoor mailrooms and light-use office boxes | Good flexibility, moderate scuff resistance | $0.20-$0.60 each in quantity |
| Laminated vinyl | Outdoor mailbox doors and HOA banks | Better UV, rain, and handling resistance | $0.45-$1.25 each in quantity |
| Polyester film | Higher-wear mailrooms, lockers, and equipment panels | Strong dimensional stability and abrasion resistance | $0.65-$1.75 each in quantity |
Variable data adds another layer. Sequential numbering is usually straightforward. Tenant names, suite lists, building zones, barcode fields, or mailbox bank maps increase prepress work because the data must be cleaned, merged, proofed, and checked. The upside is real: variable printing can reduce installation confusion because each sticker arrives with the right information already printed.
Finishing costs are not just cosmetic. UV laminate, weatherproof coating, kiss cutting, die cutting, rounded corners, and transfer tape can all add cost while improving handling and lifespan. Rounded corners, for example, reduce the chance of a sharp corner lifting after repeated hand contact. Transfer tape can help with cut vinyl lettering, especially when alignment matters across a long row of boxes.
Minimum order quantities often reflect print setup, sheet yield, and machine time rather than arbitrary upselling. A press sheet has a finite area. If your sticker is 1.25 by 2.5 inches, the sheet layout determines how many fit per run. Waste, trimming, and setup all appear somewhere in the final unit cost.
For a useful quote, prepare eight details: size, quantity, surface type, indoor or outdoor exposure, artwork file, numbering list, deadline, and shipping location. If you are comparing mailbox decals with other Custom Packaging Products, use the same discipline you would use for custom printed boxes or retail packaging: specs first, price second.
Process and Timeline: From Measurement to Installation
The ordering process is not complicated, but it rewards precision. Measure the mailbox area. Choose the material. Prepare the design. Approve the proof. Print. Finish. Ship. Install. Miss one step, and the cost of correction usually lands on the property manager’s desk.
Measurement comes first because it protects the design from wishful thinking. Record width, height, surface texture, obstacles, and whether all boxes are identical. Many buildings have mixed mailbox banks after renovations or phased replacements. One row may have a flat 1.5-inch panel. Another may have a recessed door with a lock placed exactly where the label was supposed to go. Of course.
Artwork preparation should be tidy. Vector files such as AI, EPS, or print-ready PDF are usually preferred for logos and crisp typography. Confirm fonts, define colors, and specify whether the label prints on white, clear, metallic, or colored stock. If every sticker is different, organize the data in a spreadsheet with one row per sticker and separate columns for unit number, name, building, floor, and notes.
Proofing is the quality control gate. Check spelling, unit numbers, orientation, scale, color contrast, and whether the sticker fits the real mailbox surface. For variable data projects, scan the first ten entries, the last ten entries, and several random rows in the middle. Data errors hide in boring places.
Production timing depends on quantity, customization level, material availability, finishing method, proof approval speed, and shipping distance. A simple repeat design can often move through production in several business days after proof approval. A large property order with 600 unique names, multiple buildings, and laminated outdoor material may need more review time. If the deadline is tied to move-in, lease turnover, or a mailroom renovation, build in a buffer instead of pretending overnight shipping fixes bad planning.
Installation timing matters more than buyers expect. Apply labels after cleaning, not before. For outdoor boxes, choose dry weather and moderate temperatures. Many pressure-sensitive adhesives prefer installation roughly in the 50°F to 90°F range, although exact recommendations depend on the material. Avoid applying immediately after using cleaners that leave residue.
Use a plastic squeegee, card, or firm cloth. Start from one edge, press steadily, and push air outward. For larger decals, a small piece of painter’s tape can act as a hinge to hold alignment before the liner is removed. The method sounds fussy. It prevents crooked rows, bubbles, and peeling corners.
Common Mistakes That Shorten Sticker Life
The biggest failure pattern is predictable: buyers choose the cheapest label material, then apply it outdoors where sun, rain, cleaning chemicals, and hand contact quickly expose the compromise. Paper labels are useful in the right context. Outdoor mailbox numbering is usually not that context.
Dirty surfaces are the second culprit. Adhesive needs direct contact to bond properly. Dust, oil, wax, rust, moisture, old adhesive, and cleaning residue all get in the way. A mailbox door can look clean and still have a film of hand oil around the lock. Wipe, dry, and give the surface a moment before application.
Tiny text is another quiet problem. Mail carriers and residents do not inspect labels the way a design team inspects a proof. They glance while moving. If the name, suite number, or directional note needs a magnifying glass, it is not functional. I would rather see a plain 24-point number than a gorgeous 8-point script name that nobody can read.
Reflective finishes can backfire. Shiny metallic effects may look premium in a sample photo, but under bright lobby lights or direct sun they can turn into glare. Matte or satin finishes usually produce more consistent readability, especially on mailbox banks where the viewing angle changes every few inches.
Placement also decides lifespan. Labels placed too close to locks, hinges, handles, seams, or edges invite peeling, scratches, and trapped dirt. A 1/4-inch shift away from a high-touch area can add months or years to usable life. Rounded corners help, but they cannot rescue a sticker wrapped over a curved edge or rubbed by keys every morning.
Data errors may be the most expensive mistake because they look professional while being wrong. One transposed apartment number can misdirect mail for weeks. In a managed property, that error may trigger resident complaints, staff follow-up, and reprint costs. Treat the spreadsheet like production artwork, not an admin afterthought.
Storage before installation counts too. Stickers left in extreme heat, cold, dust, or humidity may curl, lose flatness, or show weaker adhesive performance. Keep them clean, dry, and room temperature. If installation is delayed for several months, ask whether the adhesive has a recommended shelf life.
For broader packaging durability thinking, industry groups such as the International Safe Transit Association focus on how products survive real handling environments. Mailbox decals are obviously not shipping cartons, but the lesson transfers: design for the conditions the item will actually face, not the conditions you wish it faced.
What to Confirm Before Ordering
Before ordering mailbox decals, gather evidence. Photograph the mailbox surface straight on and from an angle. Measure the usable label area. Count total units. Note whether the stickers will live indoors, outdoors, under cover, in direct sun, near sprinklers, or in a cleaning-heavy lobby.
Then decide the information hierarchy. What must be seen first: unit number, resident name, suite name, company logo, building zone, directional marker, or barcode? Put that answer at the center of the design. Everything else is secondary.
- Measure: width, height, clear margins, surface texture, and obstacles such as locks or hinges.
- Count: total stickers, extras for replacements, and any separate sets for buildings or floors.
- Specify: indoor or outdoor use, expected cleaning, sun exposure, and preferred finish.
- Organize: variable data with one row per sticker and separate columns for unit, name, building, floor, and notes.
- Review: request a digital proof and consider a small sample for large properties.
Ask for two or three material options instead of a vague “cheapest label” quote. A laminated vinyl option at $0.75 each may beat a $0.25 paper option if the paper has to be replaced twice a year. Real unit cost includes replacement labels, staff time, resident frustration, and the visible condition of the mail area.
For larger apartment communities, HOAs, campuses, and office properties, a sample can be a smart control step. Apply it to the real surface. Wait a few days if timing allows. Check edge lift, glare, contrast, and whether the size feels right from a normal standing distance. This kind of small test is common in product packaging development, and it works just as well for property labeling.
Also consider consistency with the rest of the property. If your leasing materials, lobby signage, Custom Printed Boxes for welcome kits, or maintenance tags use a specific color system, mailbox labels can follow that visual language without sacrificing legibility. Consistency makes the space feel managed. Over-branding makes it harder to use.
One final sustainability note: durable labels usually create less waste than flimsy labels replaced repeatedly. If your broader sourcing policy includes paper-based materials, the Forest Stewardship Council is a useful reference for responsible forest-based sourcing, though outdoor mailbox labels generally need film materials rather than paper.
Once the specs, surface, data, and installation plan are clear, custom mailbox stickers become a simple upgrade: fewer delivery errors, fewer preventable maintenance tickets, and a mail area that looks intentional instead of patched together one mystery label at a time.
FAQ
What material is best for custom mailbox labels outdoors?
Weather-resistant vinyl or polyester is usually better than paper for outdoor mailboxes. Add a laminate or protective coating if the stickers will face strong sun, rain, cleaning chemicals, or frequent handling. Match the adhesive to the surface, especially if the mailbox is textured, powder-coated, painted, or plastic.
How long do mailbox number stickers usually last?
Lifespan depends on material, adhesive, UV exposure, cleaning methods, placement, and whether the sticker is laminated. Indoor mailroom labels often last longer because they avoid direct sun and weather. Outdoor stickers fail faster when applied to dirty surfaces, sharp edges, curved panels, or high-touch areas near locks and handles.
Can custom mailbox stickers include different names or numbers on each piece?
Yes. Different names, numbers, buildings, or suite labels are typically handled with variable data printing or a prepared numbering list. Use a clean spreadsheet with one row per sticker to reduce proofing errors. Always review the proof carefully because data mistakes are harder to catch after production.
What size should apartment mailbox stickers be?
The best size depends on the available flat area of the mailbox door or panel. Leave margin around locks, hinges, handles, seams, and edges to prevent peeling. Choose a size that makes the unit number readable from a normal standing distance, not just up close; many apartment labels fall between 1 by 2 inches and 2 by 4 inches.
How do I apply custom mailbox decals without bubbles or peeling?
Clean and dry the surface first, removing dust, oils, old adhesive, and moisture. Apply from one edge to the other using a squeegee, card, or firm cloth to push air outward. Avoid installation during extreme heat, cold, rain, or immediately after cleaning with residue-heavy products.


