Why custom pillow boxes with logo stand out on the shelf
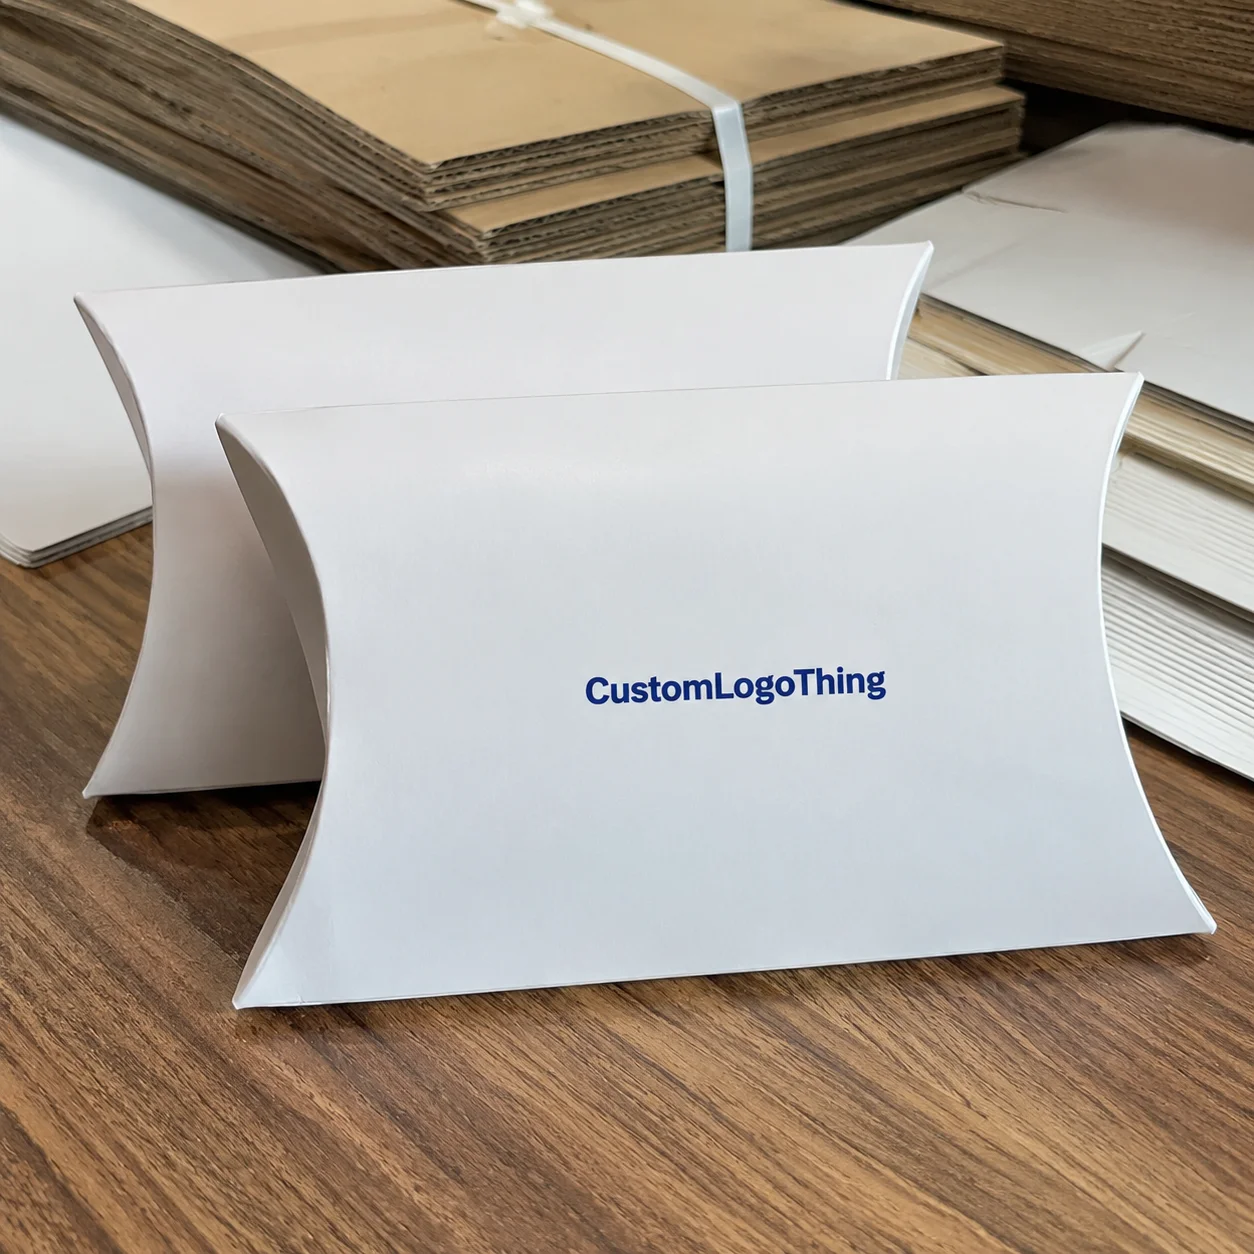
Custom Pillow Boxes with logo work well for a simple reason: small products need packaging that feels considered without adding unnecessary bulk, assembly time, or material cost. The curved profile gives the box a softer, more giftable look than a standard rectangular carton, and that shape alone can change how a product is perceived before the customer reads a single line of copy.
For compact retail items, that first impression matters. A box that fits neatly in the hand often gets handled longer, examined more closely, and remembered more easily. The logo, then, has less room to hide mistakes and more responsibility to carry the brand. A strong mark on a small format does not need to be loud; it needs to be clear, balanced, and placed with intention.
The format is especially useful for products that are light, delicate, or meant to feel gift-ready. Jewelry, soap, cosmetics samples, small accessories, and promotional sets all fit naturally here. If the product requires dense legal text, detailed ingredient panels, or a large instruction set, the shape becomes less convenient and may need a label, insert card, or secondary carton to hold the extra information.
That is the main tradeoff. Pillow packaging looks polished, but the surface area is limited. The most effective designs usually rely on restraint: one strong logo, a clean type hierarchy, and a finish that supports the brand rather than competing with it.
How the format works from flat sheet to filled package
A pillow box usually begins as a die-cut flat sheet of paperboard, then folds inward to create the curved sides and tucked ends. Most versions are made from SBS, C1S artboard, kraft board, or lightweight corrugated board, depending on the product weight and the presentation target. For light retail items, 300gsm to 400gsm paperboard is common. If the item needs more structure, a heavier board or corrugated construction is a better fit.
The closure style affects both presentation and packing speed. Basic tuck ends are easy to assemble and work well for low-weight products. Some versions use a tighter lock or a custom insert to help the product stay centered. That choice is not cosmetic; it changes how the box behaves during hand packing, shipping, and shelf display.
Dieline accuracy matters more than many buyers expect. The logo may look centered on a flat mockup, but curved panels and fold lines can shift the visual balance once the box is formed. Artwork placed too close to the edges can also distort when the board bends. A careful proof avoids that problem before it reaches production.
Finishing options give the box its final character. Matte lamination creates a calm, low-glare surface. Gloss increases shine and color intensity. Soft-touch adds a velvety feel that often suits premium skincare or jewelry. Foil, embossing, and spot UV can all work, but each adds time, cost, and another point where quality control matters. On a small format, one well-chosen finish usually does more than several stacked effects.
Because the structure is compact, sizing is less forgiving than it looks. A few millimeters can affect product fit, tuck closure, or the amount of visible movement inside the box. That is why sample rounds are useful, especially when the product is fragile or the insert has to do precise positioning.
Cost and pricing factors that change the quote
Pricing for custom pillow Boxes with Logo usually comes down to five variables: board thickness, finished size, print coverage, special finishing, and quantity. Those are the obvious ones. The quieter cost drivers are setup complexity, insert requirements, and shipping format. A flat-packed carton is easier to move than a pre-assembled pack, and freight becomes more noticeable once the order volume climbs.
Short runs often carry higher unit pricing because prepress, die-cut setup, calibration, and press time are spread across fewer pieces. That is why a 500-unit order can look expensive next to a 5,000-unit order on a per-box basis. The tooling cost does not disappear; it just gets absorbed more efficiently as volume increases.
Simple one-color branding sits at the lower end of the range. Full-color coverage, foil stamping, embossing, and spot UV move the quote upward because each one adds labor, setup, and inspection. The same is true for custom inserts, especially when they need to hold irregular or fragile products securely. A box may look modest on screen and still require several additional production steps to get it right.
Typical commercial pricing varies by stock, size, and finish, but a planning range helps. For a straightforward paperboard pillow box in medium quantity, buyers may see roughly $0.18-$0.35 per unit. With premium finishes or heavier board, the range often moves toward $0.45-$0.90 or more. These numbers are only a guide, not a quote, but they are useful for setting expectations before requesting samples.
| Option | Typical use | Relative cost | What it adds |
|---|---|---|---|
| Single-color print on paperboard | Samples, favors, lightweight retail items | Lower | Clean brand mark, simple presentation |
| Full-color print with matte or gloss | Skincare, accessories, gift sets | Moderate | Stronger shelf presence and better color control |
| Foil, embossing, spot UV | Jewelry, premium gifts, seasonal launches | Higher | More tactile appeal and premium cues |
| Added insert or custom tray | Fragile or irregular products | Higher | Better product security and alignment |
Ask for a quote that separates structure, print, finish, and freight. If those items are bundled together, it becomes hard to compare suppliers on equal terms. Sustainability requirements should be handled the same way. If recycled content or FSC-certified board is part of the brief, get that stated in the spec instead of assuming it will be included by default. The Forest Stewardship Council has useful background on certified materials at fsc.org.
For buyers comparing Custom Packaging Products, the best quote is not always the lowest one. A cleaner comparison is whether the structure, print method, and finishing choices match the product, the shipping method, and the retail price point.
Production steps and timeline: what happens after you approve artwork
Once artwork is approved, the workflow is usually predictable: dieline selection, artwork prep, proofing, sampling if needed, printing, finishing, cutting, folding, and shipping. It sounds straightforward on paper. In practice, the schedule usually slows down at the approval points, not on the press itself.
File problems are the most common cause of delay. Missing bleed, low-resolution logos, artwork that ignores fold lines, or late color changes can all stop a job that should have moved quickly. A supplier can only work as fast as the files allow, which is why prepress discipline matters almost as much as machine capacity.
Rush orders are possible, but they narrow the options. Some finishes may be removed, the approval window gets shorter, and the material selection may need to stay conservative so the line can keep moving. That does not make rush production impossible. It simply means the buyer should expect fewer decorative extras and less room for revision.
Sampling is usually the safest way to reduce avoidable mistakes. A plain prototype confirms fit and structure. A printed sample confirms color, logo placement, and finish behavior. If the product is valuable, fragile, or tied to a launch date, that extra step usually pays for itself by preventing a full reprint.
For most packaging projects, the timeline depends more on approval speed than on print speed. A clean order can move quickly; a long approval chain can stretch a simple run. As a planning reference, many jobs land around 12-15 business days after proof approval, although larger quantities and specialty finishes can extend that window.
Design choices that make a logo look premium instead of crowded
Small-format packaging rewards discipline. If the logo is too large, the box looks heavy. If it is too small, the brand disappears. The strongest layouts usually give the front panel one clear focal point and keep secondary details to a minimum. That approach works especially well on curved packaging, where the shape itself already adds visual movement.
Contrast matters more than decoration. A dark mark on pale board, or a metallic logo on a matte surface, tends to read faster than a busy full-bleed design. Typography should stay legible at arm’s length. Delicate scripts can work, but only when the print quality and size make them practical. In most Premium Retail Packaging, clean type and deliberate spacing look more expensive than crowding every panel with graphics.
Whitespace is doing real work here. It gives the eye a place to rest and makes the logo feel intentional rather than forced. On a pillow box, that breathing room matters because the curved sides already soften the composition. A subtle repeat pattern can work, but it should stay quiet. Once the surface starts competing with the logo, the box loses clarity.
The visual tone should match the product promise. Skincare often needs a calmer, more clinical look. Jewelry usually benefits from restraint and high contrast. Gift packaging can carry a warmer or more playful tone, but it still needs hierarchy. If the logo is the lead, everything else should support it.
Common mistakes that raise cost or weaken results
The first mistake is ordering the wrong size. Buyers often size the box to the product alone and forget tissue, wraps, or inserts. That turns into crushed corners, loose movement, or a closure that will not sit properly. Measure the product, then design for the way it will actually be packed.
The second mistake is selecting the wrong board weight. Too light, and the box feels thin or deforms in transit. Too heavy, and the cost rises without a proportional benefit. A modest increase in thickness can improve the feel of the package, but only if the product and handling conditions justify it.
Low-resolution artwork is another common problem. A screen mockup can hide issues that become obvious in print, especially around small type, fine lines, or logo edges. Print color and finish reflections also behave differently on paperboard than they do on a monitor. What looks acceptable on screen may still need cleanup before production starts.
Overdone finishing is a budget drain. Foil, embossing, spot UV, metallic ink, and heavy lamination all have their place, but each one adds cost and another inspection step. On a small box, those effects can compete with each other rather than improve the presentation. One well-chosen finish usually gives a cleaner result than stacking several.
Another easy miss is designing the empty box instead of the filled one. If the package is meant for e-commerce shipment, in-store display, or event handout, the structure has to perform in that condition, not just on a render. A nice shell that collapses under real use is still a bad box.
Expert tips for a better order and a cleaner handoff
Match the proof type to the risk. If the box is simple and the product is low risk, a digital proof may be enough. If the dimensions are tight or the finish is premium, a physical prototype or printed sample is worth the extra step. That choice is often cheaper than correcting a full production run.
Think about how the box will be seen before you lock the brief. A retail display box needs a different visual hierarchy than a giveaway item or subscription sample. If the package is only meant to be opened once, clarity and speed matter more than decorative detail. If it will sit on a shelf, the logo, tone, and color treatment need to work harder.
Artwork should be supplied in vector format whenever possible. AI, EPS, or PDF files keep edges sharp and scale cleanly. If raster files are the only option, they should be high resolution and checked before prepress. Color targets should also be discussed early, because paper choice changes the final appearance. Kraft, for example, usually softens color and can mute bright tones compared with a coated white board.
Do not ignore labor after the shipment lands. Flat-packed boxes save volume in transit, but they still need to be folded, packed, and sometimes filled by hand. That labor matters when the order is large or the schedule is tight. A lower freight bill can be offset by slow assembly if the structure is awkward.
“If the logo has to do the selling in two seconds, simplify everything around it.”
That rule is especially useful for custom pillow Boxes with Logo. The box should feel organized, deliberate, and easy to understand at a glance. If it does that, the product usually benefits from the presentation without fighting the packaging.
Next steps for ordering with confidence
Start with the product, not the package. Measure length, width, height, and anything that changes the pack-out, such as tissue, inserts, or closures. Then decide whether the box needs a plain tuck end, a custom insert, or a more secure structure. Once those basics are clear, pricing becomes easier to compare.
Gather the essentials before requesting a formal quote: logo files, brand colors, estimated quantity, finish preference, and a realistic budget range. If the product is fragile, premium, or meant to feel gift-oriented, compare at least two structural options. A simpler board with one premium finish often performs better than an overbuilt box with too many decorative layers.
For commercial buyers, a short checklist keeps the handoff clean: size, print method, turnaround, MOQ, proofing process, and freight terms. If those items are clear, most of the friction disappears. If they are vague, the order tends to drift and small mistakes become expensive.
The box should fit the shelf position and the customer experience you want. A sample box used to build curiosity needs different cues than a premium retail SKU sitting beside a competitor. Well-made custom pillow Boxes with Logo do not need to shout. They fit the product, support the price point, and make the brand feel like it belongs there.
FAQ
What size should custom pillow boxes with logo be for small products?
Measure the product first, then add only enough clearance for tissue, inserts, or a protective wrap. Oversizing can make the box look less premium and can increase shipping cost, especially if the pack-out becomes loose inside the cavity.
Are custom pillow boxes with logo expensive to print?
They are usually cost-effective for small, light products, but price rises with specialty finishes, heavy board, and low quantities. Simple one- or two-color branding is often the best value if you want strong presentation without pushing unit cost too high.
How long does production usually take?
Timing depends on proof approval, print complexity, and finishing choices, not just the print run itself. Standard orders are often faster when artwork is print-ready and the buyer approves proofs quickly.
What file format is best for a logo on pillow boxes?
Vector files such as AI, EPS, or PDF are ideal because they scale cleanly and preserve sharp edges. If only raster files are available, they should be high resolution and reviewed carefully before printing.
What’s the best way to make the logo stand out on a curved box?
Use strong contrast, keep the layout simple, and place the logo where the front panel naturally catches the eye. A single premium finish, like foil or embossing, often works better than adding several effects at once.


