Custom Printed Roll Stickers: Order Smarter Labels
What Custom Printed Roll Stickers Are and Why Format Matters
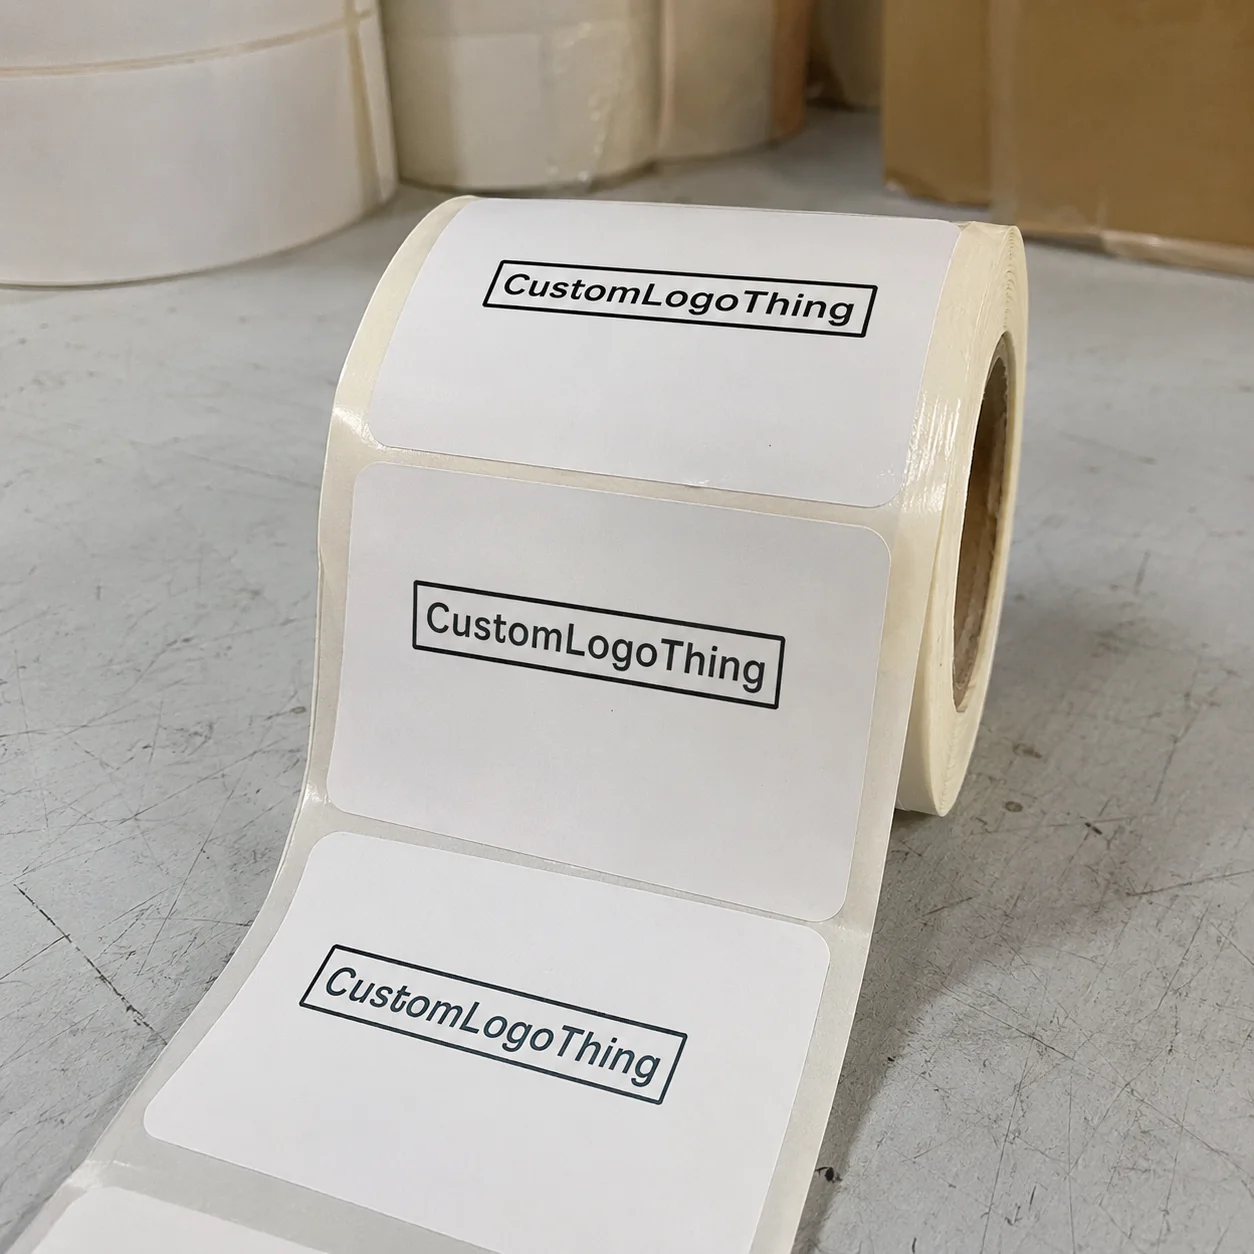
The same artwork can work perfectly as a loose giveaway sticker and fail on a packing bench. Format changes the job. Custom printed roll stickers are pressure-sensitive labels supplied on a continuous liner, wound around a core, with defined gaps between each label. Core size, unwind direction, liner weight, adhesive, face material, and roll diameter all affect how the label peels, feeds, and lands on the package.
That sounds minor until labor enters the math. A 2-inch circle on a 3-inch core may run cleanly through a hand dispenser. Wind it the wrong way, though, and a labeler may have to rotate every jar before applying it. Multiply that by 3,000 units and a design choice becomes a production cost.
Roll stickers are built for repetition: product labels, jar seals, carton branding, QR Code Labels, compliance callouts, warning labels, retail accents, tamper-evident style closures, and promotional packaging. Sheet stickers still make sense for office use, short batches, and mixed designs. Individually cut stickers are better for inserts, handouts, and event giveaways. Rolls earn their keep when the same label needs to be applied quickly and consistently.
They also sit naturally inside broader packaging programs. A brand may use roll labels for jars, Custom Labels & Tags for hang tags, and printed cartons for retail presentation. The label is small, but it often carries the SKU, barcode, ingredient line, scent name, batch code, or legally required warning.
The practical rule is simple: judge the order by the job the sticker must perform, not just by the design on screen.
How Roll Sticker Printing Works from File to Finished Roll
Roll sticker production usually follows a predictable sequence. Artwork is checked, imposed for printing, printed on a web or press sheet, coated or laminated if required, die-cut, weeded, slit into narrower rolls, rewound to the requested direction and count, inspected, then packed so the rolls do not crush in transit.
Digital printing is common for short and mid-size runs because setup is lighter and version changes are easier. A beverage brand testing five flavors, for example, may need 500 labels per flavor rather than 10,000 of one design. Digital production can also support variable QR codes, batch identifiers, or serialized information when the file is built correctly.
Flexographic roll-fed printing becomes more attractive at higher volumes. The setup cost is greater, especially if plates are required, but that cost spreads across tens of thousands or hundreds of thousands of labels. For repeat orders with stable artwork, flexo can produce strong unit economics and consistent throughput.
Die cutting creates the finished shape. Most roll labels are kiss cut: the face stock is cut while the liner stays intact. That lets each sticker peel away cleanly without the roll falling apart. Circles, ovals, rectangles, squares, and rounded-corner rectangles are the safest shapes. Custom silhouettes can work, but sharp points, delicate cutouts, and thin borders near the cut line increase spoilage risk.
Roll construction is not decoration. Buyers may need to specify 1-inch or 3-inch core, maximum outside roll diameter, label gap, labels per roll, liner type, and unwind direction. Hand application is forgiving. Machine application is not. If the applicator expects copy to feed top-first on unwind position 3, a beautiful roll in position 1 may be useless until it is rewound.
Practical callout: A digital proof checks size, copy, color intent, shape, bleed, barcode placement, and unwind direction. It does not guarantee exact press color unless a physical proof or color target is requested and priced separately.
For packaging launches involving mailers, inserts, cartons, or Custom Packaging Products, treat labels as part of the system rather than a late add-on. The label’s material, finish, and white point can make a carton look premium or mismatched, even when the artwork is technically correct.
Materials, Adhesives, and Finishes That Change Performance
Material selection starts with the face stock. Paper is economical and works well for dry indoor use: bakery boxes, simple mailer seals, candle warning labels, short-life retail stickers, and basic product identification. It is not naturally happy around water, oil, condensation, abrasion, or long handling cycles unless coating and adhesive are chosen for that exposure.
BOPP, a polypropylene film, is a common upgrade for moisture resistance and clean product presentation. White BOPP is widely used on food jars, bath products, cosmetics, refrigerated goods, and supplements. Clear BOPP creates a “no-label” look on glass or clear plastic, although dust, trapped air, and color opacity become more visible. Vinyl is tougher and more flexible, which helps for outdoor exposure, curved surfaces, and labels that will be handled repeatedly.
Adhesive matters as much as the face stock. Permanent adhesive is the default when the label needs to stay put through normal handling. Removable adhesive is better for temporary promotions, short-term retail stickers, or surfaces that should not tear when the label is removed. Freezer-grade adhesive is designed for cold bonding or cold storage. High-tack adhesive helps on rough corrugated board, textured plastics, and low-energy surfaces that resist standard adhesives.
Ask blunt surface questions before ordering. Is the label going on glass, HDPE, PET, metal, corrugated cardboard, pouch film, coated paperboard, or a squeeze tube? Will it face refrigeration, condensation, sunlight, oily hands, abrasion, shipping vibration, or repeated opening and closing? A label that looks perfect on a sample card can lift at the edge after one night on a cold curved bottle.
| Material or Finish | Best Fit | Watch Point |
|---|---|---|
| Paper label stock | Dry cartons, jars, mailers, and simple retail packaging | Limited moisture and scuff resistance unless coated |
| White BOPP | Food, cosmetics, bath products, and refrigerated packaging | Needs the right adhesive for condensation and curved containers |
| Clear film | Glass jars, bottles, and premium package branding | Air bubbles, dust, and ink opacity are easier to see |
| Matte lamination | Low-glare labels with improved scuff resistance | Can soften bright colors compared with gloss |
| Gloss coating | Bright promotional designs and high-shelf visibility | Barcode glare may affect some scanners |
Finishes change appearance and durability. Matte reads softer and reduces glare. Gloss adds color punch. Soft-touch feels premium but may show rubbing depending on the handling path. Spot UV and foil add shelf impact, while lamination provides a protective layer against moisture, rubbing, and light abrasion.
Barcodes and QR codes deserve a separate check. Heavy gloss, tight curves, low contrast, metallic effects, and undersized quiet zones can all interfere with scanning. If the code controls inventory, compliance, authentication, or customer instructions, test it on the actual material and container shape before scaling the order.
Pricing, MOQ, and Unit Cost Factors Buyers Should Know
Roll sticker pricing is shaped by more than the design file. Quantity, finished size, shape, material, adhesive, finish, number of versions, roll direction, setup requirements, inspection needs, and shipping weight all contribute. A 2-inch label on standard paper may price very differently from the same label on clear film with white ink, lamination, and three scent versions.
MOQ, or minimum order quantity, reflects setup time, material waste, press calibration, die requirements, inspection, slitting, rewinding, and packing. That is why tiny runs can feel expensive per label. The press still has to be set up. The material still has to be staged. The roll still has to be finished correctly.
Quantity usually lowers unit cost once setup is covered. A run of 500 labels may be useful for market testing or a first production batch. Runs of 2,500 or 5,000 often spread fixed costs more efficiently. Larger is not automatically smarter, though. If regulatory copy, container size, flavor names, barcode data, or brand colors are still changing, a conservative first run can prevent boxes of obsolete labels.
Tooling also affects cost. Standard circles, rectangles, squares, and rounded rectangles are usually more economical because common cutting options may already exist. Custom shapes may require a die or a digital cutting setup, depending on the equipment and volume. Thin strokes near the edge, intricate corners, and narrow bridges between cut areas can slow production or increase waste.
For a useful quote, gather the finished size, shape, quantity, material preference, adhesive requirement, finish, artwork version count, labels per roll, core size, application method, and deadline. If a label applicator is involved, include unwind direction, maximum roll diameter, and any machine notes from the equipment manual.
Do not compare quotes by the final number alone. One supplier may include lamination; another may quote a varnish. One may assume standard permanent adhesive; another may include freezer-grade stock. A lower price can be reasonable, or it can mean the spec has quietly changed. Shipping also matters because bulk rolls on dense liners can be heavier than expected.
If labels are part of packaging that must survive parcel networks, warehouse handling, or retail distribution, broader packaging tests may matter. Organizations such as ISTA publish packaging test frameworks that can help teams think beyond the label artwork and consider vibration, compression, drops, and environmental stress.
Process and Timeline: From Artwork Approval to Delivery
A clean ordering sequence prevents expensive surprises. Define the label specs, submit artwork, review pricing, approve the digital proof, then move into production, finishing, rewinding, quality checks, packing, and shipping. Each step depends on the one before it. Vague details early usually become delays later.
Lead time depends on artwork readiness, material availability, die needs, finish complexity, proof revisions, order quantity, version count, and machine-applied requirements. A standard paper rectangle can move quickly after approval. A clear film label with white ink, foil, lamination, and multiple versions has more checkpoints and more chances for a small detail to slow the schedule.
Proof approval is the main gate. Production should not begin until the buyer confirms finished size, copy, cut line, bleed, unwind direction, barcode placement, QR code placement, and color expectations. If an ingredient panel, warning line, dosage statement, claim, or compliance note is still under review, wait. Reprinting labels because one word changed is one of the more avoidable costs in packaging.
Several delays are buyer-controlled: low-resolution logos, missing dielines, unoutlined fonts, unembedded links, RGB colors without print guidance, unclear Pantone references, and quantity changes after approval. Brand color also needs realistic expectations. Screens are not proofing devices. If color is critical, provide a physical sample, Pantone reference, or prior printed label for comparison.
Quality control should include more than counting rolls. Check label size, cut accuracy, matrix removal, print registration, color consistency, roll direction, core size, roll count, liner damage, adhesive ooze, and barcode readability. For machine-applied labels, inspect whether the roll is wound tightly enough to feed but not so tight that adhesive edges are stressed.
Shipping and storage affect performance. Rolls can be heavy, especially at large counts or with thick liners. They should be protected from crushing, heat, moisture, and prolonged direct sunlight. Store them in a stable environment before application; cold floors, humid rooms, and hot vehicles can all change adhesive behavior.
First-time orders need a buffer. That is especially true if the stickers must align with launch dates, labeling machinery, co-packing schedules, cartons, inserts, or other packaging elements. A few extra days for testing is less costly than a rushed rollout where the label looks good but feeds badly.
Common Roll Sticker Ordering Mistakes That Cause Rework
The most common mistake is ordering by appearance alone. A label can look sharp on a PDF and still fail because nobody confirmed surface, storage, handling, application method, or removal from the liner. Good printing is only one part of a good label.
File problems cause a surprising amount of rework. Missing bleed, low-resolution images, thin borders too close to the cut line, unoutlined fonts, unembedded links, and RGB artwork submitted without print expectations can all delay proofing. Vector artwork such as AI, EPS, or print-ready PDF usually gives the cleanest result for logos, type, and dielines.
Sizing errors show up just as often. Buyers may measure the visible art instead of the finished label size, forget rounded corners, ignore container taper, or choose a label too wide for a curved bottle, jar, tube, or pouch. On a small-diameter container, an extra quarter inch of width can create wrinkles or edge lift.
Roll direction mistakes can stop production even when the print is flawless. Labels may feed upside down, sideways, or with the wrong leading edge. For hand application, that is irritating. For machine application, it can mean downtime, rewinding, or a replacement order.
Adhesive mismatches are expensive because they often appear after application. Standard paper labels used in cold, wet, oily, or squeezable environments may wrinkle, peel, or stain. Flexible pouches and squeeze bottles are tricky because the surface moves after the sticker is applied. Low-energy plastics can resist bonding unless the adhesive is chosen for that surface.
Another quiet problem: over-designing the edge. Hairline borders, tiny reverse type near the cut, foil too close to the dieline, and custom shapes with sharp points all reduce the margin for normal production movement. Print has tolerances. Good label design respects them.
Expert Tips Before You Place an Order
Before requesting pricing, build a short spec sheet. Confirm surface, storage temperature, application method, finished size, roll direction, quantity, version count, finish, and delivery date. A printer can quote more accurately when the use case is clear.
Ask for material guidance rather than choosing by appearance only. Refrigerated drinks, bath products, candle jars, food containers, outdoor labels, flexible pouches, and shipping cartons all put different stress on a sticker. Many label failures trace back to a face stock or adhesive selected for look instead of duty cycle.
Test on the actual container whenever possible. Apply the label using the same method your team will use, then check it after 24 hours. Look for edge lift, wrinkles, scuffing, condensation failure, bubbling, adhesive ooze, and barcode scan issues. If the product will be chilled, squeezed, shipped, wiped down, or handled repeatedly, test those conditions before ordering a large run.
Send practical context with the art file. Photos of the product, the packaging surface, and the application setup can help determine core size, roll count, liner type, unwind direction, and material. If sustainability claims matter, ask about paper sources, recycled content, liner options, and chain-of-custody documentation. The Forest Stewardship Council is a useful reference for understanding FSC-certified paper materials.
Prepare artwork for production, not just presentation. Provide vector logos where possible, include bleed, outline fonts, embed linked images, identify Pantone or brand colors, and keep the dieline on a separate layer or clearly marked spot color. If labels must match cartons, mailers, or hang tags, share the broader packaging system so color, finish, and scale do not drift.
Before ordering custom printed roll stickers, confirm the use environment, review the proof carefully, and test the first roll before scaling. That discipline protects the design, the budget, and the people who have to apply the labels all day.
FAQ
What are custom printed roll stickers best used for?
They are best for repeated application on products, cartons, jars, bottles, mailers, pouches, and promotional packaging where speed and consistency matter. The roll format keeps labels organized and ready to peel, which helps both hand application and machine labeling. They are less practical for loose giveaway stickers unless rolls are specifically preferred.
How do I choose the right material for printed roll labels?
Start with the surface and environment. Paper suits dry indoor use, while film materials such as BOPP, polypropylene, or vinyl are better for moisture, oils, friction, and outdoor exposure. Match the adhesive to the job as well, because freezer storage, rough cardboard, smooth glass, and squeezable plastic all need different bonding behavior.
What affects the cost of custom roll stickers the most?
The main cost drivers are quantity, size, material, adhesive, finish, shape, artwork version count, and any custom die or special setup. Larger quantities often lower unit cost because setup and finishing time are spread across more labels. Premium films, specialty adhesives, foil, spot UV, lamination, and multiple versions can raise the price even when the sticker is small.
What file format should I send for custom printed sticker rolls?
Vector artwork such as AI, EPS, or print-ready PDF is usually preferred because it keeps logos, type, and cut lines crisp at production size. Include bleed, outline fonts, embed images, and keep the dieline on a separate layer or clearly marked spot color. Low-resolution screenshots, web images, and flattened files often slow proofing.
How long does it take to produce custom roll stickers?
Timing depends on proof approval, material availability, order size, finish complexity, die requirements, and shipping method. First-time orders can take longer because artwork, material, unwind direction, and application details need careful confirmation. Complete specs and prompt proof approval are the fastest ways to reduce delays.


