Custom Puffy Stickers add a tactile finish that changes how a brand feels in hand. A flat sticker can disappear into a mailer or insert, while a raised, cushioned finish gives the package a small moment of texture that people notice immediately.
That tactile quality is why they show up in packaging, merch, creator kits, and promotional inserts. They are simple, but they do not feel generic when the shape, artwork, and finish are chosen well.
The real question for buyers is whether the format fits the job. A sticker that looks charming on screen can still fail if the artwork is too detailed, the size is off, or the budget cannot support the finish. Good packaging decisions usually start with those constraints.
What Custom Puffy Stickers Actually Are
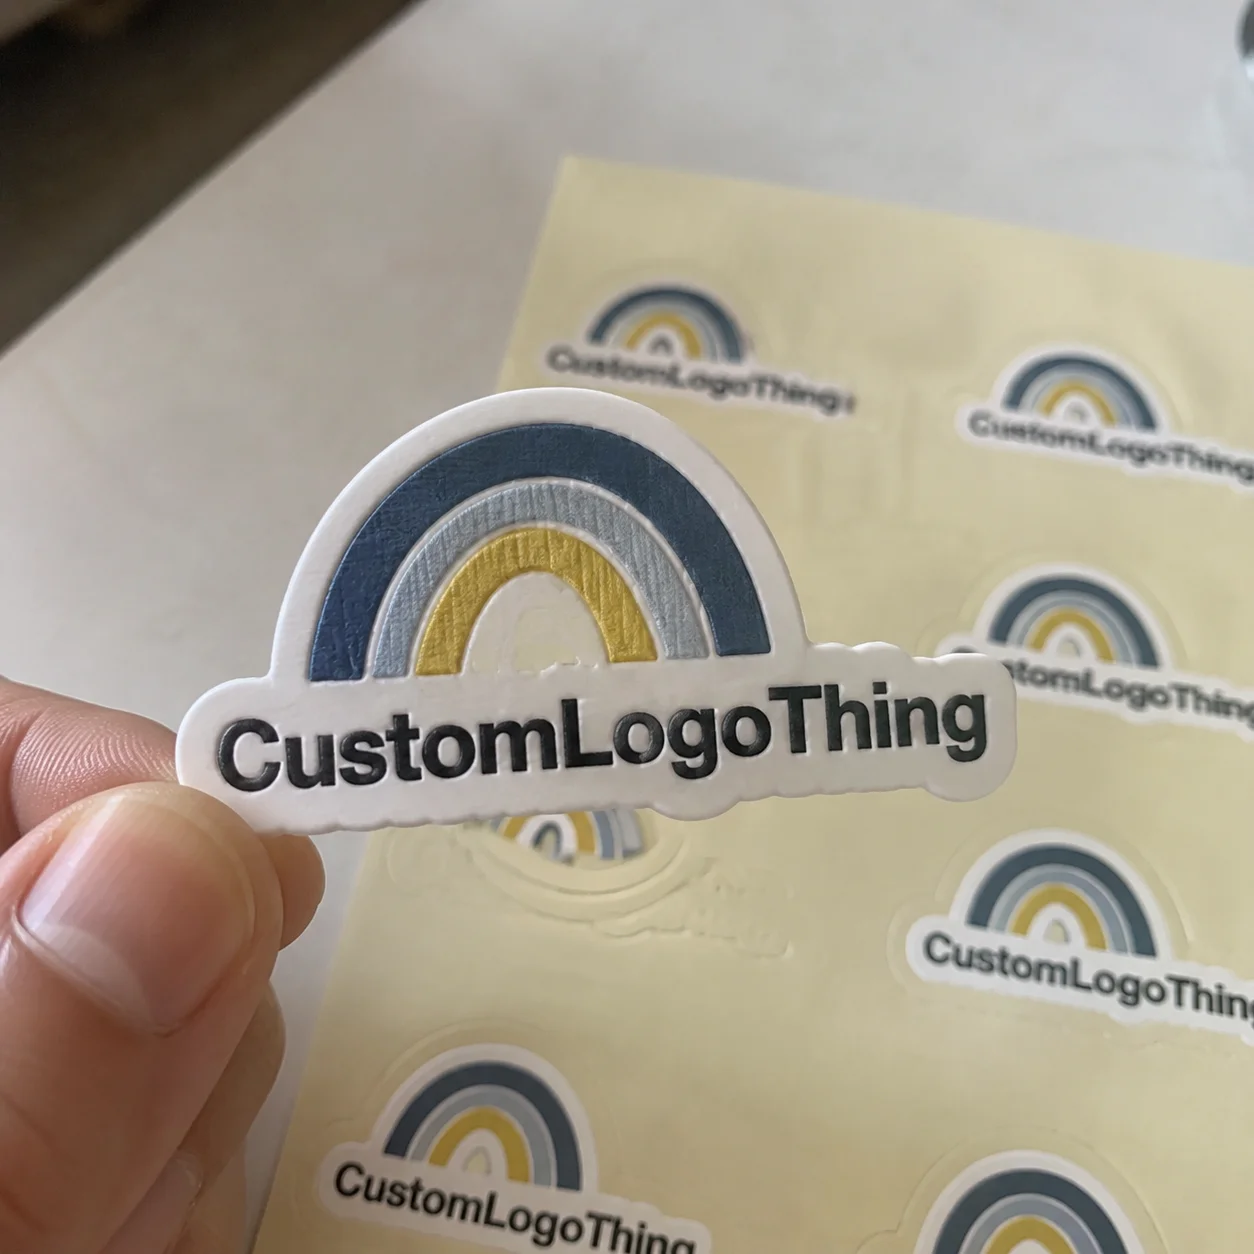
Custom puffy stickers are layered stickers designed to create a soft raised effect. The surface is thicker than a standard paper label or vinyl decal, so the artwork sits above the backing and feels dimensional when handled. The result is somewhere between a foam sticker and a molded badge: soft-looking, slightly springy, and more tactile than a flat print.
They are often used where a small brand element needs to feel special without adding much weight or complexity. That includes premium mailers, retail packaging, event giveaways, promotional packs, subscription boxes, and inserts. If the package already has strong graphics, the sticker can reinforce them. If the package is plain, the sticker can carry more personality on its own.
People often use the terms puffy, embossed, domed, and foam-style as if they mean the same thing. They do not. Embossed usually refers to raised detail in a printed surface. Domed usually describes a thicker top layer with a rounded profile. Foam-style stickers rely on a spacer layer for height. Puffy stickers sit in that broader family, but the finish is usually softer and more playful than a hard raised badge.
For packaging buyers, the key is to match the design to the use. A clean logo, a bold icon, or a short mark tends to work better than a busy illustration with thin outlines and tiny type. If the sticker is sealing a box or mailer, clarity should win over detail. If it is part of a sticker sheet or giveaway set, you can use more shape and personality, but the raised effect still needs room to read.
“The strongest sticker spec is the one that fits the application, not the one that tries to do everything.”
If you need related packaging pieces, pairing stickers with Custom Labels & Tags or other Custom Packaging Products keeps the visual system consistent across the full package.
How the Production Process and Timeline Work
The production flow starts with artwork prep, then proofing, material selection, printing, layering, cutting, finishing, and inspection. Puffy construction adds complexity compared with a flat sticker, so file quality and design clarity matter more than they do on simpler jobs.
Most orders follow a familiar sequence: the buyer sends final or near-final artwork, the supplier checks the file, a digital proof is created, revisions are approved, production runs, and the finished order is packed and shipped. Larger quantities may include a physical sample or pre-production proof. That extra step takes time, but it reduces the odds of discovering a problem after the full run is complete.
The raised look comes from controlled layering and material thickness. Once that structure is added, thin lines, tiny letters, and subtle gradients can lose definition. The sticker may still look attractive, but details that were crisp on a monitor can soften once they are translated into a dimensional format. That is a design issue, not a manufacturing flaw.
Lead time depends on quantity, proofing speed, shipping method, and how many changes are needed before approval. A standard run often takes 12–18 business days from proof approval, and rush options may exist for simpler jobs. International shipping can add a week or more. If revisions slow down the proof cycle, the calendar stretches quickly.
Common delays are usually avoidable: missing dielines, low-resolution artwork, unclear color targets, and slow approvals. When the buyer has files ready and decisions made, production moves. When artwork is still being debated after the quote arrives, every stage becomes a bottleneck.
For launch planning, treat the sticker like any other production item with a real schedule attached. Build in an approval buffer, a shipping cushion, and extra room if the order is tied to a seasonal release. Sticker jobs are small, but they still run on fixed steps.
If sustainability or sourcing standards are part of the brief, ask about materials and packaging early. For fiber-based components, standards from FSC can be relevant, and broader packaging guidance from the Packaging School / packaging.org ecosystem is useful when you are coordinating multiple package elements.
Custom Puffy Stickers Pricing, MOQ, and Unit Cost
Pricing comes down to a few basic variables: size, shape, quantity, color count, finish, and whether the order includes special packaging. Larger stickers use more material. Complex die-cuts require more setup. Lower quantities spread the fixed production cost across fewer pieces, which raises the unit price.
MOQ is where buyers usually meet reality. Small runs are possible, but the per-unit cost is higher because the setup burden is heavier. At 500 pieces, pricing often falls around $0.55-$1.10 per unit, depending on complexity and finishing. At 5,000 pieces, the range can drop to roughly $0.18-$0.38 per unit. Specialty backing cards, insert packaging, and premium finishes push the total upward.
Comparing quotes only by unit price is where many buyers go wrong. A low headline price may leave out proofing, tooling, shipping, or packaging extras. Another quote may look higher but include better communication, tighter quality control, and a more reliable timeline. For buyers working with launch dates, the lowest price is not always the least expensive choice.
| Run Size | Typical Unit Cost | Best For | Notes |
|---|---|---|---|
| 250-500 pcs | $0.55-$1.10 | Samples, small launches, creator merch | Setup cost has a bigger effect; useful for testing design fit |
| 1,000-2,500 pcs | $0.28-$0.55 | Mid-size campaigns, retail inserts, promo packs | Often the most practical range for brands balancing cost and flexibility |
| 5,000+ pcs | $0.18-$0.38 | Ongoing brand use, ecommerce inserts, wholesale | Best value if the design is already finalized |
Hidden costs deserve attention because they can change the real landed price fast. Sample fees, setup charges, upgraded packaging, split shipments, and rush production all add up. If a quote leaves those items vague, ask for line-item clarity before approving anything.
From a budget standpoint, puffy stickers make the most sense when they are tied to a clear use. If they support a premium product reveal, spend more on proofing and finish. If they are part of a mailer or insert and only need to reinforce brand recognition, keep the format simple and let quantity control the cost.
Design Specs That Change the Final Look
Design decisions matter more on dimensional stickers than on flat ones. Bold lines hold up better. Simplified shapes read more clearly. High contrast helps the raised surface stand out. Tiny type may look elegant in a mockup, but once texture is added it can become hard to read.
Size and shape also change the result. Small stickers work for seals and inserts, but if they are too small the puffy effect barely registers. Larger stickers show off dimension more clearly, but they can feel expensive if the artwork is too empty. For packaging, a clean die-cut is usually the safest place to start.
Finish changes the mood of the piece. Gloss reads brighter and more playful. Matte feels softer and often more premium. Clear backing can make the design feel integrated into the package, while opaque backing creates a stronger block of color. The finish should support the product story, not compete with it.
Color matching deserves extra care. If your brand uses Pantone references or a tight color palette, confirm how those colors will be reproduced before production begins. White ink can help lighter colors stand out on darker surfaces. Edge detail needs attention too, because a raised structure can soften fine outlines if the original art is too delicate.
Use also matters. A retail packaging sticker usually needs more restraint and polish than a giveaway sticker, which can be louder and more graphic because it has to read fast on laptops, bottles, notebooks, and water bottles. A launch insert is a different assignment from a freebie pack.
If the stickers are traveling with products, durability and handling are part of the brief. For packaging and transit references, the ISTA testing standards are useful context, even if the sticker itself is not the tested item.
Step-by-Step Ordering Checklist for Buyers
Before you request quotes, get the basics in place. Have final or near-final artwork, the target quantity, preferred size, shape, deadline, and shipping destination ready. If you have a brand guide, include it. If you have a dieline or mockup, include that too.
- Prepare artwork in vector format if possible.
- Confirm the real size on packaging or mockups.
- Decide quantity based on actual use, not guesswork.
- Ask for turnaround time from proof approval, not from first email.
- Confirm shipping method and destination before approving the order.
When comparing vendors, look beyond the sample image on the website. Ask how proofing works, how revisions are handled, what the MOQ is, and whether the supplier can support your packaging format. A clear answer before the order usually predicts a cleaner experience after the order.
The proof stage is where most preventable problems should be caught. Check spelling, spacing, crop lines, expected color, and actual size. If the mockup looks crowded, it probably is. If the sticker is meant to seal a box, test it against the box artwork. If it is meant to live inside an insert, make sure it still reads on its own.
A simple decision path helps. Choose standard if you need a clean logo sticker at a workable price. Choose premium if the sticker is part of the reveal or the first physical touchpoint in a launch. Choose packaging-ready if it needs to coordinate with labels, tags, boxes, or inserts.
For a smoother order, keep the process in this order: finalize art, lock dimensions, confirm finish, approve proof, verify shipping terms, and leave a buffer before the campaign date.
Common Mistakes Buyers Make With Sticker Orders
The most common mistake is overdesigning the artwork. Detailed illustrations, thin lines, and micro text can look good on a monitor and fall apart once the sticker is built with depth. The raised surface changes how the eye reads the image.
Wrong size is the second classic issue. Buyers often approve a mockup without checking how the sticker actually sits on a box, mailer, or insert. The result is usually something too small to notice or too large to feel intentional. Packaging is full of those decisions that seem minor until the finished item is in hand.
Timing causes trouble as well. Teams approve the concept and then expect production to move in a few days. A proper order needs proofing, approval, production, packing, and shipping. Rush service may exist, but it usually costs more and leaves less room for correction if something is off.
Comparing only the unit cost is another easy mistake. A cheaper quote can hide higher shipping, weaker inspection, or poor communication. Evaluate sample quality, response time, proof clarity, and landed cost together. That gives a more honest read on value.
Skipping samples can also be costly. A small sample run or proof pack can catch problems with color, thickness, finish, and sizing before the full order ships. If the stickers are tied to a rebrand or product launch, that small test is often cheaper than correcting a full inventory mistake.
Expert Tips for Better Results and Next Steps
If you want stronger results, design for contrast and touch. Keep the logo easy to read at a glance, then let the raised finish create the tactile moment up close. The best stickers do not try to cram in every possible detail.
If the sticker is part of a seasonal drop or a product launch, order a test quantity first when the timeline allows it. A modest pilot can show whether the size feels right on packaging, whether the finish matches the brand, and whether the shape still holds up in real use. That is especially useful for ecommerce brands that need the same unboxing result across many orders.
It also helps to reuse a strong sticker spec across inserts, retail packaging, giveaway packs, and loyalty mailers. That kind of consistency does more for brand recall than trying to invent a new style for every campaign. Repetition gives the packaging system a memory.
When briefing a supplier, be direct. State the size, quantity, use case, finish preference, deadline, and delivery destination. Add reference images if they clarify the goal. Ask for proof approval before production begins. If revisions are needed, keep them specific.
For brands building a larger packaging system, puffy stickers should sit comfortably with labels, tags, boxes, and inserts. If the next step is an order, gather the artwork, confirm the dimensions, compare quotes on landed cost, and approve the proof only after the details are checked. That is the cleanest way to buy custom puffy stickers Without Wasting Budget.
Are custom puffy stickers good for product packaging or just giveaways?
They work well for both, but packaging usually gets the stronger brand payoff because the raised texture becomes part of the unboxing experience. Use them on boxes, mailers, inserts, and sealed bags when you want a tactile premium finish. For giveaways, keep the design bold and simple so it reads quickly on laptops, notebooks, and water bottles.
What affects the price of custom puffy stickers the most?
Quantity, size, and artwork complexity usually drive price more than anything else. Special finishes, packaging add-ons, and rush production can raise the total fast. If budget matters, simplify the shape and order a larger quantity to reduce the unit cost.
How long does the production process usually take?
Standard production usually takes longer than simple paper stickers because the raised construction adds more steps. Approvals, revisions, and shipping method all affect the final schedule. If you have a launch date, build in extra time instead of assuming the order will move perfectly on its own.
What design mistakes should I avoid with custom puffy stickers?
Avoid tiny text, thin outlines, and overly detailed illustrations that lose clarity in a dimensional format. Do not choose colors or finishes that make the logo hard to read at a glance. Always check the proof at actual size, not just on a screen.
What should I ask for in a quote before ordering?
Ask for unit price, MOQ, turnaround time, proofing steps, shipping cost, and any setup charges. Confirm the exact material, finish, and size so every quote is truly comparable. If those details are vague, the quote is not really comparable.