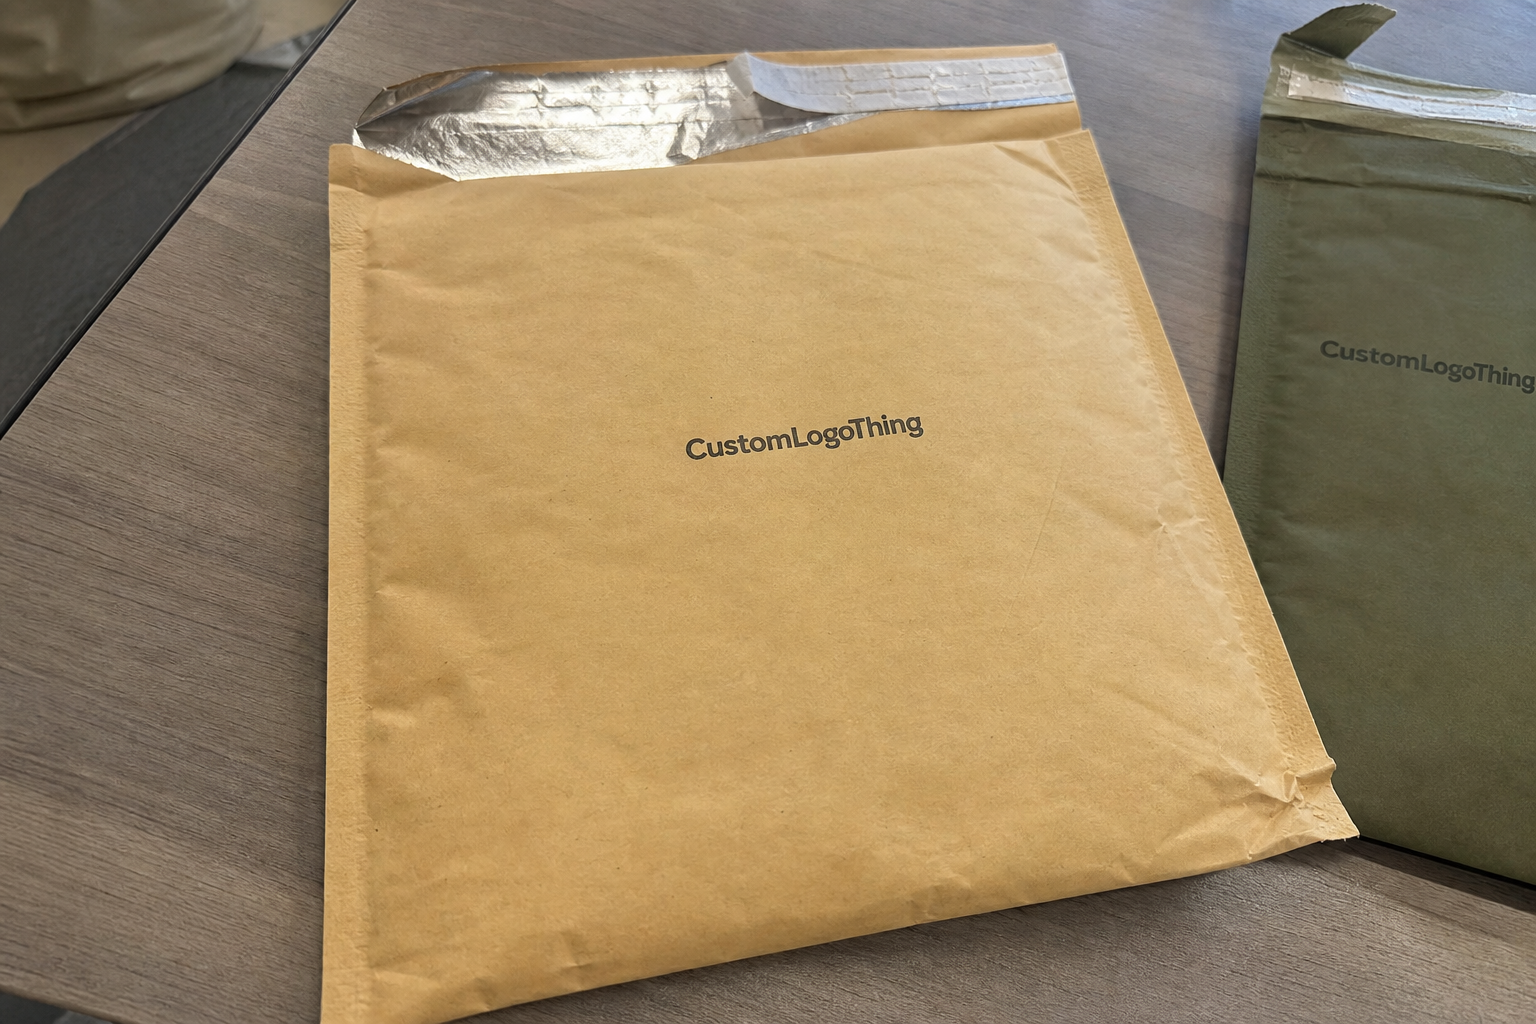
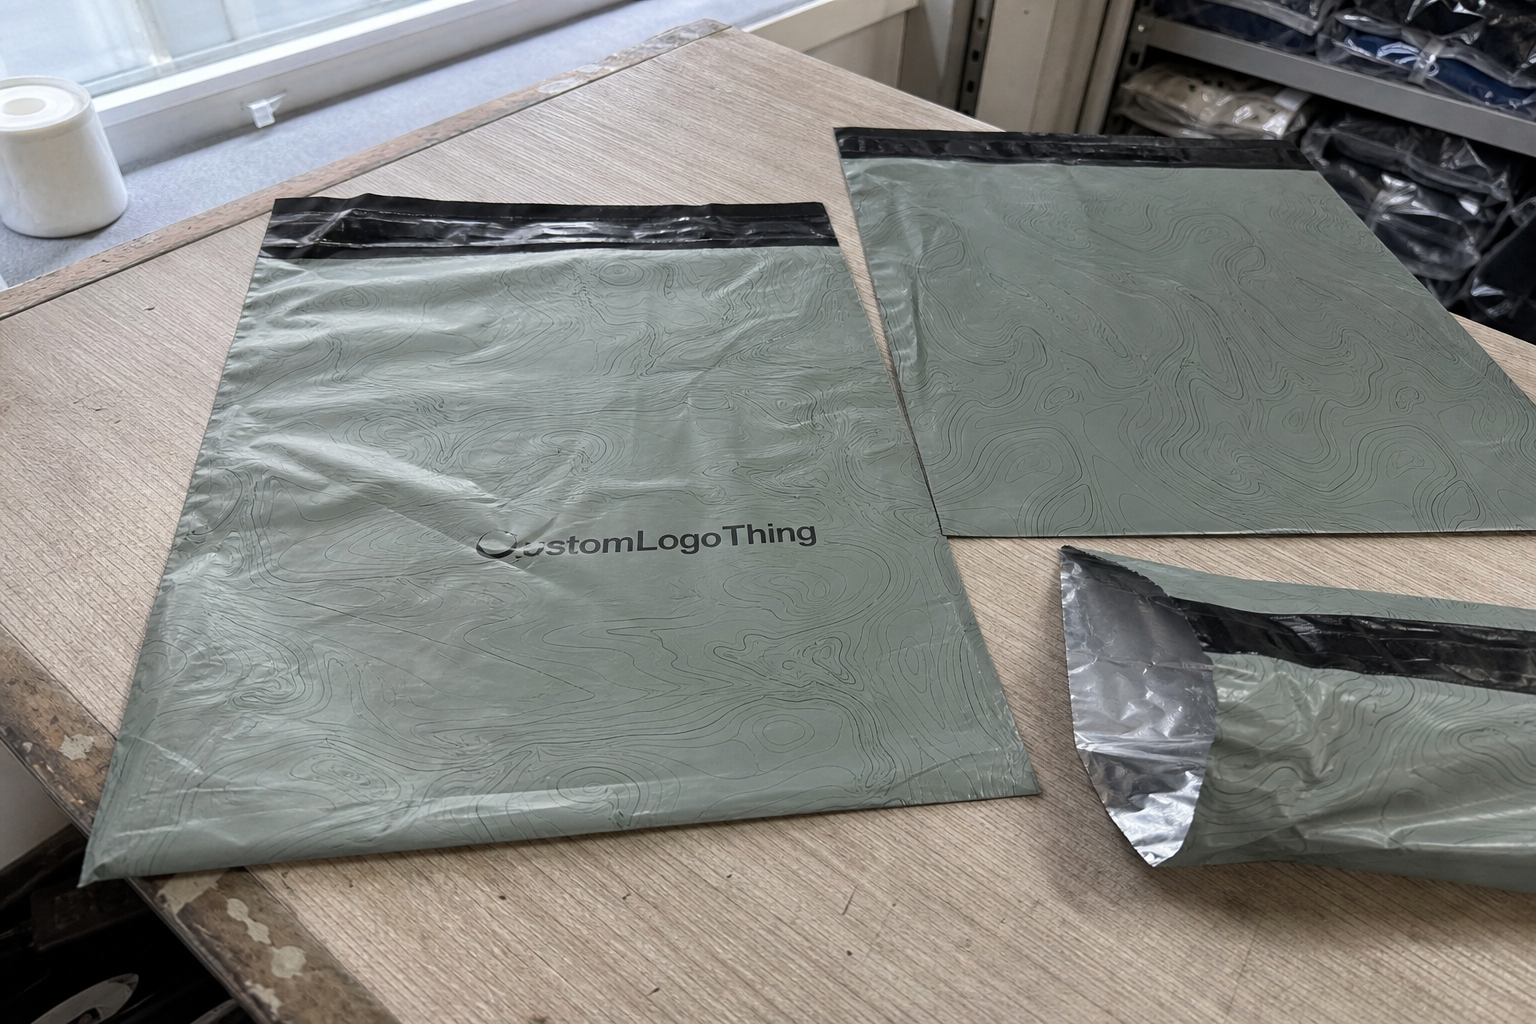
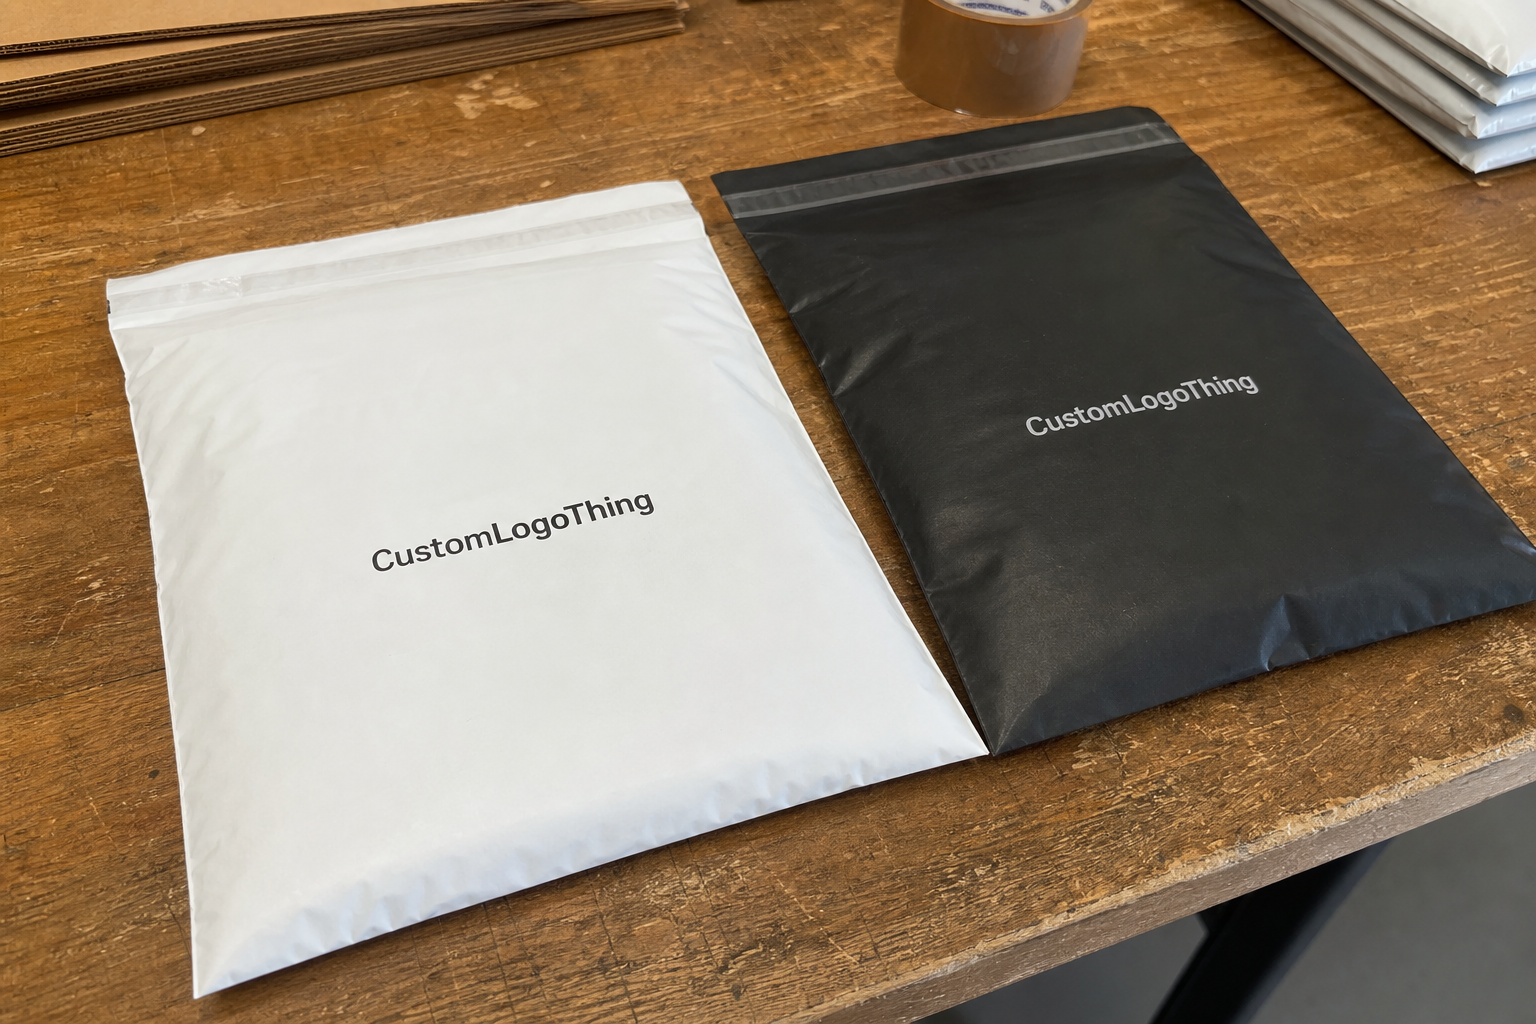
If you are comparing custom resealable pouches to open-top packaging, the real question is whether the pack stays useful after the first opening, whether the closure survives repeated use, and whether the structure can handle shipping, storage, and daily handling without causing complaints.
For a packaging buyer, resealability is part convenience, part product protection, and part retail performance. Get the structure right and you reduce waste, returns, and customer frustration. Get it wrong and the pouch may still look polished while failing where it matters.
Why resealable pouches beat open-top packaging fast
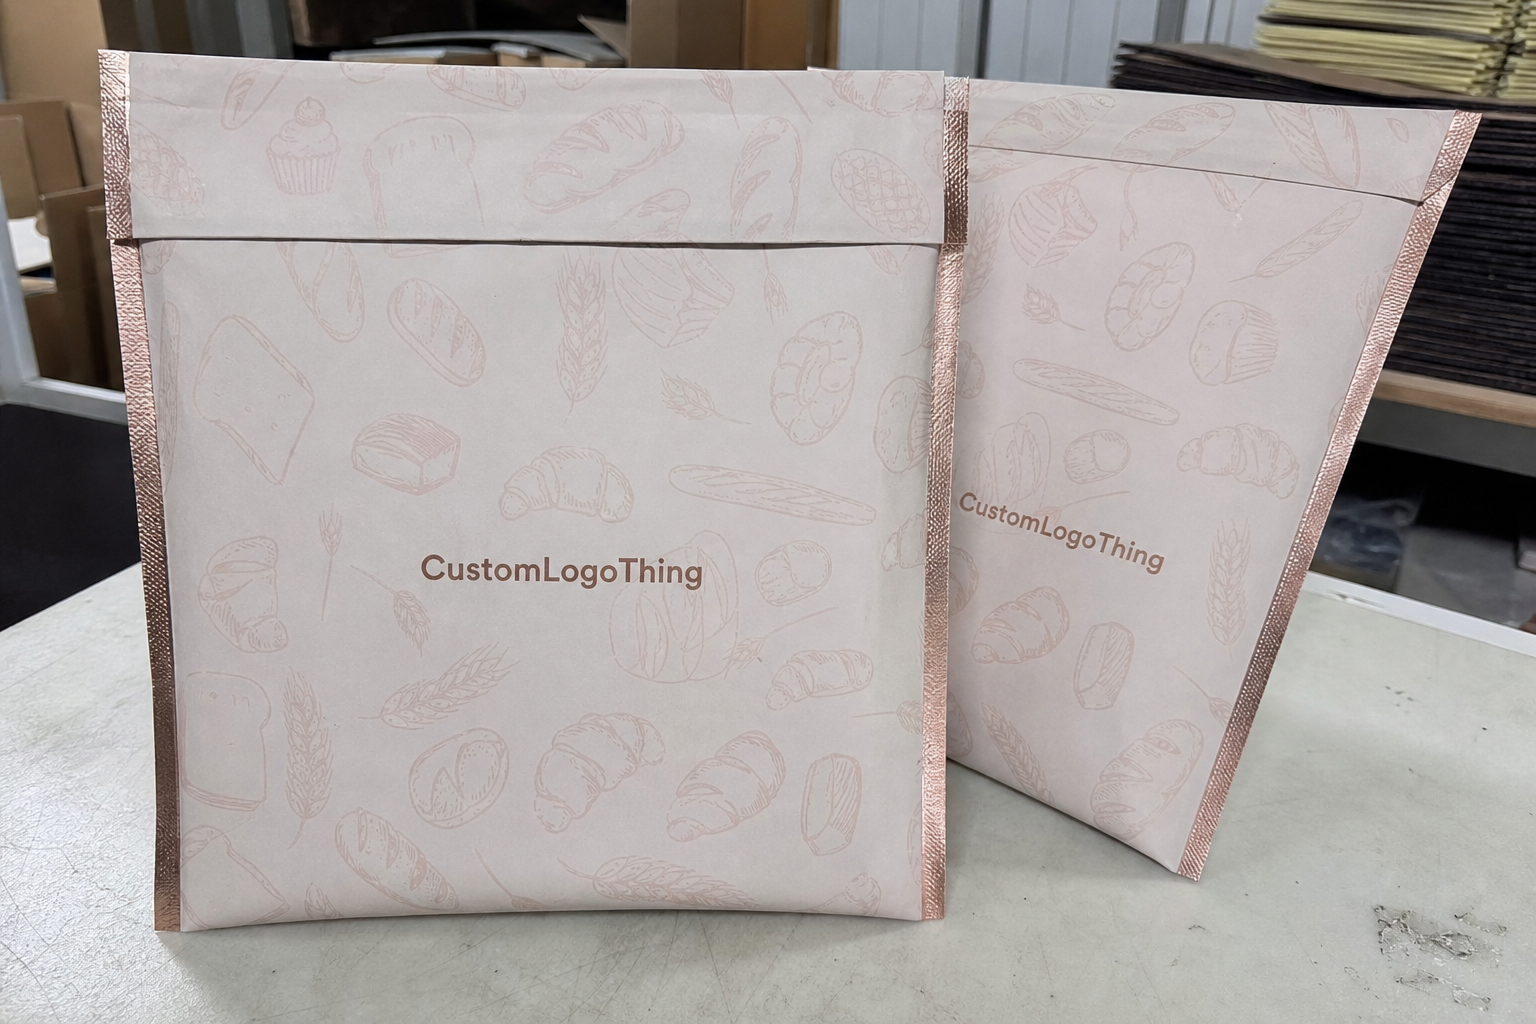
Once a pouch is opened, freshness starts dropping. Odors escape. Powder spills. Snacks go stale. Coffee loses aroma. A premium-looking package does little good if the contents are compromised two days later.
Custom resealable pouches use a zipper, slider, press-to-close seal, or similar closure so the customer can open and close the pack more than once. They are common for snacks, coffee, powders, pet treats, supplements, trail mixes, bath salts, and sample kits. The appeal is straightforward: easier use, better product retention, and a more finished retail feel.
There is a practical business case too. Customers are more likely to finish a product if they can close it properly between uses. That lowers mess, reduces spoilage, and makes the pack easier to store. For brands moving away from rigid jars or boxes, resealable flexible packaging can deliver a premium experience without the weight and freight cost of a hard container.
“A resealable pouch should make the product easier to use and easier to protect. If it only looks good in a mockup, it has not done its job.”
How the closure and film layers actually work
A good pouch is a stack of jobs, not a single printed bag. The outer layer carries graphics. The middle layer, when used, contributes barrier performance and structure. The inner sealant layer handles heat sealing and product contact. Then the closure mechanism sits on top and controls how the customer reopens the pouch.
Press-to-close zippers are the most common and usually the lowest-cost option. They work well for snacks and dry goods. Slider closures are easier for frequent access, especially on larger pouches or products used daily. Child-resistant closures are used where regulations or product risk demand them. Some formats combine a tear notch with a resealable zipper so the customer gets a clean first opening and a usable closure afterward.
Barrier performance is where the spec gets serious. Oxygen barrier helps preserve taste and aroma. Moisture barrier protects powders, dehydrated foods, and anything that clumps when humidity shows up. Aroma retention matters for coffee, herbs, and scented products. If you are selling something sensitive, the film structure matters more than the print finish.
There is also a difference between “resealable” and “shelf-stable enough for your product.” Those are not the same thing. A zipper improves convenience, but the film layers still need to match the product’s storage demands. Coffee may benefit from a high-barrier laminate and a one-way degassing valve. Protein powders may need moisture control and stronger sealant performance. Pet treats can demand puncture resistance and odor control.
| Closure type | Best for | Typical tradeoff |
|---|---|---|
| Press-to-close zipper | Snacks, powders, general dry goods | Lowest cost, but less premium feel |
| Slider zipper | Frequent access, larger packs, premium retail packaging | Higher unit cost and more component complexity |
| Child-resistant closure | Regulated products or higher-risk contents | More testing and usually higher MOQ pressure |
| Tear-and-reseal | Products needing a clean first opening with repeat use | Can add complexity to tooling and production setup |
If your product needs shipping validation, ask for test methods aligned with ISTA packaging standards. That helps catch failures before a warehouse stack or long freight ride turns a usable pouch into a problem.
Key specs that affect performance, feel, and shelf life
Material choice changes everything. PET gives a crisp print surface and good stiffness. PE is common in sealant layers and helps with flex and heat sealing. Laminates combine layers to balance graphics, barrier, and durability. Matte finishes feel softer and more premium. Gloss usually pops harder on shelf. Recyclable structures may be possible, but they are product-dependent and not always suitable for high-barrier needs.
Size matters more than many teams expect. Oversized pouches waste material, take up shelf space, and can make the pack look underfilled. Undersized pouches are worse because they frustrate filling, reduce usable headspace, and make zipper closure awkward. A pouch that is 20 mm too narrow can create sealing headaches during production.
Thickness is usually measured in mil or microns depending on the supplier. Thinner structures can lower cost and reduce material use, but they may feel flimsy or be more prone to puncture. Thicker pouches often feel more premium and survive shipping better, though they increase cost and sometimes reduce flexibility. For snacks and supplements, a common range might be 3 mil to 5 mil equivalent structures. Heavier or sharper products may need more.
Print setup also changes the quote. Full-color graphics with heavy ink coverage, white ink, metallic effects, and matte-soft-touch finishes all affect cost and minimums. Spot colors can help control brand consistency if you use a tighter palette. Confirm how the printer handles color matching, especially on film substrates where color shifts more than on paper.
Product-specific requirements should be listed early. Do you need food-contact compliance? Puncture resistance? A heat-seal window? Hang holes for retail display? Tear notches for easy opening? Degassing valves for coffee? These details change structure, tooling, and price. If your product is sticky or oily, test the zipper with real fills, not just an empty pouch in your hand.
For brands building a full packaging system, the pouch should work with the rest of the line. If you also use labels, cartons, or Custom Packaging Products, keep artwork hierarchy consistent so the pouch does not feel disconnected from the rest of the shelf presence.
Cost and pricing: what actually changes your unit cost
Pricing for custom resealable pouches is driven by size, material structure, closure type, print coverage, order quantity, and special finishes. Add valves, windows, gussets, or custom shapes, and the quote moves again.
MOQ matters a lot. Lower quantities usually cost more per pouch because setup is spread across fewer units. Larger runs lower unit cost, but they require more upfront cash and more storage space. A 5,000-piece order may carry a much higher per-unit price than a 25,000-piece run, even using the same structure. Depending on size and print complexity, larger-volume ranges might fall around $0.18–$0.40 per unit, while smaller runs can be materially higher. That is a working range, not a promise.
| Option | Typical unit cost trend | What you gain | What you give up |
|---|---|---|---|
| Simple press-to-close pouch | Lowest | Lower upfront spend | Less premium feel, less convenience for heavy repeat use |
| High-barrier pouch with zipper | Mid-range | Better protection and stronger shelf life | Higher cost per unit |
| Slider pouch with specialty finish | Highest | Premium experience and easy reuse | More setup cost and usually a higher MOQ |
Buyers also miss the hidden costs. Setup fees can matter, especially on short runs. Freight can get ugly if the order is large or the timing is tight. Artwork revisions add time and sometimes money. Samples are usually not expensive, but multiple versions add up. Testing can also involve time and labor if you are doing fill trials or shelf checks.
The cheapest pouch on paper is not always the cheapest pouch in practice. If a higher barrier reduces spoilage, if a better zipper reduces complaints, or if a stronger seal cuts rework at filling, that extra spend can pay back quickly. The real metric is total landed cost, not just unit price.
For sustainability-minded buyers, verify whether material claims align with recognized standards and supplier documentation. The FSC site is useful when you are checking certified fiber content in hybrid packaging systems, and the EPA sustainable materials management resources can help frame broader waste tradeoffs.
Process and timeline: from artwork to delivery
The usual workflow is straightforward. You send a brief. The supplier recommends a dieline or pouch format. Your designer builds artwork. You review a proof. Then production starts after approval. After that comes quality checks, packing, and shipping.
Delays usually come from bad artwork files, missing barcode requirements, unclear copy, indecision on material structure, and late changes after proof approval. If your team is still debating whether the zipper should be standard or slider after the art is already in review, you are creating your own delay.
Sample timing and production timing are not the same thing. A sample may arrive faster, especially if you are reviewing an existing structure, while a full run usually takes longer after proof approval. In many cases, production lands in the 12–15 business day range once everything is approved, but special closures, custom tooling, or complex print specs can push that out. Rush orders may be possible, but they often reduce material choices and finish options.
If the pouch has to coordinate with a product launch, distributor deadline, or seasonal demand spike, build in buffer. A buyer is better off padding the timeline by a week than discovering the launch depends on a proof that is still under internal review.
Step-by-step way to order the right pouch the first time
Step 1: Define the product’s needs. Start with freshness, moisture protection, odor control, reclose frequency, and shelf presentation. If the product gets used daily, the closure needs to be easy. If it is sensitive to air, the film needs stronger barrier properties. If it is heavy or sharp, puncture resistance becomes a real spec.
Step 2: Choose the pouch format. Stand-up pouches work well for shelf display. Flat pouches suit samples or lighter fills. Side gusset pouches work for certain coffee and dry goods applications. Custom shapes can help with differentiation, but they usually increase tooling complexity and cost.
Step 3: Match the closure to actual use. A standard zipper is fine for many products. A slider is better when the customer will open and close the pouch often. Child-resistant closures belong where regulations or risk require them. If the product is sticky, powdery, or fatty, test the closure with real product. Empty pouches lie.
Step 4: Request a sample or proof. Check fill behavior, seal quality, zipper ease, and how the pouch sits when full. Look at the front panel after filling. Does it wrinkle badly? Does the zipper open cleanly? Does the pouch stand properly? Validate label placement, barcode readability, and copy accuracy.
Step 5: Confirm the full spec before sign-off. Lock the quantity, material structure, print method, delivery schedule, and packaging configuration. If you are ordering multiple SKUs, write down each one clearly. A simple approval sheet prevents costly confusion later.
For larger brands, it helps to document the pouch spec alongside other product packaging assets so your team does not reinvent decisions every reorder. That keeps branding consistent and reduces errors across packaging design, artwork, and fulfillment.
Common mistakes that drive refunds, complaints, and reprints
The first mistake is choosing based on appearance alone. A shiny pouch with a weak barrier can still fail in storage. A matte pouch with no puncture resistance can still split. The second mistake is choosing a zipper that looks elegant in a mockup but is annoying in real use.
Wrong size is another classic. Too large, and the pouch looks sloppy or underfilled. Too small, and filling gets ugly fast. Poor fit also affects seal-line placement and the finished look of the product. That is bad news for retail packaging because shelf presentation matters.
Skipping test fills is how teams discover that powder migrates into the zipper track or that a bulky product distorts the front panel. Different products behave differently. A sample that looks perfect empty may fail once filled.
Another expensive miss is failing to verify regulatory text and barcode placement before production starts. Once the run begins, fixing a typo or moving a barcode is no longer a small edit. It becomes a delay, sometimes a full reprint. If you are selling in regulated categories, double-check the artwork against your compliance requirements before approval.
Actionable next steps before you request a quote
Build a simple spec sheet first. Include product type, fill weight, dimensions, closure style, barrier needs, print count, and target quantity. That one page will save you from vague quoting and back-and-forth guesswork.
Collect two or three reference pouches you like. Not for copying. For comparison. Look at structure, feel, closure style, and the way the pouch presents on shelf. Ask yourself what you actually want to improve: freshness, convenience, visual impact, or shipping durability.
Ask for samples that match your product category. A generic zipper pouch is not enough if you are packing coffee, protein powder, pet treats, or anything sticky. Test the sample with real product, then check the closure, the seal, and the shelf presentation.
Compare quotes by total landed cost, timeline, and product performance. Do not shop only on unit price unless you enjoy fixing preventable problems. If you are evaluating custom resealable pouches, start with a proof and a test fill before you commit to full production.
FAQ
What are custom resealable pouches used for?
They are used for products that need repeated opening and closing, like snacks, coffee, powders, pet treats, supplements, and sample kits. They help preserve freshness, reduce spills, and make the product easier to store and use.
How do I choose the right closure for custom resealable pouches?
Match the closure to the product and user experience. Standard zippers work for general use, sliders help with frequent access, and child-resistant closures are used where required. If the product is sticky, powdery, or heavy, test the closure with real fills before approving production.
What affects the price of custom resealable pouches the most?
Size, material structure, print coverage, closure type, and order quantity are the biggest cost drivers. Lower MOQs usually increase unit cost, while premium barriers and specialty closures raise pricing but can improve product protection.
How long does it take to produce custom resealable pouches?
Timeline depends on artwork readiness, proof approval speed, material selection, and whether special tooling is needed. Samples can arrive faster than full production, but rush orders often limit options and increase cost.
Do custom resealable pouches need to be tested before ordering?
Yes. Test fills confirm seal performance, zipper ease, size fit, and shelf presentation before you commit to a full run. Testing helps avoid common issues like leaky seals, hard-to-close zippers, and the classic too-small pouch problem.