Custom Rub On stickers give packaging a flatter, more integrated look than ordinary labels without requiring every component to be custom printed. On the right surface, the graphic reads as part of the package rather than something applied on top.
That visual advantage matters only if the transfer also releases cleanly, holds up in handling, and fits the packing workflow. Buyers usually make better decisions by testing the actual substrate, checking labor time per piece, and comparing the transfer against labels or direct print on total cost, not appearance alone.
They are especially useful for short runs, premium kits, seasonal packaging, and branded components where a standard label looks too obvious. They are less forgiving than pressure-sensitive labels, so surface texture, artwork detail, and application consistency need to be evaluated early.
What custom rub on stickers are—and why they look printed-on
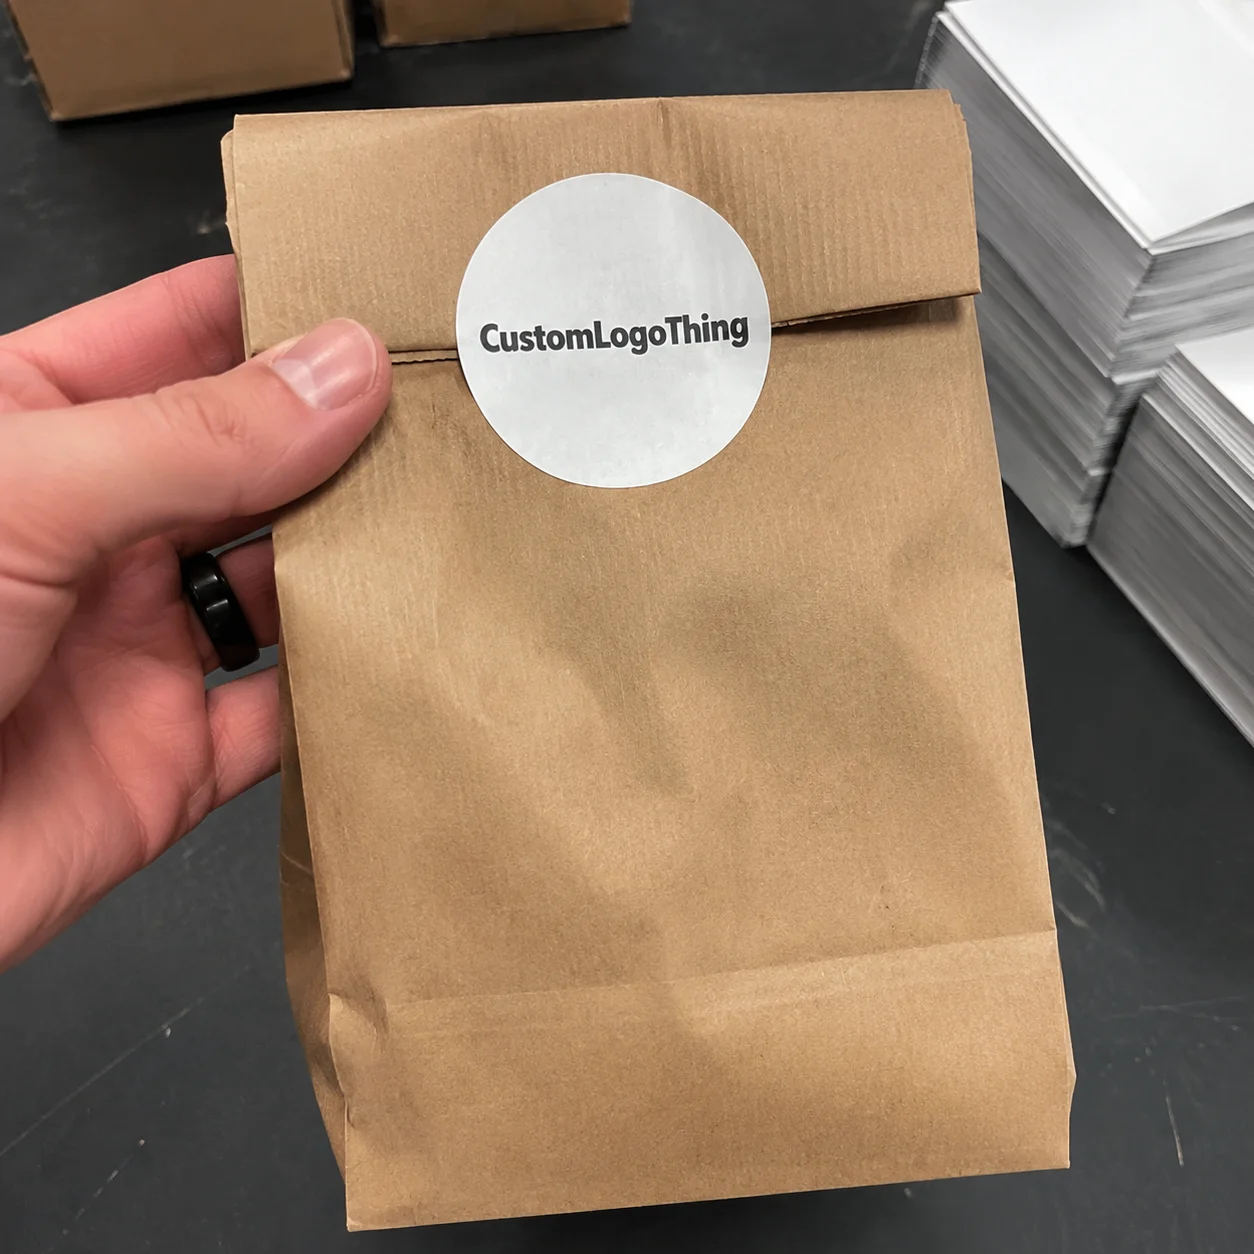
Custom Rub On stickers are dry-transfer graphics applied from a carrier sheet onto a final surface using pressure and burnishing. Once transferred, the carrier lifts away and leaves the artwork behind with little or no visible border. That is why they often look closer to direct printing than to a standard sticker.
A typical adhesive label still has facestock, adhesive, and a perimeter that catches light. Even thin labels show an edge on glass, coated cartons, metal tins, and smooth plastics. A rub-on transfer removes most of that visual buildup, which is the main reason buyers choose it.
This can make a plain item look intentionally specified without committing the whole package to a custom print run. Common uses include:
- branding on glass jars, bottles, and candle vessels
- logos or edition marks on coated paperboard cartons
- gift boxes, invitation packaging, and event kits
- short-run retail sleeves and presentation components
- maker and craft projects where a printed-on effect matters
They are not a full replacement for labels or decals. If the surface is rough, the mark needs to be repositionable, or the package will see heavy abrasion, another decoration method may be more dependable. Buyers comparing options across Custom Packaging Products or pairing transfers with Custom Labels & Tags usually get the best result by matching the method to the substrate and handling conditions.
How the transfer process works from backing to final surface
The process is simple: align the sheet, apply pressure over the artwork, and peel the carrier away after the image transfers. In production, clean surfaces and even burnishing are what separate a crisp result from a patchy one.
These transfers perform best on smooth, clean, relatively hard substrates such as coated paperboard, glass, polished plastic, metal, and some sealed wood surfaces. Problems are more common on open grain, dusty stock, waxy finishes, soft-touch coatings, and tight compound curves where full contact is harder to achieve.
A typical application sequence looks like this:
- Wipe the surface to remove dust, oil, powder, and residue.
- Align the transfer sheet and secure placement if needed.
- Burnish from the center outward with steady, even pressure.
- Lift the carrier slowly at a low angle.
- Inspect small type, corners, and fine lines before moving to the next piece.
Artwork detail affects how forgiving the process feels. Bold logos and solid shapes usually transfer more reliably than hairline rules, tiny isolated marks, or micro-text. Finish also changes the look: matte tends to suit muted, premium packaging; gloss creates more contrast; metallics work best on simple artwork and can become less readable on fine detail. On dark substrates, some jobs may need white support under the color to maintain opacity.
A sample sheet on the actual package is the fastest way to check whether the surface, curvature, and artwork are working together.
Key specs that control quality, durability, and appearance
Most quality issues trace back to a few specifications: artwork file quality, line weight, transfer size, finish, color expectations, and end use. If these are not defined clearly, even a good design can underperform.
Vector artwork is usually the safest choice because edges stay clean at any size and line weights can be controlled precisely. Low-quality raster files often produce weak edges and muddy detail. Dry transfers tend to expose those flaws rather than hide them.
Line weight matters just as much. Very thin rules, tiny serifs, and scattered decorative elements release less consistently, especially during manual application. Slightly stronger strokes usually perform better and still look sharp once applied.
Size and shape affect placement and yield. Compact badges, monograms, and centered logos are easier to align than long narrow graphics. Larger one-piece transfers are possible, but they demand flatter surfaces and more disciplined handling.
Durability depends on the use case after application. A gift box handled lightly for an event does not need the same scuff resistance as a carton that will be packed, shipped, stacked, and opened by consumers. Abrasion, moisture, and heat all matter. Teams concerned about distribution wear should evaluate performance in that context; references such as ISTA can help frame the discussion.
Color should also be specified realistically. A digital proof, an untransferred sheet, and an applied graphic on the final substrate will not look identical. If brand color is sensitive, provide a Pantone reference, approved hard sample, or previous standard.
| Option | Best for | Typical feel | Relative cost |
|---|---|---|---|
| Matte transfer | Minimal packaging, premium paperboard, understated marks | Low sheen, quiet finish | Moderate |
| Gloss transfer | High contrast logos, darker substrates, retail visibility | Brighter, sharper pop | Moderate |
| Metallic transfer | Seals, monograms, limited editions, accent branding | Reflective, visually heavier | Higher |
| Clear-background transfer | Printed-on appearance on smooth containers and cartons | Integrated, low-build look | Varies |
If sustainability is part of the brief, ask specific questions about liner waste, material composition, and disposal rather than relying on broad claims. General guidance from the EPA can help teams weigh decoration choices against wider waste goals.
Cost, pricing, and MOQ factors buyers should compare
Pricing usually depends on size, quantity, color count, finish, artwork complexity, proofing needs, and setup. Larger sheets, specialty effects, and tighter tolerances push cost up quickly.
MOQ is often where the tradeoff becomes clear. Short runs carry a higher cost per piece because setup is spread over fewer units. A 500-piece order will rarely look efficient next to a 5,000- or 10,000-piece run.
For simple mid-volume jobs, a rough working range might be about $0.18 to $0.28 per piece at 5,000 units, with smaller runs climbing higher. Metallics, white underprinting, difficult registration, or oversized graphics can increase that. These are broad reference points, not fixed market prices.
Total landed cost matters more than the headline unit price. Buyers should account for:
- setup fees and proof charges
- freight and packing costs
- spoilage during application
- manual labor time per piece
- sample rounds or revised proofs
A low quote can become expensive if release is inconsistent or placement is slow. Buyers balancing custom printed boxes, inserts, labels, and transfers usually make better decisions when they compare the full packaging system rather than isolating one line item.
Production steps, lead time, and ordering timeline
The production path is usually straightforward: artwork review, proofing, approval, manufacturing, finishing, packing, and shipping. Most delays happen before production starts, often because files are low resolution, dimensions are unclear, or finish changes keep moving.
A straightforward order commonly runs about 12 to 15 business days after final proof approval. Specialty finishes, larger volumes, testing, or seasonal demand can extend that. Rush service may be possible, but it usually costs more and leaves less room for meaningful QC.
A practical planning window looks like this:
- 2 to 4 weeks before launch: lock artwork, dimensions, finish, and substrate details
- 10 to 14 business days before needed ship date: approve final proof
- About 1 week before use: receive, inspect, and test on the real packaging components
- 1 to 2 days before assembly: confirm application method and acceptable quality standard with the team
Testing on the actual substrate is worth the time whenever the package has unusual coating, shape, or texture. It also gives the packing team a realistic way to estimate labor before the full run arrives.
Common application mistakes that cause lifting, misalignment, or wasted sheets
Most failures come from four issues: dirty surfaces, poor alignment, uneven pressure, or artwork that is too delicate for the substrate.
Surface prep is the first weak point. Dust, skin oil, anti-scuff residue, and converting powder can interfere with release. The result is usually edge lift, broken corners, or sections that stay on the carrier.
Texture and shape create the next set of risks. Deep grain, soft-touch coatings, embossing, and tight curves reduce contact area and make application less forgiving. Even small coating changes can alter results, which is why testing the exact material matters.
Artwork also causes avoidable waste. Extremely thin lines, undersized type, and scattered decorative fragments are more likely to crack or release unevenly. In production, slightly stronger artwork almost always outperforms fragile detail.
Another common problem is handling pieces too aggressively right after application. If newly transferred items are stacked, slid, or packed too quickly, scuffing can show up before inspection catches it. Controlled handling matters, especially on dark substrates.
Expert tips for getting sharper results and fewer reorder problems
The cleanest orders usually come from buyers who treat application as part of the specification, not an afterthought. A few simple controls improve consistency significantly:
- test a physical sample on the real item before approving volume
- use the same cleaning method and burnishing tool across the run
- create a simple jig or position guide for repeat placement
- build artwork with clear contrast and durable line weights
- set inspection points for corners, fine lines, and small type
It also helps to document the process internally. A one-page application sheet with approved placement, a photo of a passing sample, and the main fail conditions can reduce variation when multiple people handle the same SKU.
A practical rule is simple: choose this format when the package needs a premium, low-profile mark on a smooth surface and the labor is manageable. Choose a traditional label when speed, repositioning, rough-surface performance, or heavier wear matter more than the flush finish.
What are custom rub on stickers best used for?
Custom Rub On stickers work best on smooth, clean, firm surfaces where branding needs to look intentional and low profile. They are especially effective for jars, candle vessels, rigid boxes, coated cartons, gift packaging, sample kits, and limited-run retail presentations where a standard label would feel too visible.
They are usually a strong fit when:
- you want a printed-on appearance with minimal edge visibility
- the substrate is smooth enough for full, even contact
- the run is too short or too variable to justify direct print on every component
- the added hand application time fits the budget
- packaging presentation carries real value in the buying experience
They are a weaker fit on rough stock, soft-touch coatings, sharply curved items, or jobs that need repositioning. In those cases, pressure-sensitive labels or another decorating method are usually easier to execute consistently.
Next steps: how to spec, test, and place the right order
Start with the specifications that affect outcome and cost: substrate, transfer size, quantity, finish, artwork format, and expected handling conditions. If vector art is available, use it. If not, expect some cleanup before proofing.
Ask for a proof or sample that shows scale and placement clearly. If the package has unusual coating, texture, or curvature, test the transfer on the final item before approving the run. That step prevents more waste than any other.
Finally, plan around assembly, not just ship date. Even an on-time order can cause problems if there is no time left for inspection, operator training, or a short application trial. The right choice is the one that gives the best balance of finish, durability, and labor efficiency on the actual package.
FAQ
Are custom rub on stickers better than regular adhesive stickers?
For a printed-on look, often yes. For rougher surfaces, repositioning, or faster application, regular adhesive stickers are usually easier and more forgiving. The better option depends on the surface and the way the item will be handled after decoration.
What surfaces work best for custom rub on stickers?
Smooth, clean, relatively hard surfaces tend to work best, including glass, coated paperboard, polished plastic, metal, and some sealed wood finishes. Textured, dusty, soft-touch, or sharply curved surfaces carry more risk and should be tested before production.
How much do custom rub on stickers cost?
Cost depends on size, quantity, color count, finish, setup, and artwork complexity. Mid-volume pricing for simple jobs may fall around a few tenths of a dollar per piece, while smaller runs and specialty finishes cost more. Proofing, freight, and application labor should be included in the comparison.
How long does production usually take?
Straightforward orders often run about 12 to 15 business days after proof approval, though timing varies with file readiness, order size, finish requirements, and seasonal demand. Revisions and substrate testing can add time, but they often prevent more expensive delays later.
What artwork file is best for custom rub on stickers?
Vector artwork is usually best because it keeps edges sharp and allows line weights to be adjusted accurately. If vector art is not available, use the highest-resolution file possible. Clean shapes and adequate line thickness tend to transfer more reliably than very fine detail.


