Custom Shipping Bags: How to Choose, Price, and Order
Custom Shipping Bags can reduce parcel weight, speed up packing, and avoid the overbuilt-box problem that makes simple orders more expensive than they need to be. For many ecommerce teams, the main value is operational: fewer materials, fewer steps at the pack station, and a cleaner handoff to the customer.
The term itself causes confusion. Some buyers mean a basic poly mailer. Others want a printed bag with a logo or pattern. Others need a reinforced bag with better tear resistance or a stronger closure. Those are different products, and the difference matters more than the ink on the outside. A thicker bag is not automatically better. It is often just more expensive.
The right format depends on the product. Soft goods usually fit bags well. Items with corners, hard edges, or fragile inserts often do not. Packaging works better when it follows the product, not the mood board.
What custom shipping bags actually solve
The strongest case for custom shipping bags is a combination of protection, speed, and presentation. A good bag can hold folded apparel, towels, soft promo kits, and other low-fragility products without the weight and cube of a box. For those categories, the bag usually packs faster and ships cheaper, which matters when labor and dimensional weight are eating margin.
Branding is part of the value, but it is not the whole story. A printed mailer can make the parcel feel intentional instead of generic. A plain poly bag can still do the job if the goal is cost control. Reinforced options sit in the middle: more structure, more puncture resistance, and usually a stronger seam or closure.
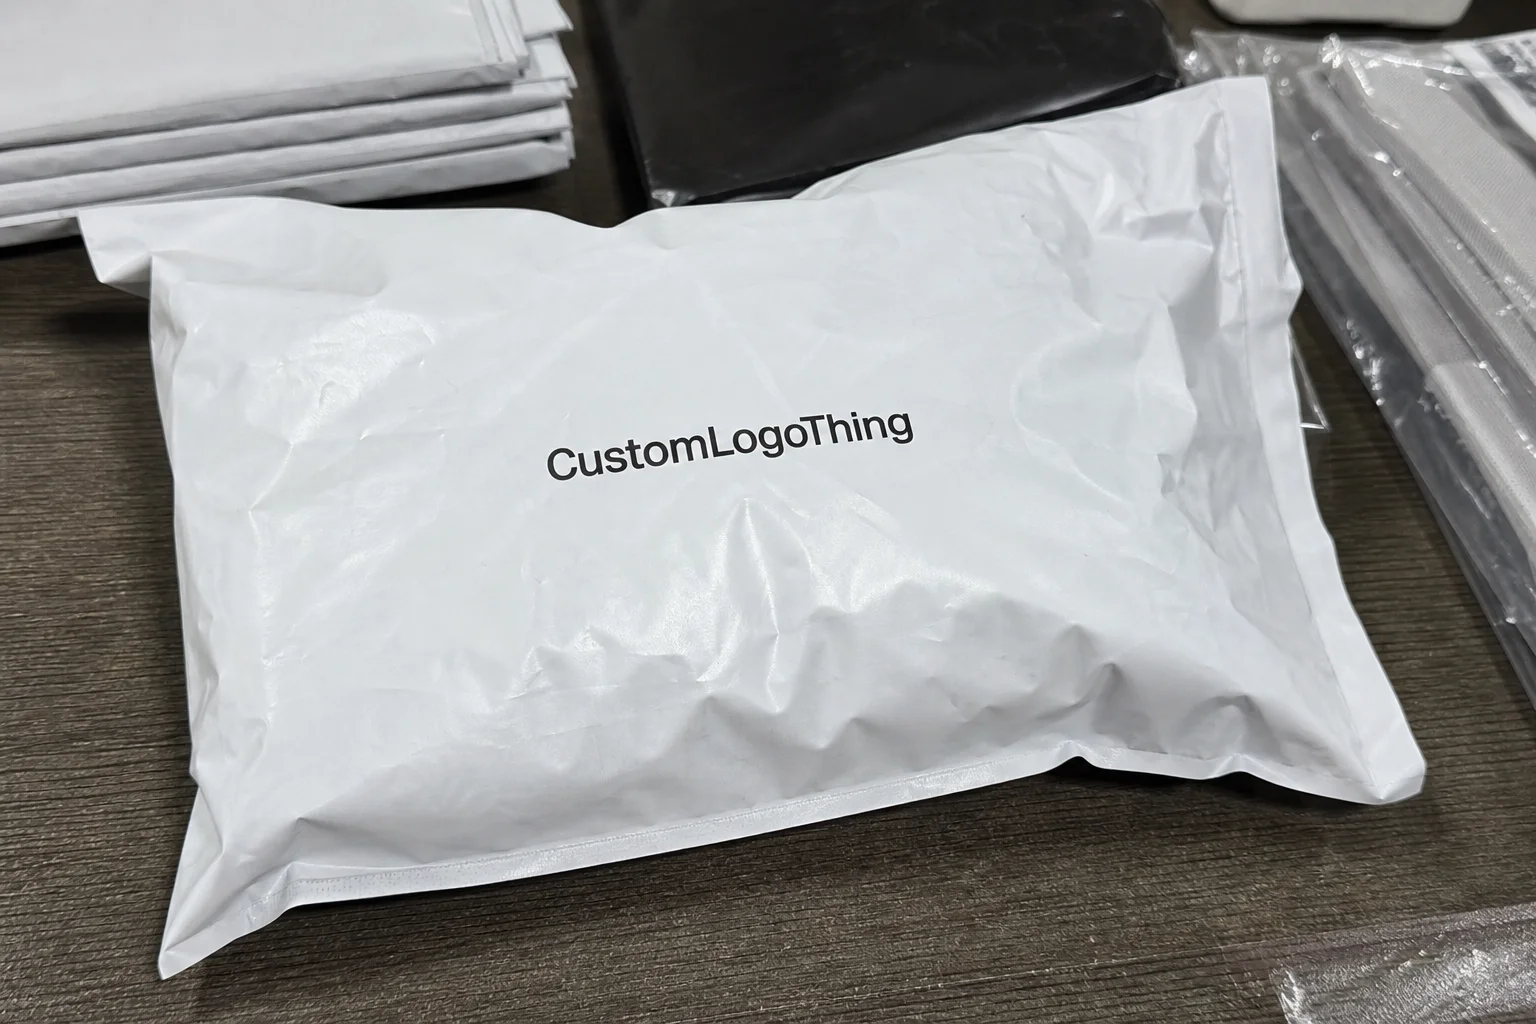
- Plain poly mailer: best for low-cost, high-volume shipping where appearance is secondary.
- Printed mailer: useful when the shipment itself is part of the customer experience.
- Reinforced shipping bag: better for heavier soft goods, rougher transit, or products with sharper edges.
Bags also reduce the number of failure points in fulfillment. Boxes need tape, void fill, fold accuracy, and more storage space. Bags usually need less of all four. That can shorten pack time by a meaningful margin in a busy operation, especially when orders are repetitive.
None of that means a bag should replace every carton. Hard goods, boxed accessories, products with rigid corners, and fragile sets still need the structure of a box. If the item needs crush protection, start with a box, not a mailer. For teams comparing formats, Custom Poly Mailers are often the simplest point of comparison, while Custom Shipping Boxes make sense when the product needs more structure.
The cheapest package is not the cheapest program if it tears in transit or slows the line at packing.
How the structure, film, and seal work
A shipping bag looks simple from the outside, but performance lives in the spec. Film thickness, material blend, seam construction, and closure type decide whether the bag feels flimsy or dependable. Buyers often focus on thickness alone, usually in mils, but that number only makes sense inside a broader material structure. A 2.5 mil co-extruded film can outperform a weaker 3 mil single-layer option.
LDPE is common because it is flexible, inexpensive, and easy to convert. Co-extruded film adds control across layers, which can improve puncture resistance or sealing performance. Recycled-content film can work well for lighter loads if the resin is consistent and the supplier understands the blend. Compostable film is a separate decision. It can support a specific brand claim, but it usually changes cost, shelf life, and performance expectations.
The closure is just as important as the film. A peel-and-seal strip should close cleanly, hold during handling, and not open when the parcel is crushed or flexed. If the adhesive is weak, the whole bag behaves badly. The right test is not how it feels in your hand. It is whether the finished pack survives normal parcel abuse.
Printing changes both appearance and durability. Surface printing can deliver a sharp look on many films. Reverse printing places the art beneath the outer layer, which often protects it from abrasion. Heavy ink coverage can raise cost because it uses more ink and requires tighter production control. Fine lines, delicate gradients, and small text are risky on flexible film because the surface moves.
Quality control should be done on the actual bag, not a generic sample. Ask for seal adhesion checks, seam consistency, and a simple package drop test. If the parcel will travel through rough carrier networks, a rub test on the printed surface also helps. For transport-related testing methods, ISTA is a useful benchmark. For fiber-based elements in the packaging system, FSC is relevant when certification claims matter to the brand.
Material choice is tradeoff management. You usually get lower cost, better presentation, better puncture resistance, or lower environmental impact, not all four at once. That is why the spec sheet matters more than the sales pitch.
Custom shipping bags cost, MOQ, and unit pricing
Pricing for custom shipping bags usually comes down to six variables: size, thickness, material, print coverage, print colors, and quantity. Volume has the strongest effect. Once a run moves from trial size into repeat production, unit cost drops quickly. The problem is that setup, freight, and proofing do not shrink at the same rate, so a small order can look cheap per piece and still cost more in total than expected.
For planning purposes, the ranges below are a useful starting point. They are directional, not fixed quotes, and they assume standard production for common mailer sizes.
| Bag type | Typical use | Approx. unit price | Notes |
|---|---|---|---|
| Plain poly mailer | Low-fragility apparel, soft goods | $0.05-$0.12 | Lowest cost, no branding, fast to source |
| 1-color printed mailer | Basic brand recognition | $0.12-$0.25 | Often the practical starting point for first-time programs |
| Full-coverage printed bag | Retail packaging feel, stronger package branding | $0.22-$0.55 | More ink, more setup, tighter print control |
| Recycled or specialty film bag | Sustainability-led programs | $0.18-$0.40 | Performance depends on the exact film recipe |
| Compostable mailer | Brand programs with specific disposal claims | $0.35-$0.90+ | Usually the highest cost; test before committing |
A common first quote might look like this: a 14 x 17 inch one-color printed bag at 5,000 pieces could land around $0.18 to $0.28 per unit before freight. A heavier or more heavily printed version of the same size can move closer to $0.30 to $0.50. At 10,000 pieces, the per-unit price often improves, but the total order value climbs fast.
The hidden costs are usually the ones that surprise new buyers:
- Artwork cleanup: logo tracing, file corrections, and color adjustment.
- Plates or cylinders: common on printed runs and easy to miss in early quotes.
- Proofing: digital or physical, depending on the supplier and print method.
- Freight: especially noticeable on lightweight but bulky cartons of bags.
- Over-specification: paying for more film, more ink, or more size than the product needs.
If the artwork is still changing, a smaller run keeps risk down. If the spec is stable and the bag is part of a repeatable packaging program, volume starts to make sense.
Process and timeline from quote to delivery
The cleanest way to Order Custom Shipping bags is to treat the purchase like a specification exercise. The supplier needs the bag dimensions, target thickness, closure type, quantity, print colors, and delivery destination. Give those six inputs early and the quote is usually clearer. Skip them and the process turns into a round of assumptions that slow everything down.
A normal ordering flow looks like this:
- Request a quote with the product dimensions and target quantity.
- Confirm the film type, size, print method, and closure style.
- Review a digital proof or sample mockup.
- Approve artwork and final specs.
- Move into production.
- Inspect, pack, and ship.
Lead time depends on how complex the order is. A simple printed bag can sometimes move in about 12 to 15 business days after proof approval. Special materials, high-coverage printing, or larger production runs usually take longer. Rush jobs are possible in some cases, but they usually narrow material options and increase price.
Lock the approved file, approved dimensions, and approved color expectations in writing. A sample viewed under desk lighting can look different from a production run under warehouse light. Film behaves differently than coated paper, so matching expectations early avoids disputes later.
Before asking for pricing, prepare this short list:
- Product dimensions and weight
- Bag style and seal preference
- Thickness target or performance requirement
- Print colors and artwork file
- Quantity bands you want quoted
- Delivery address and required date
That page of information can save days of back-and-forth and keeps the quote from being rebuilt later.
How to choose the right bag spec for your product
The right bag spec starts with the product, not the brand presentation. Weight, shape, surface texture, and edge profile all matter. A folded stack of tees is easy to package. A mixed promo kit with inserts, clips, and hard components is not. If the product can puncture the film or stress the seal in transit, the bag needs to be stronger or the format should change.
For lightweight apparel, a 2.0 to 2.5 mil film is often enough if the seal is consistent and the size is right. For heavier garments or bulkier soft goods, 3.0 to 4.0 mil is a more realistic target, especially if parcels travel through rougher ecommerce shipping lanes. Once hard edges, hardware, or boxed inserts enter the picture, a sample pack test becomes useful very quickly.
Size matters as much as thickness. Too tight and packing slows down. Too loose and the contents shift, which makes the parcel look careless. The best fit usually leaves enough room for the folded item and any insert, but not so much that the package balloons or collects excess air.
Branding should support function. A bold logo on one side may do more than full-coverage artwork that crowds out label space or makes scannability awkward. Matte can look premium, but glossy can resist scuffing better. A strong design is the one that keeps its shape under handling.
For teams building a broader packaging system, Custom Packaging Products is usually the better starting point than trying to force one format to solve every problem. Bags, boxes, inserts, and labels should work together instead of competing for attention.
A bag that looks polished on a screen but fails under shipping stress is not premium. It is an expensive correction waiting to happen.
For branded packaging, the decision is straightforward. Bags are better for speed and weight savings. Rigid formats like boxes are better when the product needs crush protection or a more structured presentation. Those two categories are not interchangeable, and pretending they are usually creates avoidable damage or wasted spend.
Common mistakes that cause weak bags and wasted money
The first mistake is choosing the cheapest film and assuming the rest of the spec will compensate. It usually does not. Low-cost bags can tear more easily, but they also tend to feel flimsy in the hand, which changes how customers read the brand.
The second mistake is overprinting fine detail. Thin lines, tiny text, and subtle gradients often look poor on flexible film. If the artwork depends on precision at a small scale, it is probably better suited to a different substrate.
The third mistake is copying a competitor’s mailer without matching the load or shipping route. A bag that works for a lightweight tee can fail for a heavier knit or a kit with edges. A product team needs to buy for the actual order, not for the image.
The fourth mistake is approval sloppiness. The wrong size, unclear color expectations, poor logo placement, and no room for a return label all create avoidable problems. These are the most common issues that show up late:
- Artwork placed too close to the seal or tear edge
- Barcode space forgotten until the proof stage
- Size chosen from a guess instead of a sample fit test
- Pantone match assumed on film that will never behave like coated paper
- Shipping carton budget left out of the calculation
None of these mistakes are dramatic. All of them cost money. A cleaner spec sheet and a harder proof review prevent most of them.
Expert next steps before you place an order
If you are close to ordering custom shipping bags, start with a sample or a side-by-side spec comparison before committing to a full run. That is the fastest way to see whether a lighter film is enough or whether the product needs more structure. Guessing is expensive. Testing is cheaper.
Use this checklist before requesting quotes:
- Measure the packed product, not just the unpacked item
- Pick a quantity band that matches your real reorder pattern
- Decide whether the bag needs to look premium or just work hard
- Set a realistic delivery date, then add buffer for proofing
- Ask for two or three construction options, not one inflated quote
A capable supplier should be able to compare a lighter film against a heavier one, or one-color printing against full coverage, without turning the conversation into a pitch. The value is in the explanation. If the cost difference cannot be justified clearly, the quote is probably not well grounded.
Keep the approved artwork, spec sheet, and final dimensions with the purchase record. That makes reorders faster and prevents the next batch from drifting. Consistency is boring, but it saves money.
For teams building a repeatable shipping system, custom shipping bags should be treated as one part of the packaging program, not as an isolated purchase. Keep the final proof, the approved material spec, and the pricing context together so the next order starts from a real baseline instead of a guess.
What size should custom shipping bags be for apparel orders?
Choose a bag that leaves enough room for the folded garment and any insert, but not so much extra space that the package shifts or looks sloppy. If you ship multiple garment types, size the bag around the largest common item and verify the fit with a sample before placing a full order.
How much do custom shipping bags usually cost per unit?
Unit price depends on size, thickness, material, print coverage, and order quantity. Smaller runs cost more per bag, while larger runs reduce unit cost but increase upfront spend through setup, freight, and proofing.
What is a normal lead time for custom shipping bag production?
Standard orders usually take longer than stock mailers because artwork, proofing, and print production all happen before shipment. Simple orders can sometimes move in roughly two weeks after proof approval, while specialty materials or larger runs can take longer.
Which material is best for durable custom shipping bags?
Durability comes from matching the film type and thickness to the product weight and shipping conditions. Co-extruded or reinforced films can improve puncture resistance, while recycled-content options can work well if the load is modest and the resin blend is consistent.
Do custom shipping bags need a printed logo on both sides?
No. One-sided print is often enough for brand recognition and usually costs less than full coverage. Print placement should support packing speed, label visibility, and scannability instead of using space on decoration that does not help the shipment.


