fedex branded boxes can make sense when a shipment needs to do more than hold a product. They can reduce loose labels, clean up the pack line, and make the package feel intentional the second it lands on a doorstep. The catch is that packaging only pays off when the structure, print, and fulfillment flow are all aligned. A box that looks polished in a mockup but slows the warehouse or arrives crushed is just an expensive mistake with branding on it.
What FedEx Branded Boxes Actually Are
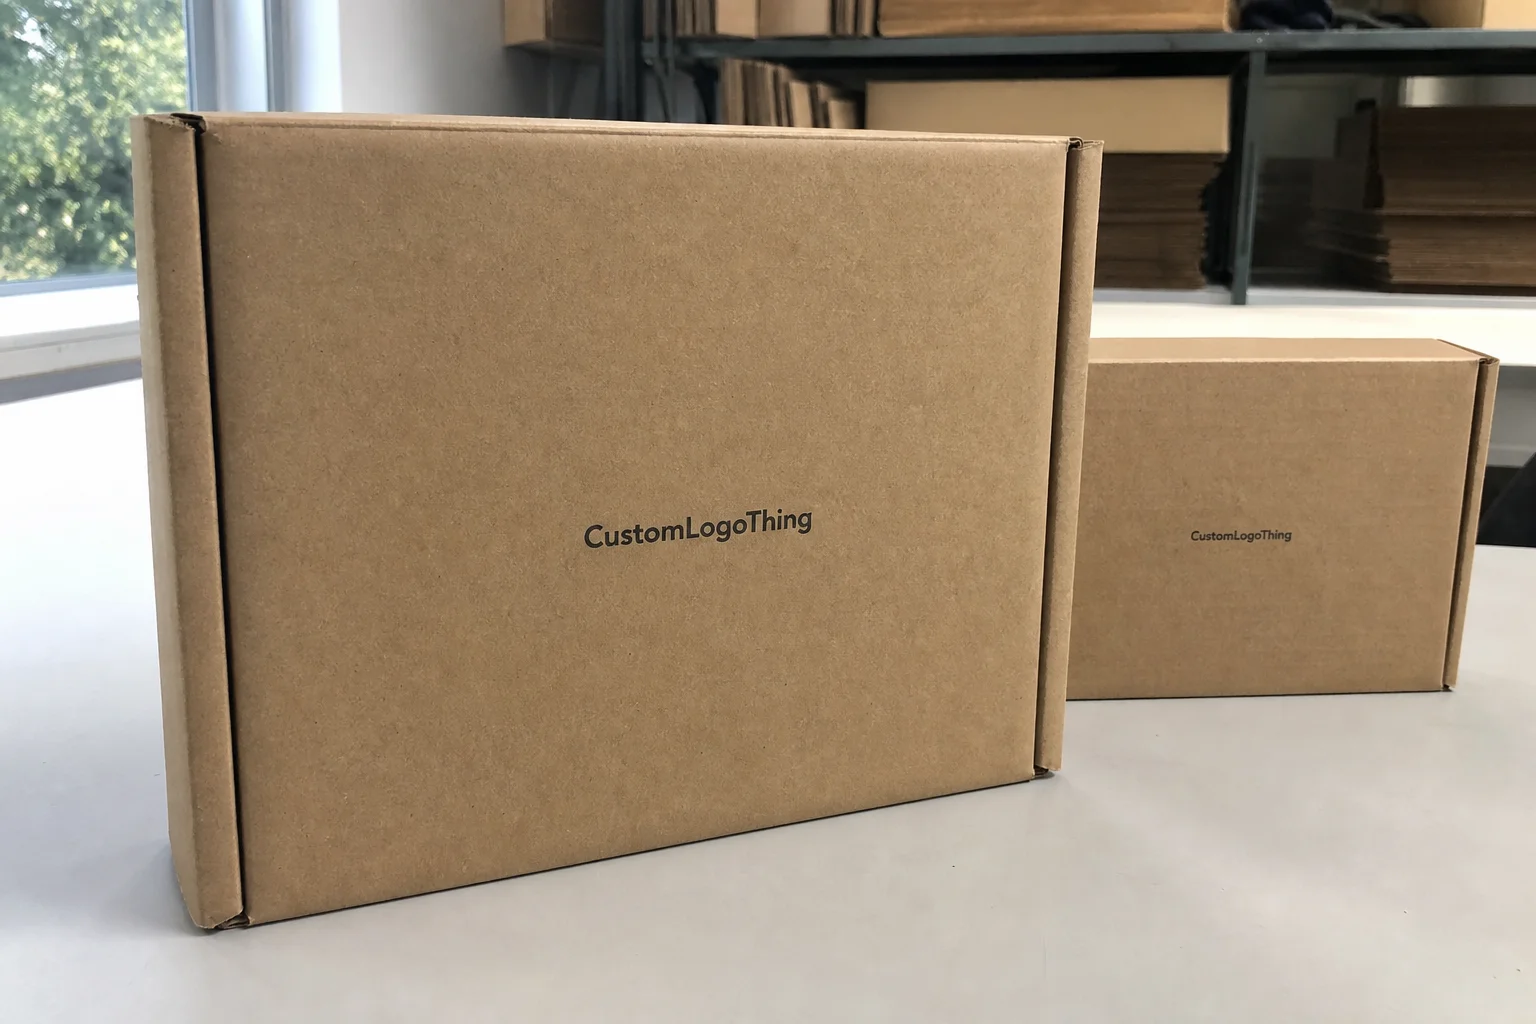
In practical packaging terms, fedex branded boxes are custom-printed shipping cartons used in a FedEx delivery workflow. That might mean a shipper carrying a brand logo, a service mark, or a branded message panel. It is not the same as grabbing a random carton and sticking a label on top. The useful version is a corrugated box that protects the contents, fits the product tightly, and carries the brand without forcing the team to add extra decoration at pack-out.
That distinction matters because packaging cost is never just the box price. A plain carton may look cheaper on paper, but once you add printed tape, extra labels, void fill, insert labor, and the time it takes to make each order look finished, the gap narrows fast. Branded outer packaging often becomes a workflow decision, not a vanity purchase.
These boxes tend to work best in a few situations:
- Subscription kits that need a consistent first impression.
- DTC orders that arrive directly at the customer’s door.
- Sample programs where the package is part of the sales process.
- Replacement shipments that should feel handled carefully.
- Premium B2B deliveries where the receiving team still notices the carton.
The outer box handles presentation. The insert, divider, tray, or void-filling system handles protection. When those two layers are designed together, fedex branded boxes can support the product instead of fighting it. That sounds obvious, but a lot of bad packaging orders start with a pretty render and end with a crushed corner, a rattling insert, or a warehouse team that hates the spec.
A branded carton is only useful if the structure survives real handling. A nice-looking box that fails in transit is not premium. It is a return.
If the packaging program is still at the planning stage, it helps to compare your carton specs with other formats in Custom Packaging Products. For teams trying to understand what actually worked in similar launches, Case Studies are usually more useful than generic product copy.
How the Packaging and Fulfillment Flow Works
The workflow starts with the brief, not the artwork. That brief should include product dimensions, product weight, ship method, print area, storage limits, and whether the carton has to survive parcel handling, pallet stacking, or both. Without that information, the spec is guesswork. Guesswork is expensive.
From there, the supplier builds the structural dieline. Artwork gets placed on that exact template, then the proof is checked for trim, bleed, fold lines, and any panel that could disappear into a seam. If someone approves art against the wrong dieline, the run can be compromised before the first sheet is printed. The mistake is common because it looks small at the proof stage and huge once 10,000 boxes are sitting in a warehouse.
After proof approval, production usually runs through cutting, printing, converting, and packing. If the design includes inserts or partitions, those need the same level of dimension control as the outer carton. A 2 mm error sounds harmless until a packing line is trying to close boxes all day and the lid keeps fighting the product.
- Confirm internal dimensions, weight, and any protective components.
- Approve the dieline before final art placement.
- Review a digital proof or physical sample for fit, color, and registration.
- Produce the cartons and inspect glue seams, scores, and print consistency.
- Receive inventory or send directly to the fulfillment center.
- Pack, seal, and ship against the live order flow.
That process sounds simple because the steps are simple. The difficulty comes from the handoffs. A design that looks clean on screen can still create friction on a line that packs hundreds of orders a day. Tabs may catch. Panels may bow. A closure may need one extra motion. One extra motion, repeated a thousand times, becomes real labor cost.
The better rule is straightforward: design around the fulfillment process, not around the mockup. If the warehouse uses auto-taping, standardized shelf bins, or pick-and-pack scanning, the box needs to fit those constraints. Otherwise, fedex branded boxes add handling instead of removing it.
One more operational point: if the branding includes a protected mark, get approval before print release. Packaging teams sometimes learn this the hard way after a run has already been scheduled. Fixing a legal or brand-control issue after production starts is much uglier than fixing it during proofing.
What Shapes Cost, MOQ, and Unit Economics
Packaging pricing is driven by a small list of variables, and every one of them matters. Board grade, carton size, print coverage, color count, coating, finishing, die complexity, and run length all affect the unit price. Freight matters too, especially if the boxes ship flat and sit in storage before launch. The real question is not “How cheap is the box?” It is “What is the landed cost once production, labor, freight, storage, and damage risk are included?”
MOQ works the way most buyers expect, but it still causes bad decisions. Small runs carry a higher unit price because setup and proofing are spread across fewer boxes. Larger runs lower unit cost, but they also tie up cash and floor space. That is a normal tradeoff. The mistake is buying for scale before the spec has been tested in actual packing conditions.
| Option | Typical Unit Cost | Strength / Finish | Best Use |
|---|---|---|---|
| Plain corrugated box + label | $0.35-$0.85 | Basic protection, minimal branding | Low-touch shipments, commodity orders |
| One-color custom printed box | $0.60-$1.25 | Balanced brand presence and durability | DTC, samples, replacements |
| Premium full-print mailer or carton | $1.10-$2.50 | Higher visual impact, more finishing choices | Launch kits, premium unboxing, retail-style delivery |
Those numbers are broad on purpose. A short run with heavy ink coverage can cost more than a larger order with a simple one-color layout. At roughly 5,000 pieces, a branded corrugated box often lands somewhere around $0.60-$1.25 per unit, depending on board choice and print method. Add special coatings, complex artwork, or stricter tolerances and the number moves up. That is normal. Packaging is not magic; it is a manufacturing job with a lot of variables.
Ask for a quote that separates setup fees, proof charges, freight, storage, and any overrun or underrun tolerance. If everything is rolled into one vague number, comparison becomes meaningless. A supplier who is transparent about those line items is usually easier to work with after the order lands too.
For fedex branded boxes, the unit economics should also account for handling time. If the box saves 10 seconds at pack-out, that can matter more than shaving two cents off the carton. Cheap packaging that slows the line is not cheap. It just hides the cost somewhere else.
Production Steps and Turnaround
A standard production flow usually moves through six stages: brief, structural spec, art proof, sample or digital proof, production, and quality check. After that, the cartons are packed and delivered. The schedule stretches when the artwork keeps changing, the color target is unusually tight, or the structure needs tooling that was never fully captured in the initial request.
For simple corrugated work, 12-15 business days after proof approval is a reasonable planning range. More complex orders often need 15-25 business days, especially if the print method is specialty, the carton shape is unusual, or the buyer wants a physical sample before the full run starts. Busy seasons can add more time. If the launch date matters, build slack into the schedule instead of hoping for the fastest case.
These are the usual delay points:
- Artwork revisions after the dieline has already been approved.
- Missing logo files or low-resolution graphics.
- Unclear ownership of final sign-off.
- No sample review before production.
- Late changes to dimensions after inserts were already designed.
In practice, fedex branded boxes move faster when the supplier gets a complete brief on day one. The useful brief includes dimensions, product weight, print area, target quantity, shipping method, and any brand requirements that affect color or placement. The more complete the input, the less likely you are to pay for rework later. That is one of those boring truths that saves money every time.
If the contents are fragile, premium, or oddly shaped, a physical sample is worth the time. A PDF will not show a binding insert, a lid that bows, or a closure that leaves a visible gap. Those problems show up during handling, not in a presentation deck. Good buyers treat samples as part of the launch schedule, not as an optional add-on for people with extra patience.
Quality control should include a few basic checks before the full shipment is released: print registration, glue seam integrity, score accuracy, board crush, and a fit test with the real product. For higher-risk programs, compression and drop testing are worth the extra effort. Standards from organizations like ISTA are a better benchmark than gut feeling, especially when the shipment route is rough or the product margin is thin.
Size, Board, and Print Choices That Protect Products
Internal dimensions should be set from the product, the insert, and the board thickness, not from the outside carton alone. That sounds obvious until a buyer orders from an outside dimension and discovers there is no room for the protective components. Then the box ships loose, the product shifts, and everybody pretends the damage was bad luck.
Board selection is the next decision. Single-wall corrugated is common for lighter shipments and works well when the product is stable and the route is not brutal. Double-wall construction is a better choice for heavier items, harsher handling, or cartons that need stronger stacking performance. For flute type, E-flute gives a cleaner print surface and a thinner wall. B-flute offers more cushioning and crush resistance. Neither is universally better. The right answer depends on the product, the route, and the amount of handling the carton will see.
Some practical specifications help narrow the field:
- 32 ECT or 200#/ECT-32 single-wall for lighter to moderate parcel shipments.
- 44 ECT or 275#/ECT-44 double-wall for heavier contents or stacked storage.
- E-flute when print detail and presentation matter more than wall thickness.
- B-flute when cushion and compression resistance matter more than a thin profile.
Print method changes both appearance and durability. Flexographic print is efficient for larger runs and simpler graphics. Digital print helps when the order is short, the artwork may change, or the launch is still being tested. Litho-lamination can deliver a richer image, but it usually costs more and needs tighter planning. If the design uses dark inks, full-bleed panels, or a high-touch surface, ask how the finish will look after abrasion. A carton that scuffs badly on contact stops looking premium very quickly.
For fiber certification, check whether the buyer base expects FSC material or recycled content claims. If those claims matter, they need to be supported on the spec sheet and by the supplier’s documentation. No one enjoys explaining a sustainability claim that was built on vibes.
The safest packaging spec starts with structure, then print. If the carton cannot survive handling, the artwork does not matter. fedex branded boxes work best when the box survives the trip first and looks good second. That order is not glamorous, but it is correct.
Ordering Errors That Cause Reprints, Damage, or Delay
The most expensive packaging mistakes are usually the boring ones. Wrong dieline. Wrong dimensions. Wrong assumption about who approves the proof. Those errors are common because they look minor at the start and turn expensive only after the order is already in motion.
One common failure is approving artwork against an old template. Another is forgetting that inserts, tissue, instruction cards, and bundled accessories all take up space. A box that should hold a 16-ounce product can become too tight once the inner components are added. On the other side, an oversized carton creates excess void fill, higher freight cost, and a weaker opening experience. Either way, somebody pays.
Color is another trap. If the brand wants a specific black, blue, or red, the target needs to be defined clearly. “Close enough” is not a production spec. The same applies to logo files. A clean vector file saves time. A low-resolution image buys you a round of corrections and a delay nobody needs.
There is also a hidden operational cost to poor planning:
- Damaged goods trigger replacements and service tickets.
- Poor fit slows pick-and-pack labor.
- Inconsistent print makes reorder batches look mismatched.
- Overbuying ties up cash and storage space.
The mistake I see most often is treating packaging as a standalone purchase instead of a supply-chain decision. A box affects labor, freight, damage rate, and customer perception at the same time. That is why fedex branded boxes should be specified with the same discipline used for any other production component. The difference between a good pack and a bad one is usually not creativity. It is care with details.
If there is one habit that reduces reprints, it is this: lock the approver list before production starts. Too many hands on the proof stage create the same outcome every time. More opinions, slower sign-off, more revision loops, more cost. A packaging spec needs one owner, not a committee.
Next Steps for Building a Spec Sheet and Requesting Quotes
If you want usable pricing, send a complete spec sheet. Not a rough idea. Not a screenshot of a carton that looked nice. A real brief that gives the supplier enough information to quote accurately and compare options on equal terms.
- Internal dimensions and preferred tolerances.
- Product weight and any inserts, dividers, or padding.
- Print areas, color count, and brand files.
- Order volume, reorder expectations, and storage constraints.
- Target ship date and any freight limitations.
- Whether you need a sample, a structural recommendation, or both.
Ask for a line-item quote, a sample or mockup, and a structural recommendation. If the supplier cannot explain how the carton will behave in a fulfillment environment, keep asking until the answer gets specific. Packaging that looks good but fails in the warehouse is not a win.
For fedex branded boxes, the fastest quoting process usually comes from a single document with the final spec, the artwork status, and the approval owner named clearly. Keep the revision count down. Vague inquiries waste time, and the cheapest quote is rarely the one that survives production without changes.
What are fedex branded boxes used for?
They are used for shipments where the outer carton needs to support branding, protection, and presentation at the same time. They are a strong fit for e-commerce orders, kits, samples, and replacement shipments that need a more deliberate impression than a plain box.
How much do fedex branded boxes cost compared with plain boxes?
They usually cost more per unit because of setup, artwork handling, and any special finishing, but they can reduce labels, tape, and manual steps. Final pricing depends on size, board grade, print coverage, quantity, and whether tooling or proofs are required.
What is the typical turnaround for fedex branded boxes?
Simple orders can move quickly after artwork approval, while more complex specs need extra time for samples, tooling, and quality checks. A practical planning window is about 12-15 business days for straightforward work and 15-25 business days for more involved runs.
What size should I choose for fedex branded boxes?
Use the product’s internal dimensions plus inserts and protective padding, then confirm the finished fit with a sample or mockup. Avoid oversized cartons because they raise shipping cost, increase void fill, and weaken the presentation.
Can I order fedex branded boxes in a small quantity?
Yes, but smaller quantities usually carry a higher unit cost and may limit print or finishing choices. Ask about digital print, pilot runs, or lower MOQ options if you want to test the format before scaling.
Do I need approval before printing branded shipping cartons?
If the artwork includes a protected logo, mark, or service branding, written approval is the safe path before the print run starts. That prevents rework, delays, and the awkward situation where a finished order cannot legally ship as designed.


