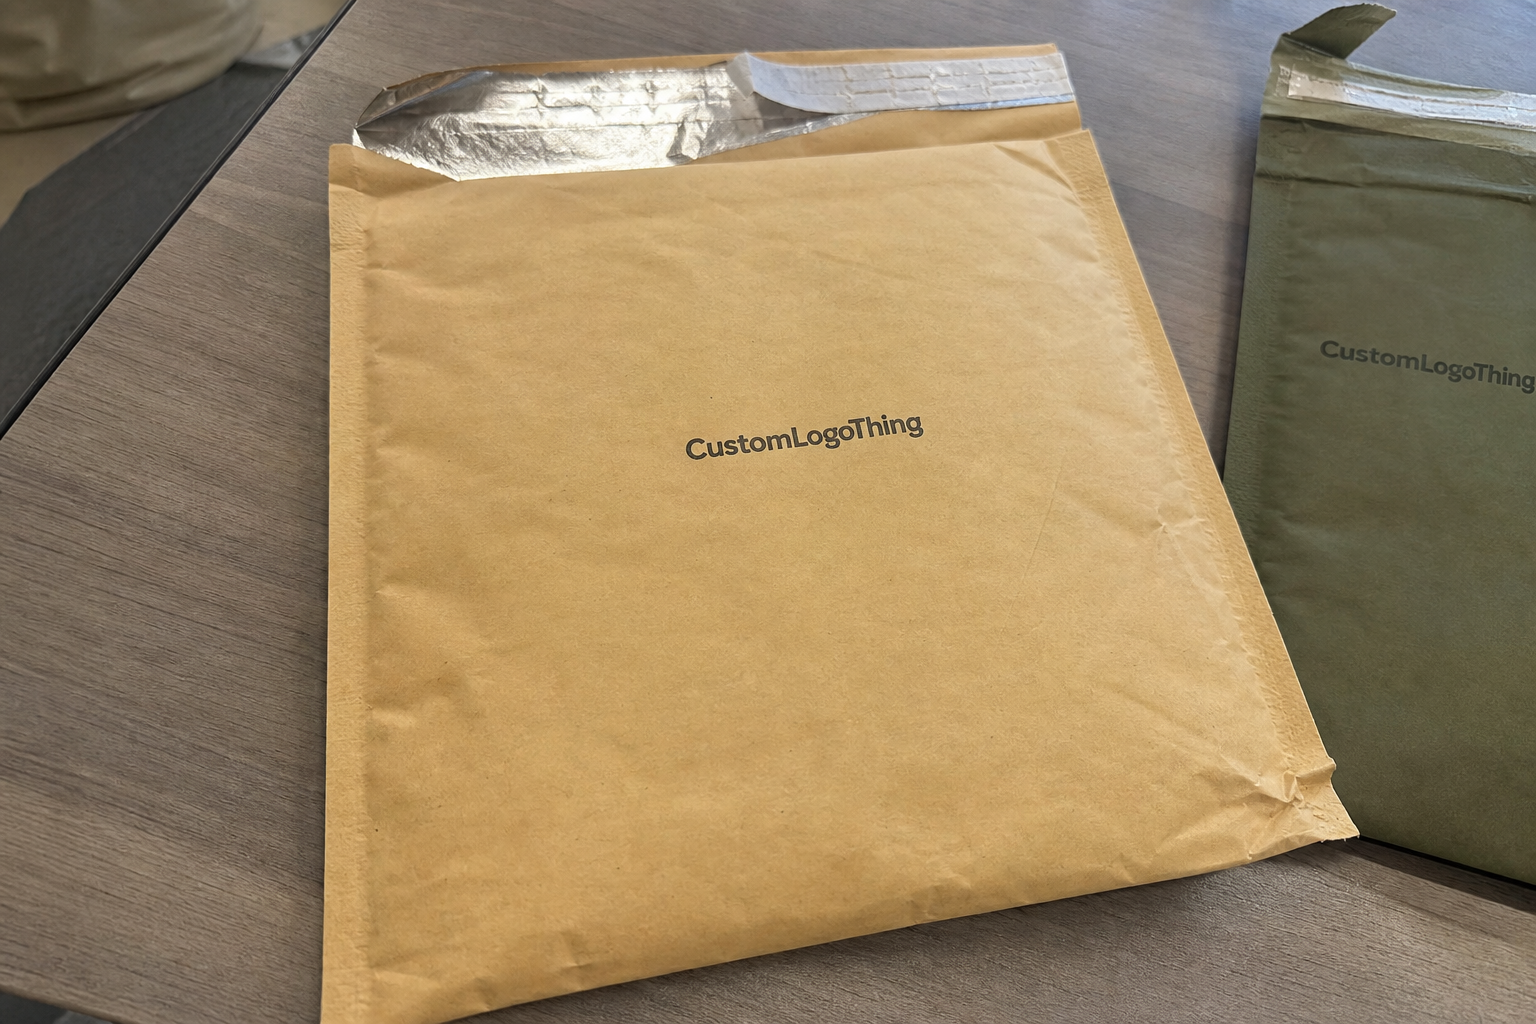
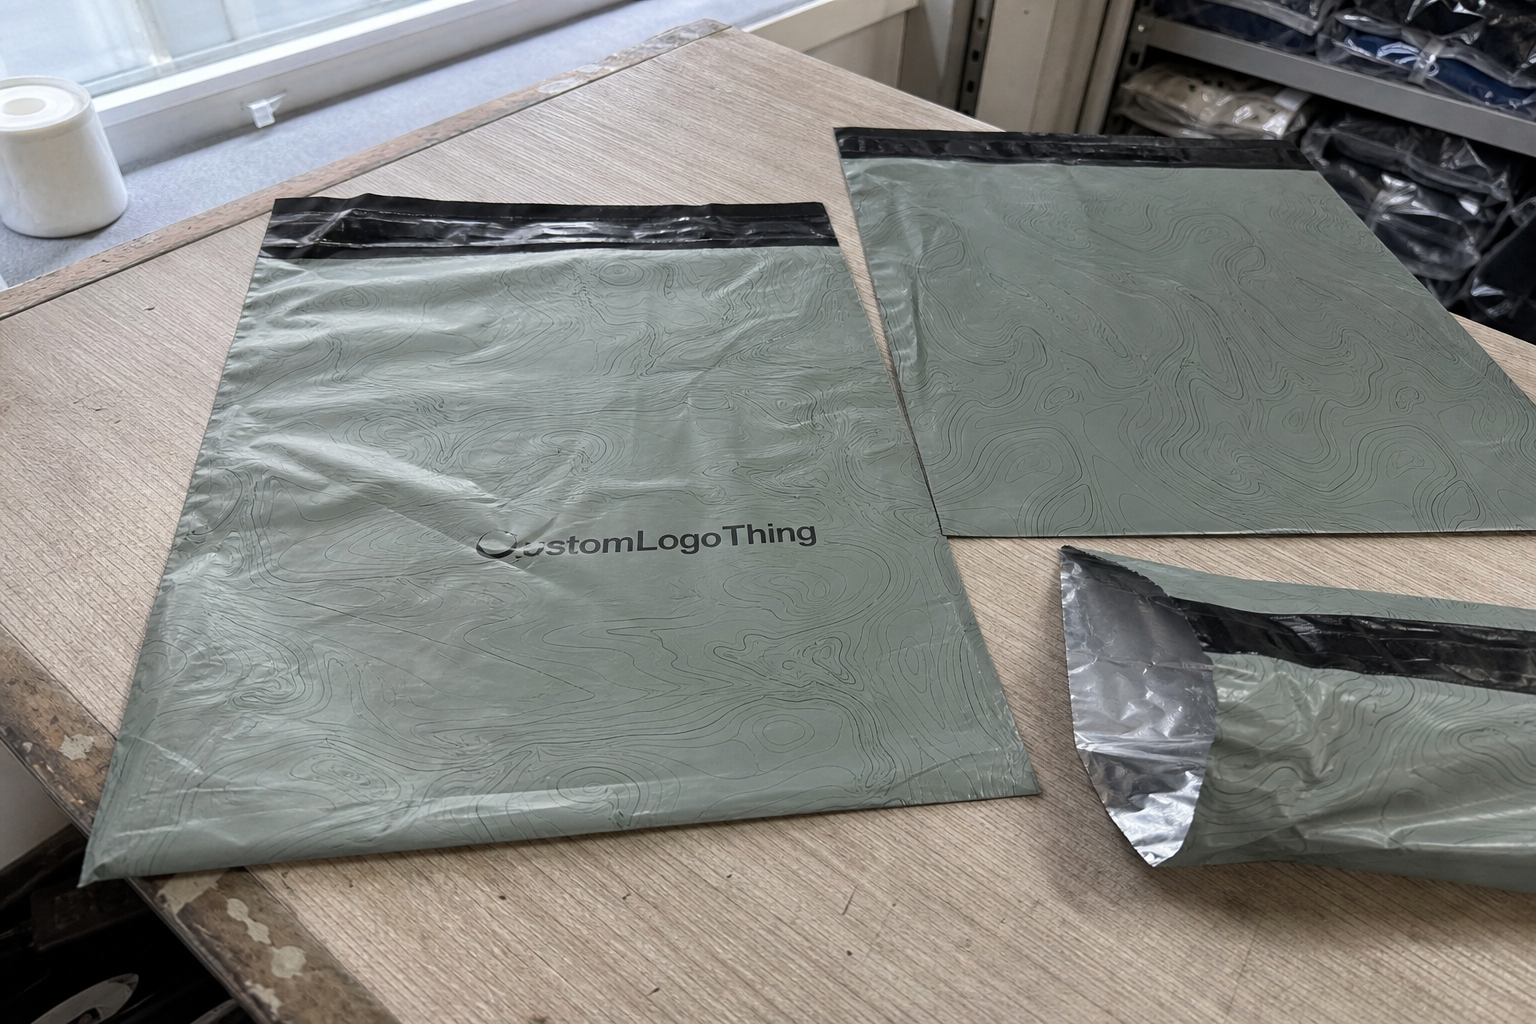
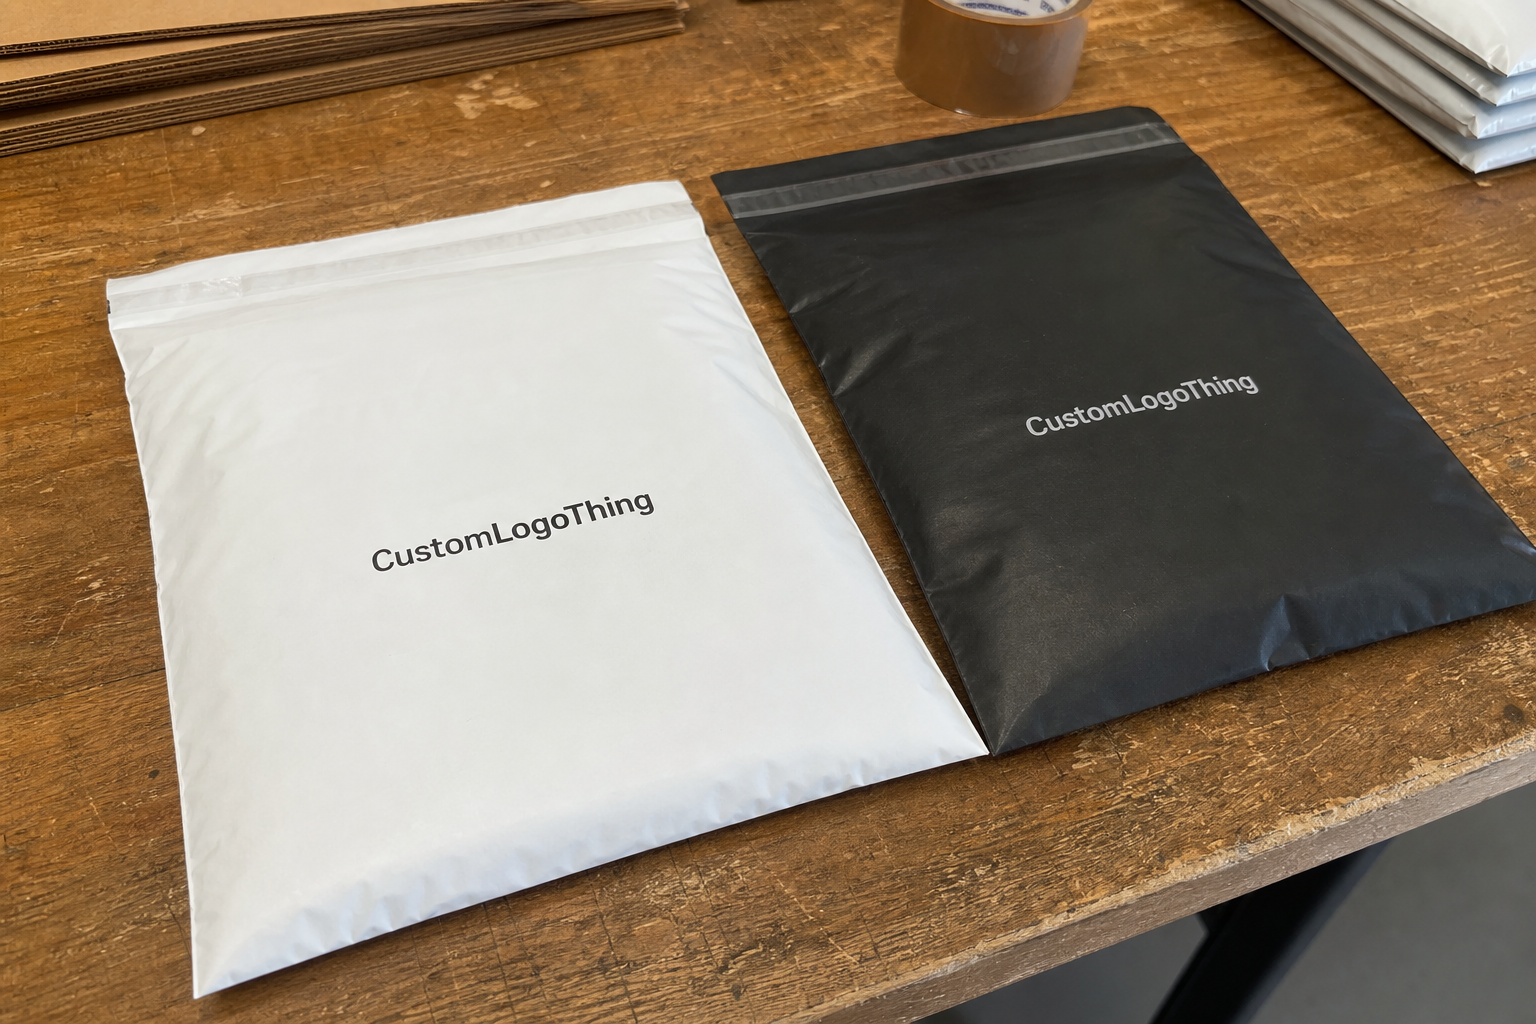
If you have ever opened a box and watched the product shift around inside, you already know why custom size mailer boxes matter. A carton that fits properly feels intentional the moment the lid opens. A loose one feels improvised, even if the product itself is excellent.
From a packaging buyer’s perspective, the right mailer has to do three jobs at once. It needs to protect the contents, present the brand clearly, and keep shipping waste under control. That balance is why size matching is not just a visual preference. It affects corrugated strength, dimensional weight, inserts, labor, and the whole pack-out.
Why a better box fit changes everything
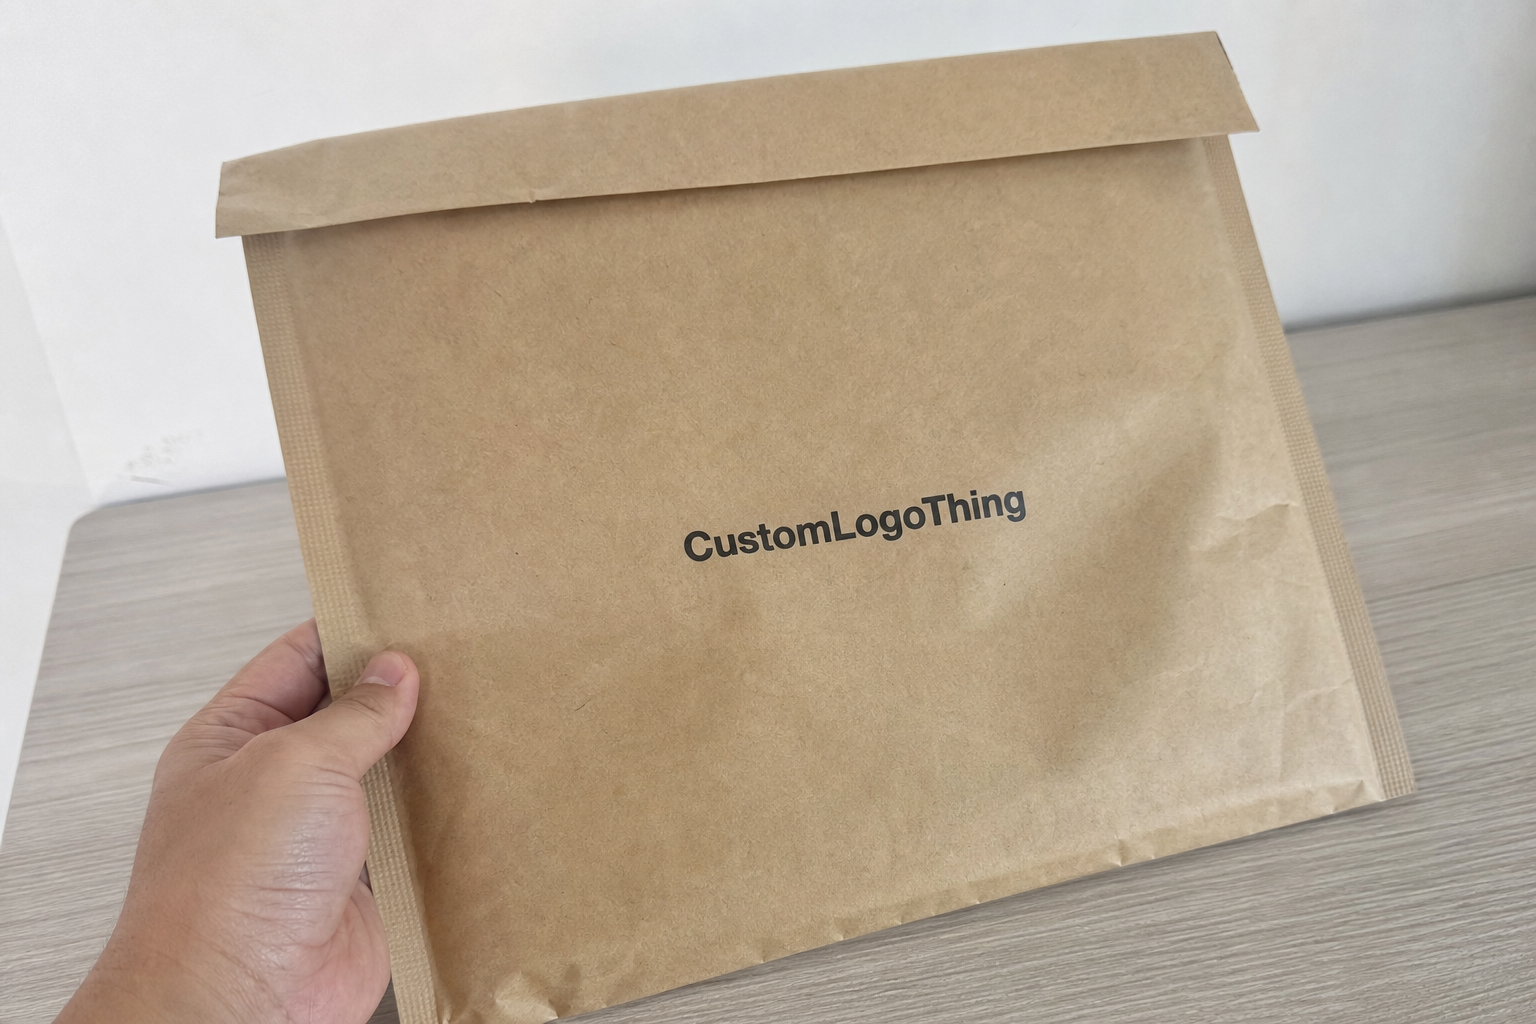
The difference between a standard mailer and a size-matched one shows up fast in real use. A box with too much empty space needs extra dunnage, more tape, and more patience from the customer. Products can shift in transit and still arrive looking worn down, even if nothing is actually broken.
A properly sized carton does the opposite. It feels tighter, cleaner, and more deliberate. That matters for product packaging and branded packaging, especially if the box is part of the unboxing experience rather than just a shipping shell.
Custom size mailer boxes are built around your internal dimensions, closure style, and structural needs instead of a stock format. That might mean a small width adjustment for one SKU. It might also mean a fully customized dieline, print layout, and board spec for a subscription kit, retail launch, or bundled set.
Right-sizing also helps the corrugated board do its job. If the box is oversized, the contents can shift and stress the panels during transit. If it is too tight, the flaps may bow, the closure may fight the product, and inserts may not seat correctly. The ideal fit depends on the pack-out. Tissue, folded apparel, sample kits, fragile items, and small accessory sets all behave differently.
“A good box fit looks simple because the difficult parts were solved before production. The box should hold the product without forcing it, and it should protect without wasting material.”
There is also a shipping-efficiency angle here. A tighter mailer often means less void fill, better pallet density, and lower dimensional weight exposure, especially with parcel carriers that price by outside carton volume. That is one reason buyers move to custom size mailer boxes after testing a few stock sizes and realizing how much dead space they were paying for.
For brands building a broader packaging system, the box should be treated as one part of the whole line. Inserts, labels, closures, tissue, and outer shipping formats all work together. If you are comparing packaging options, other formats can be found through Custom Packaging Products and, for lighter shipments, Custom Poly Mailers.
How the production process and timeline usually work
Most packaging runs follow the same broad path, even if the details change by supplier. It starts with dimensions and product information, then moves into box style selection, artwork setup, dieline preparation, sampling, and full production. If one of those steps gets rushed, the schedule usually slips later.
The first question a good supplier should ask is not just “How big is the item?” It is “How will it pack out?” That distinction matters. A product wrapped in tissue with a small insert needs different internal space than the same item shipped loose. If there is a label, manual, cable, or accessory set, that should be measured too. The box has to fit the full pack-out, not only the main product.
Most delays happen in three places: artwork approval, sample revisions, and structural changes after the first proof. A logo moved a few millimeters can cost more time than the actual press run. Once the dieline changes, the art often needs another pass. That means extra time and extra decisions, which is where many launches stall.
When buyers ask for lead time, it helps to break it into separate pieces:
- Sample time - structural sample or digital proof review
- Prepress time - file checks, dieline alignment, color adjustments
- Manufacturing time - printing, cutting, gluing, finishing
- Freight time - transit from plant or warehouse to final destination
Simple unprinted orders can move faster because they need fewer approvals and less setup. Printed custom printed boxes with coatings, inserts, or multi-color art usually take longer because each extra step adds a checkpoint. If the supplier is also building a new die or making a structural sample, plan for more back-and-forth before release.
For buyers who care about consistency, ask whether the sample is production-accurate or only a mockup. A digital proof can confirm layout, but it will not tell you how the board folds, how flap tension feels, or whether the product sits too high near the opening. For that, a physical structure check is the only useful test.
Key specs that affect fit, strength, and appearance
The three specs that matter most are internal dimensions, board grade, and flute choice. Internal dimensions control fit. Board grade controls stiffness and compression. Flute choice influences both crush resistance and print behavior. Those are the fundamentals behind nearly every successful custom mailer.
Outside dimensions and inside dimensions are not the same, and that catches people all the time. Corrugated board has thickness, folds have tolerance, and glued areas take up space. If a product needs a true 8 x 6 x 2 inch internal cavity, the outside measurement will be larger. That affects shelf fit, master carton planning, and shipping calculations.
Here is a practical comparison of the options buyers ask about most:
| Option | Typical use | Fit and strength | Cost tendency |
|---|---|---|---|
| Single-wall mailer | Apparel, kits, lightweight retail packaging | Good for moderate protection; lighter board | Lower |
| Heavier E-flute or B-flute mailer | Fragile items, premium kits, higher stack pressure | Better crush resistance and structure | Moderate |
| Mailer with inserts | Cosmetics, samples, electronics, accessory bundles | Excellent item control and presentation | Higher |
| Printed premium mailer with finish | Subscription boxes, launches, gift-style packaging | Strong brand impact and cleaner unboxing | Highest |
Add-ons change the job the box is doing. Inserts and partitions prevent movement. Tear strips improve opening. Specialty finishes like matte aqueous, gloss UV, and soft-touch lamination change the final surface in a way customers notice immediately. A window cut or interior print can also shift a carton from simple shipping box to branded presentation piece.
Print layout matters just as much as structure. Artwork needs bleeds, safe zones, and clear logo placement so it does not feel crowded near seams or flaps. Heavy ink coverage can affect drying and the final surface appearance. That is why production samples matter, especially for detailed packaging design or artwork that wraps across multiple panels.
For teams that want more consistency, use recognized packaging references rather than guessing. Transit testing often points back to ISTA methods, while fiber sourcing may point buyers toward FSC-certified materials. General packaging guidance is available from the Packaging Institute, and fiber stewardship resources are available at the Forest Stewardship Council.
Custom size mailer boxes cost, MOQ, and quote factors
Pricing for custom size mailer boxes comes down to a few variables, and they are usually easy to map once you know what drives the quote. The biggest factors are size, board grade, print complexity, finish selection, quantity, and whether a new dieline or tooling setup is required. Change more than one at once and the price can move quickly.
Quantity matters because setup costs have to be spread across the run. A 500-piece order will usually carry a higher unit cost than a 5,000-piece order, even if the box is identical. The prep work, press setup, and cutting setup do not get cheaper just because the run is smaller. Small runs are still valid. They just price differently.
For rough planning, simple unprinted mailers often come in much lower than printed, finished cartons. Depending on size and spec, buyers frequently see something like $0.30-$0.70 per unit at moderate quantities for basic custom mailers, with printed or specialty-finished versions rising from there. Exact pricing depends on board choice, print coverage, quantity, and whether inserts are included.
When requesting a quote, include enough detail to avoid a second round of assumptions. A useful request covers:
- Internal product dimensions and pack-out dimensions
- Estimated product weight
- Box style preference and opening style
- Artwork files or current brand assets
- Expected quantity and reorder potential
- Finish preference such as matte, gloss, or soft-touch
- Shipping method and destination ZIP or region
There are a few hidden cost traps worth watching. Oversized boxes waste freight space and can trigger higher dimensional charges. Over-specifying the board adds material cost that the product may never need. Rushed revisions create extra prepress work. And if the box is designed before the artwork is ready, the team may end up paying for proof cycles that should have been avoided.
Minimum order quantities vary by supplier and production method, but the reason is usually simple: setup costs need enough volume to make the run efficient. A buyer who understands that structure can negotiate more intelligently. The conversation shifts from “Can you make it cheaper?” to “Which specs actually matter for this product, and which ones are optional?”
For recurring retail packaging programs, keep the board grade and structure fixed when possible. That makes it much easier to compare pricing across size changes or print updates. It also reduces the odds of discovering too late that two box versions look similar but behave differently in production.
Step-by-step sizing and ordering workflow
The safest way to order custom size mailer boxes is to treat sizing as a process, not a guess. Measure carefully, decide how the product will sit in the box, then confirm the structure before you commit to full production. The fewer assumptions you make here, the fewer surprises you will pay for later.
Step 1: Measure the product accurately
Measure the item at its longest, widest, and tallest points. If there is a protective wrap, outer sleeve, or accessory bundle, measure the packed product, not the item alone. A fit that looks razor-thin on paper usually becomes too tight once tissue, foam, or a folded insert card gets added.
Step 2: Decide on the fit strategy
There are three practical ways to approach fit: snug, light clearance, or insert-based stabilization. Snug fit works well for dense, low-shift items. Light clearance is safer for fragile or irregular products. Insert-based stabilization is usually the cleanest option when presentation matters and the product needs to sit in a fixed position.
Step 3: Choose structure and material
Pick the box style based on how the package will move through the supply chain. A mailer that lives mostly in storage and ships direct to consumer may need less compression resistance than one that stacks in a warehouse or travels long distances. For heavier contents, a stronger flute or sturdier board grade often makes more sense than making the box larger.
For brands comparing packaging systems, it helps to think about the whole shipment path. If a product goes into a master carton, then onto a pallet, then into parcel handling, the mailer has to work in all three environments. That is the practical side of product packaging, and it is where first-time buyers often underestimate the job the box has to do.
Step 4: Review proof and sample details
Before release, confirm the dieline, artwork positioning, finish, and quantity. If possible, test a physical sample with the actual product. That test can reveal small but meaningful issues, like a flap catching on a label, a logo sitting too close to a seam, or an insert that needs a tighter pocket. Those problems are easier to fix before production than after.
If your brand ships regularly, save a spec sheet for future orders. Keep the internal dimensions, board grade, flute, print file version, finish, and approved sample photos in one place. Reorders go faster when the next buyer or coordinator is not trying to reconstruct the spec from memory.
Common sizing and printing mistakes to avoid
The most common sizing mistake is measuring only the product and forgetting the closure, fold, or insert space the box actually needs. That small oversight can cause a mailer to bow at the seam or force the product to sit too high. Once that happens, the box no longer closes cleanly and the whole look suffers.
Another frequent problem is approving artwork before the dieline is finalized. If the structure changes after design approval, logos can drift toward edges, text can land too close to folds, and panel orientation can end up reversed from what the team expected. That is especially risky on custom printed boxes with wraparound graphics.
Too much empty space causes its own trouble. A box that is too large increases movement, dunnage use, and often dimensional shipping charges. Customers may also read a half-empty carton as wasteful, which is not the message most brands want to send. Right-sizing usually improves both economics and presentation.
Print details get missed more often than people think. Some buyers forget to specify inside print. Others assume a matte finish will look the same as gloss under store lighting. Print orientation, seam placement, and coating choice all affect the final look, and those details are part of package branding, not decoration.
For technical validation, many teams use ASTM or ISTA testing concepts as a practical reference point, especially if the carton will ship through parcels with drop risk or repeated handling. Even if you are not doing a formal lab test, that mindset helps you ask better questions about crush resistance and transit durability. For shipping and environmental context, the EPA paper and paper products guidance is useful when sustainability claims are part of the buying brief.
Expert tips for smarter packaging decisions
If there is one habit that saves money and frustration, it is testing the real packed product in a real sample. Loose mockups can look fine on a desk and fail once the item is wrapped, labeled, or fitted with inserts. A proper test shows how the box behaves under actual use, which is the only thing that matters.
Design for the smallest practical box that still protects the contents. That usually improves efficiency, but it also makes the unboxing experience feel more deliberate. Smaller boxes often need less void fill, stack better, and look more premium because the product is not swimming in empty space.
Think in terms of the whole pack-out, not just the carton. Tape, labels, tissue, inserts, instruction cards, and shipping method all influence the final spec. A box that works beautifully with one fulfillment method may need adjustment if the team switches to another. Packaging decisions should follow operations, not fight them.
For recurring programs, keep a master spec and update it when something changes. Include the approved box dimensions, board type, artwork version, finish, and any assembly notes. That kind of documentation is boring in the best way. It keeps future runs consistent and helps new team members avoid guesswork.
The best packaging buyers treat the box like a working component, not just a printed surface. Once the tolerance, fit, and print requirements are clear, custom size mailer boxes stop being a recurring problem and start acting like a stable part of the product experience.
Next steps: turn measurements into a production-ready spec
Start by gathering exact product dimensions, the full packed-out size, and any special handling needs. Then choose the box style, board grade, and print requirements that fit the shipment path you actually use. If the product is fragile or premium, compare at least two structural options before finalizing the spec.
After that, prepare a quote request that includes quantity, artwork files, finish preferences, and whether inserts are needed. If you have a target launch date, include that too. Lead time planning is easier when everyone is working from the same calendar. That timeline should account for proofing, manufacturing, and freight separately.
One practical point: do not assume the cheapest box is the best value. A well-sized mailer that reduces movement, lowers packing labor, and improves presentation can be worth more than a lower unit price on a box that creates problems downstream. In packaging, the cheapest spec is often the most expensive one to live with.
For a long-term packaging program, custom size mailer boxes work best when the structure has been tested, the measurements are specific, and the print plan supports the brand without crowding the carton. Get those pieces right, and the box does more than ship a product. It helps carry the product experience all the way to the customer’s hands.
Frequently asked questions
How do I measure custom size mailer boxes correctly?
Measure the product at its longest, widest, and tallest points, then add clearance only for the protection method you plan to use. Use internal box dimensions for fit decisions, not outside dimensions, because corrugated thickness changes the finished size. If you are adding inserts or wrap, measure the packed product rather than the item by itself.
What affects custom size mailer box pricing the most?
The biggest drivers are dimensions, board grade, print coverage, finish, quantity, and whether new tooling or a custom dieline is needed. Larger quantities usually lower unit cost because setup expenses are spread across more boxes. Special features like inserts, coatings, or complex artwork can raise the total cost.
What is a normal turnaround for custom size mailer boxes?
Turnaround usually depends on proof approval speed, whether a sample is needed, and the complexity of the print or finishing. Simple unprinted orders are often faster than custom printed packaging with special coatings or inserts. Freight time should be added separately when planning launch or replenishment dates.
Can custom size mailer boxes help reduce shipping costs?
Yes, a better fit can reduce void space, dunnage use, and dimensional weight charges in many shipping setups. A smaller, right-sized box can also improve pallet efficiency and storage density. The savings depend on carrier rules, product weight, and how much empty space the original box left behind.
What should I prepare before requesting a quote for custom size mailer boxes?
Have exact product dimensions, target quantity, box style preference, print details, and any finish or insert requirements ready. Include how the product will be packed so the box can be sized for the full pack-out, not just the item alone. Sharing artwork files early helps speed up proofing and reduces revision delays.