A cheap sticker can get expensive fast. Plenty of custom stickers deals look fine on a quote screen. Then the adhesive lifts on a cold drink bottle, the ink scuffs inside a shipping carton, or the label wrinkles around a curved jar. The “deal” disappears the second someone has to relabel product by hand.
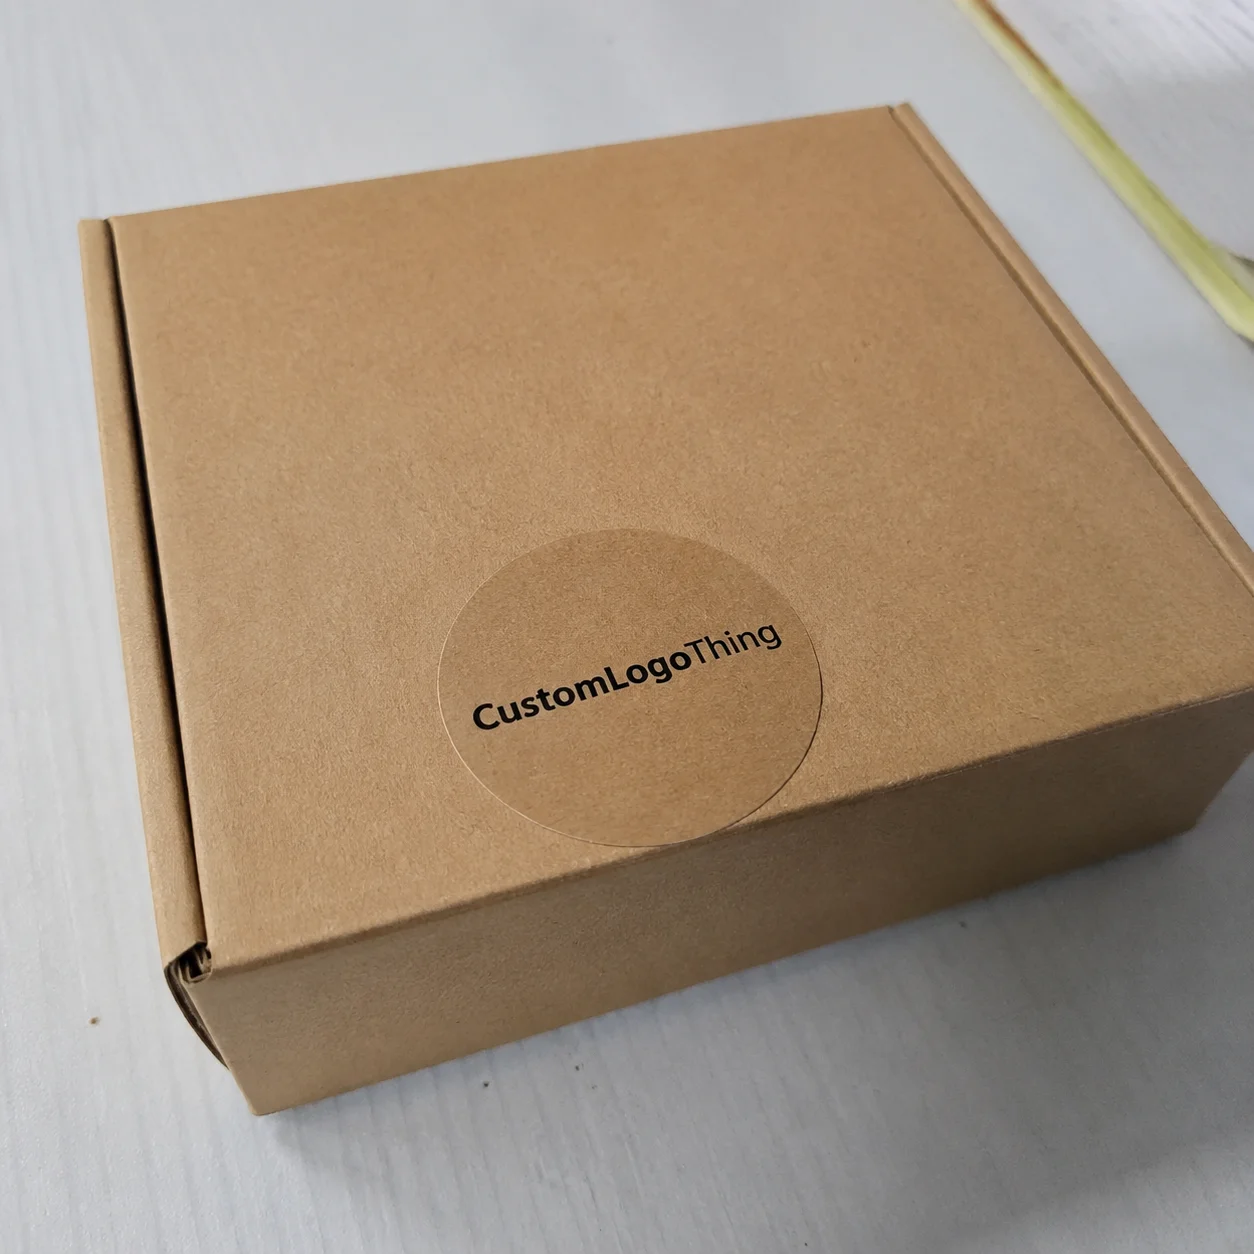
Custom stickers are small pieces of packaging with too much responsibility for their size. They seal tissue, identify flavors, carry QR codes, decorate mailers, support retail packaging, and add branded detail to boxes, bags, bottles, jars, and inserts. A good sticker should look sharp, apply cleanly, stay put for the intended use, and arrive in time to support the rest of the packaging schedule.
The hard part is that sticker quotes can look deceptively simple. Size, quantity, and price show up first. The details that decide whether the sticker works are often buried lower down: material, adhesive, finish, cut style, packing format, proofing, and freight.
What Custom Stickers Deals Really Mean for Buyers
Here is the practical buyer scenario that shows up constantly: a brand finds a low advertised price, uploads a logo, orders a few thousand labels, and feels good until the first production day. Then the labels start curling on refrigerated bottles. Or the matte surface scratches during shipping. Or staff struggle to peel each sticker from the sheet because the kiss cut is too shallow. Nothing about that feels like savings.
Real sticker value is not just a discount. It is the working balance between material, adhesive, print method, quantity, finish, durability, packing method, and delivery date. A paper label for a dry bakery box is not the same job as a white BOPP label on a cosmetic jar. A vinyl decal for outdoor use is another job entirely. They should not be priced, specified, or judged the same way.
Think of bargain pricing as the number on the quote. Think of value as the sticker doing its job after it leaves the printer.
If a lower unit cost saves $80 on the order but causes two hours of relabeling, missed retail presentation, spoiled packaging, or damaged brand appearance, the math has already turned against you. Packaging labor is not free. Neither is embarrassment on a shelf.
Sticker uses vary more than people expect. Some buyers need product labels for glass jars. Others need packaging seals, thank-you stickers, QR code labels, event giveaways, promotional decals, tamper-evident touches, mailer decorations, or branded closures for tissue and paper bags. Each use has a different stress point: moisture, friction, temperature, sunlight, hand application speed, barcode scanning, shelf appearance, or removal.
This matters because suppliers build offers around production reality. A 2-inch round paper sticker on sheets may be economical at 1,000 pieces. A 3-inch waterproof vinyl die-cut decal with gloss laminate, split designs, and rush freight is a different build. Same word, different product.
Factory-floor rule of thumb: a sticker is only cheap if it works on the real surface, under the real handling conditions, for the full time you expect it to stay on the package.
That is the lens buyers should use. Compare Custom Stickers Deals by the finished specification, not just the headline price. Otherwise, you are comparing guesses.
How Sticker Discounts Work Behind the Quote
Sticker pricing usually comes from several small cost buckets, not one simple design charge. A typical quote may include artwork review, digital proofing, material, printing, ink coverage, color control, cutting, finishing, packing, waste allowance, and freight. Roll labels may also require core size, unwind direction, gap spacing, liner type, and roll diameter.
Quantity has a strong effect because setup work gets spread across more pieces. The supplier still needs to check the file, calibrate print settings, prepare the cut path, load material, and manage changeover whether you order 250 stickers or 10,000. That is why a 2-inch paper sticker might cost $0.18 to $0.35 each at a few hundred pieces, then drop closer to $0.04 to $0.09 at higher quantities, depending on coverage, finish, and packing.
Most sticker discounts fall into a few familiar categories:
- Bulk quantity breaks: lower unit cost at higher order volumes, usually strongest once setup is spread across several thousand pieces.
- Repeat-order pricing: savings when the dieline, material, and approved artwork are already on file.
- Proofing included: useful when it includes a real artwork check, not just an automated preview.
- Combined shipping: helpful if stickers ship with other branded packaging or related printed items.
- Multi-design production: sometimes available when several designs use the same size, stock, finish, and cut style.
Two quotes for the same 3-inch sticker can be far apart for good reasons. One may be standard paper with no laminate. The other may be white vinyl, gloss laminate, permanent adhesive, tighter color matching, and individual die-cut pieces packed in bundles of 100. Those are not the same sticker. If the quote does not name the details, the comparison is already shaky.
A legitimate deal should spell out the size, shape, material, adhesive, finish, quantity, proof process, estimated production time, and shipping terms. Watch for advertised prices that exclude artwork cleanup, split designs, rush production, custom shapes, lamination, specialty adhesives, or freight. Those add-ons are not automatically unfair. Hiding them until checkout is the problem.
Also check what “custom” includes. Some suppliers mean custom artwork on standard circles, squares, and rectangles. Others include custom die-cut shapes. Some include multiple designs at one combined quantity. Others price every design as a separate run because every version needs its own setup, proof, and inspection. Ask before assuming. Assumptions are where budgets go to die.
Cost, Pricing, and Unit Cost Factors to Compare
Sticker cost starts with size. A 1.5-inch circle uses less material and prints faster than a 4-by-6-inch shipping label. Shape matters too. A simple circle, square, oval, or rounded rectangle is usually easier to cut than a detailed logo silhouette with narrow points, tight inside corners, or fragile edges. Complex cuts can increase waste and slow finishing.
Material choice is the next major driver. Paper stickers are often the most economical option for dry indoor packaging, hangtag seals, inserts, and short-term promotions. White vinyl costs more but brings better tear resistance, moisture resistance, and outdoor durability. BOPP, short for biaxially oriented polypropylene, is common for food jars, cosmetic containers, and squeeze bottles because it handles moisture and oils better than plain paper. Polyester can work for tougher industrial or long-life labels, though it is overkill for many retail jobs.
Finishing changes both price and feel. Gloss laminate makes color look brighter and adds scuff resistance. Matte laminate gives a softer, more controlled look for Premium Retail Packaging. Soft-touch coatings feel nice, but they can show fingerprints or rub marks depending on handling. Foil, spot UV, embossing, and specialty textures can support packaging design, but they add setup, registration checks, spoilage allowance, and production time.
| Sticker Option | Typical Use | Approximate Unit Range | Buyer Watchpoint |
|---|---|---|---|
| Paper sticker, sheeted | Dry boxes, inserts, event handouts | $0.04–$0.18 at mid to higher quantities | Not ideal for moisture, oil, or refrigeration |
| White BOPP roll label | Jars, bottles, cosmetics, food packaging | $0.03–$0.12 depending on size and volume | Confirm unwind direction, core size, and adhesive |
| Vinyl die-cut decal | Promotional decals, outdoor use, mailer branding | $0.10–$0.45 depending on size and finish | Laminate may be needed for abrasion resistance |
| Clear film sticker | No-label look on glass or plastic | $0.08–$0.30 depending on white ink and coverage | White ink underprint affects opacity and color |
Minimum order quantity, often called MOQ, matters because proofing and setup do not shrink much on tiny runs. A 100-piece order may be perfect for a test, but the unit cost will usually look high. A 5,000-piece order spreads out fixed work, but it only makes sense if the design will remain current. Ingredient updates, address changes, QR code changes, compliance revisions, or seasonal copy can turn extra inventory into waste.
To compare custom stickers deals fairly, calculate landed unit cost. Add freight, setup charges, proof fees, rush fees, taxes, and design adjustment costs, then divide by the usable quantity. If Quote A is $210 plus $48 freight and Quote B is $245 with shipping included, the higher product price may be the better buy.
Usable quantity deserves attention. If the project requires exactly 2,000 labels for a launch, a quote for 2,000 pieces with no overage allowance may be too tight. Normal production, packing damage, setup waste, application mistakes, and sample needs can eat into the count. For hand-applied packaging, a small overage is cheap insurance.
The cheapest option is not a deal if it creates relabeling, product returns, scratched presentation, or a launch delay. A sticker is tied directly to product packaging, so the cost should be judged by performance as much as by the invoice line.
Process and Timeline: From Artwork to Finished Stickers
The cleanest ordering process starts before artwork upload. Define the use case first: where the sticker goes, what surface it touches, how long it needs to last, and how it will be applied. Then choose the size, material, adhesive, and finish. After that, send artwork, review the proof, approve the specifications, enter production, finish the pieces, pack them, and ship.
Artwork review is more than checking whether the logo looks nice. A careful supplier checks resolution, bleed, safe zones, cut lines, color mode, small text, barcode readability, and whether the file is vector or raster. Vector files such as AI, EPS, or print-ready PDF usually give cleaner edges for logos and type. Raster artwork can work if the resolution is high enough, commonly 300 dpi at final size. Low-resolution images pulled from websites often print soft or jagged. Shocking, I know.
Proofing is the buyer’s checkpoint. Check spelling, logo placement, cut shape, size, color notes, quantity, and any special instructions before approval. If the sticker includes a barcode or QR code, print the proof at actual size and scan it. Small codes, low contrast, or glossy reflections can cause trouble on packaging lines and in retail environments.
Simple paper or vinyl sticker orders often move through production in 5 to 10 business days after proof approval. Specialty finishes, color matching, custom roll labels, or higher-volume runs may need 10 to 15 business days or longer. The real timing depends on material availability, production queue, finish complexity, proof approval speed, and shipping distance. Rush capacity is not guaranteed, especially during busy promotional seasons.
Custom shapes, foil, spot UV, split designs, exact color matching, and roll-label unwind direction can all add review time. Roll labels deserve special care if they feed into a dispenser or automatic labeling machine. The leading edge, label orientation, roll direction, core diameter, outside roll diameter, and gap can affect whether the label applies cleanly or causes stoppages.
For launches, start earlier than feels necessary. Send final artwork instead of drafts. Approve proofs quickly. Confirm delivery dates before choosing among sticker offers. If the stickers support a larger branded packaging order, such as Custom Labels & Tags or custom printed boxes, align the schedule so one late component does not hold up the whole packing run.
Choosing Materials, Adhesives, and Finishes That Fit the Job
The right deal starts with the sticker’s job. Is it going on a dry mailer, a refrigerated bottle, a flexible pouch, a cosmetic jar, a retail bag, a powder-coated tin, or a giveaway sheet? A sticker that decorates an insert has a very different specification than one applied to a chilled glass bottle with condensation on the surface.
Paper is budget-friendly for dry indoor use, especially bakery boxes, tissue seals, thank-you inserts, and short-term promotional labels. Vinyl is stronger for decals, outdoor exposure, and heavier handling. BOPP is a reliable workhorse for product labels because it resists moisture better than paper and conforms well to many containers. Clear film creates a no-label look on glass or clear plastic, but usually needs white ink behind artwork if you want colors to stay bright. Textured stocks can add premium presentation, though they may not be the best choice for wet or oily environments.
Adhesive choice matters as much as the face stock. Permanent adhesive is common for packaging labels. Removable adhesive is useful for temporary promotions or surfaces that must not be damaged. Freezer-grade adhesive is designed for cold application or cold storage. High-tack adhesive can help on textured corrugate, recycled cardboard, low-energy plastics, or curved containers. Low-tack options suit temporary uses, but they should not be expected to survive rough shipping.
Finish changes appearance and durability. Gloss gives color pop and a retail shine. Matte looks controlled and premium, especially for cosmetic or specialty food packaging. Laminate adds a physical film layer that helps with scuffs, moisture, and handling. UV-resistant materials and inks may be needed for outdoor decals, window stickers, or long-term sun exposure.
Testing matters. Recycled cardboard can have dusty fibers. Coated cartons may resist adhesion. Glass bottles can sweat in refrigeration. Flexible pouches bend and squeeze. Plastic jars vary by resin and surface energy. Powder-coated containers can be surprisingly difficult for standard adhesives. If labels must survive moisture, refrigeration, friction, shipping, or retail handling, ask for samples or run a small test before placing a high-volume order.
A useful test does not need to be complicated. Apply the sticker to the real package. Press it down the same way staff will apply it. Let it sit for 24 to 72 hours. Chill it, rub it, bend it, or pack it in a carton if those conditions match the real use. Then check edge lift, scuffing, wrinkling, color rub, barcode scanning, and clean presentation.
For broader environmental context around packaging materials and waste reduction, the EPA’s sustainable materials management resources are useful. For paper-based packaging claims, especially if FSC-certified stocks are requested, the Forest Stewardship Council explains how chain-of-custody certification works. Those standards do not choose the sticker for you, but they help frame responsible material decisions.
Common Mistakes That Turn Sticker Savings Into Waste
The first mistake is buying only by price. If the quote does not name the material, adhesive, finish, and use conditions, the number is incomplete. A dry-use paper sticker may be perfectly fine for a gift box seal, but it is a poor choice for a chilled beverage bottle or a jar that may sit near oil, water, or condensation.
Artwork causes the second big group of problems. Low-resolution logos, missing bleed, thin cut lines, tiny reversed text, and untested colors can all create weak print results. Bleed is often around 0.125 inch beyond the trim line, though the exact requirement depends on the supplier’s process. Safe zones matter too, because text placed too close to the cut edge can look uneven after normal cutting tolerance.
Format is another overlooked detail. Sheet stickers are convenient for hand application, short runs, event packs, and mixed designs. Roll labels are better for dispensers, semi-automatic labelers, and production lines. Die-cut singles feel premium for giveaways, but they cost more to handle and pack. Kiss-cut sheets are easier to peel, especially for small shapes.
Roll-label specifications can make or break production efficiency. Confirm label orientation, unwind direction, core size, roll outside diameter, gap size, liner type, and whether your applicator needs labels wound in or wound out. A roll that looks correct in the box can still be wrong for the machine.
Clear stickers have their own trap: white ink. Without a white underprint, colors printed on clear film can look transparent, muted, or different depending on the package color behind them. On clear glass, that may be attractive. On amber jars or dark plastic, it may make the logo hard to read.
Ordering quantity deserves care. Too few stickers can force a rush reorder, and rush freight can wipe out earlier savings. Too many can become obsolete if ingredients, compliance copy, addresses, QR codes, promotion dates, or package sizes change. For many small brands, a moderate run with reliable specs beats a huge run bought only because the unit price looked tempting.
Shipping is the last common miss. A low sticker price loses value if freight is slow, expensive, or vague. Ask whether the delivery estimate is based on proof approval date or order date, and confirm whether transit time is included. If the stickers are part of a larger launch involving Custom Packaging Products, late labels can hold finished goods in the packing area even when every other component is ready.
Next Steps for Getting a Better Sticker Deal
A better sticker order starts with a clear specification. Before requesting quotes, define where the sticker will be used, measure the application area, choose the likely material, decide on finish, estimate quantity, and gather print-ready artwork files. A simple set of details can save several rounds of back-and-forth.
- Measure the actual package area and allow room for curves, seams, lids, and edges.
- Decide whether the label faces moisture, cold, sunlight, friction, oil, or heavy handling.
- Choose a starting material such as paper, vinyl, BOPP, clear film, or textured stock.
- Select a finish only if it supports the job: gloss, matte, laminate, foil, or UV protection.
- Estimate realistic quantity based on current inventory plans, not only the lowest unit price.
- Send vector artwork when possible, with bleed, safe zones, and cut lines clearly prepared.
Request quotes using the same specifications each time. If one supplier prices a 2-inch matte paper sticker on sheets and another prices a 2-inch laminated BOPP roll label, you do not have a clean comparison. Ask each supplier to state material, adhesive, finish, quantity, proofing, production time, and freight. That is the fastest way to separate real custom stickers deals from mismatched numbers.
Good questions are direct. Is proofing included? What exact material is quoted? Is lamination part of the price or an upgrade? What is the MOQ? Are split designs included? Does the quote include die-cutting? When can the order ship after proof approval? Is the freight estimate final or subject to change?
If the sticker must perform on a difficult surface, test before committing to a large run. Apply samples to the actual bottle, jar, pouch, box, mailer, or retail bag. Let them sit for 24 to 72 hours when possible. Chill them if they will be refrigerated. Rub them if they will be handled. Bend the package if it is flexible. A small test is not glamorous, but it is cheaper than discovering failure after thousands of units are packed.
For repeat orders, save the approved dieline, color references, material specs, adhesive notes, finish, roll direction, and supplier proof. That little record turns future reorders into a cleaner process and makes future custom stickers deals easier to evaluate. The best purchase is not the lowest sticker price in isolation. It is the option that matches cost with performance, timing, and the way your brand should look in a customer’s hands.
FAQ
What should I check before choosing custom stickers deals?
Confirm the sticker size, material, adhesive, finish, quantity, proofing process, turnaround time, and shipping cost before comparing prices. Ask whether die-cutting, lamination, artwork review, split designs, setup charges, and freight are included. Most important, match the sticker to its use case if it will face moisture, refrigeration, sunlight, abrasion, or curved packaging.
Are bulk custom sticker discounts always cheaper?
Bulk orders usually reduce unit cost because setup and production time are spread across more stickers. They are only a good deal if the design, QR code, product information, or branding will stay current before the extras are used. For fast-changing promotions, seasonal packaging, or test launches, a smaller run may be more practical even with a higher unit price.
Which material gives the best value for logo stickers?
Paper is cost-effective for dry indoor packaging, inserts, and short-term promotional use. Vinyl or BOPP usually offers better value for bottles, jars, mailers, refrigerated items, and labels that need more handling resistance. The best value depends on the surface, environment, expected lifespan, and whether a laminate or specialty adhesive is needed.
How long do custom sticker orders usually take?
Timing depends on artwork readiness, proof approval speed, material availability, order size, finishing complexity, and shipping distance. Simple paper or vinyl stickers may move faster than specialty finishes, custom roll labels, foil effects, or color-matched orders. To reduce delays, send final artwork with bleed, approve proofs quickly, and confirm the production schedule before paying.
How can I lower sticker unit cost without lowering quality?
Increase quantity when the design will stay current, simplify the shape, use standard sizes, and avoid unnecessary specialty finishes. Choose the Right material rather than the most expensive one; not every indoor sticker needs heavy-duty vinyl or laminate. Bundle related designs when possible and ask for landed pricing so freight and fees are included in the comparison.


